
DIY Butcher Block Countertops
This Maker Gray video tutorial shows how I made new countertops for my kitchen using a butcher block slab I bought from Ikea. You can buy the butcher block from many places, though. This was a fairly easy and inexpensive remodel and a big upgrade from the old formica that came with the house. I hope you find some inspiration to do your own. For a more thorough tutorial, be sure and check out the video above!
Materials and Tools I Used:
Butcher Block Countertop - solid wood
Silicone Caulk

I started the project by measuring for my cuts. I then secured a straight edge guide to run my circular saw along and made my cuts. Any really straight board will also work fine to act as a straight edge for your saw. Take your time, measure twice! You can cut this all in one pass, but it’s not a bad idea to instead make a few shallower cuts.


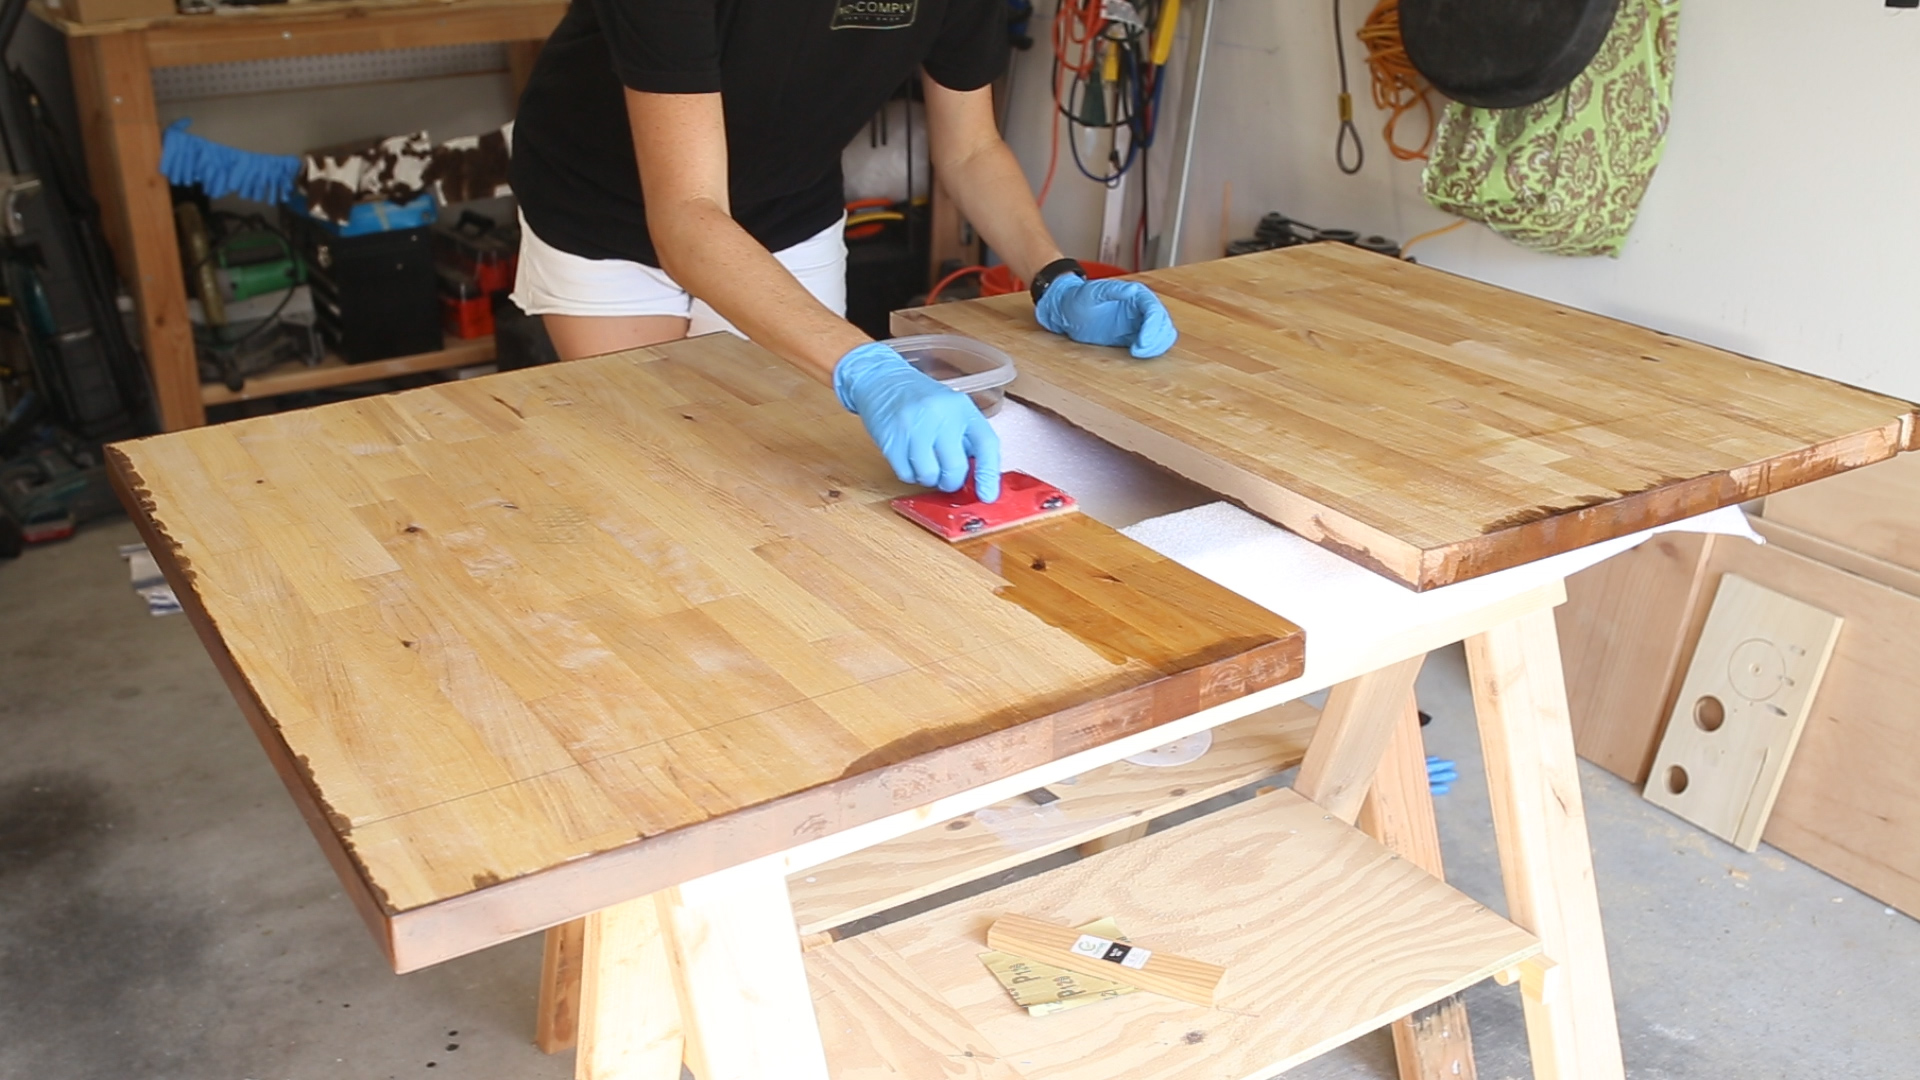
Next I sanded my counters, increasing my sandpaper up to a fine grit for a smooth finish.
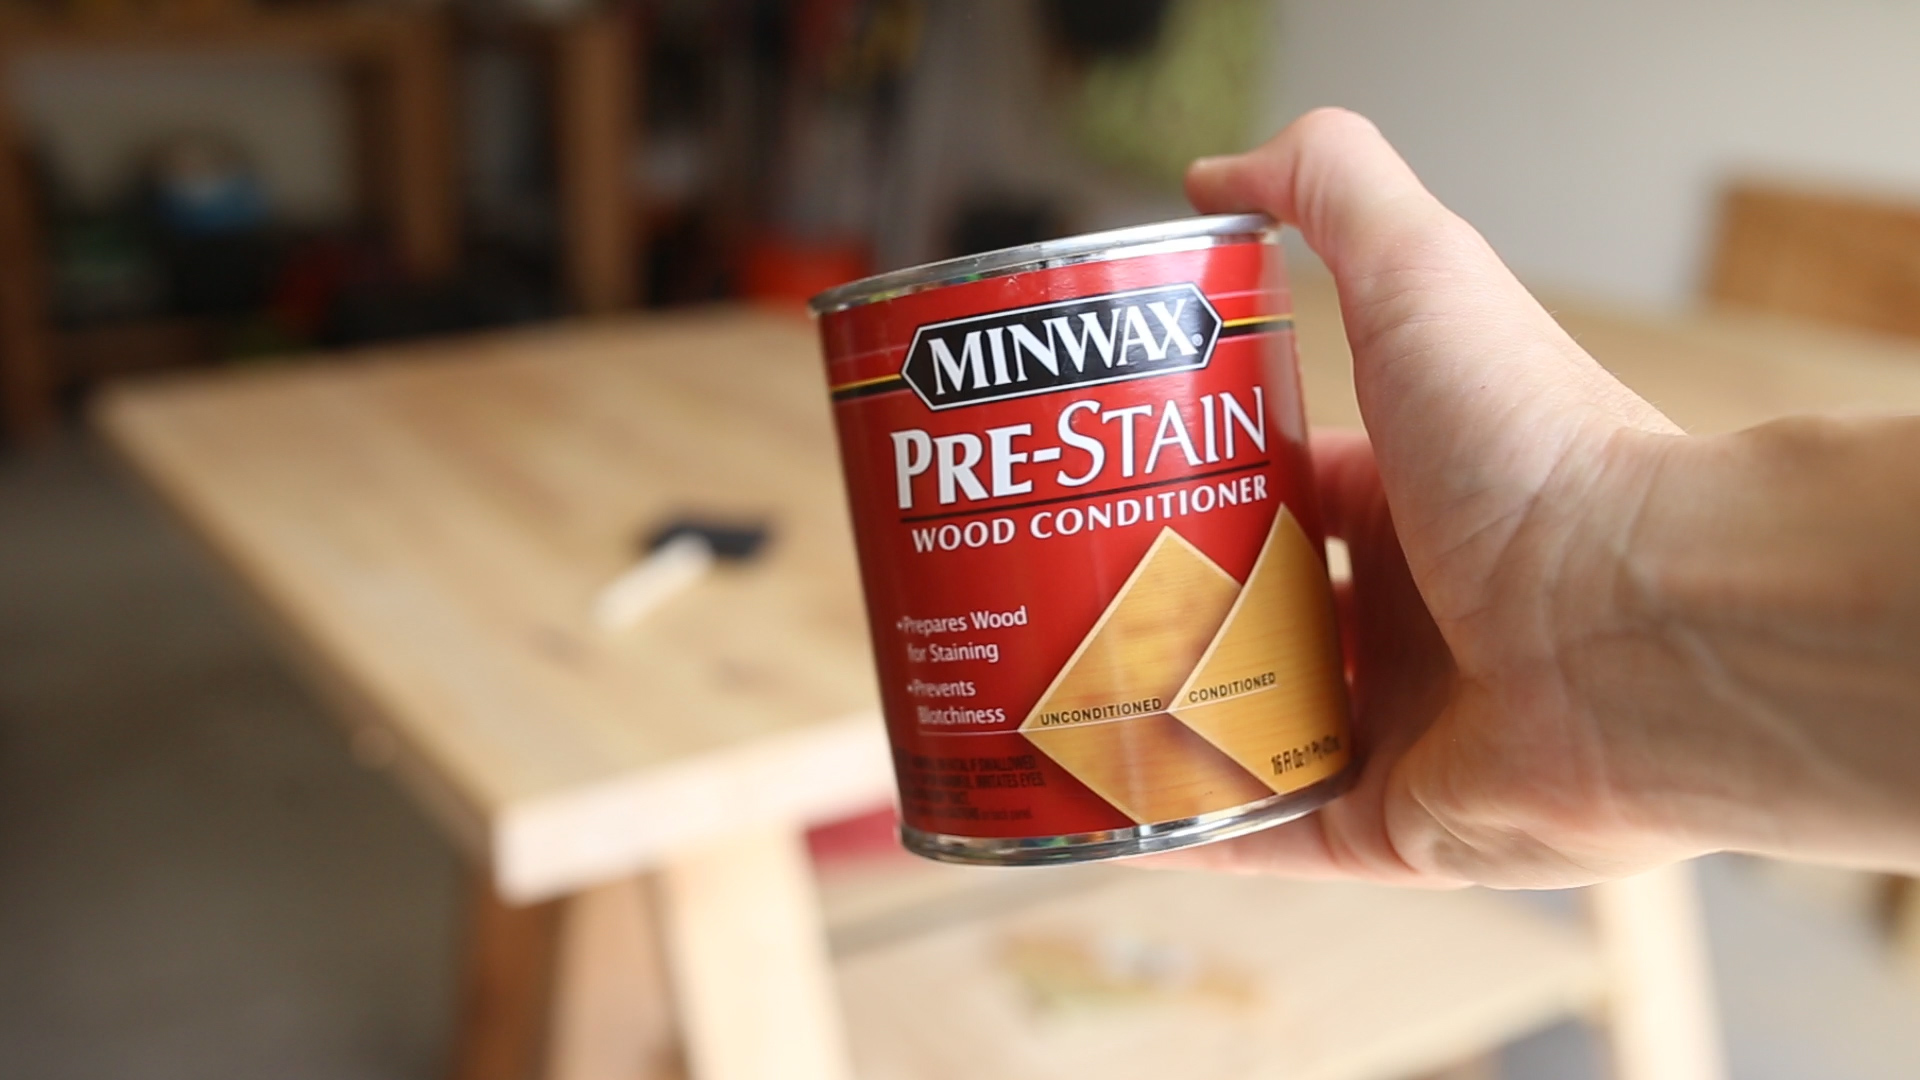
Before I stain wood, I use a wood conditioner. This helps to even out the color and create a much more even stain coat. You certainly do not have to stain your wood. The color is up to you! If you’d rather leave it the natural color, skip ahead to the sealing steps.

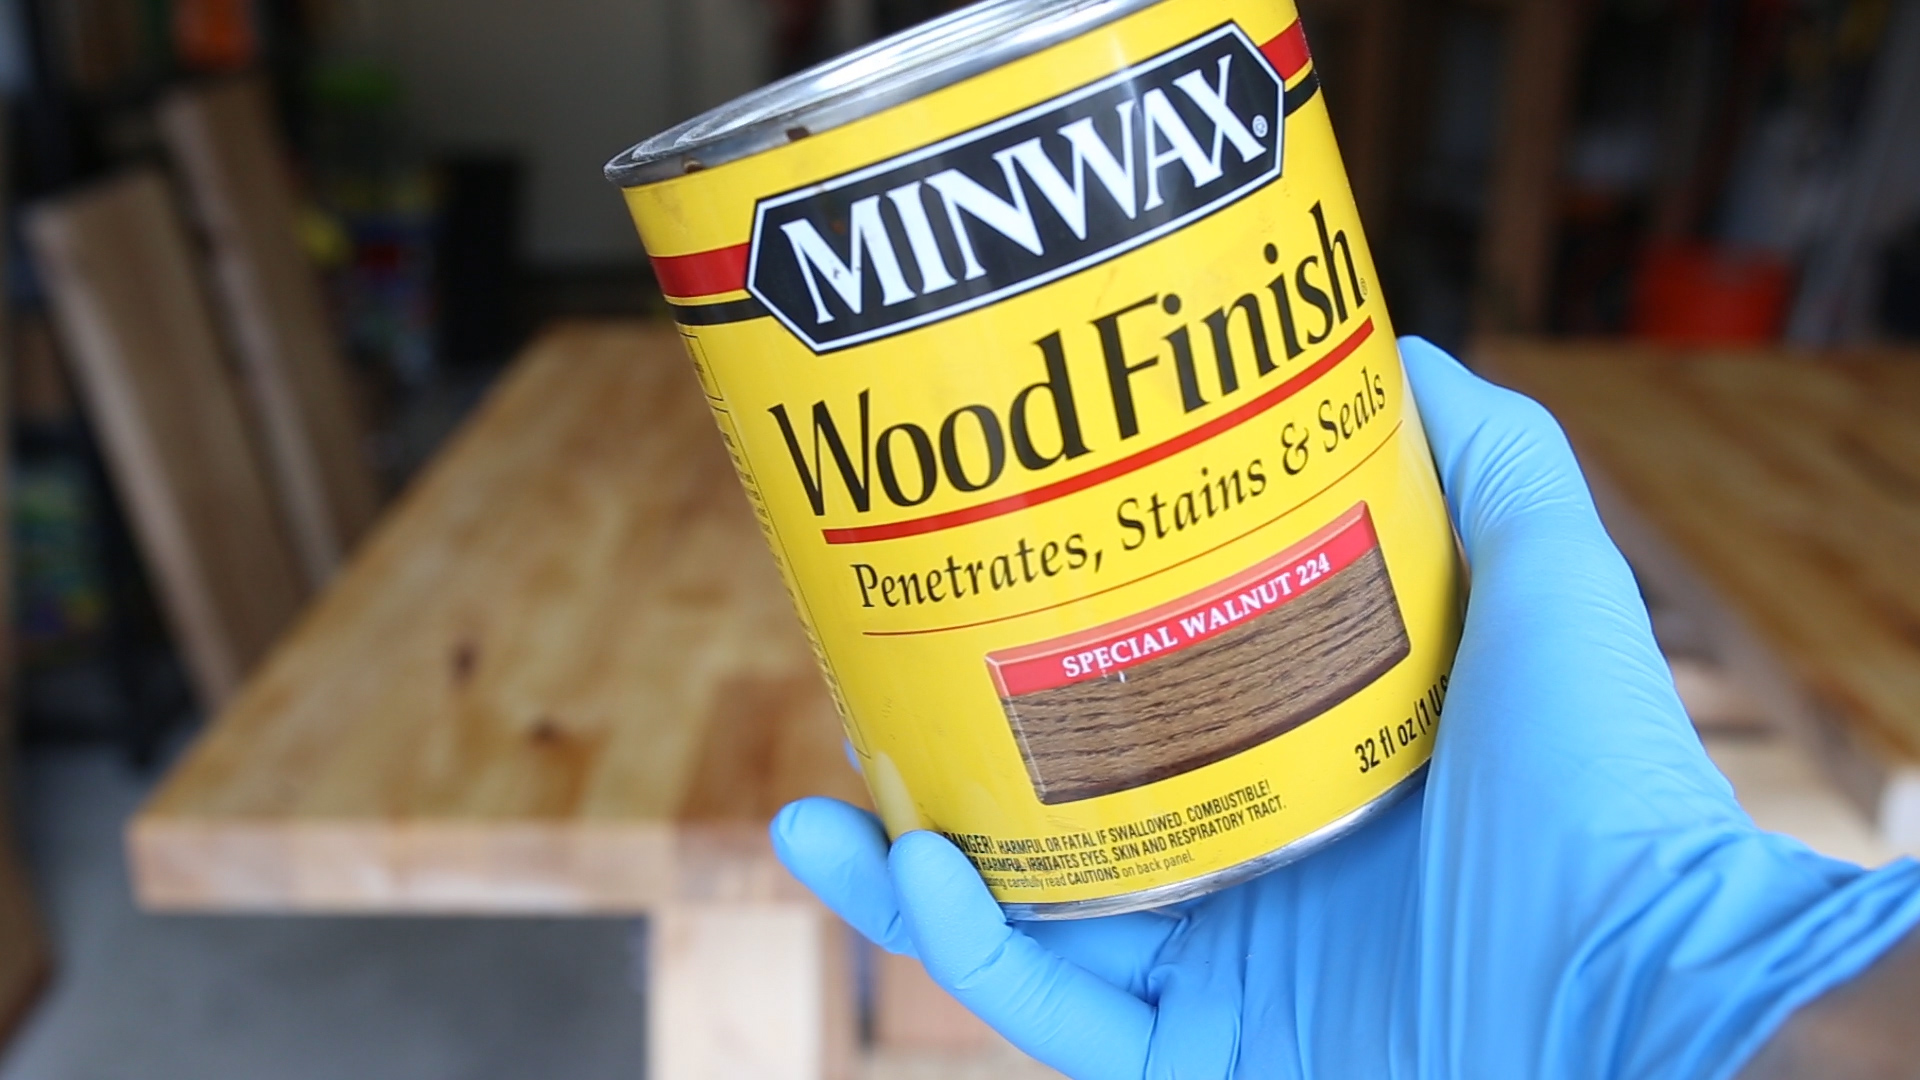
I chose a walnut stain for this project. The longer you leave it on, the darker your stain will be.


To protect these countertops (especially against water and moisture), I chose to seal them with several applications of Waterlox.
Update! I’ve had these countertops now for a few years and this sealing method has proven to be really great. It has held up well.
I started by sealing the bottoms and sides with two coats of the Waterlox Original, letting them dry for 24 hours in between coats. I started by using a paint pad but ultimately ditched that and just used a good quality paint brush for the tops.

The tops needed more protection than the bottom. I started on the tops by applying two coats of Waterlox Original, with 24 hours of drying in between. I also sanded each coat before applying the next with a piece of super fine steel wool.

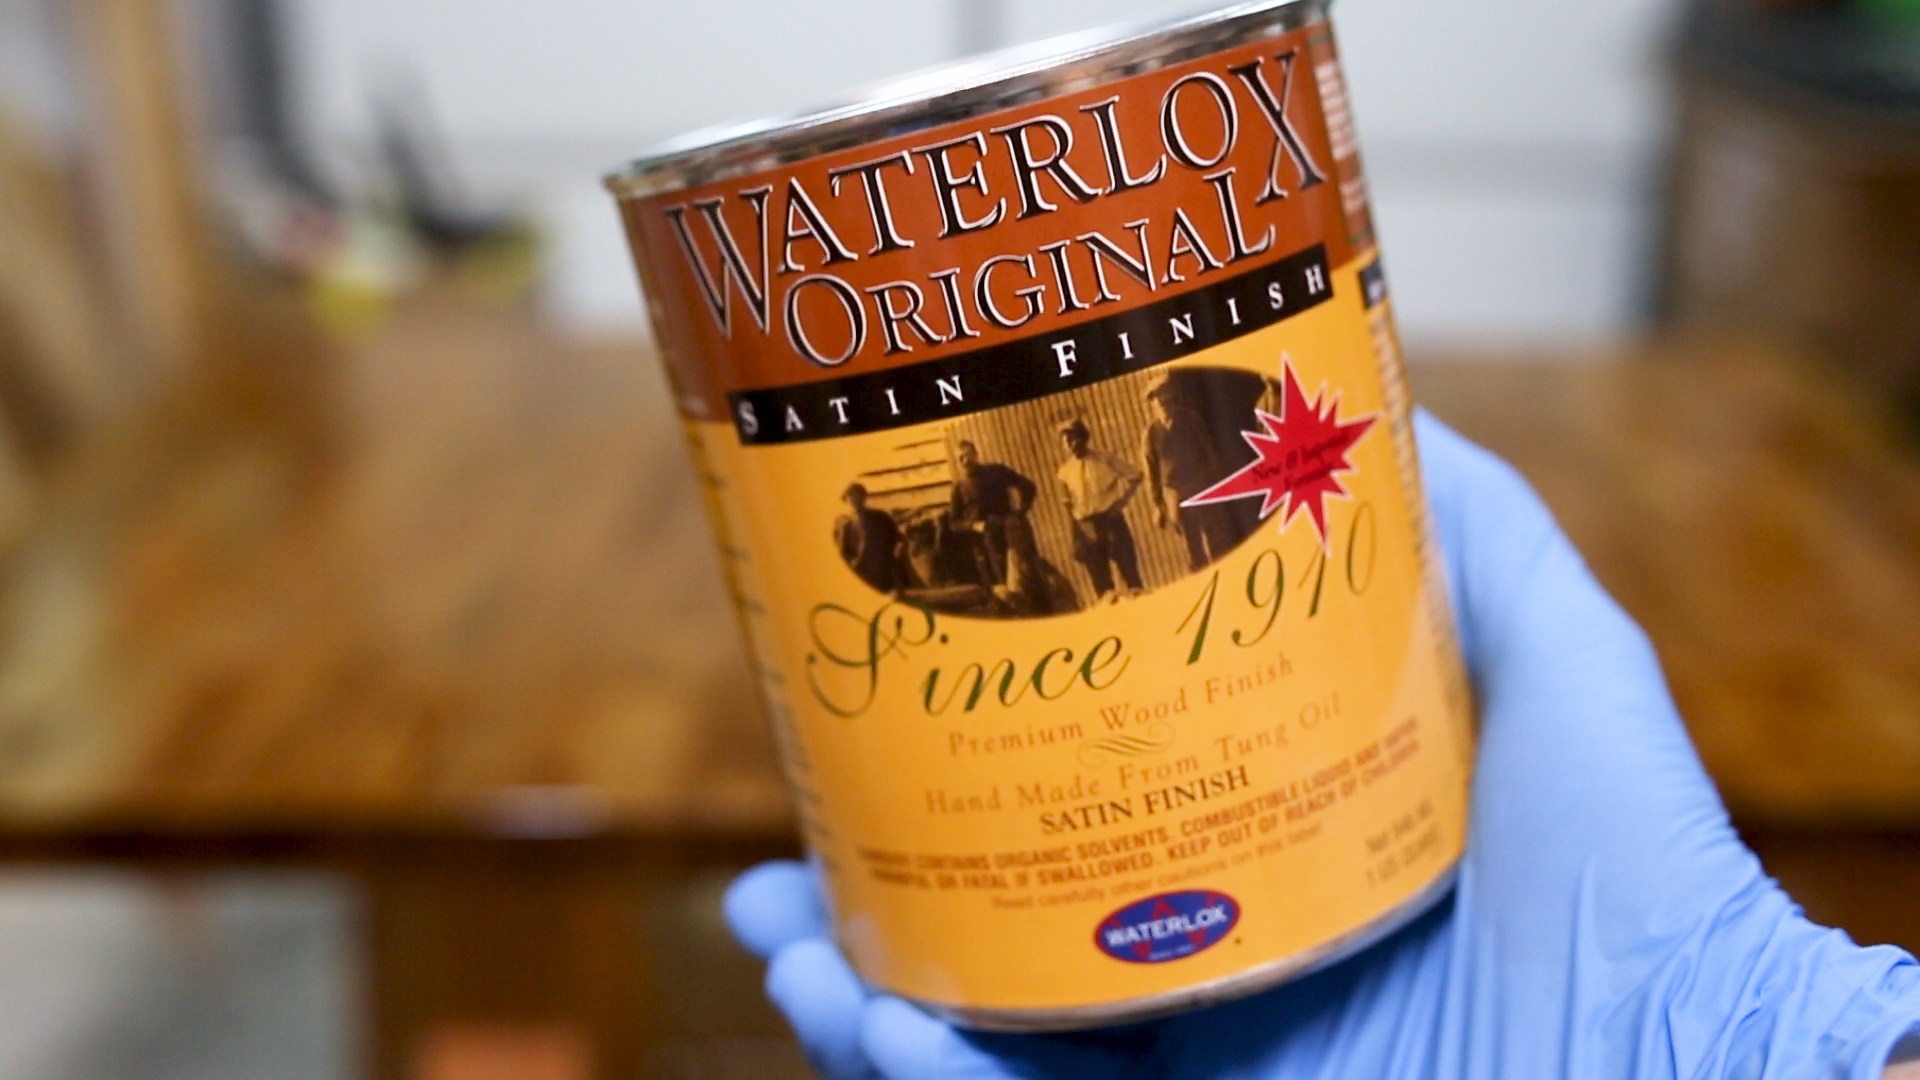
I wanted the countertops to have more of a matte finish, so I used a mixture of 50/50 Waterlox Original and Waterlox Satin Finish for the last two coats of sealing - for a total of 4 coats. Dont skimp on the coats. It’s worth the time to protect your counters (especially from moisture).

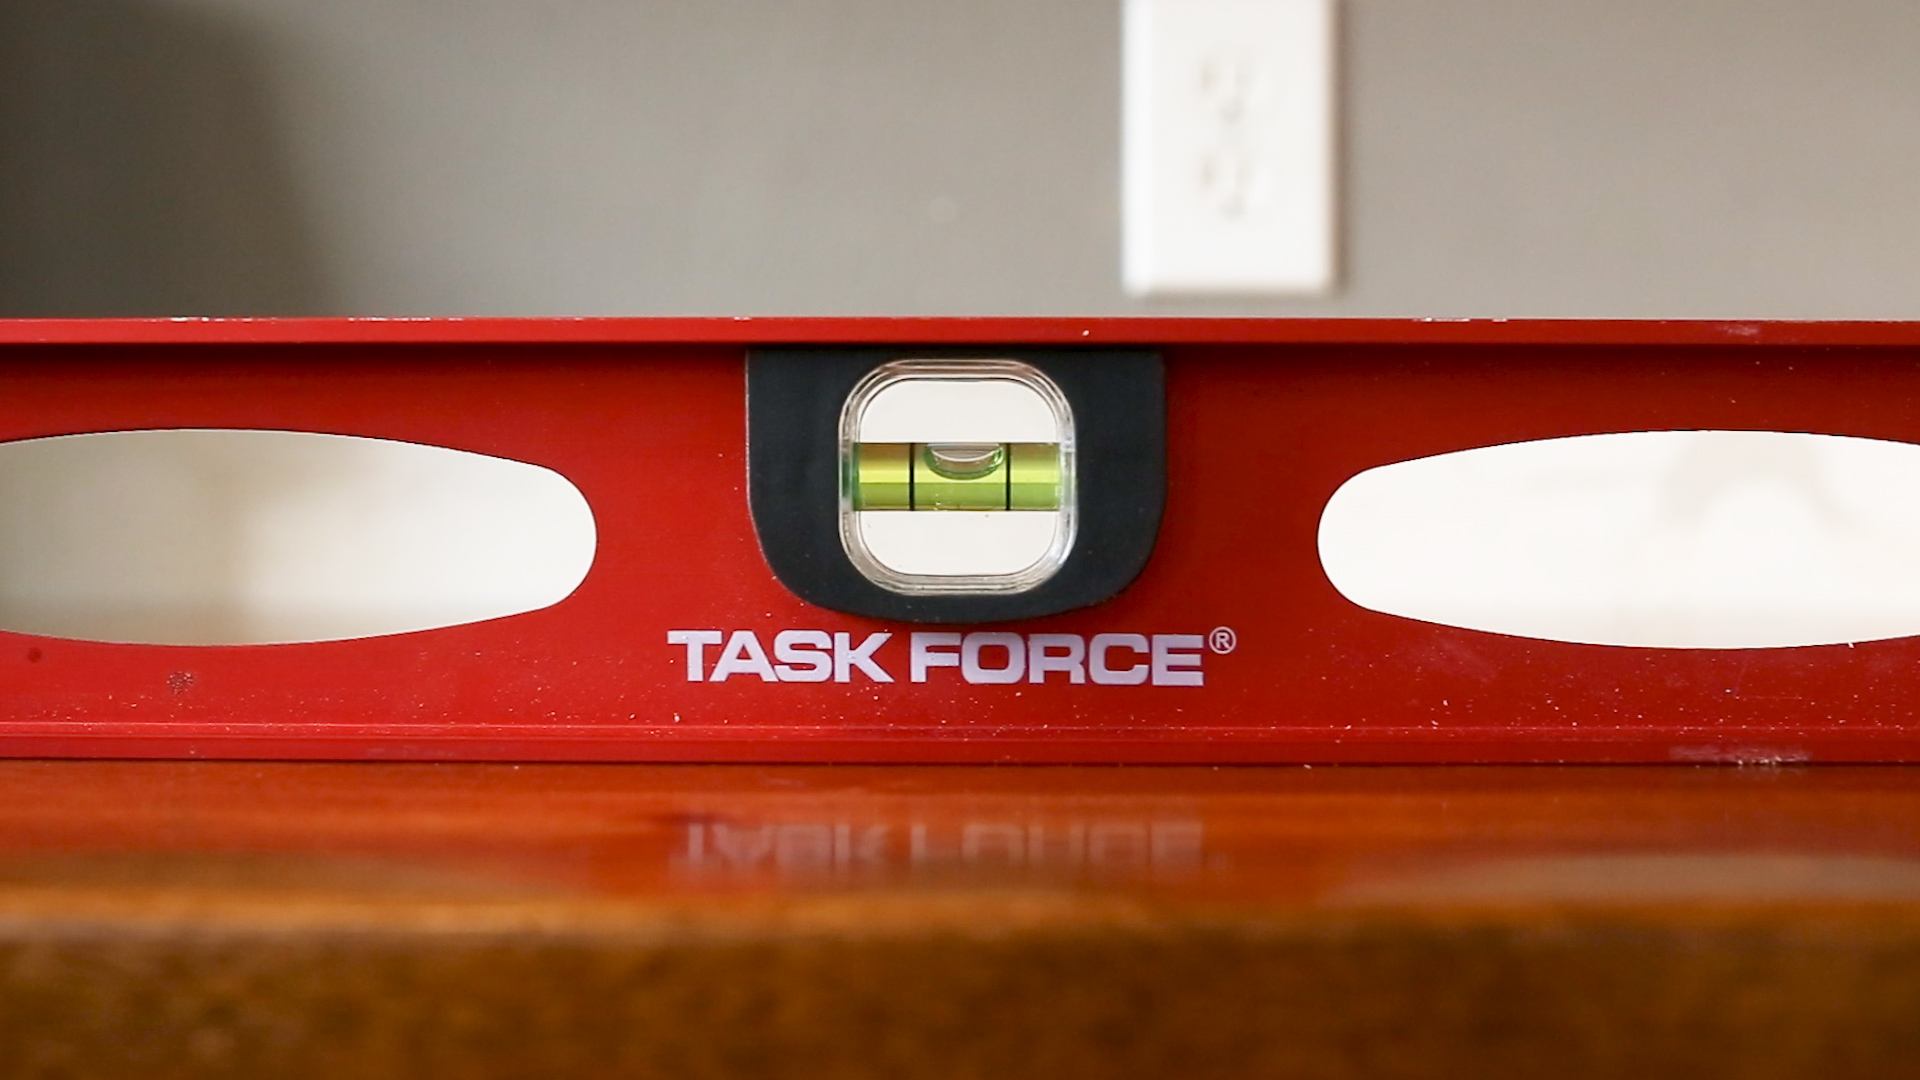
And then installation! I removed the old formica tops and slid the new ones in place. I was surprised at how easy this step was. I used shims to make the tops completely level.

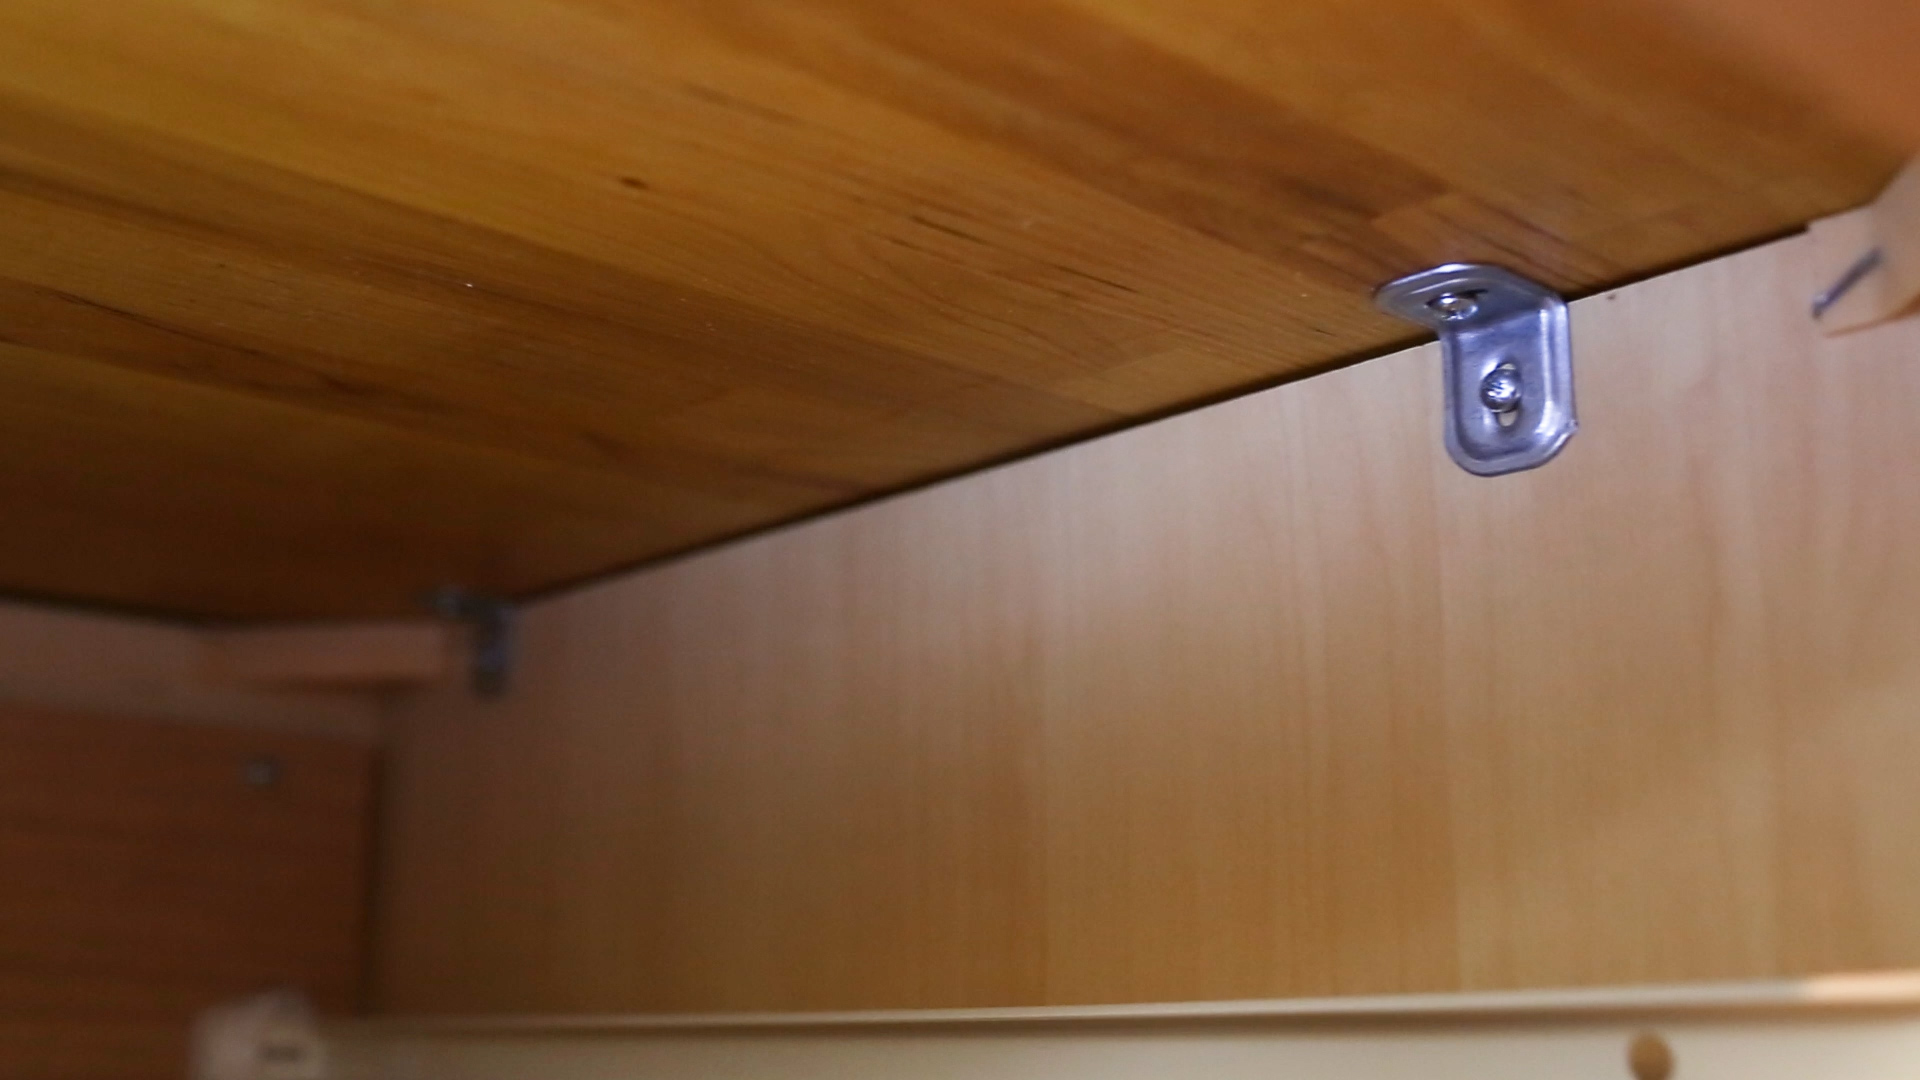
To secure them, Ikea conveniently provided some angle bracket hardware and screws. If your counters do not come with these, you can find them at most hardware stores. I pre-drilled the holes and then screwed one side to the cabinet base and then one side to the countertop.
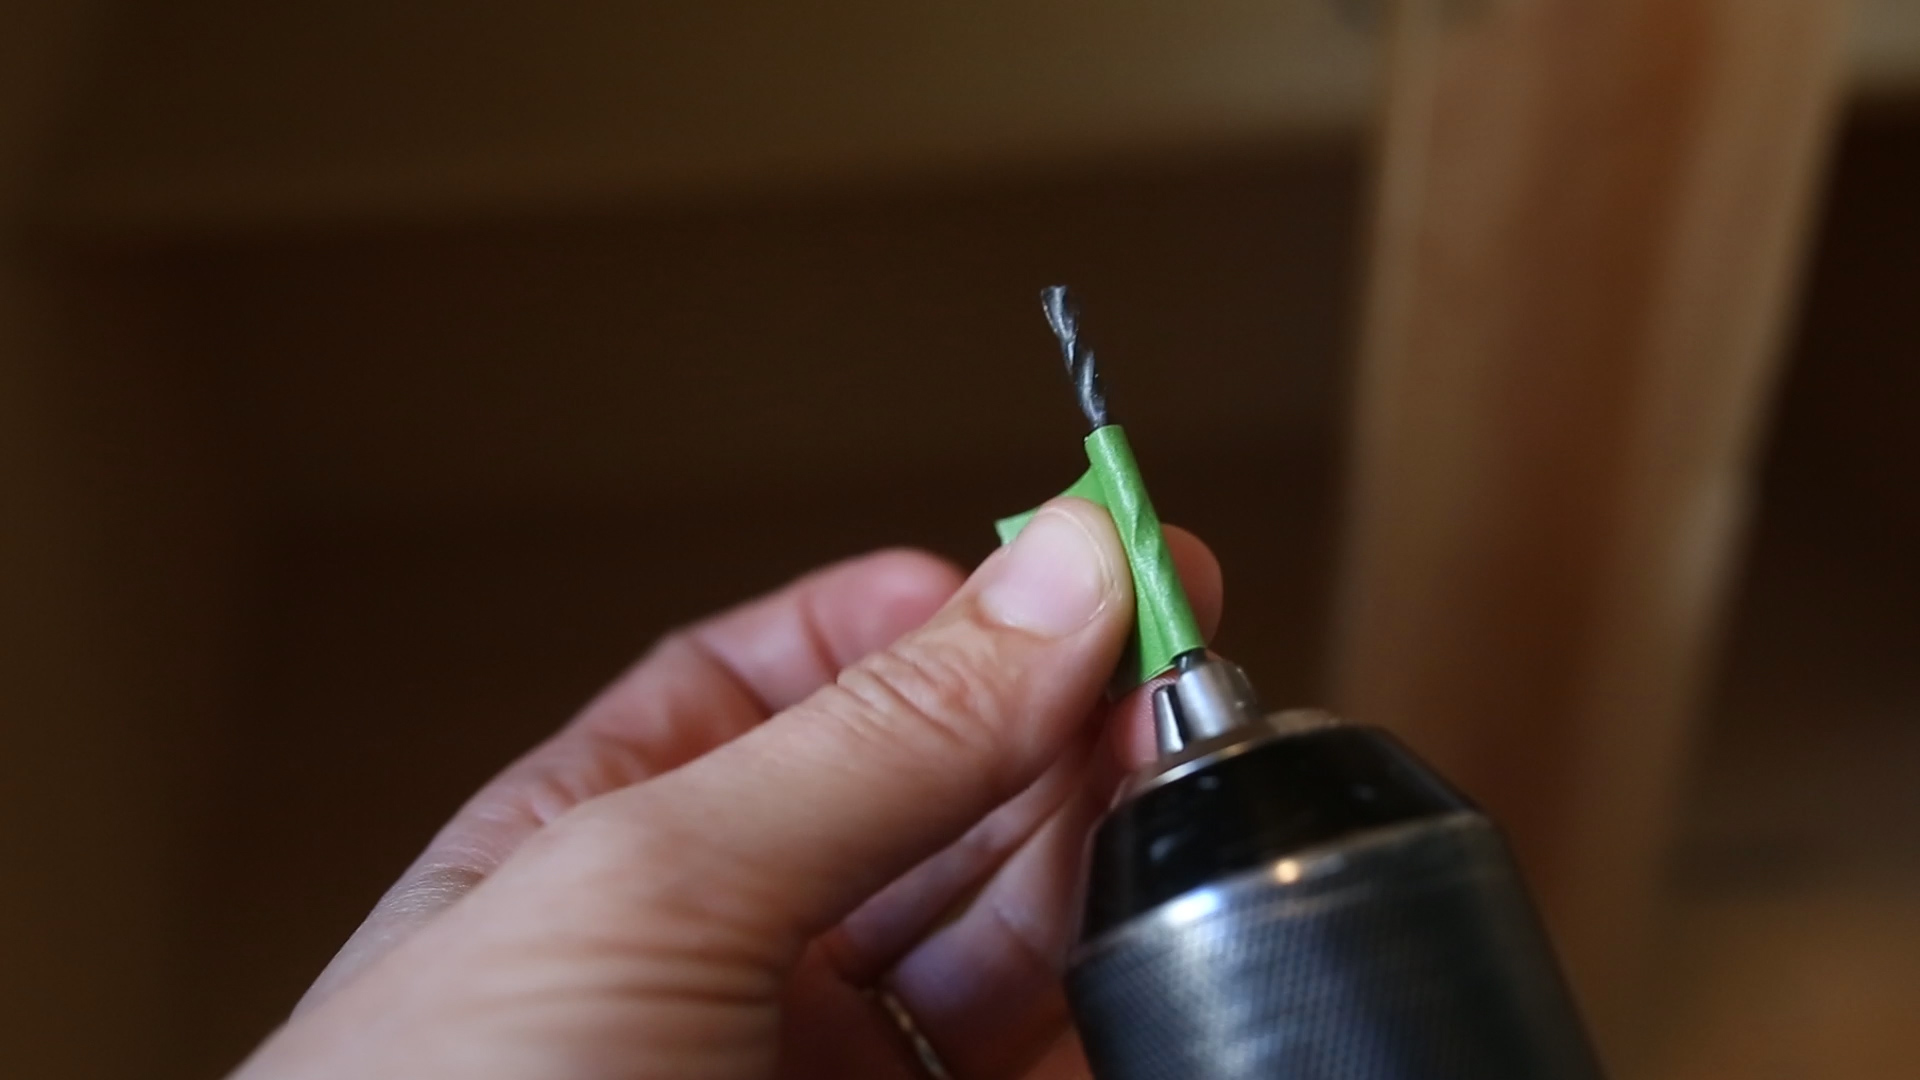
To make sure I didn't cut too deep, I used painters tape to make a depth guide on my drill bit.


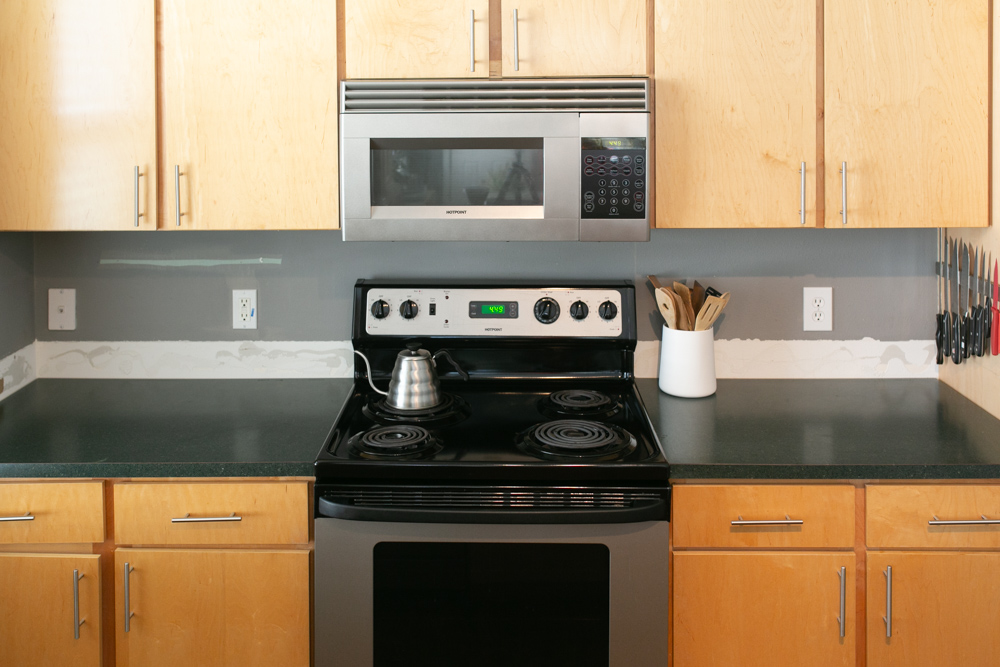
The last step to completing the countertops was to caulk the edges. We'd been wanting to add a backsplash, so I installed the tile backsplash before finishing with caulking the seams. And with that, the countertops were complete!
Here's the before and after. New countertops, backsplash and appliances. Such an improvement!

For more detailed instructions on the countertops, be sure and watch the video. I'd love to see pics of your countertops if you decide to make your own! You can find me on Instagram @makergray
If you liked this project and want to stay up to date with what I’m building, then be sure to sign up for my emailed newsletter and you’ll get an email when I post something new. See you soon!