
DIY MacBook Vertical Dock
Today I’m going to show you how I made a metal and wood MacBook dock. It holds my laptop vertically when I plug it into my desk monitor. Docking it minimizes the footprint on my desk and transforms my computer from a laptop to a desktop when it is closed and plugged into my display. Looks so clean, too!
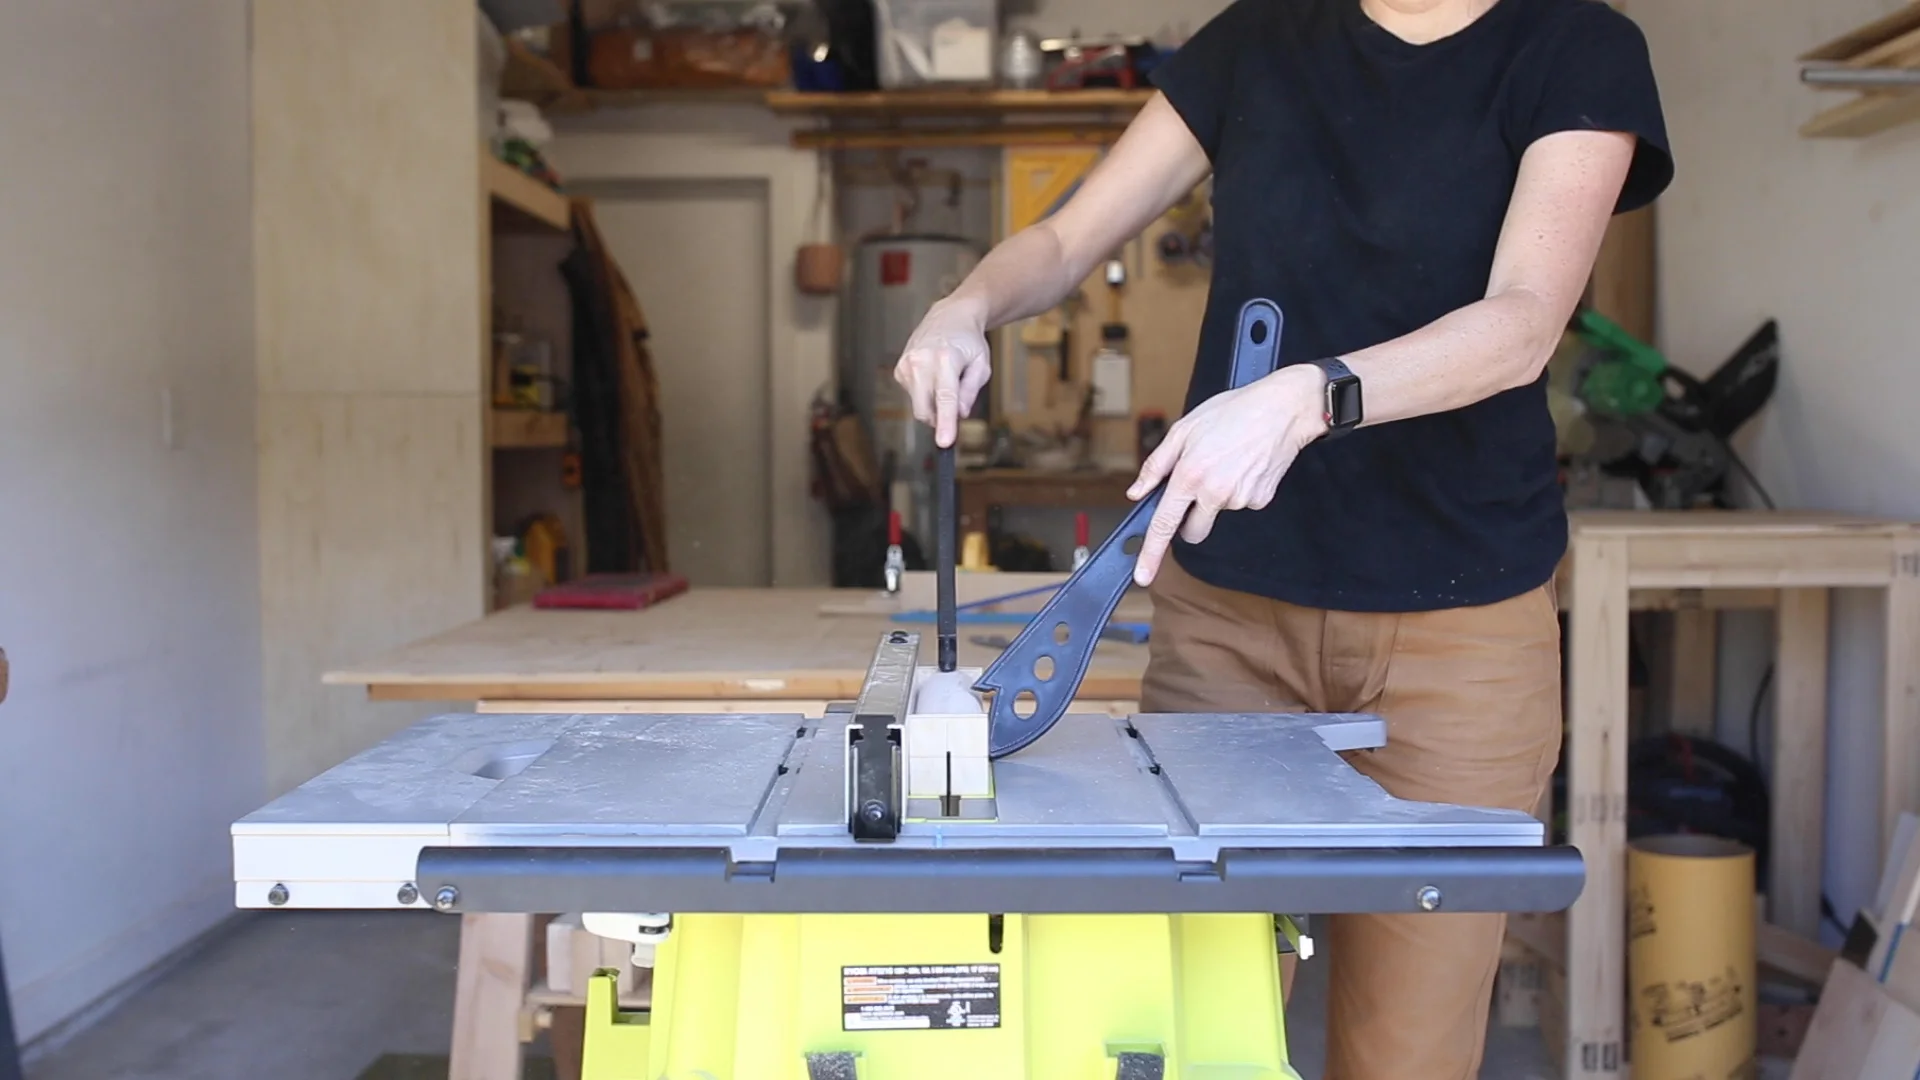
Check out the video above to see how I did it.
Materials and Tools I Used:
3/4” Plywood Scraps
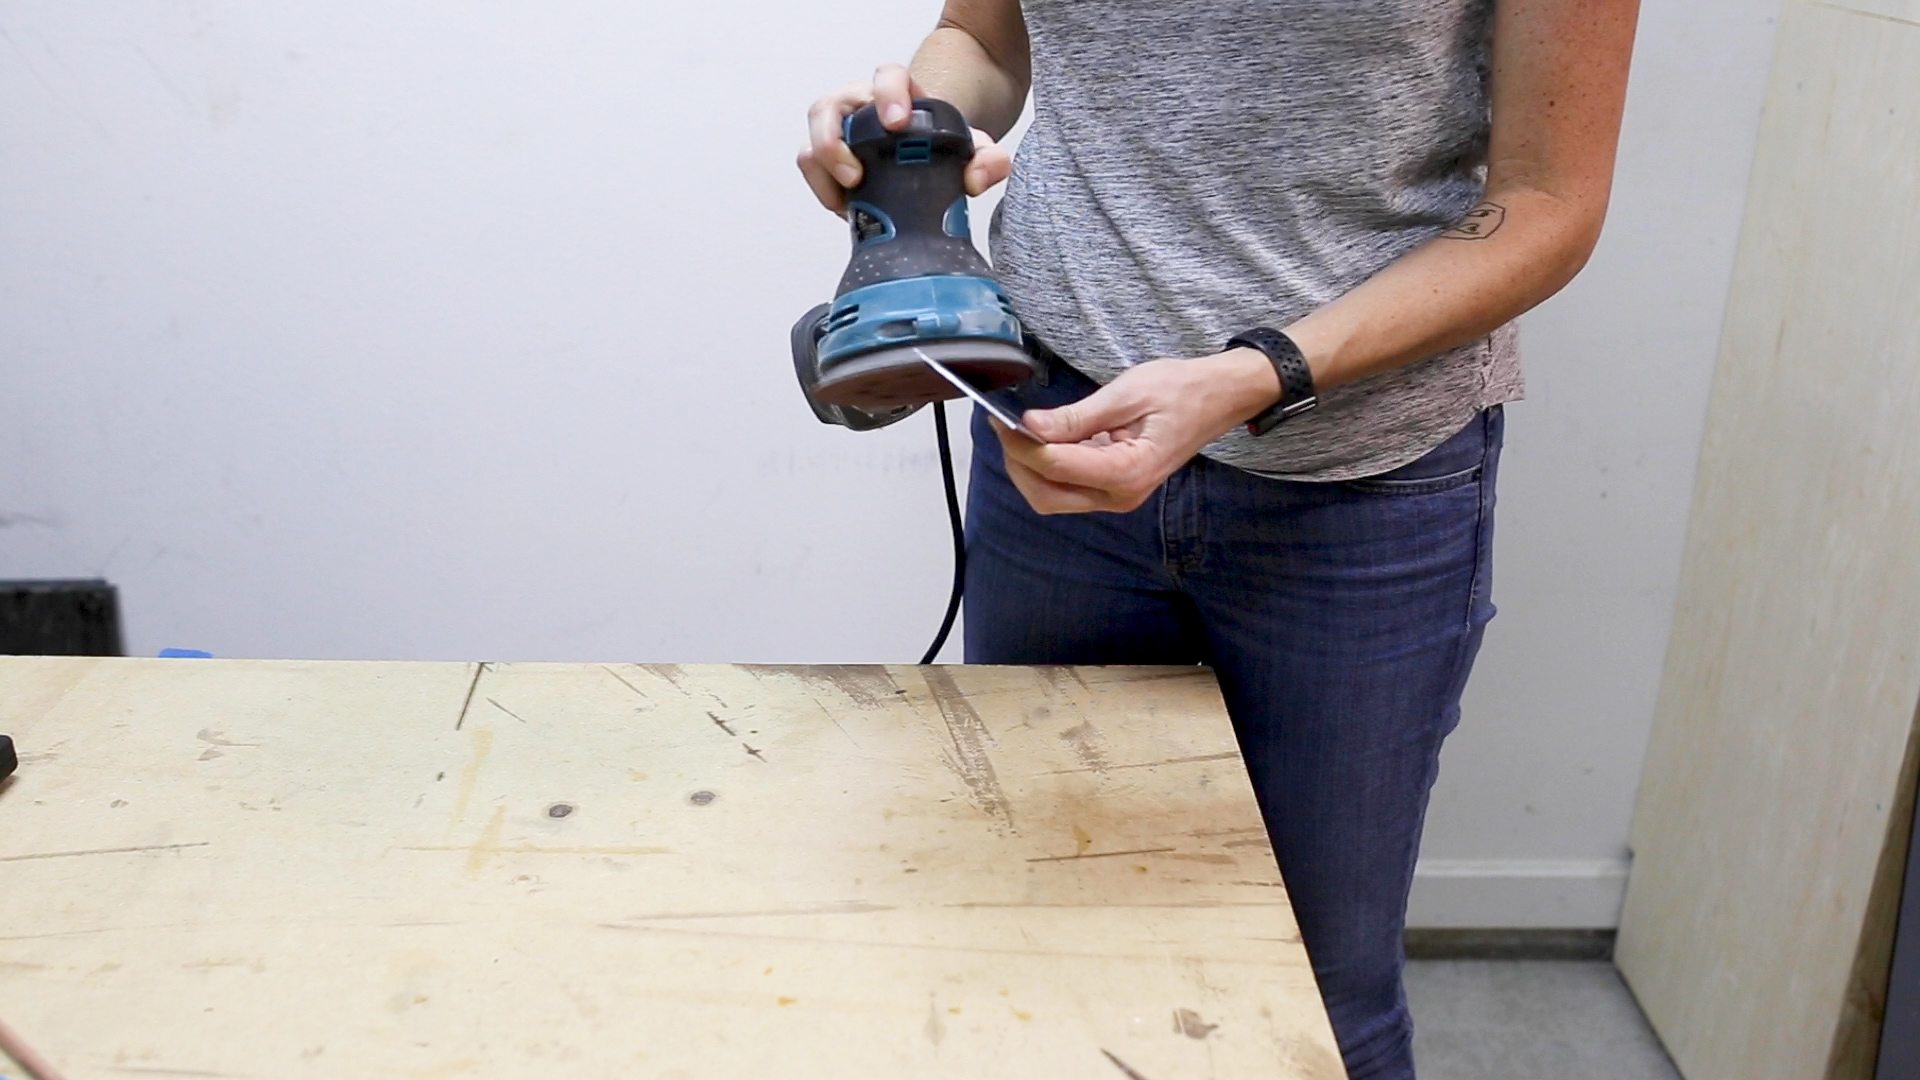
Acetone
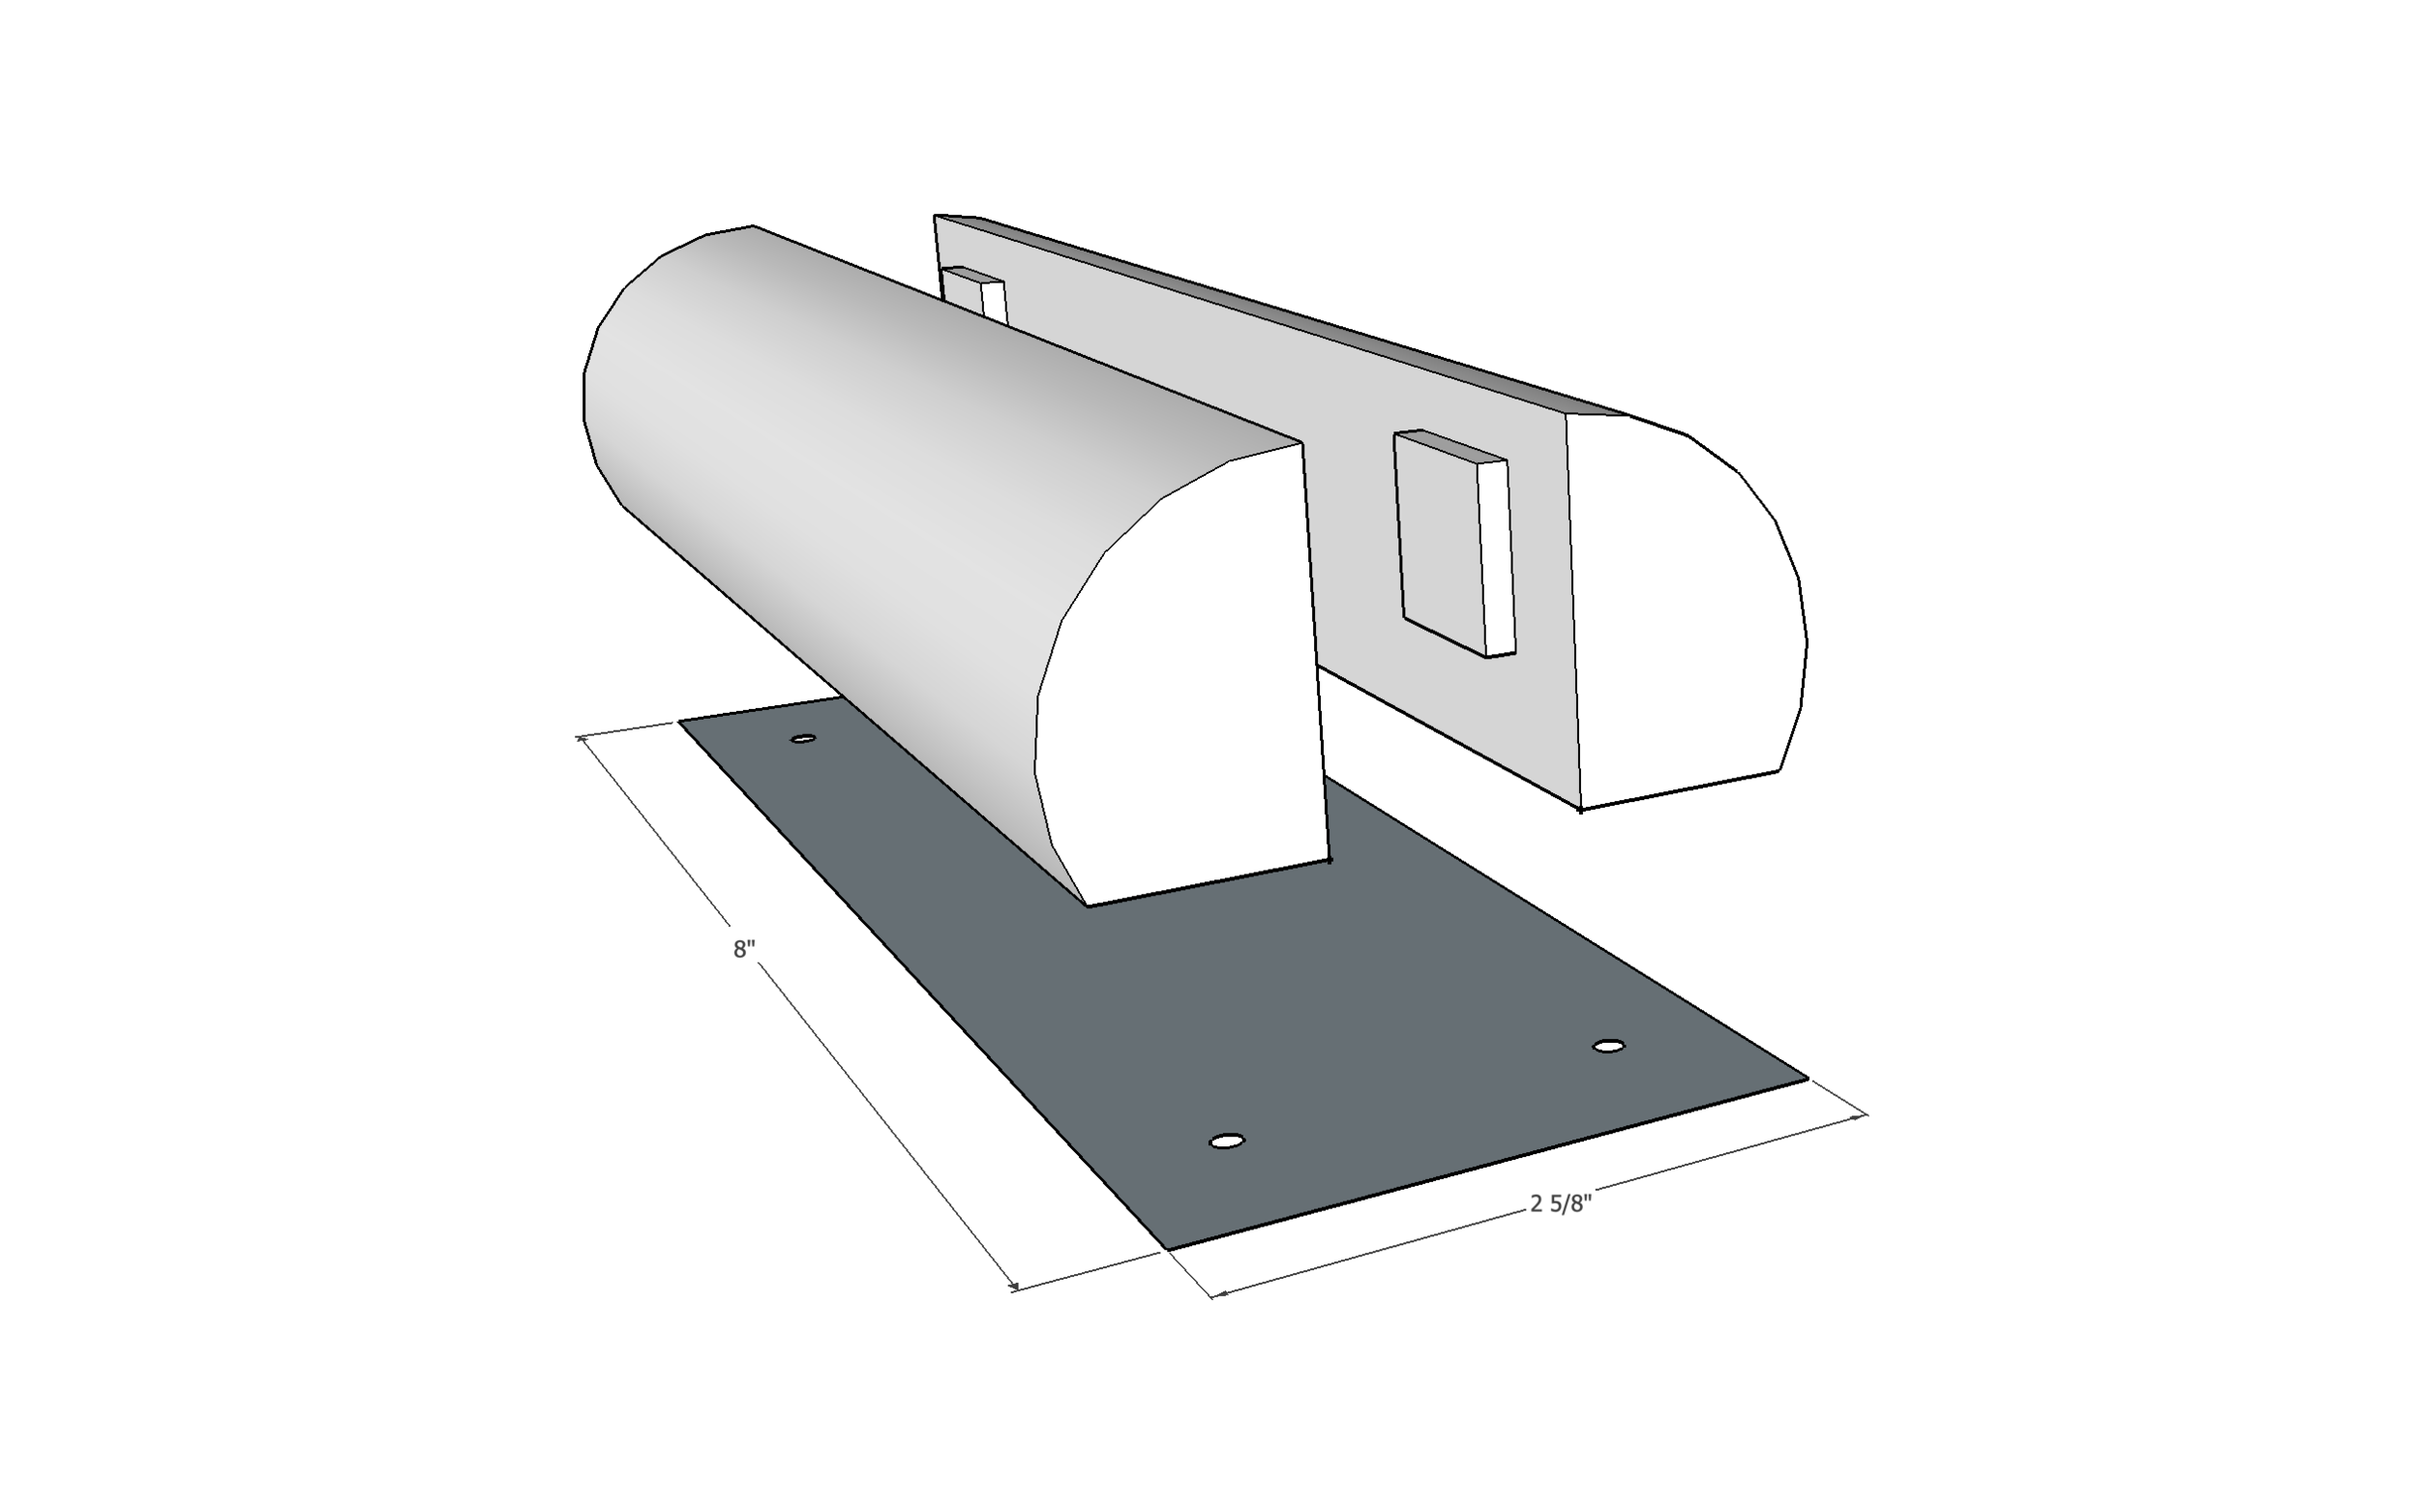
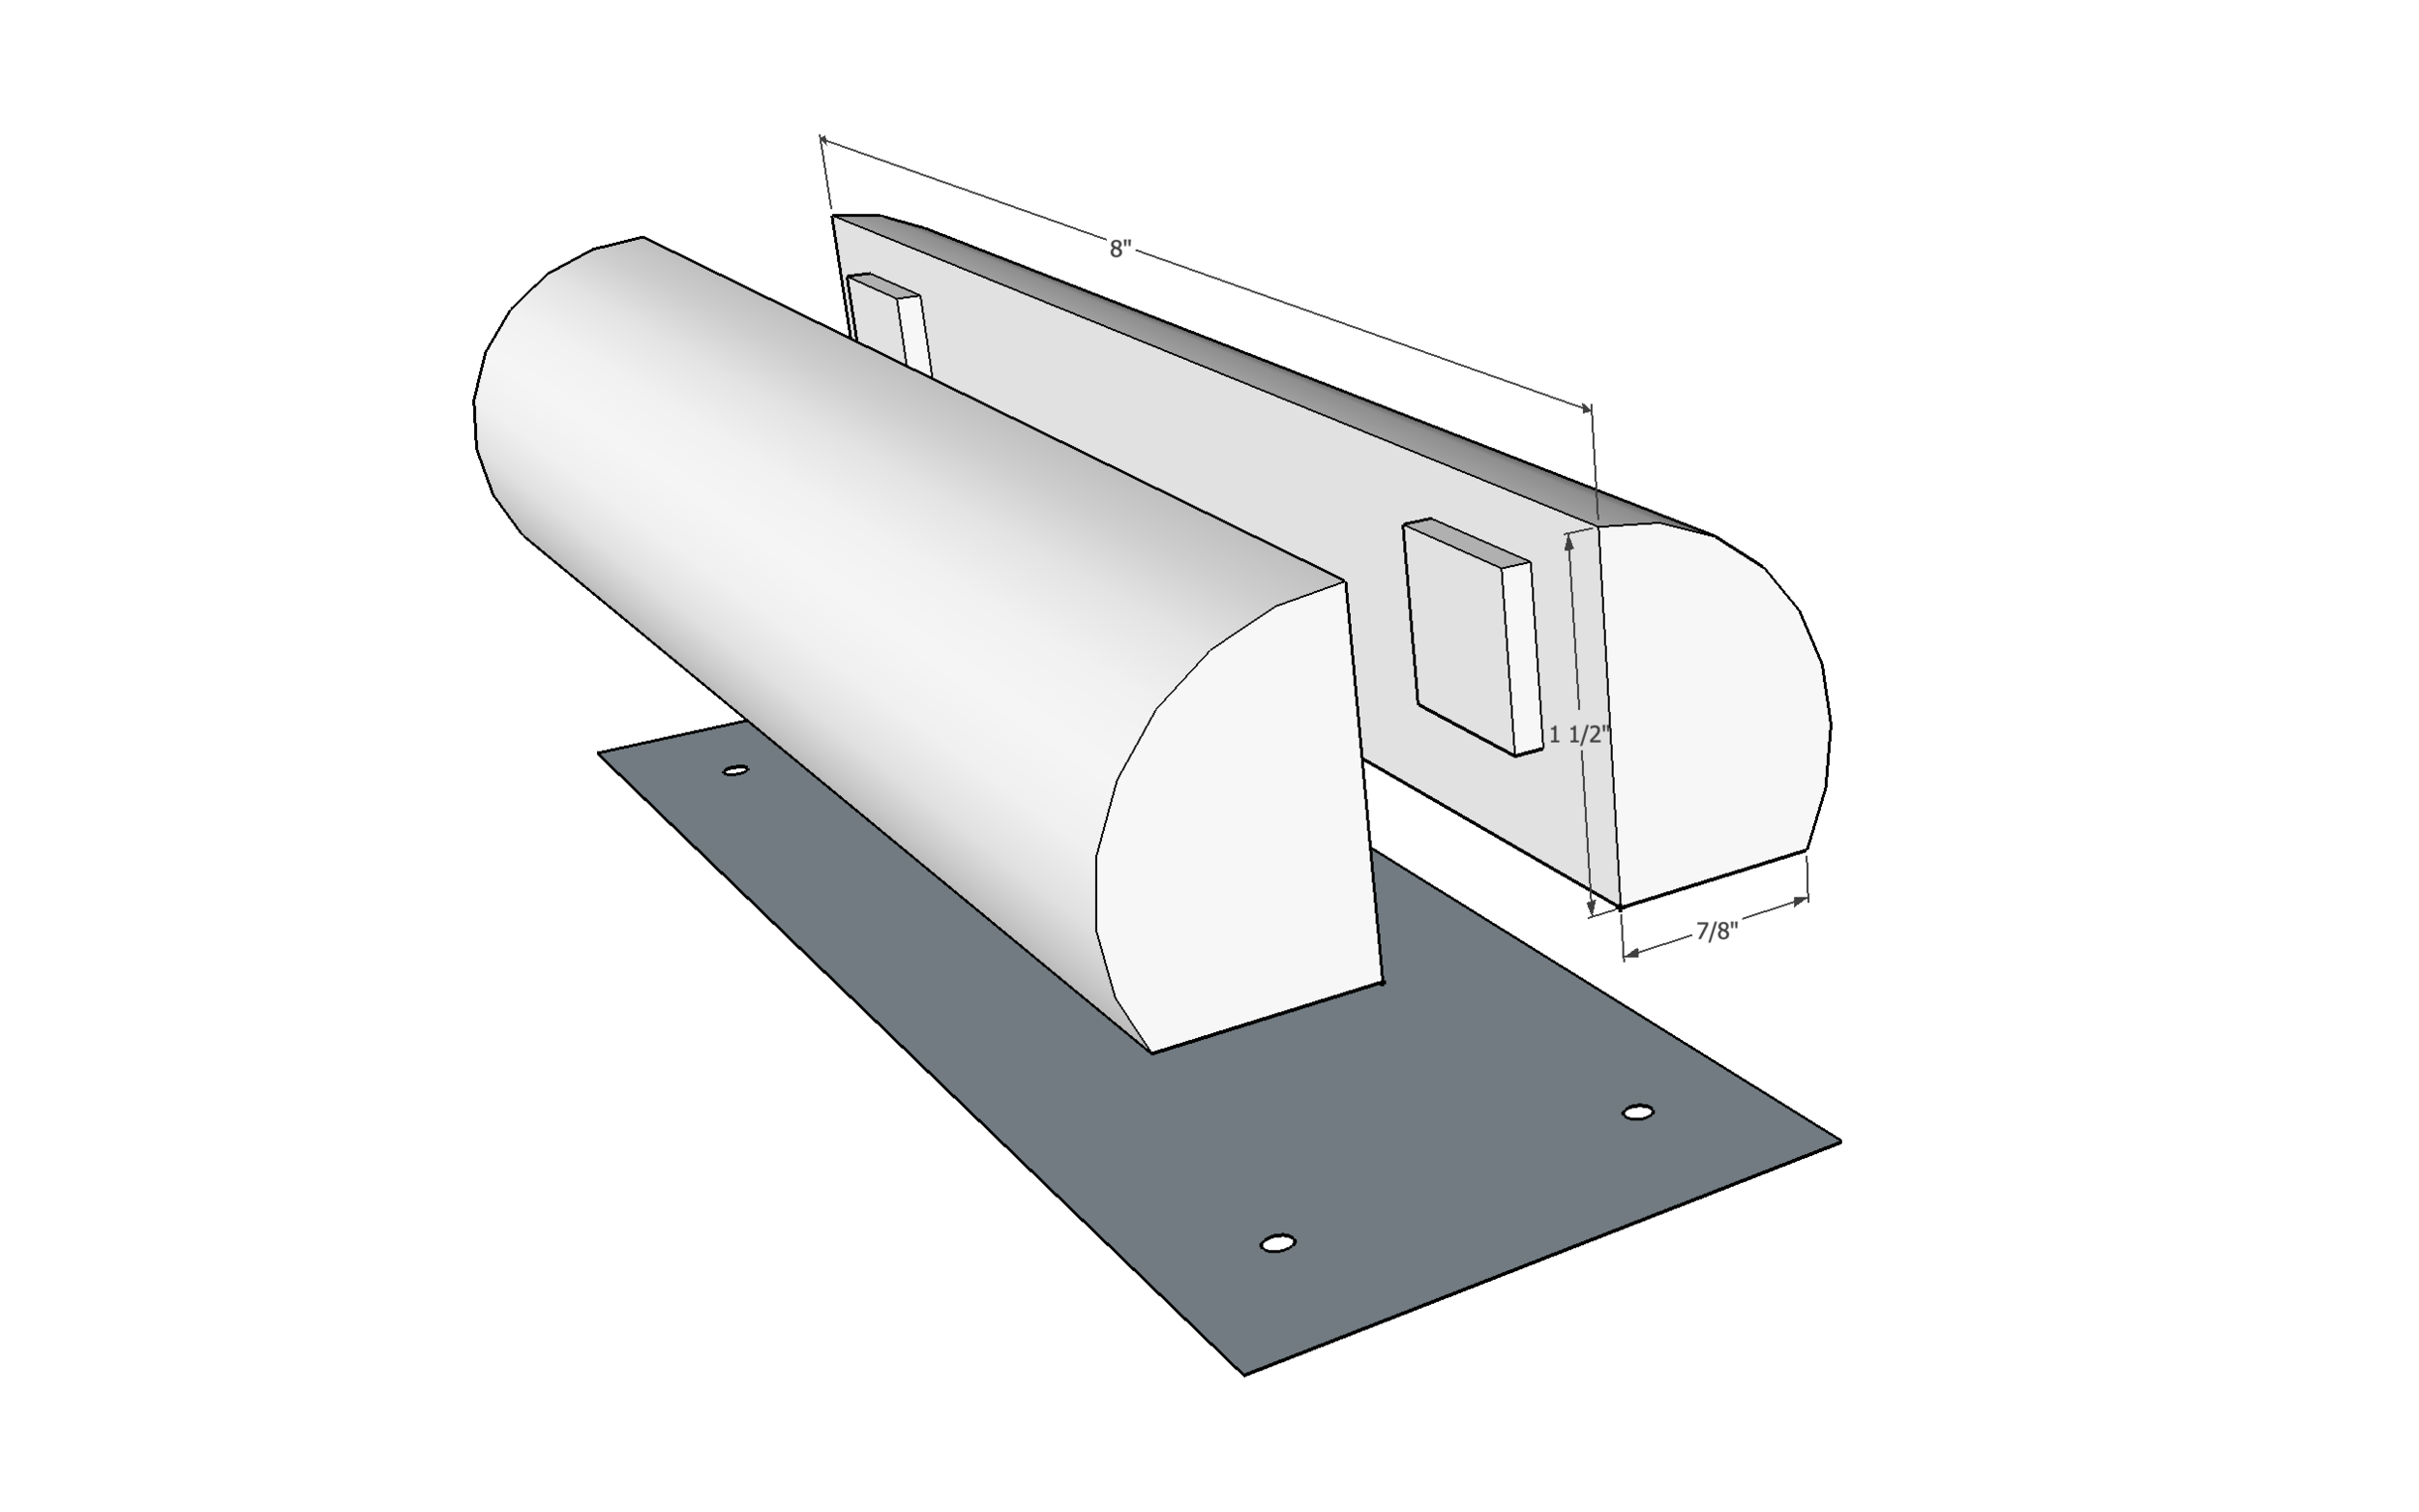
Here are some graphics of the dock’s measurements, deconstructed for better view.
The metal bottom is 8” x 2 5/8”
The wooden frame is 8” long, 1.5” tall, 7/8” deep
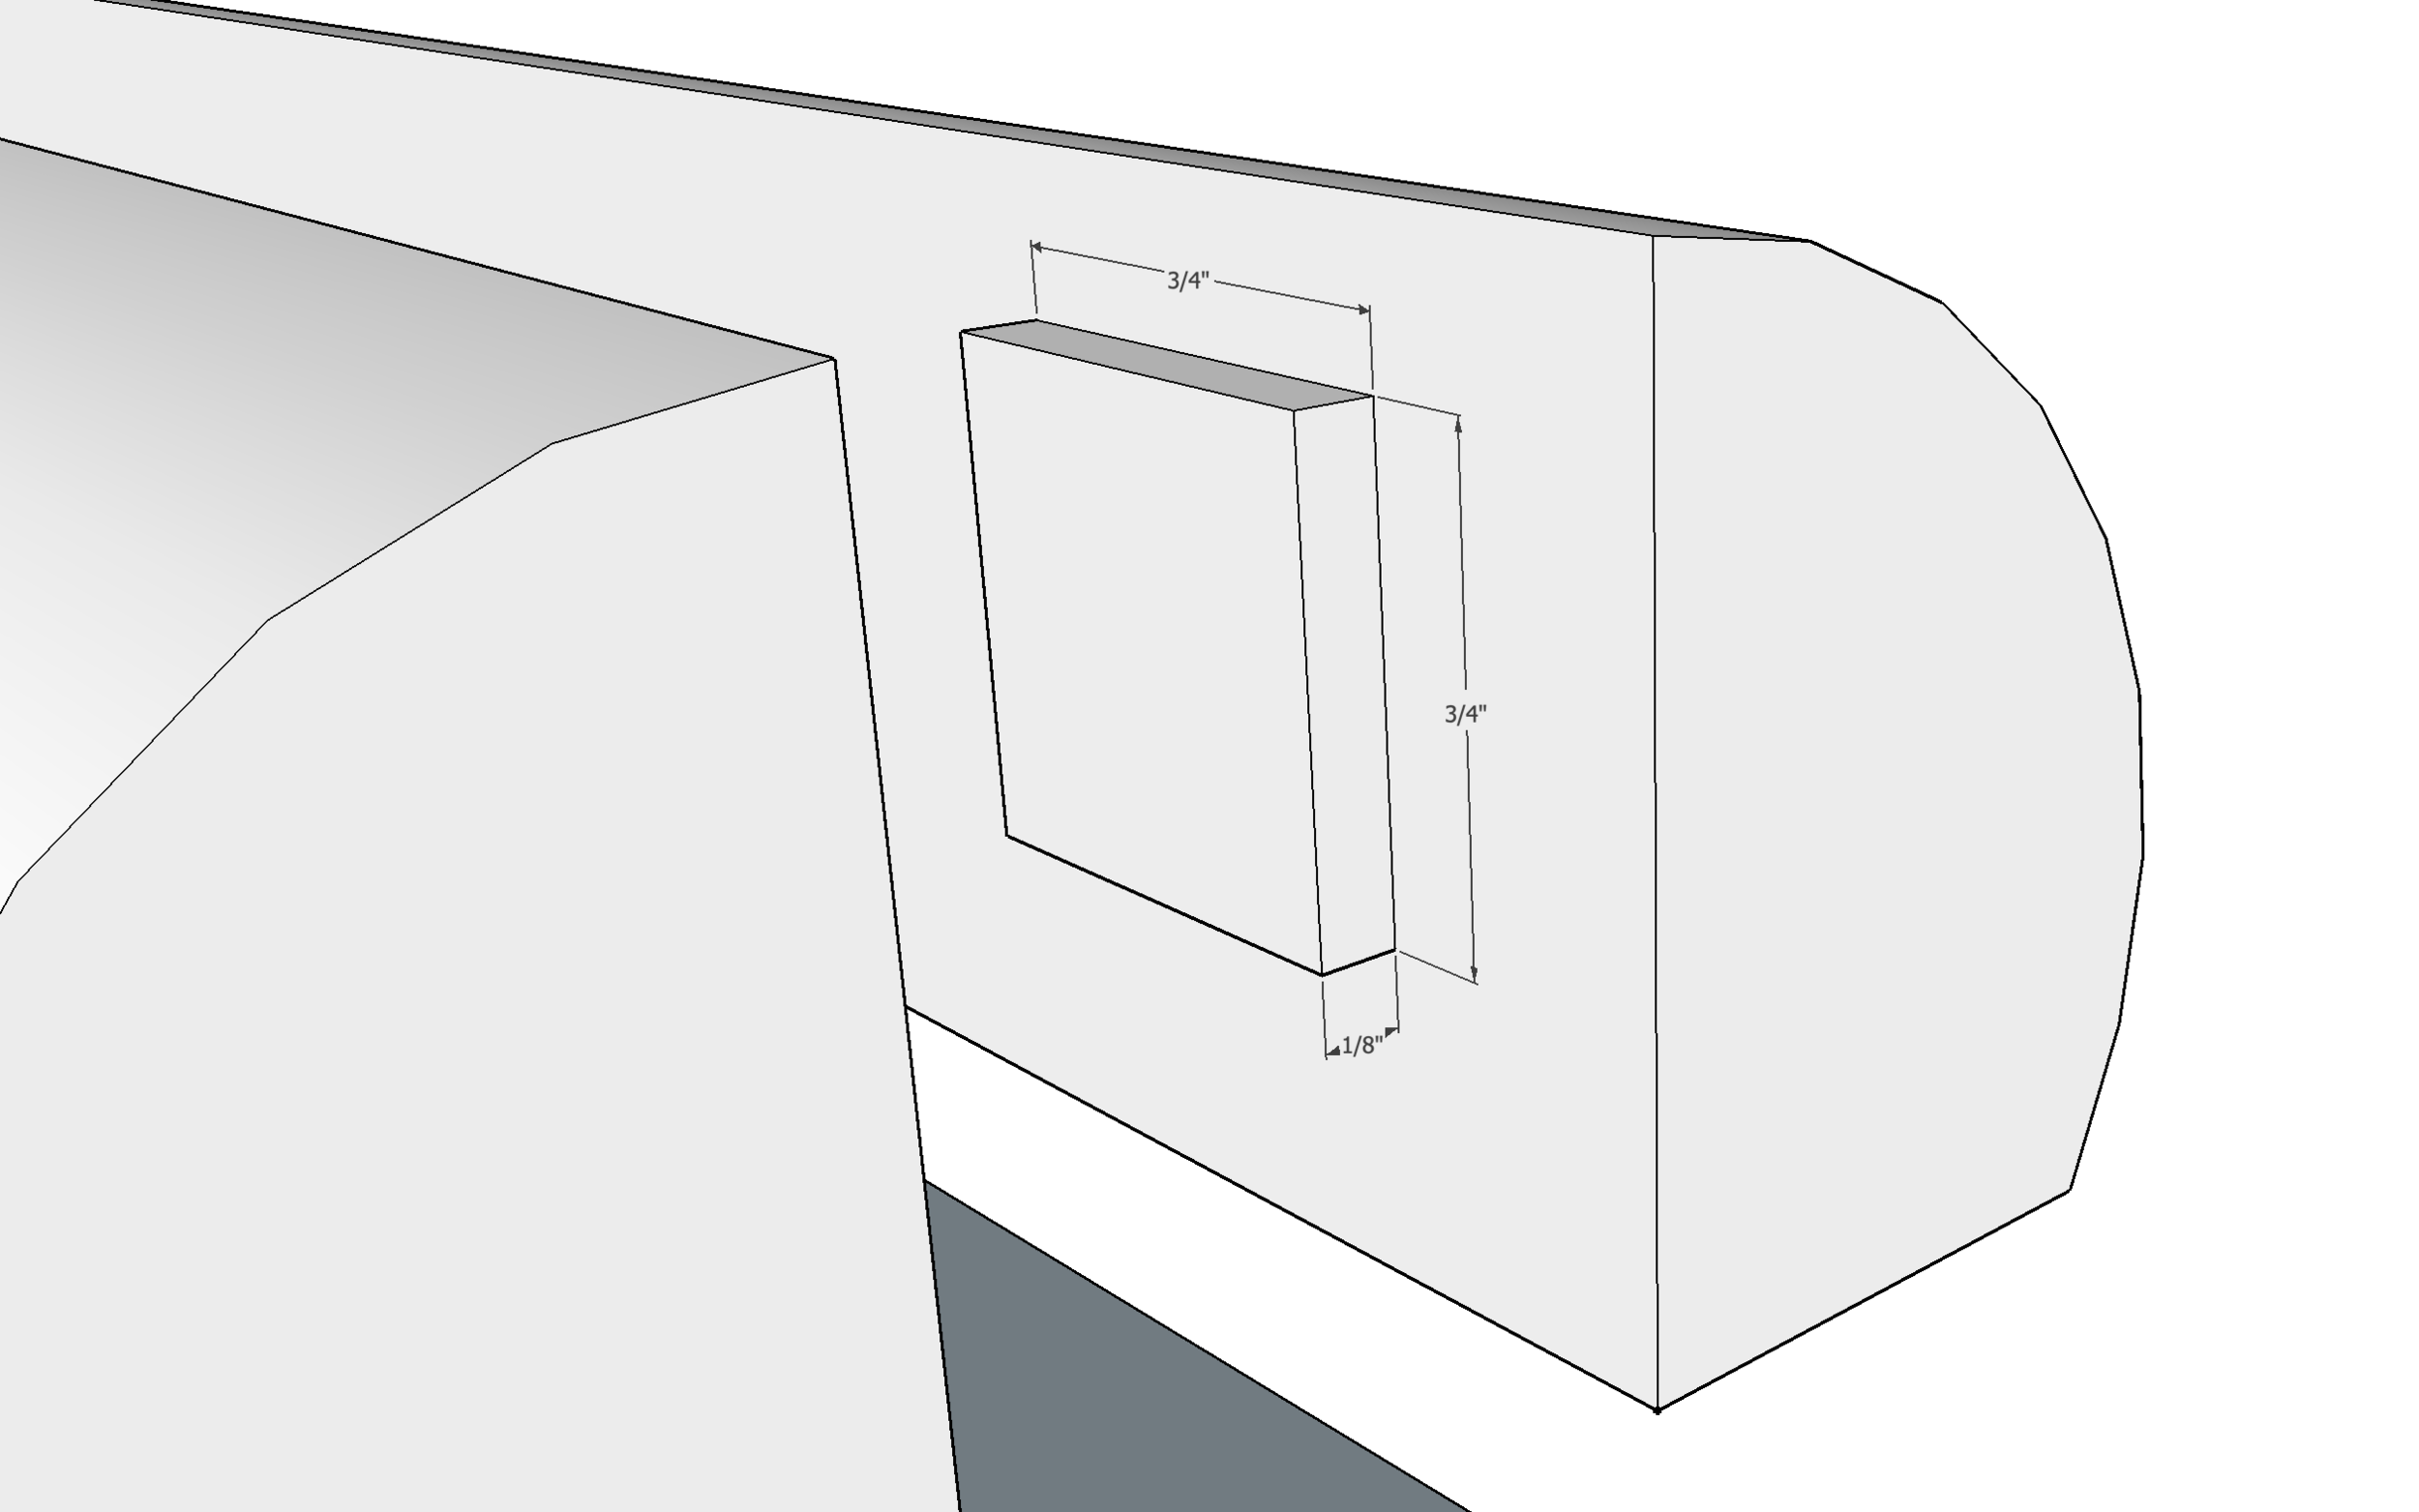
The square tabs are 3/4” square and 1/8” deep
** This dock is made to fit my 15” 2017 MacBook Pro** (but can easily be adjusted for other sizes)
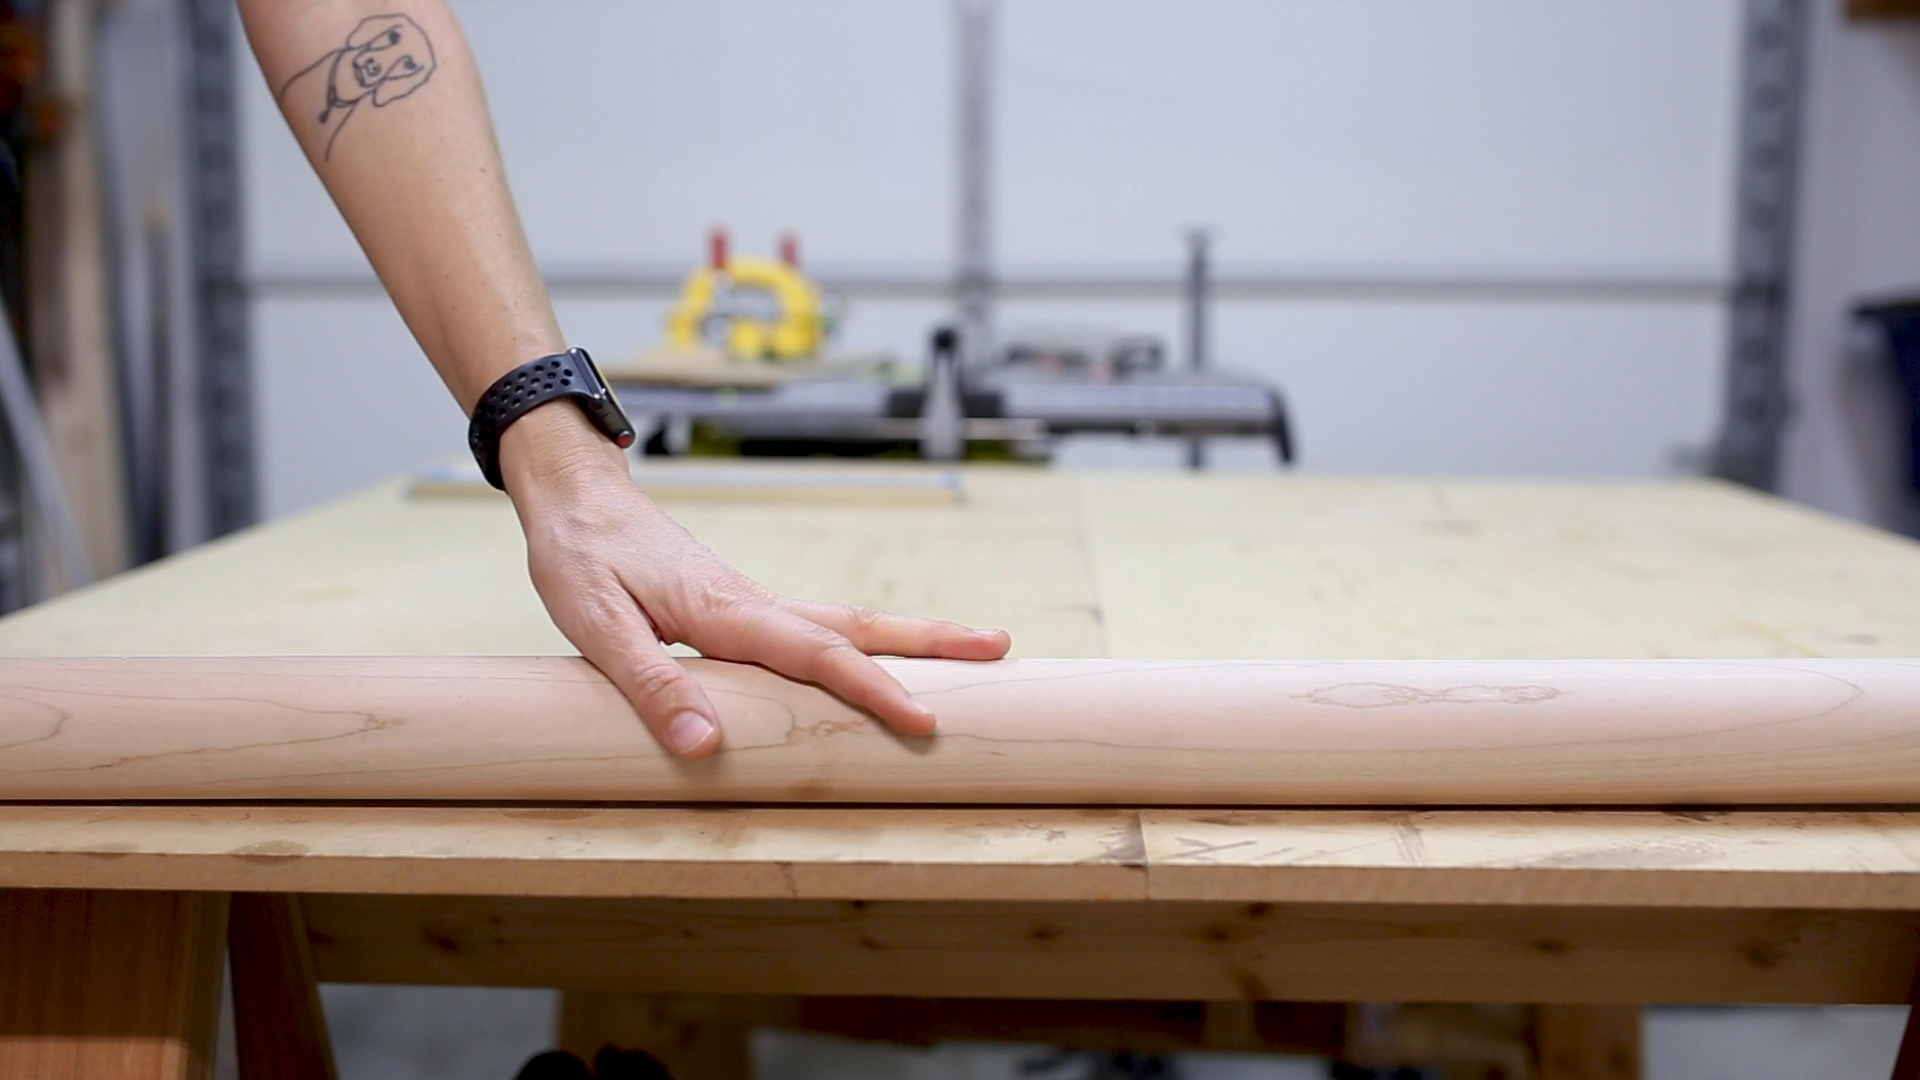
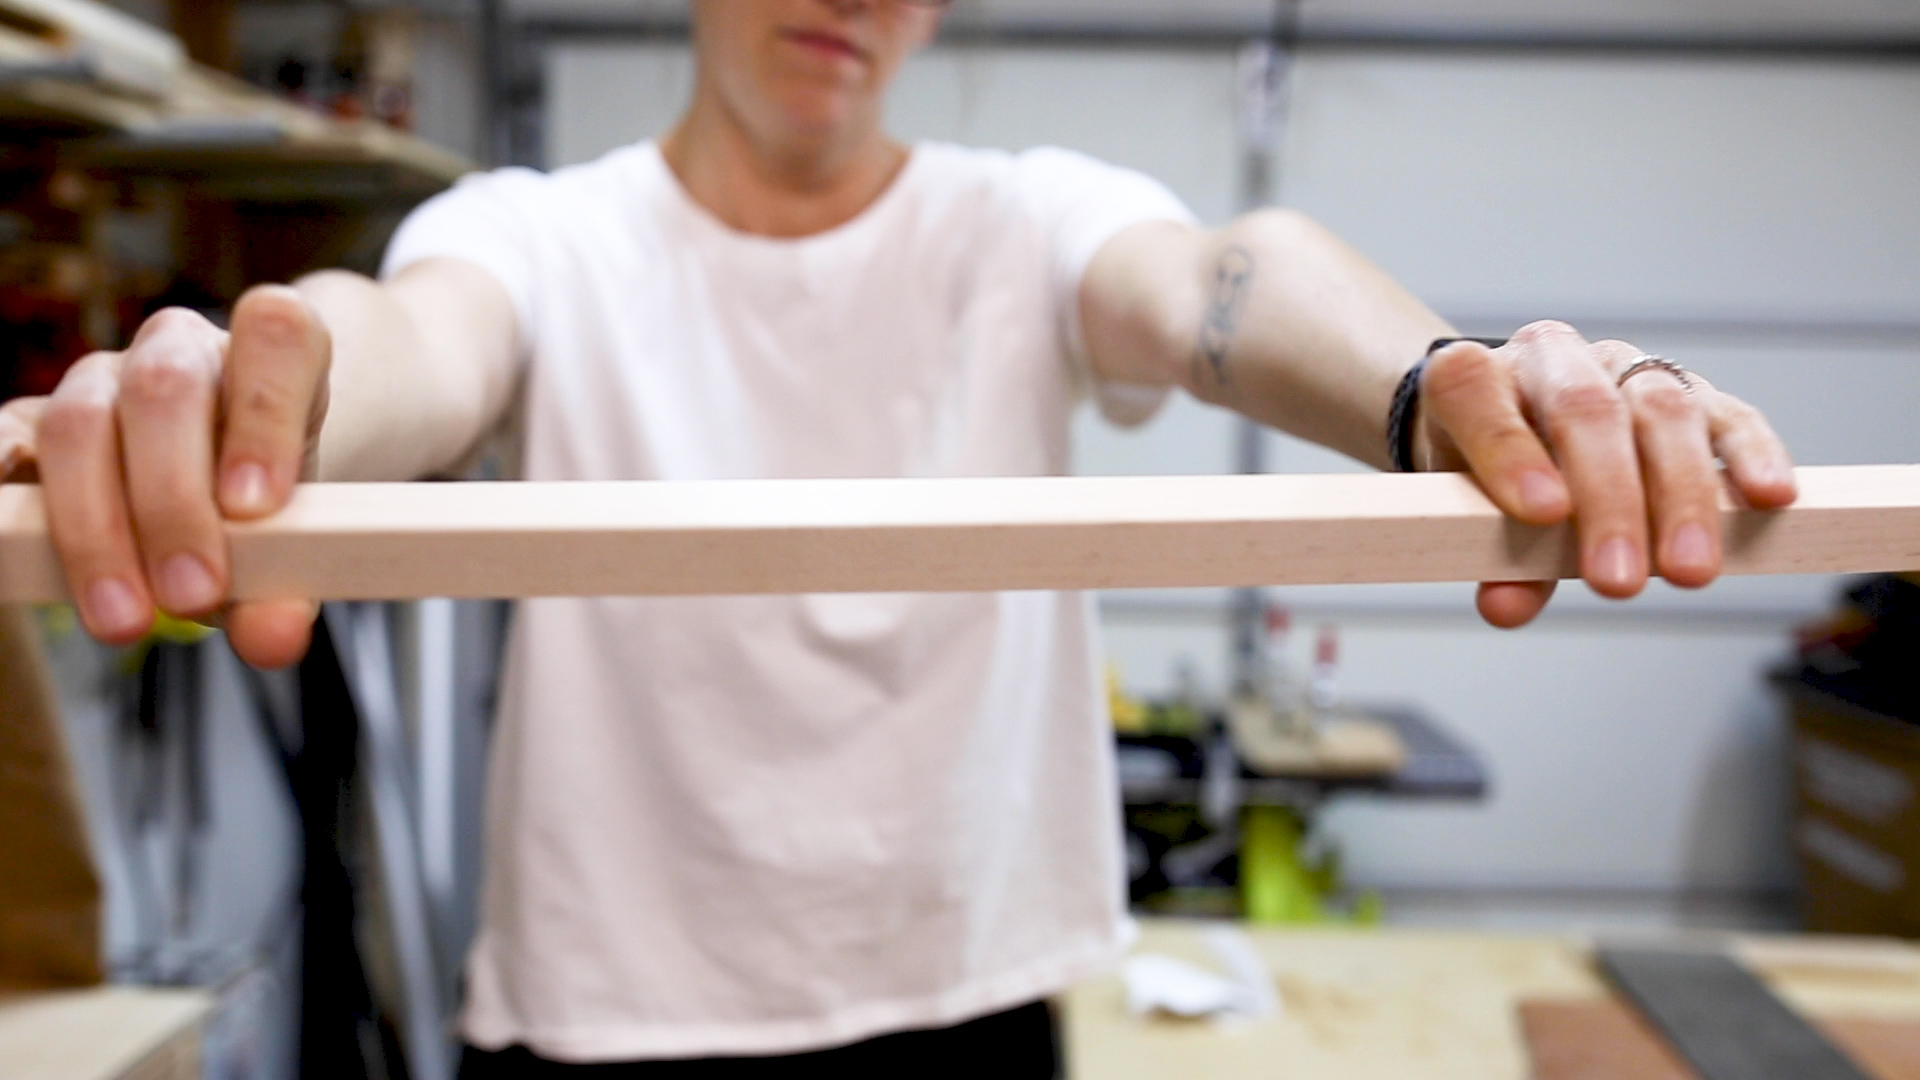
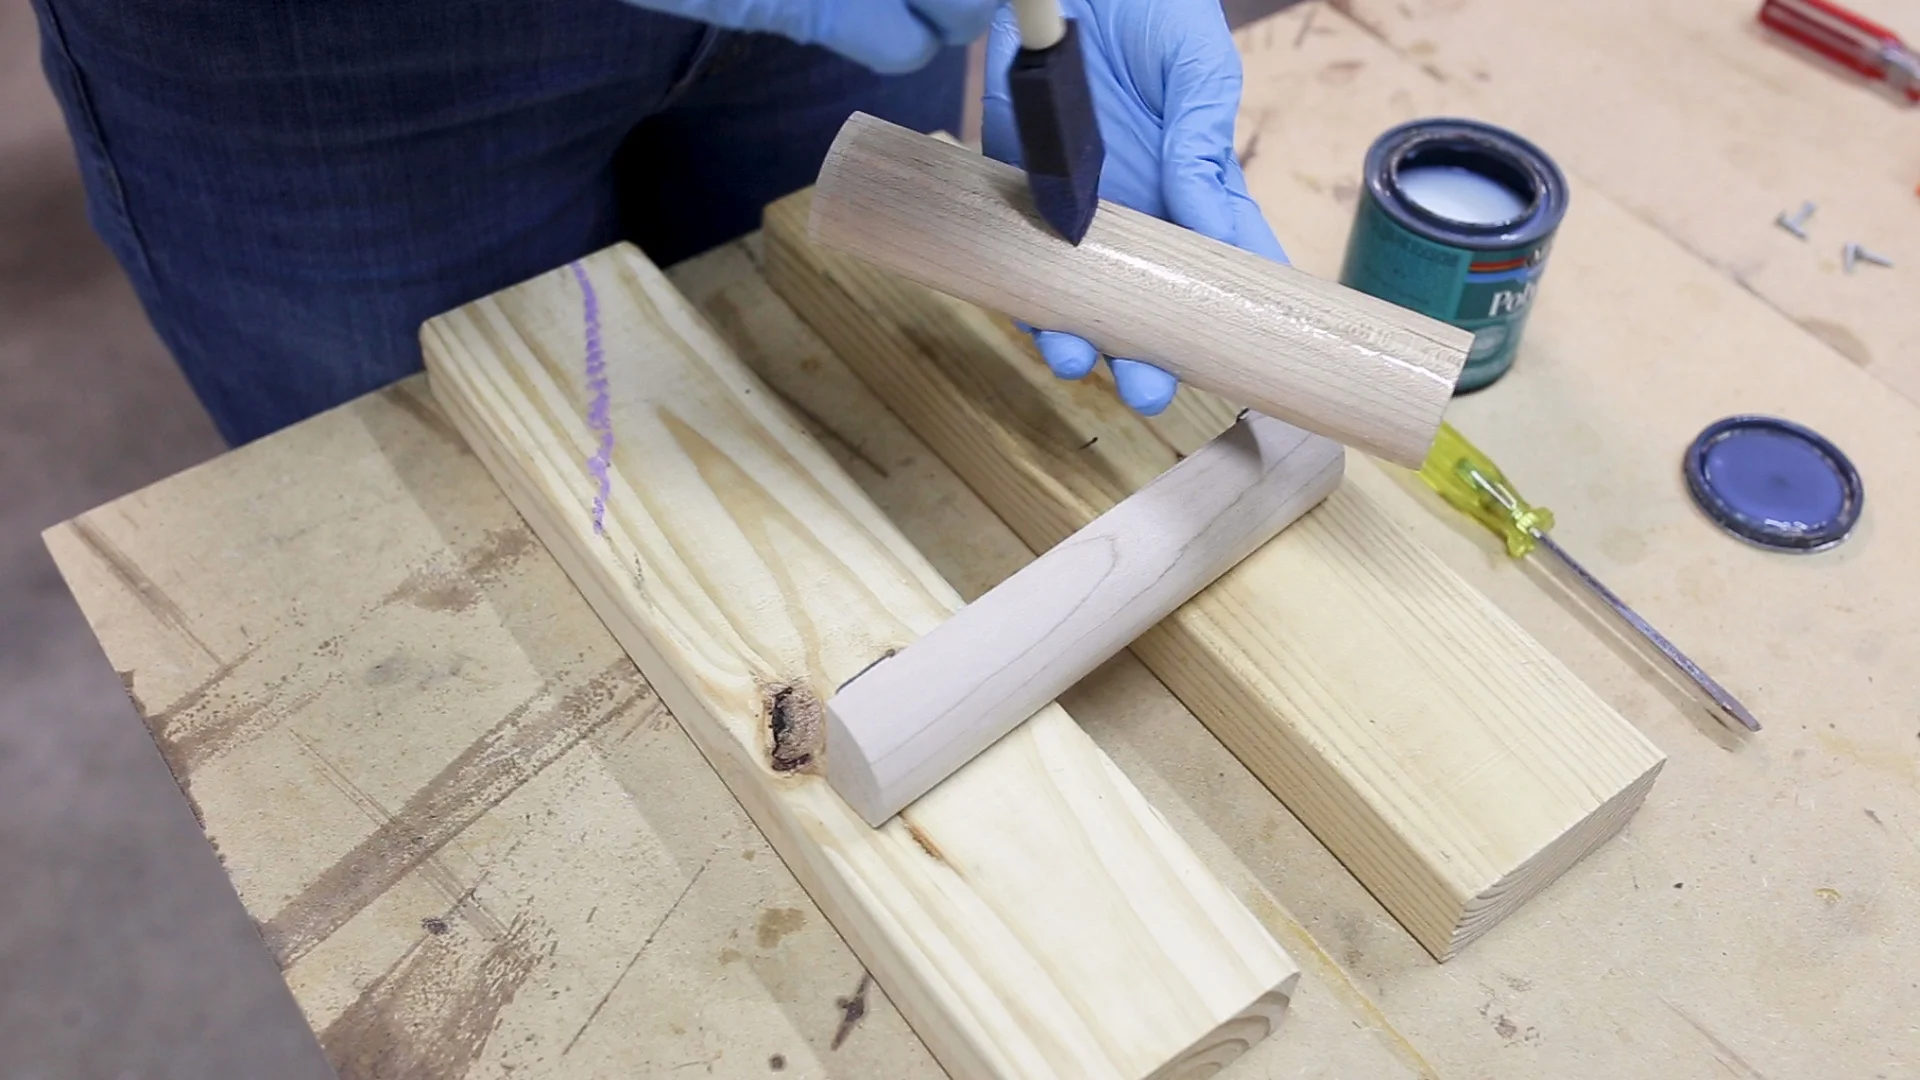
To start, I got a 2inch diameter maple dowel that I’ll be using as the wooden sides of this project.
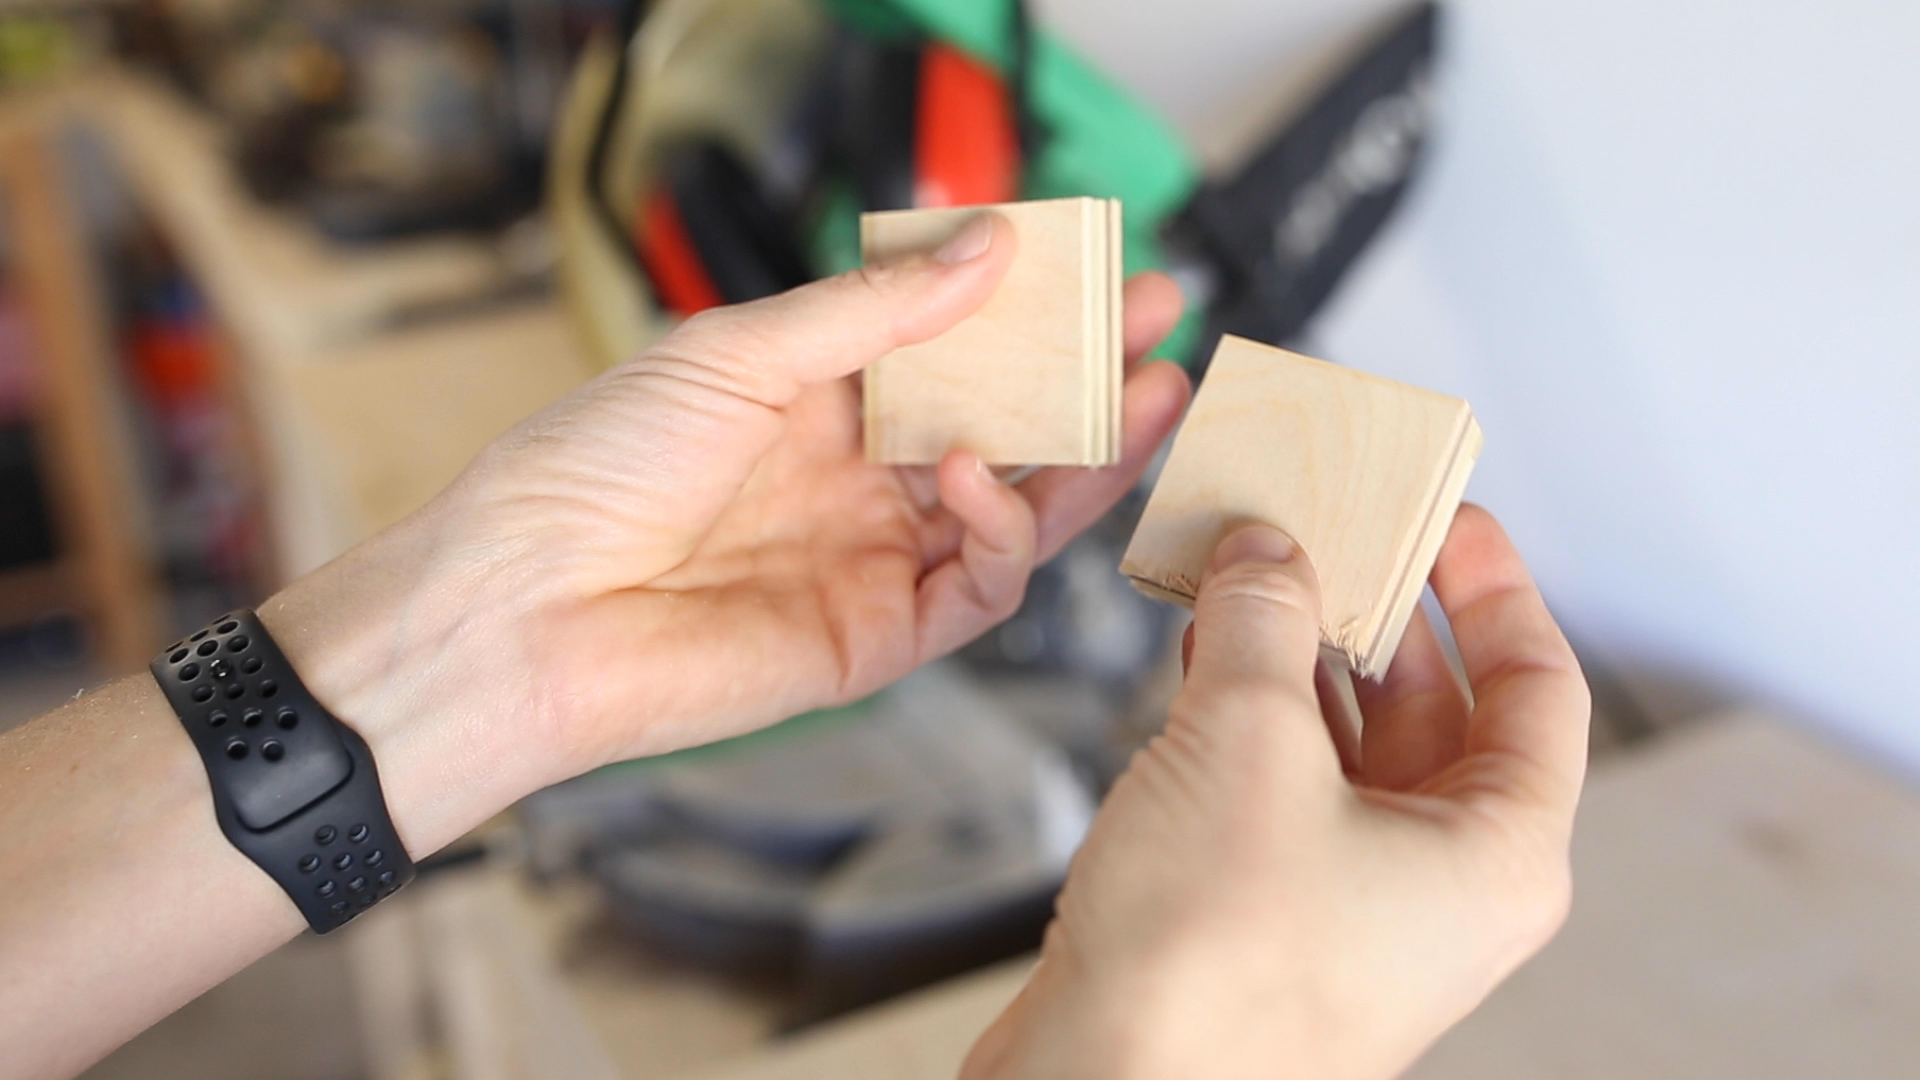
I’m going to cut this dowel down the length of the wood, and doing that on a cylindrical object is tricky. My fix for this was to cut two square scrap pieces and glue them on each end of the dowel, creating a flat surface. I’ll show you how in just a second.
I measured the ends and then cut two square ¾ inch plywood scraps on my miter saw.
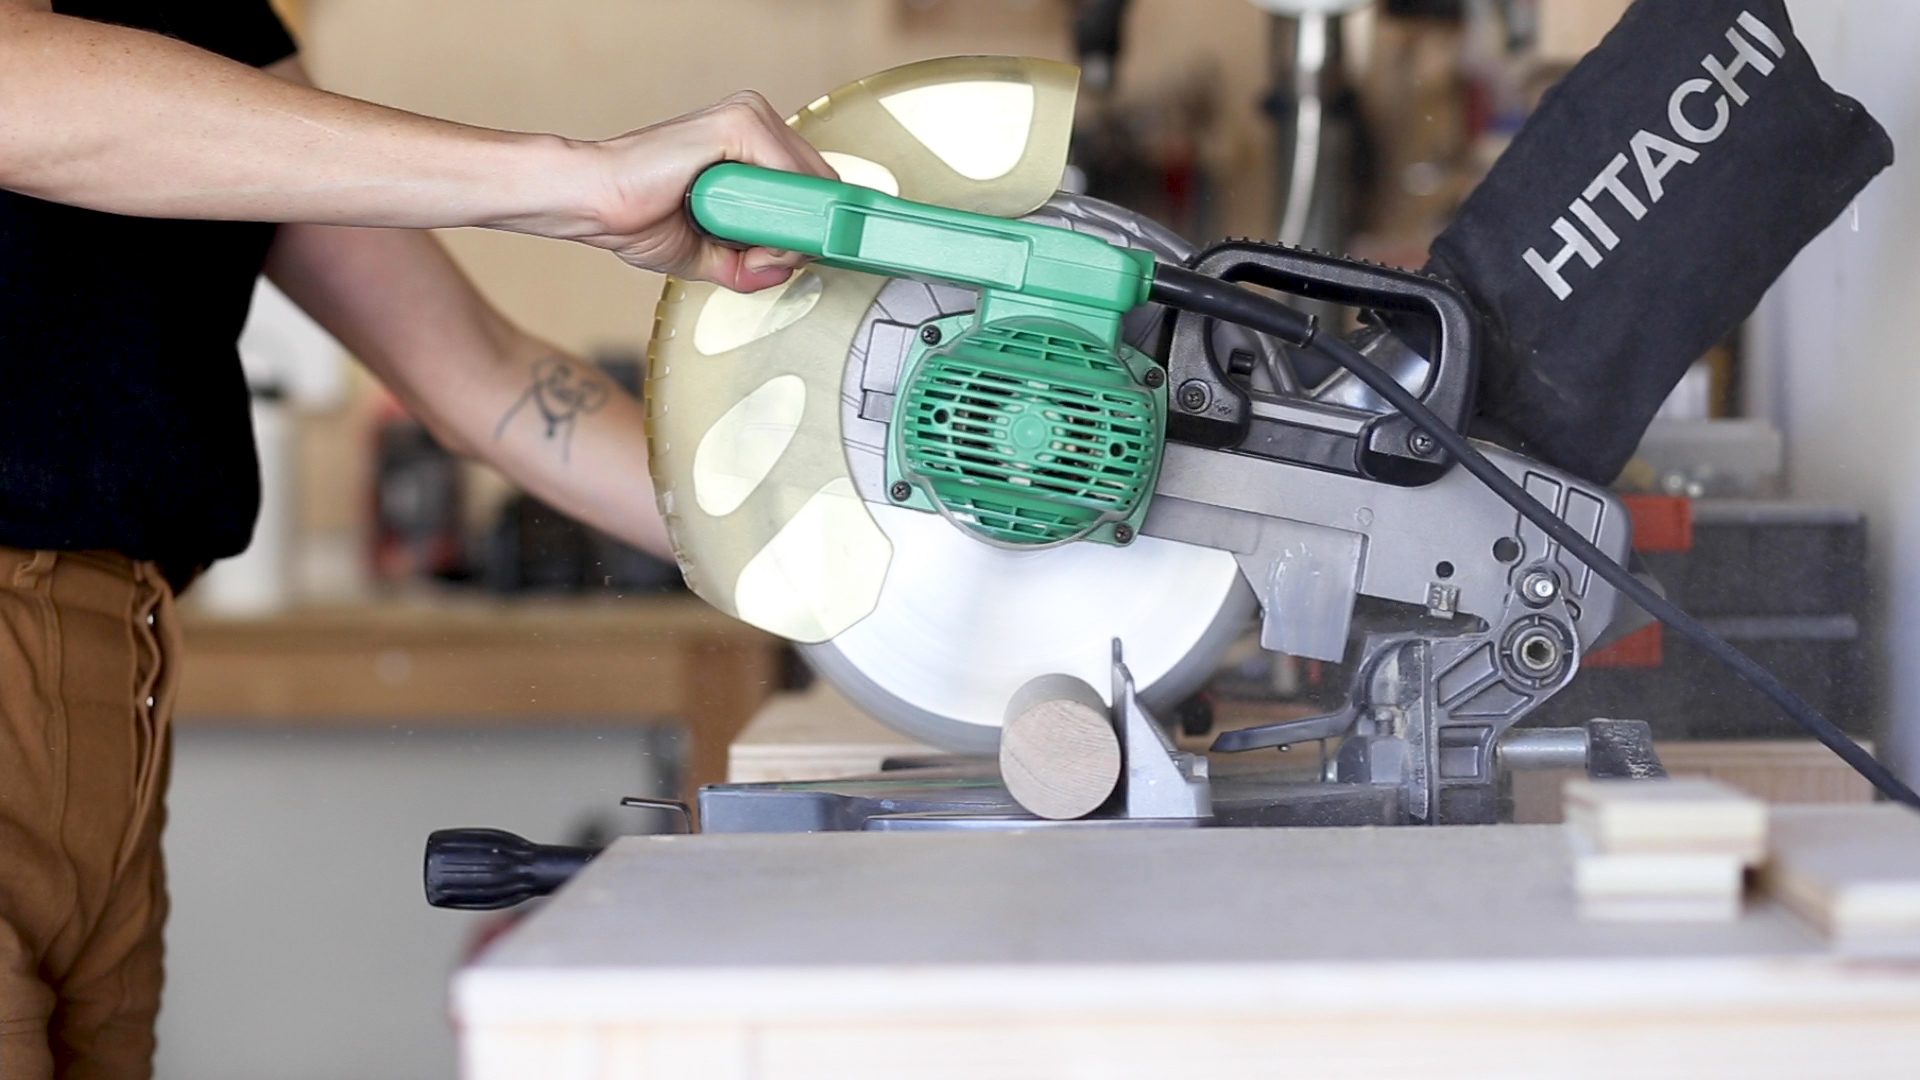
Then I took the dowel and cut it to length. I left it a little long so I can trim it to exact length later.
Here you can see me taking those two square flat ends and gluing them on the ends of my cylinder with wood glue.

After the pieces dried I found the center of the cylinder so I can cut it in half. For that I moved to my table saw. And you can see here how those two flat square ends made it possible for me to do this without the cylinder dangerously rolling out of position. I cut down the center of one side and then I flipped it and cut down the center from the other side.
Now with two pieces, I put them each through the saw one more time, this time on their flat sides, and cut a half inch off of one side.

I was super cautious doing these cuts so I cut too slow and that resulted in some blade burn marks. But no worries… these sides will be hidden in the end.
Now, with my cylinder cut up, I cut off the scrap end guides and cut the two pieces to their final length.

Next, I took my two pieces and hand sanded them just to clean up the edges and make everything smooth.
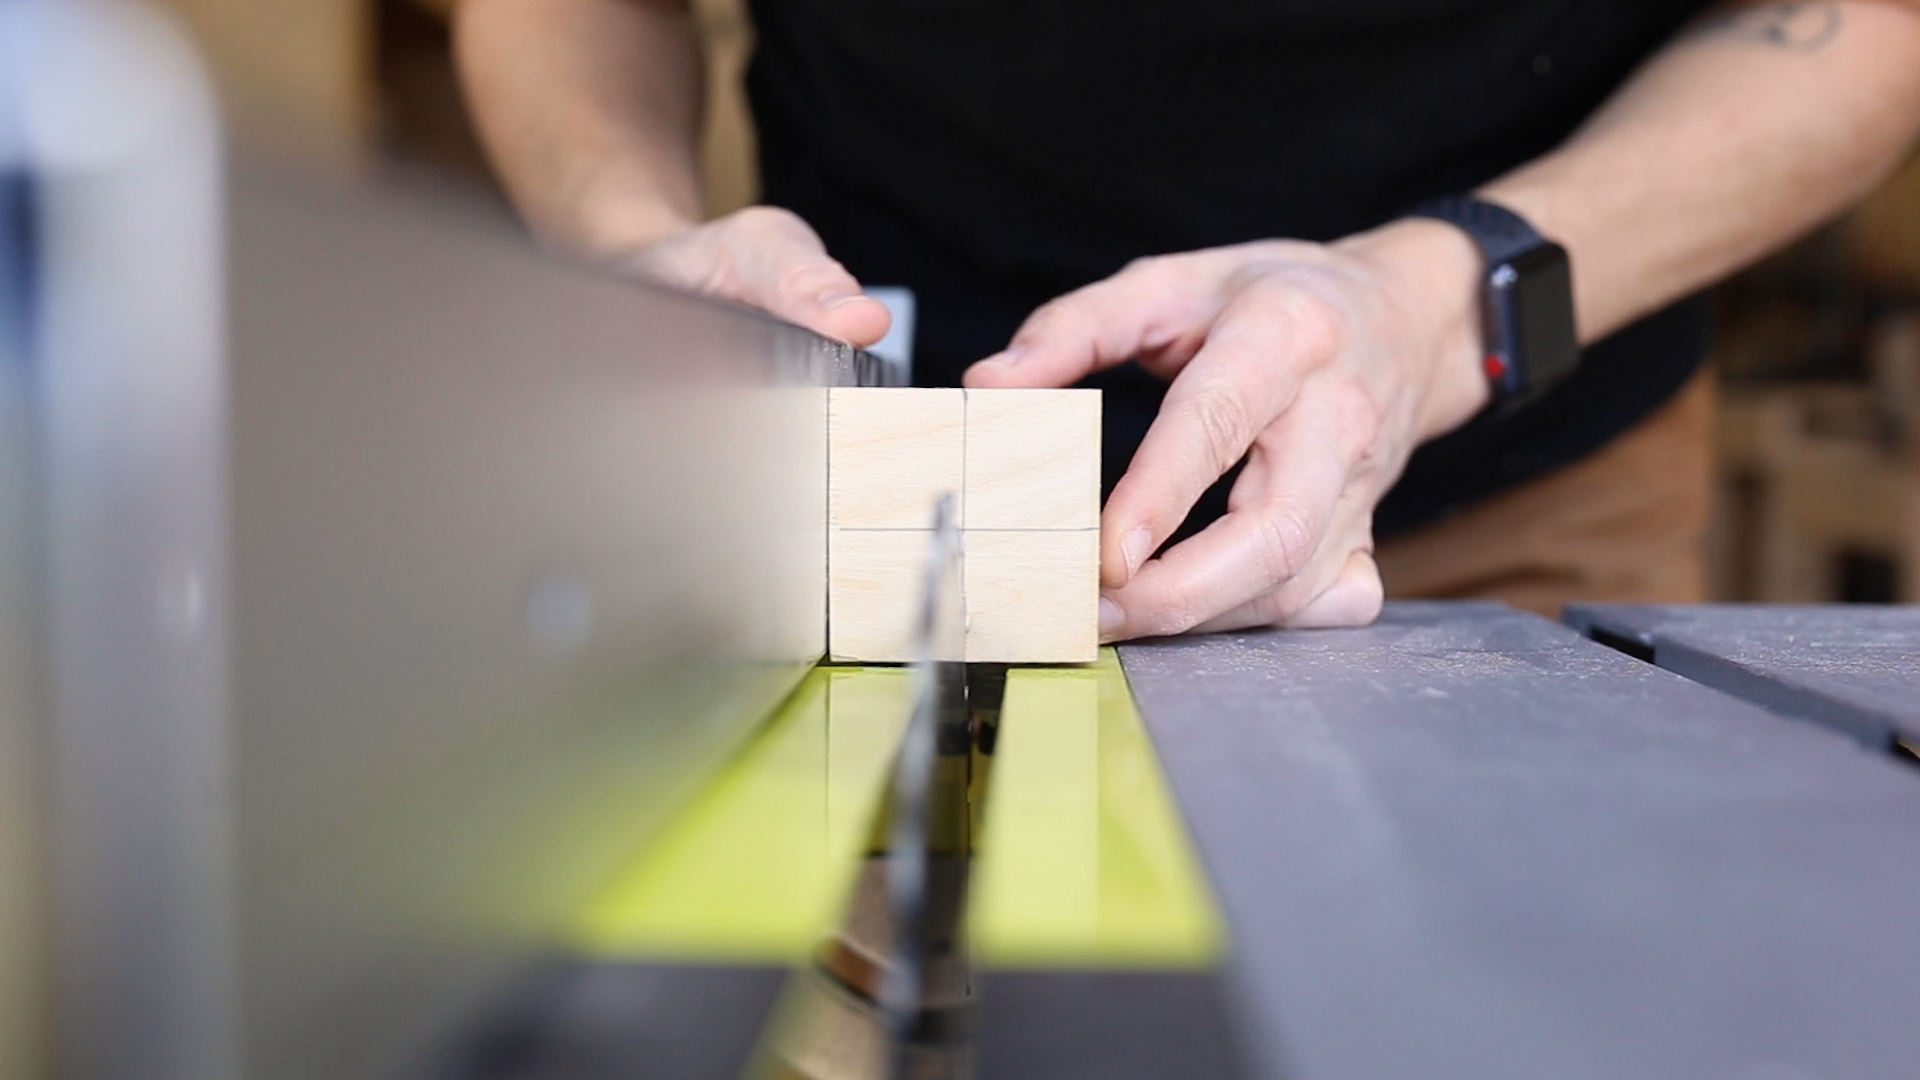
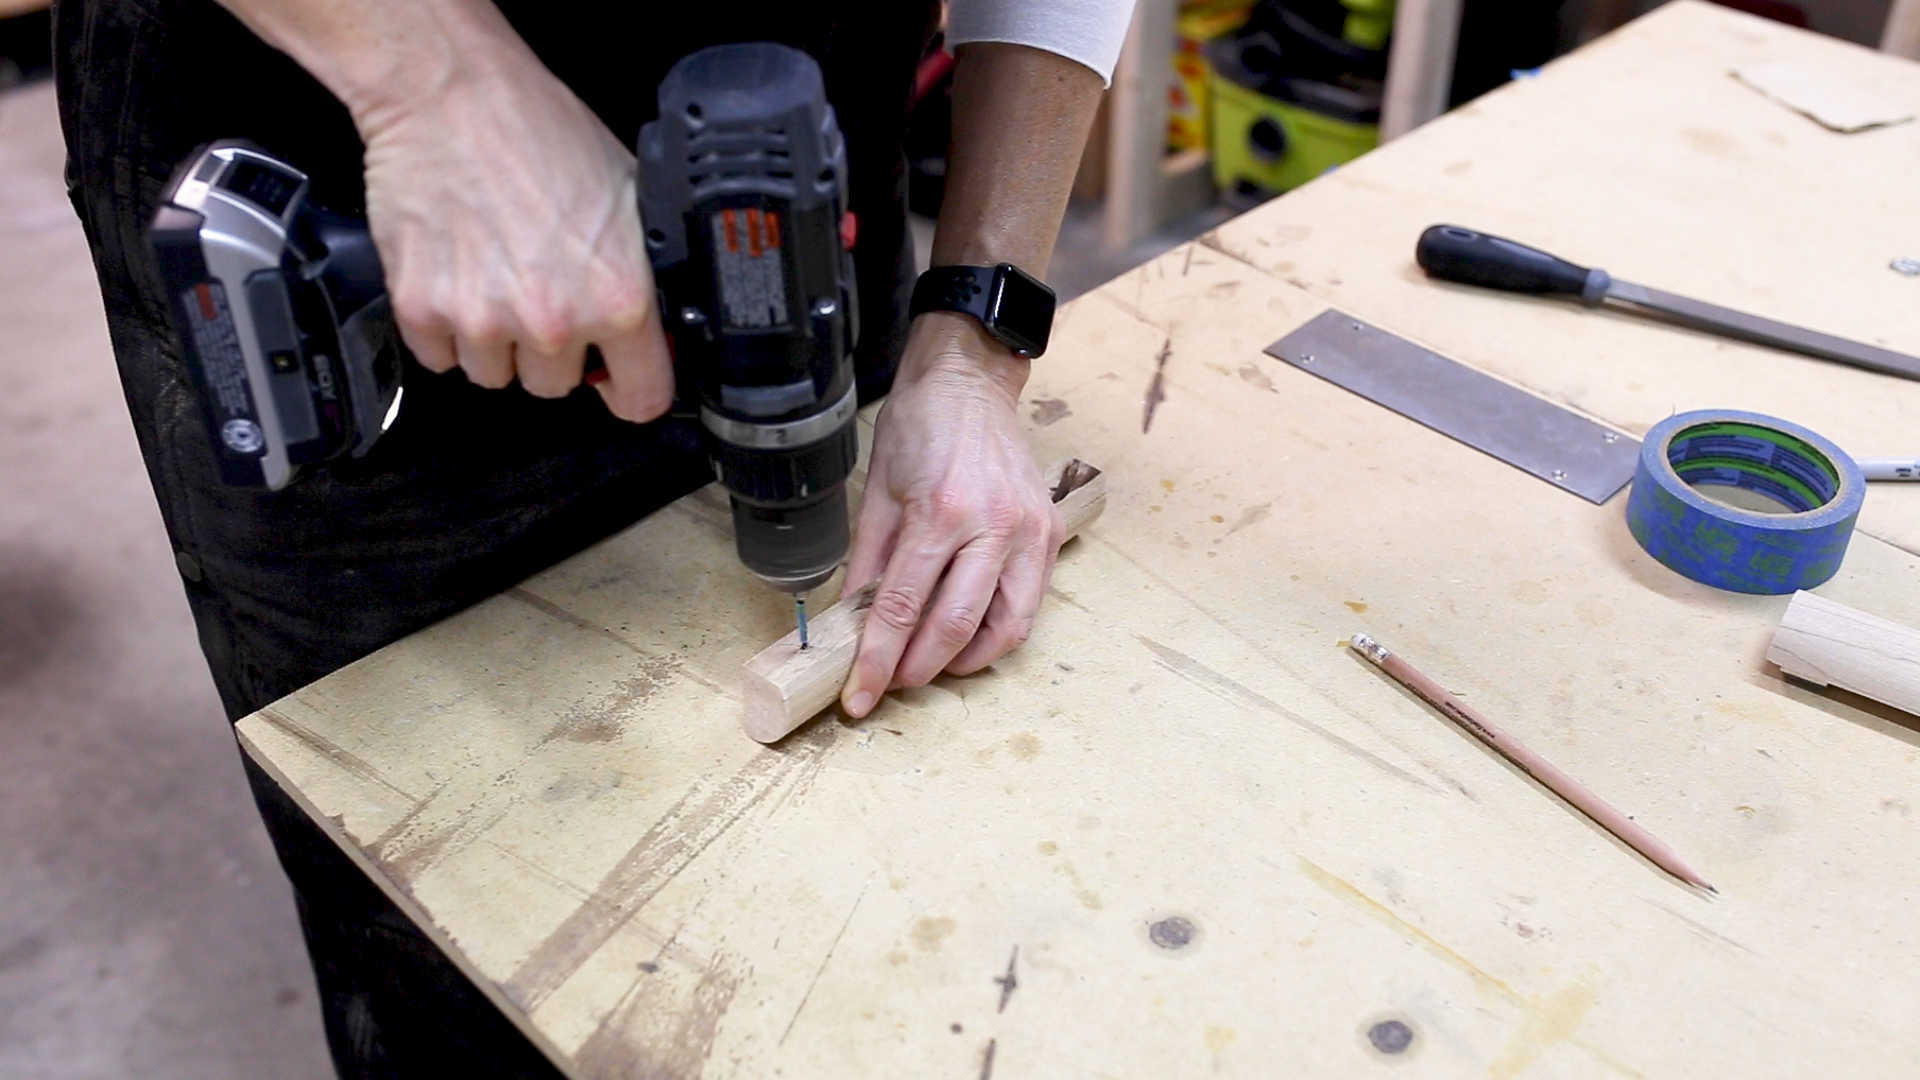
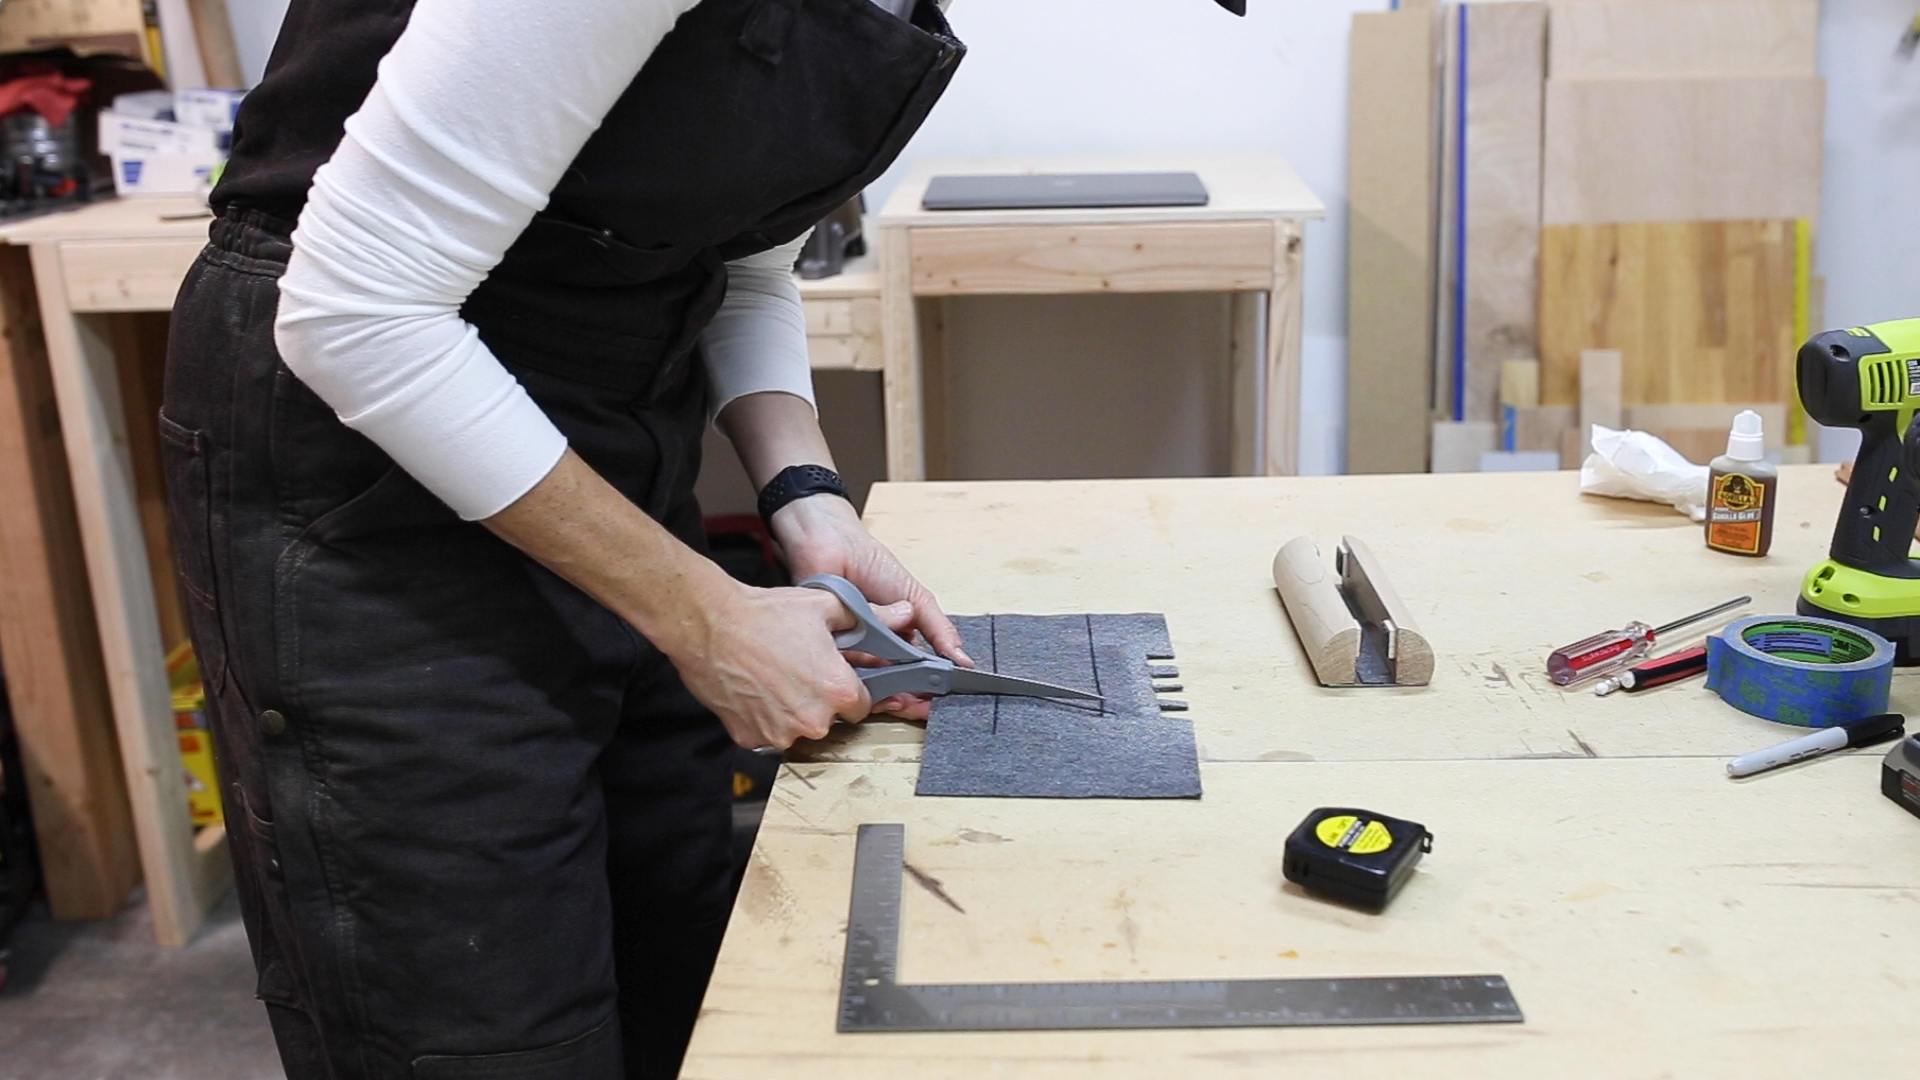
The next step in this project is to make the wooden tabs that I’ll use to hold the computer in place. For this I got a ¾” square maple dowel. I wrapped the end that I’m going to cut in painters tape to minimize tear-out.
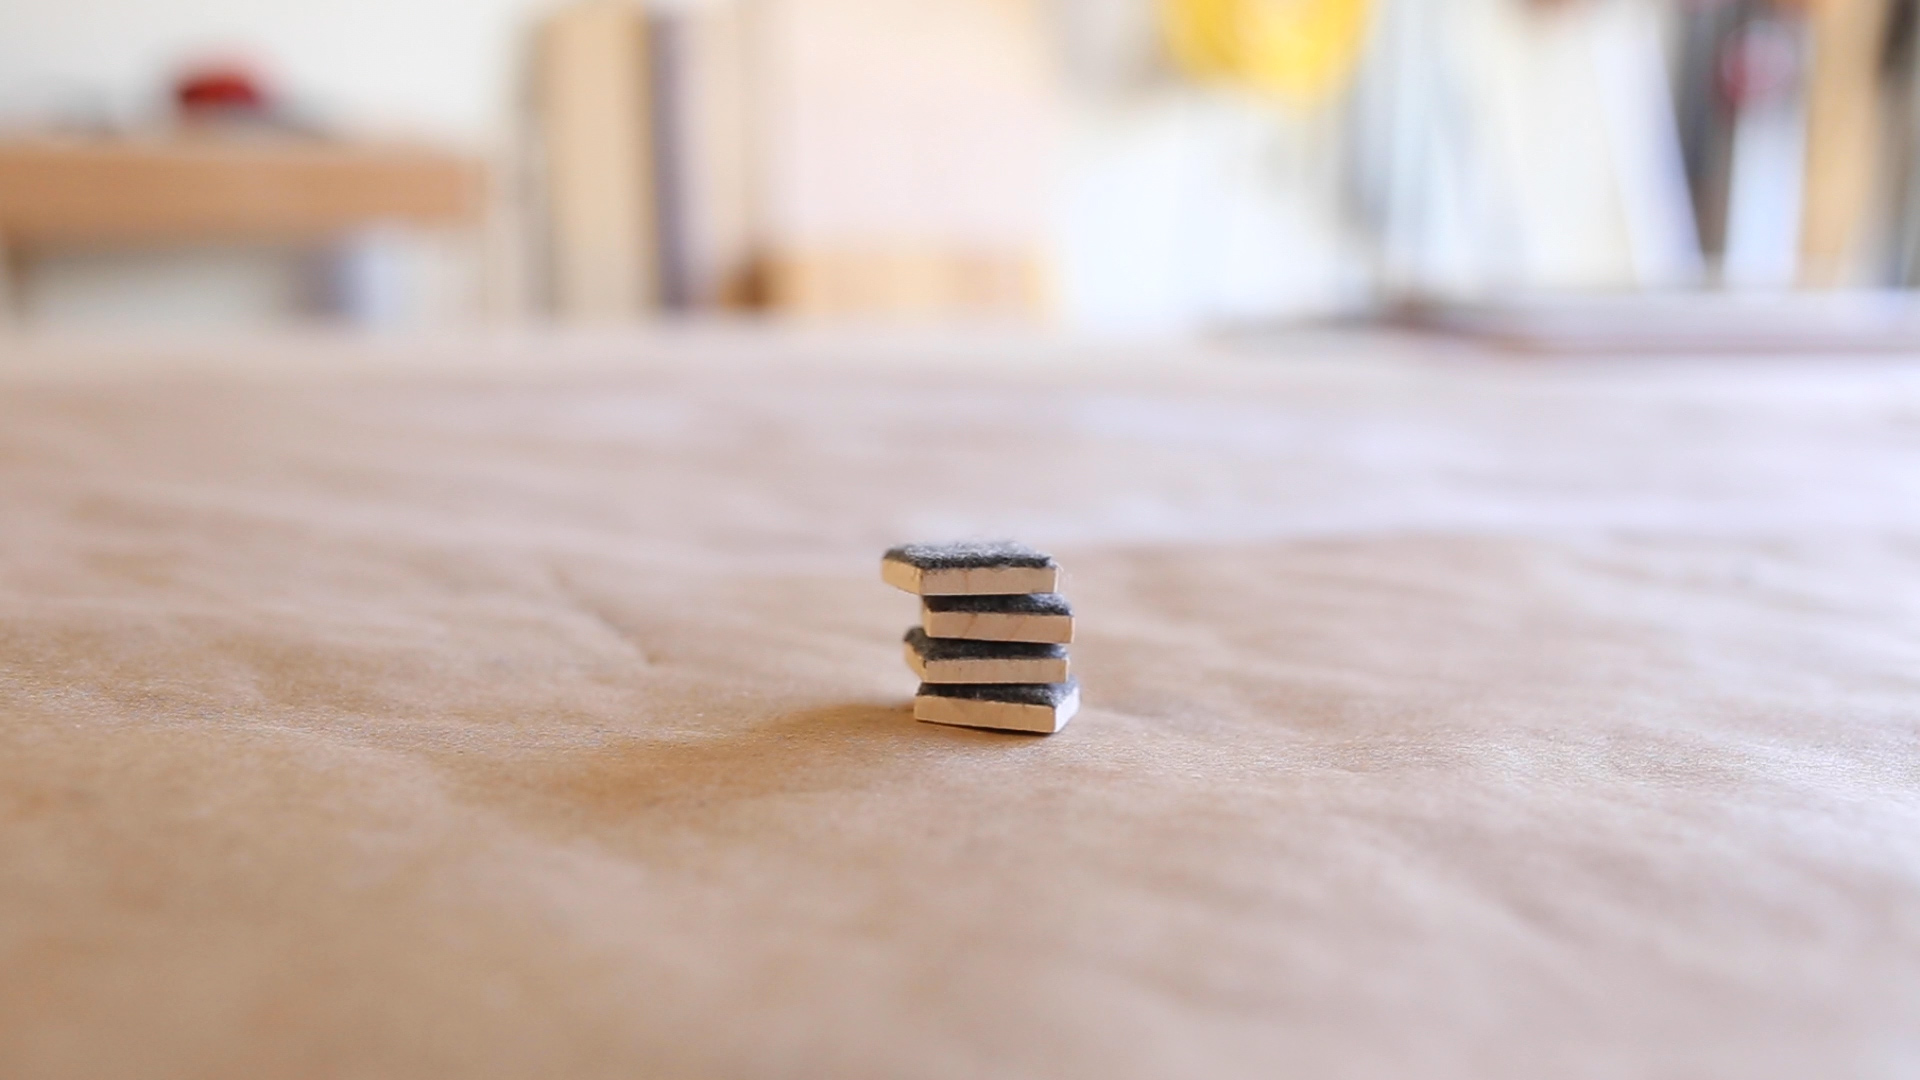
Then I cut 4 1/8 inch squares off of one end. And then I cleaned them up with a little hand sanding.

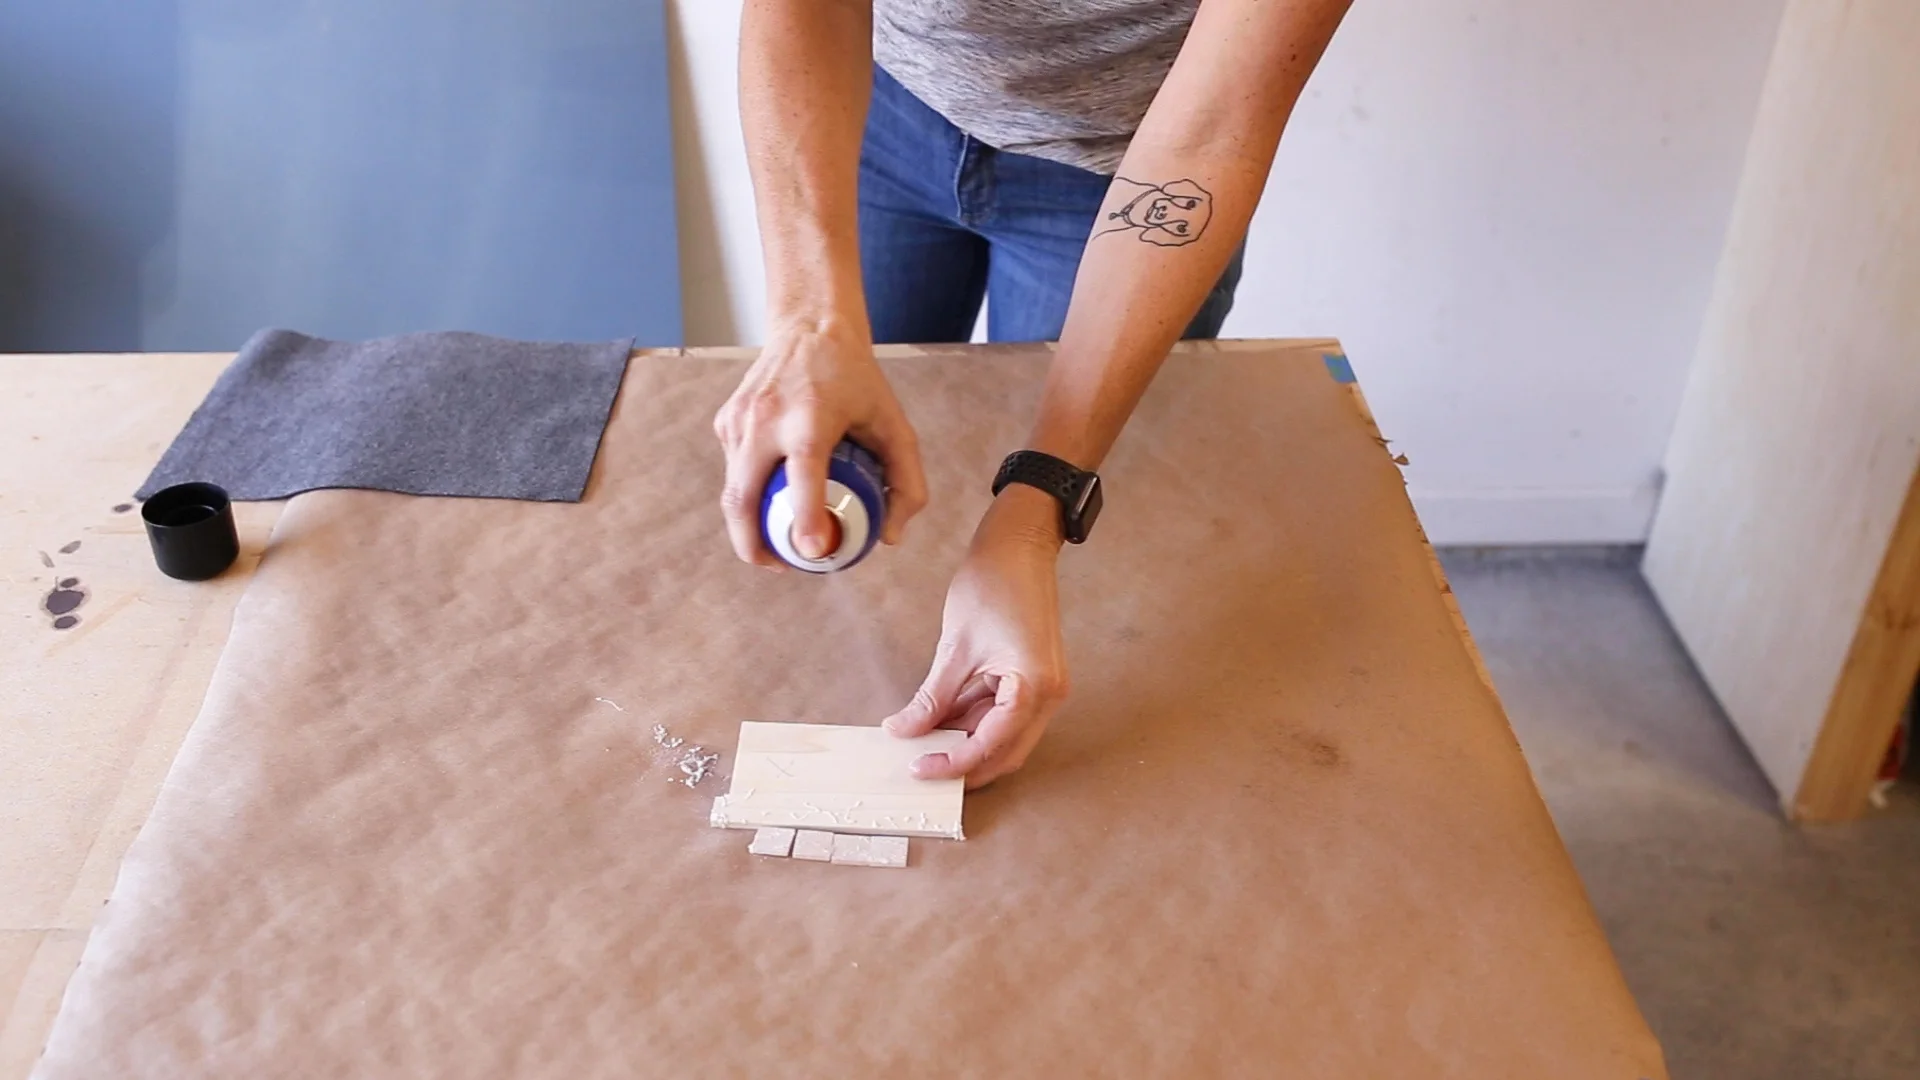
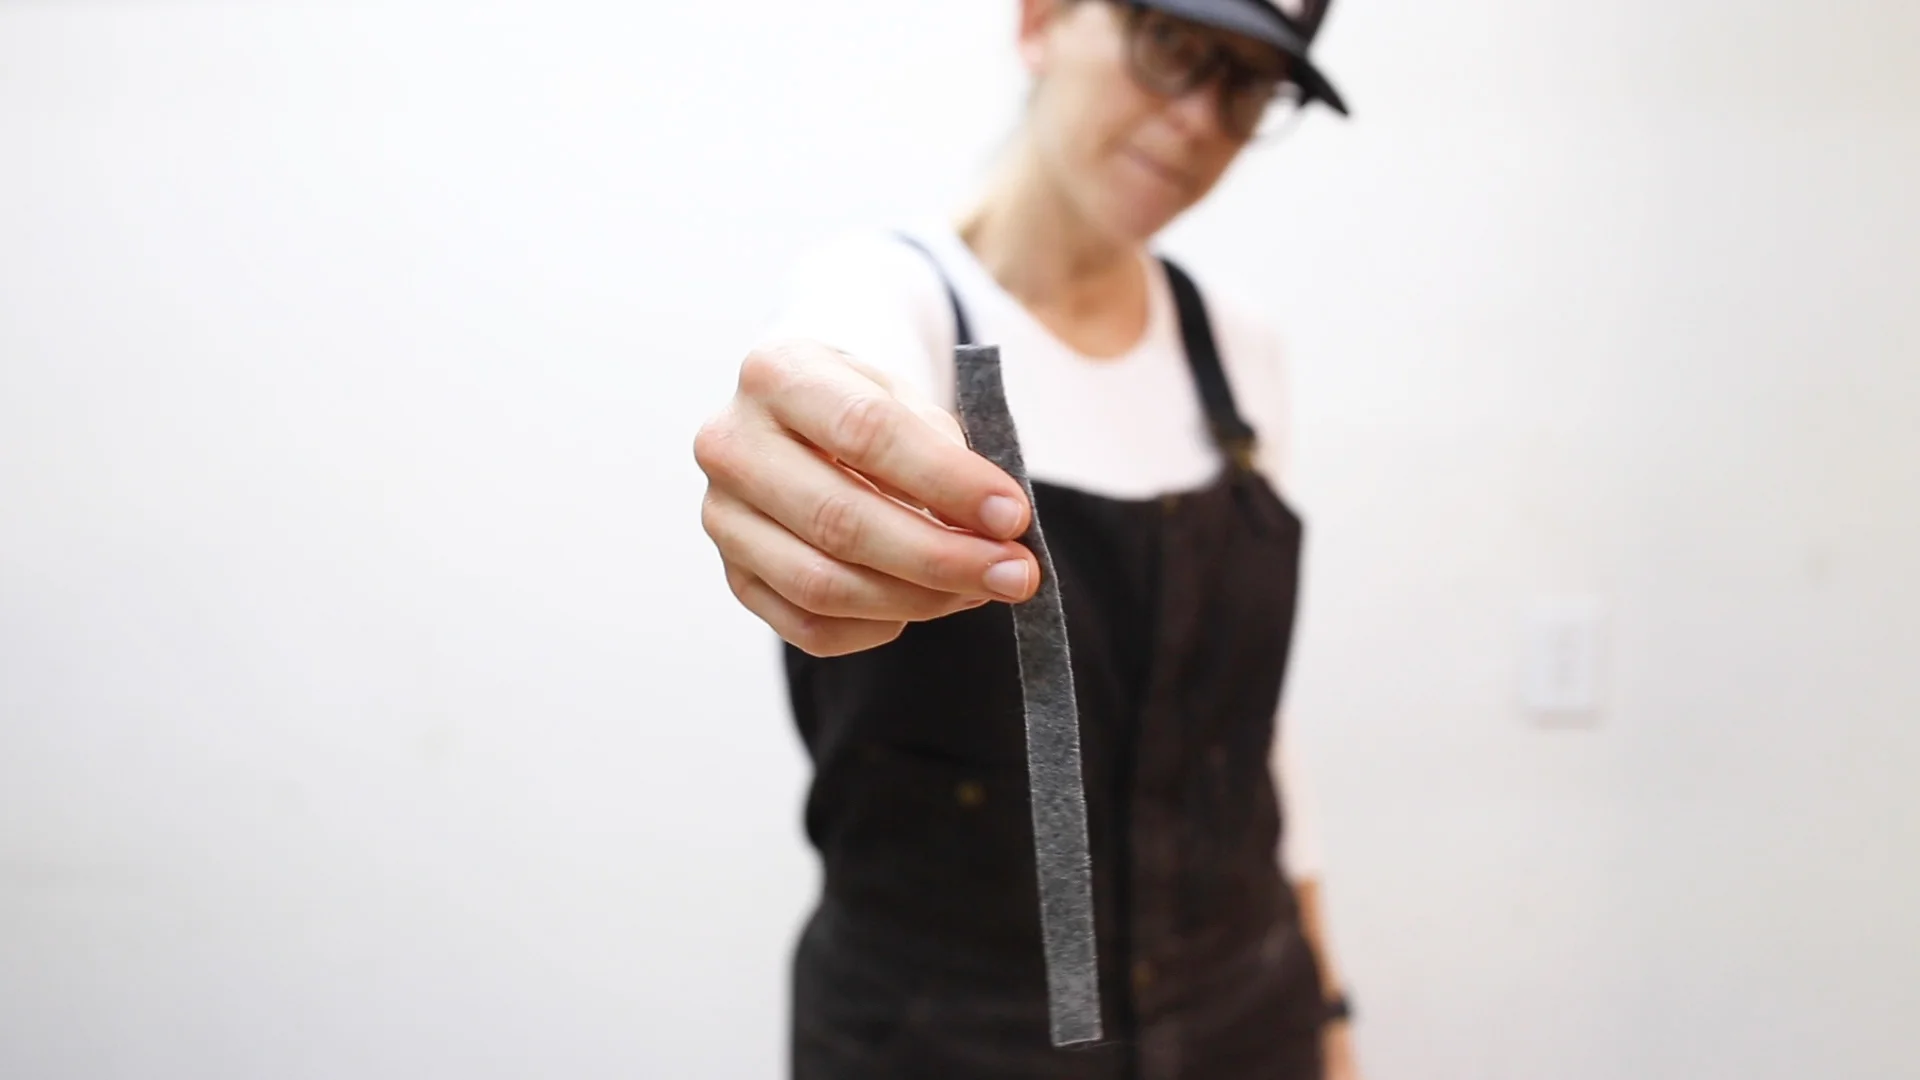
To keep my laptop from scratching, I got some felt that I’ll apply to any parts touching the computer. I grabbed some spray adhesive and sprayed one side of the 4 tabs and and one area of the felt. I then placed the sprayed side of the wooden tabs onto the felt and let them dry.


With a sharp xacto knife, I then cut out the felted tabs. But after doing this, I think I some good scissors would have been easier and cut cleaner.
To attach these tabs, I first measured for their placement. I wanted them set just slightly in from the edges. I then attached them using some wood glue and let them dry.

For the bottom base of this dock, I decided to use steel sheet metal. I really like the mixed use of metal and wood. Not only did it ascetically appeal to me, it’ll give this dock even more stability as it will add to the weight.
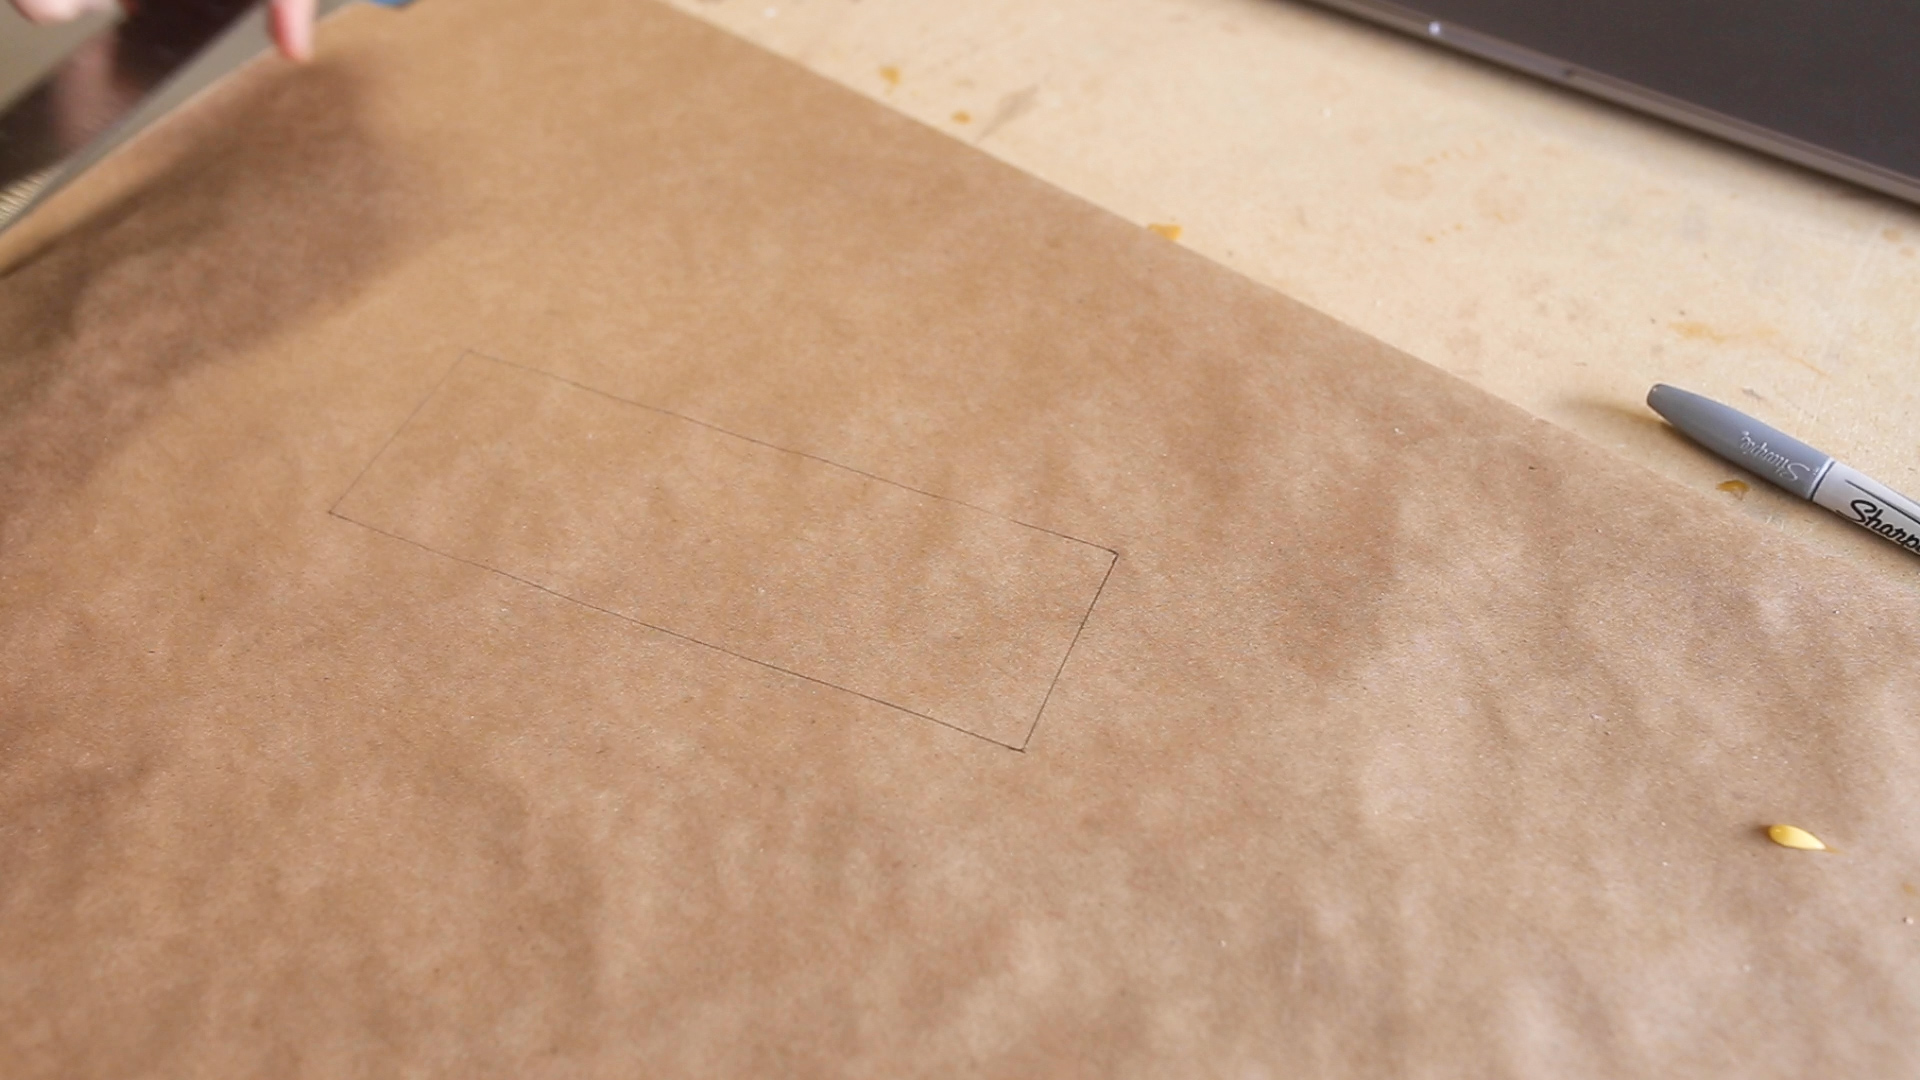
Here, you see me holding the pieces together to get an idea of the size needed for the bottom plate. I then marked the edges on this brown paper which left me with my dimensions.

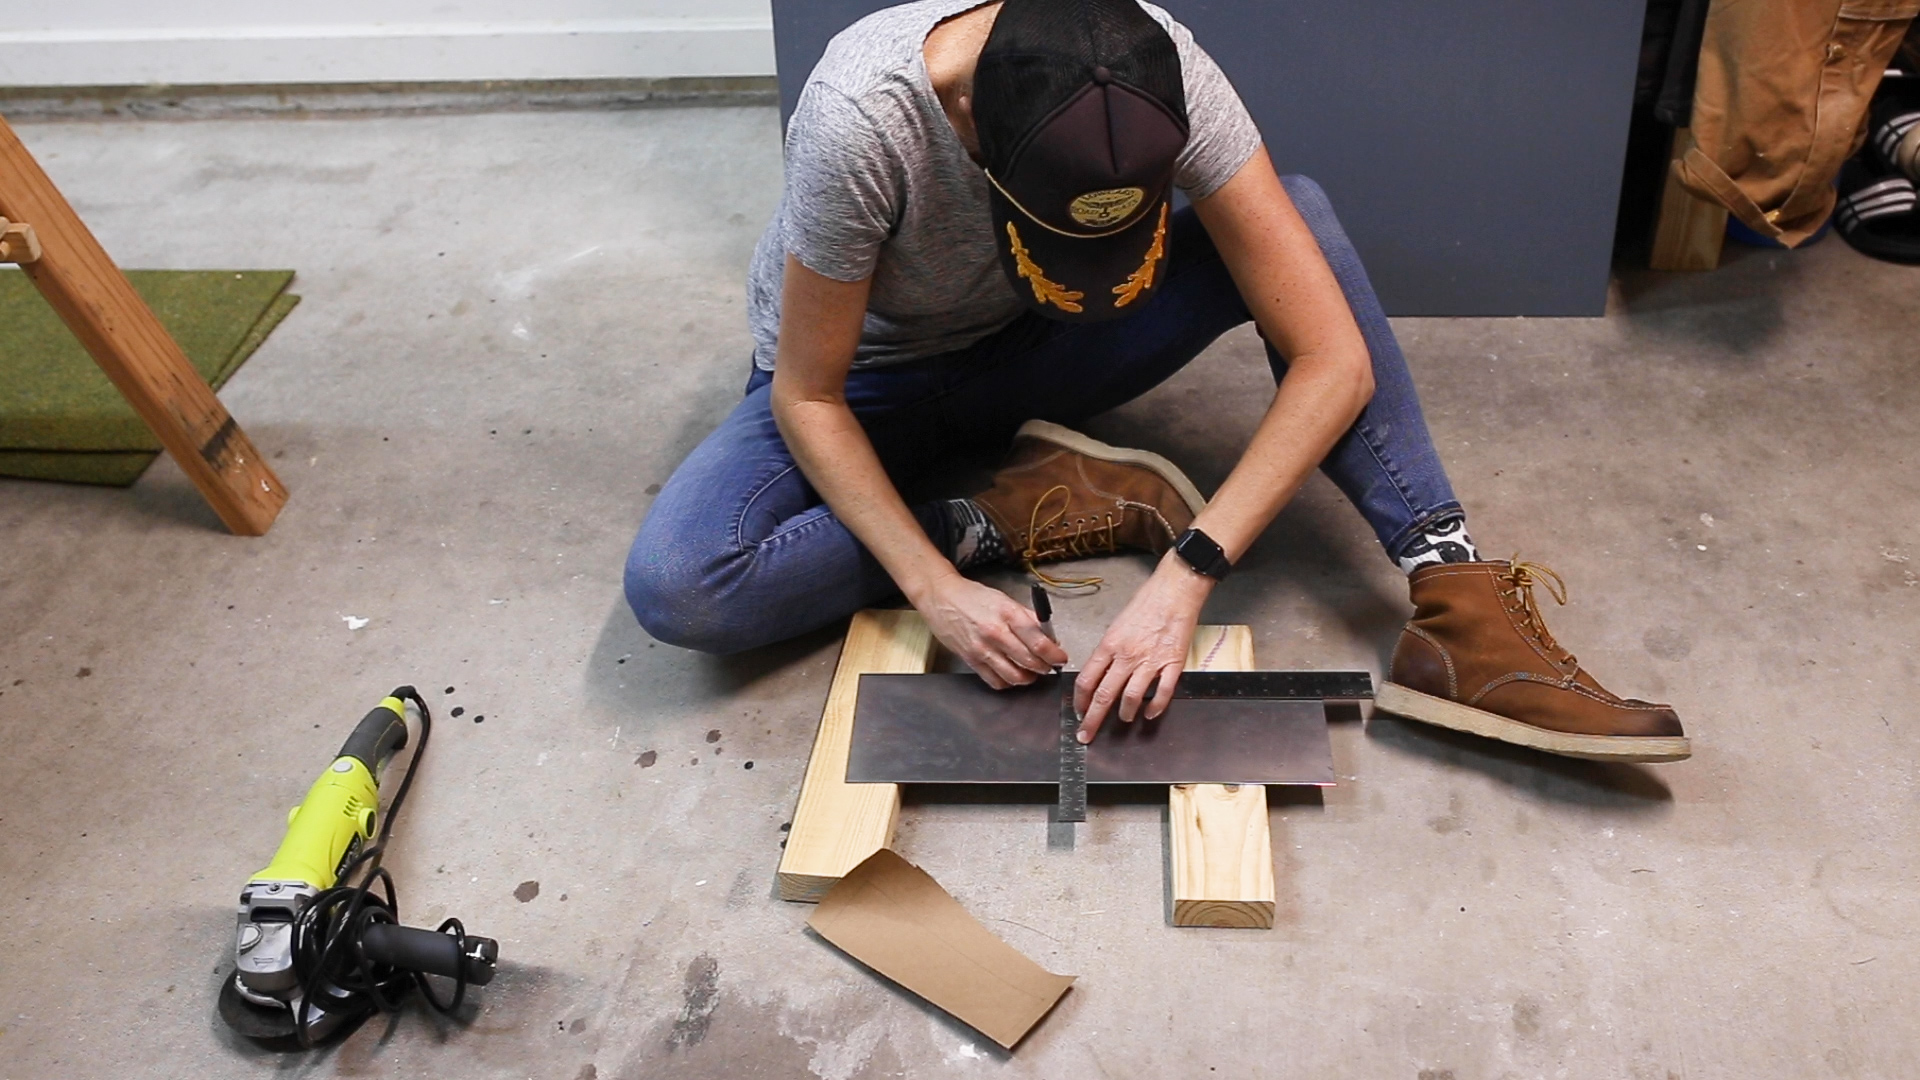
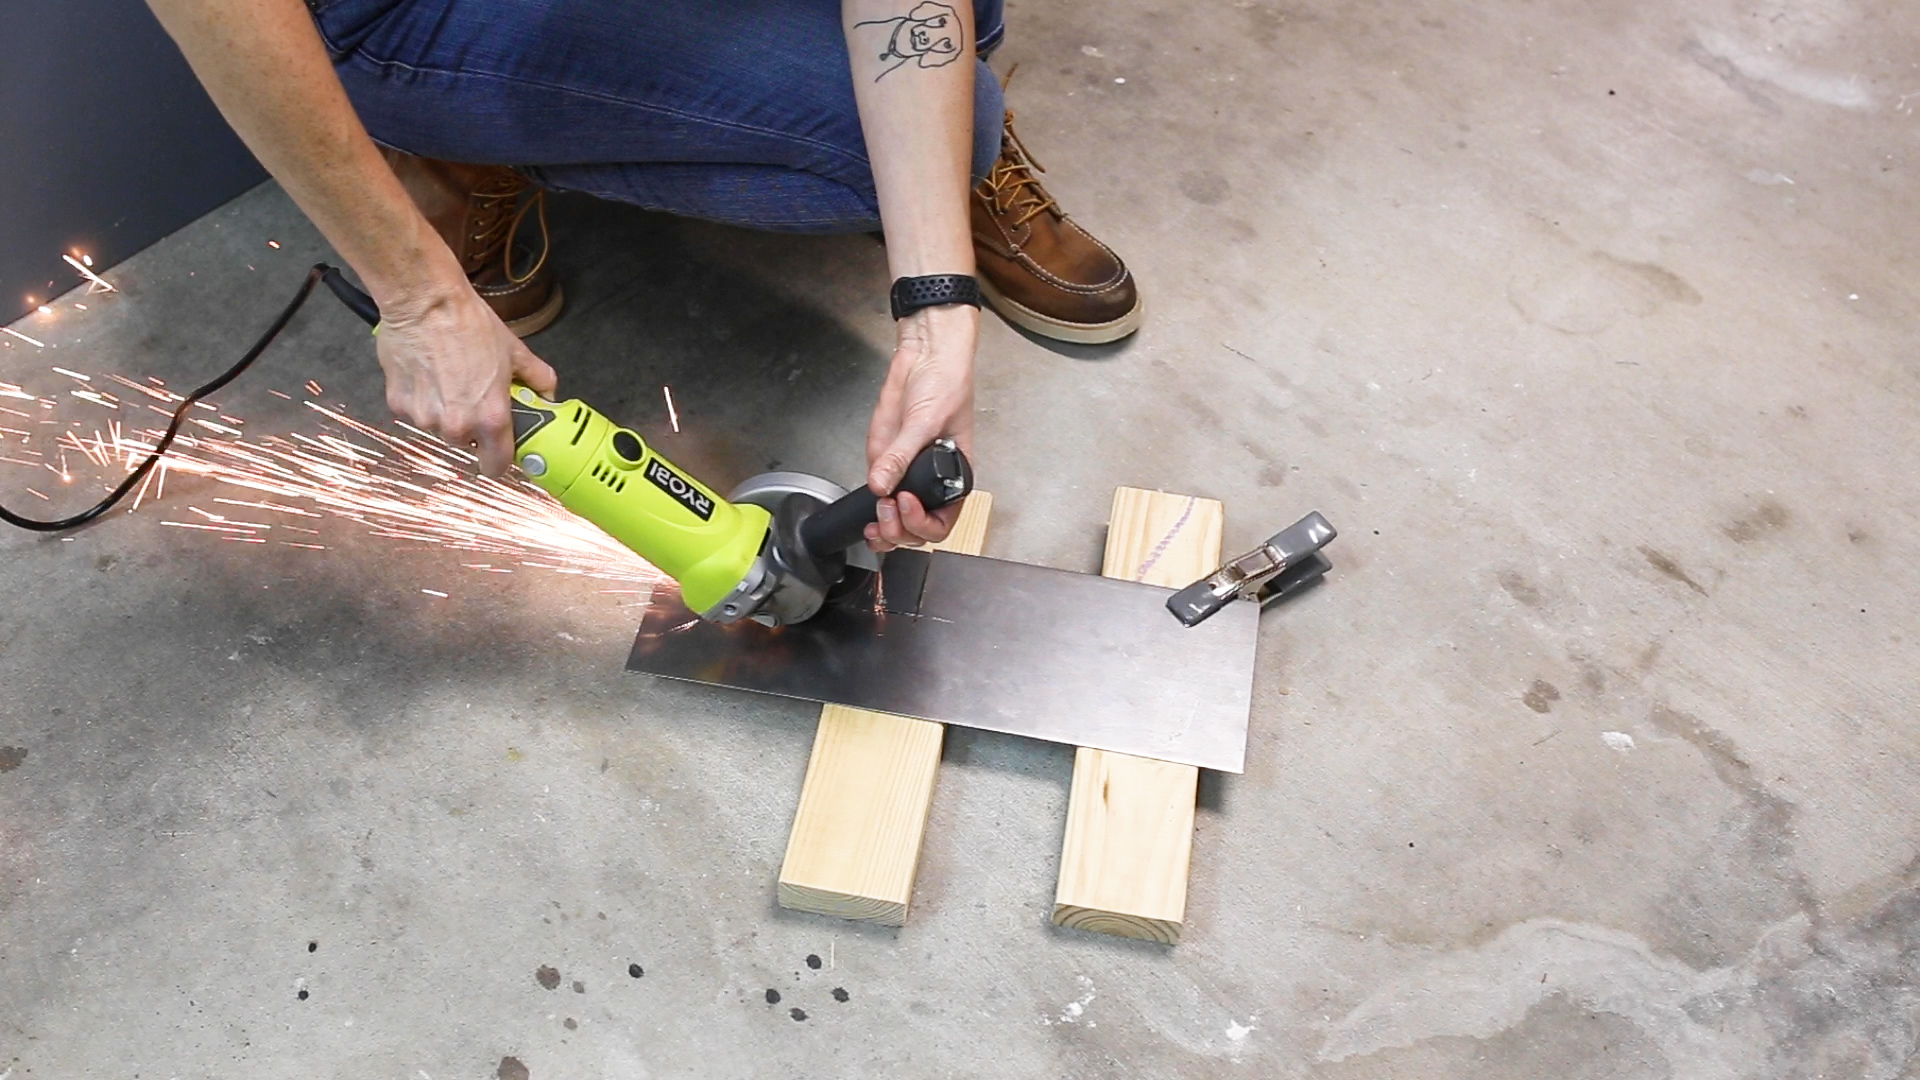
The steel I’m using is 16 gauge sheet metal that I found in a small 18” piece from my nearest home center. I used a sharpie to mark my lines and then cut out my piece using a cut off wheel on an angle grinder. I find it super easy to make straight cuts in shallow passes with this method.
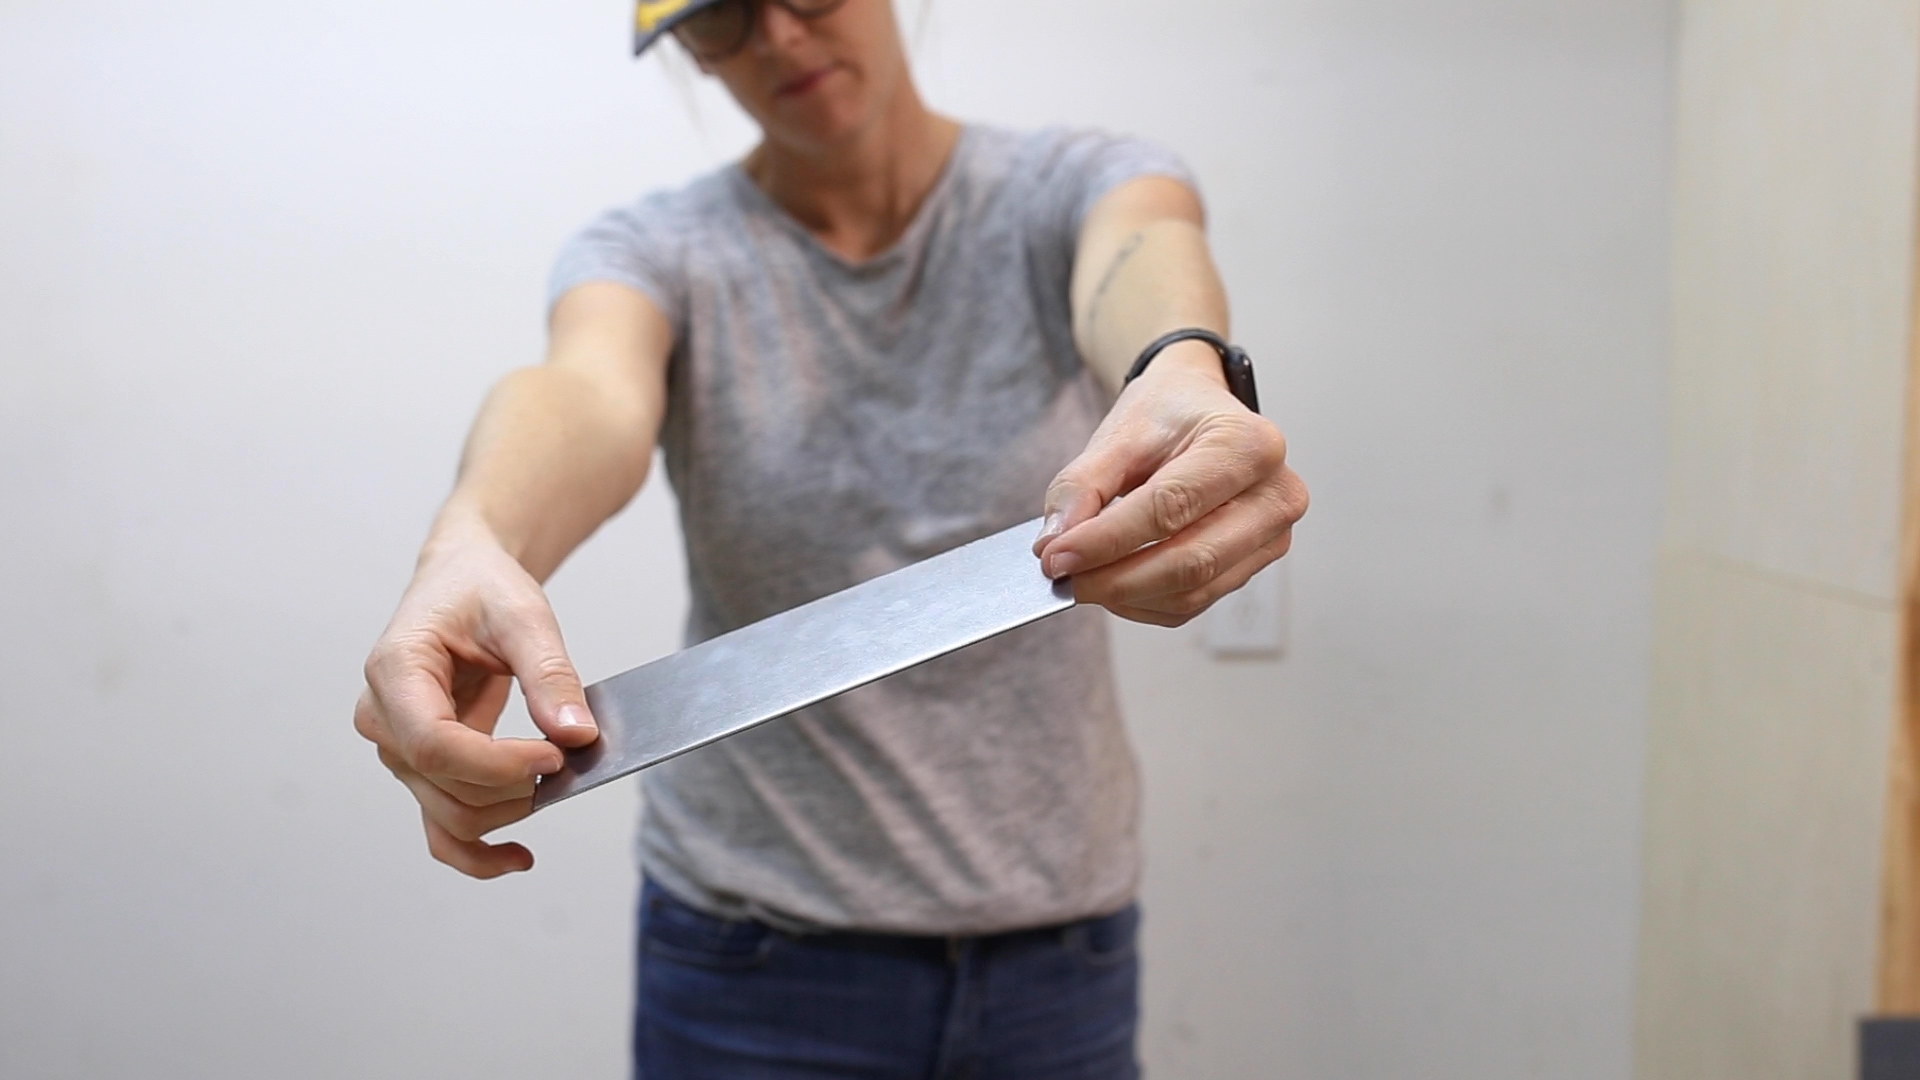
To smooth out the sharp edges I sanded all of my corners down with my orbital sander. I then used acetone and gave it a good cleaning. And finished it up by sealing it with a coat of paste wax. I applied a heavy coat, waited 15 minutes and then buffed it out. This is a great way to seal and polish the metal that doesn’t leave it oily.

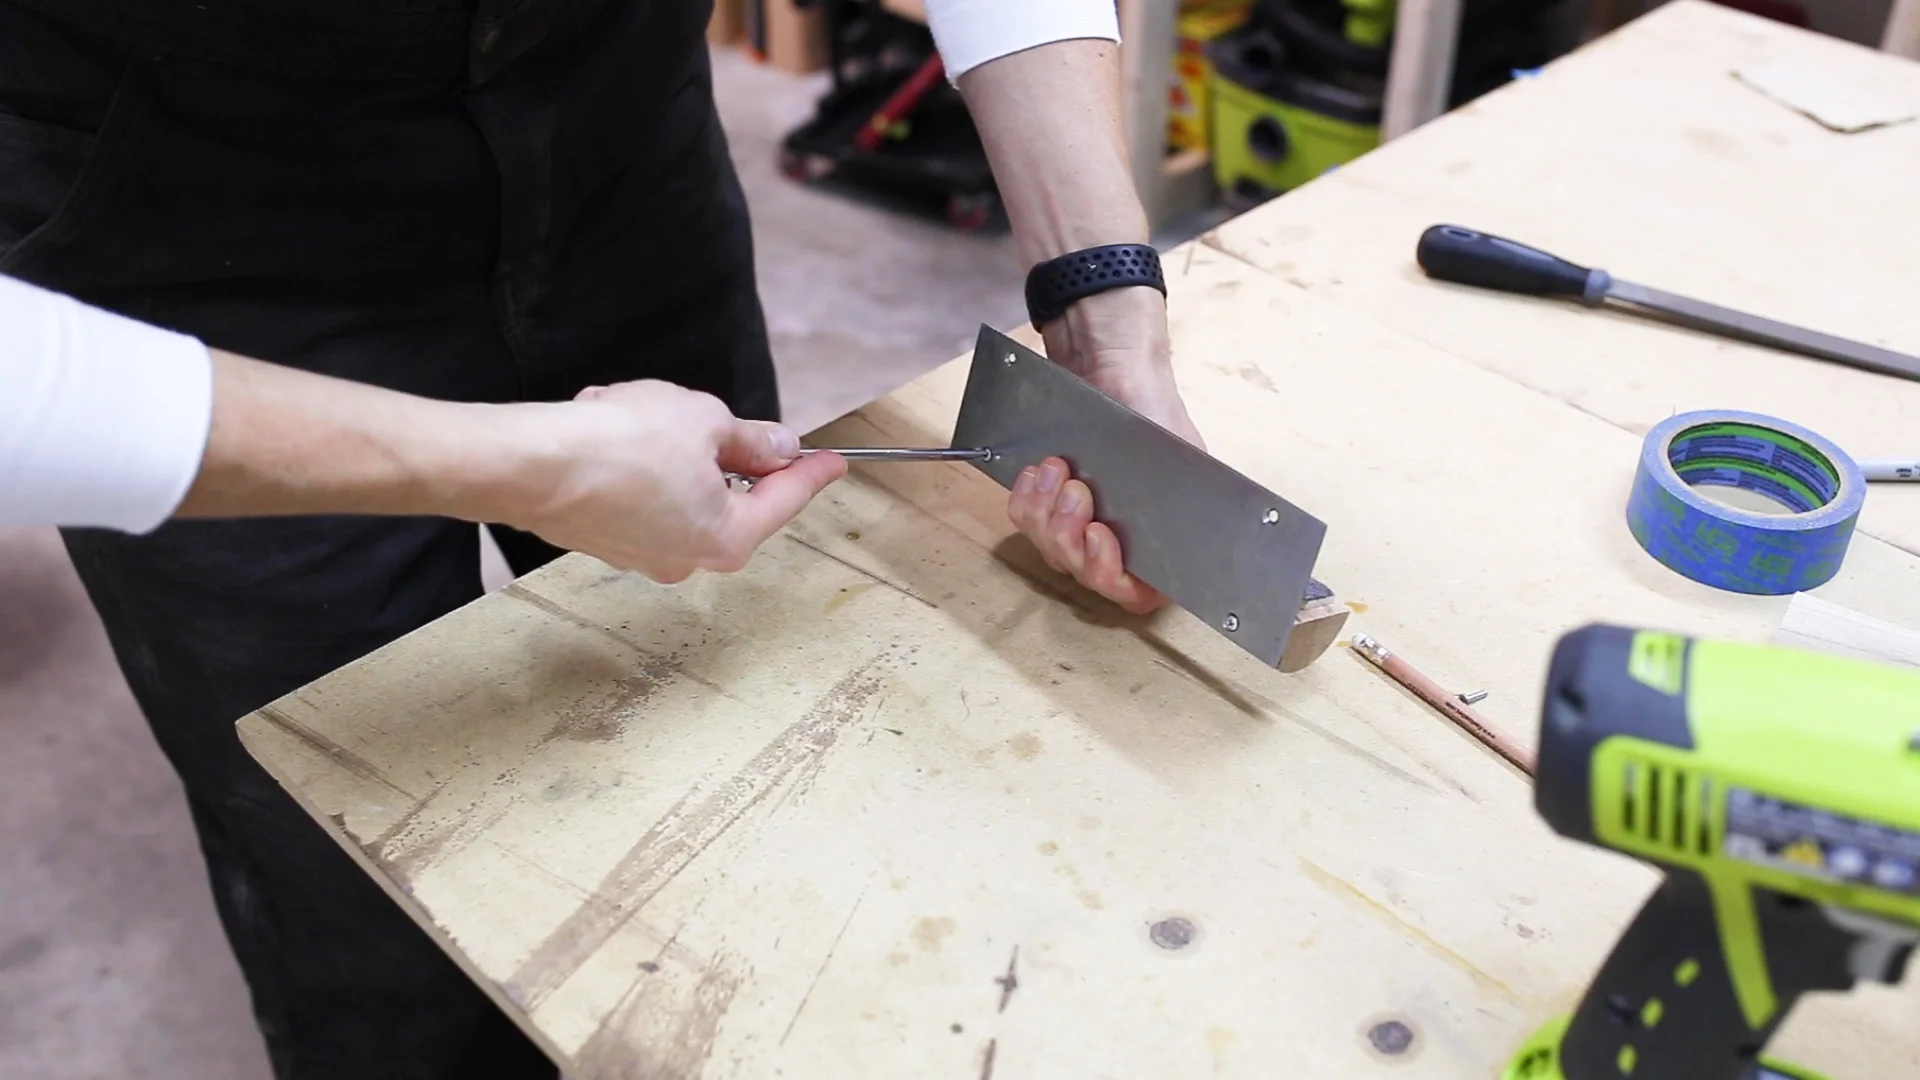
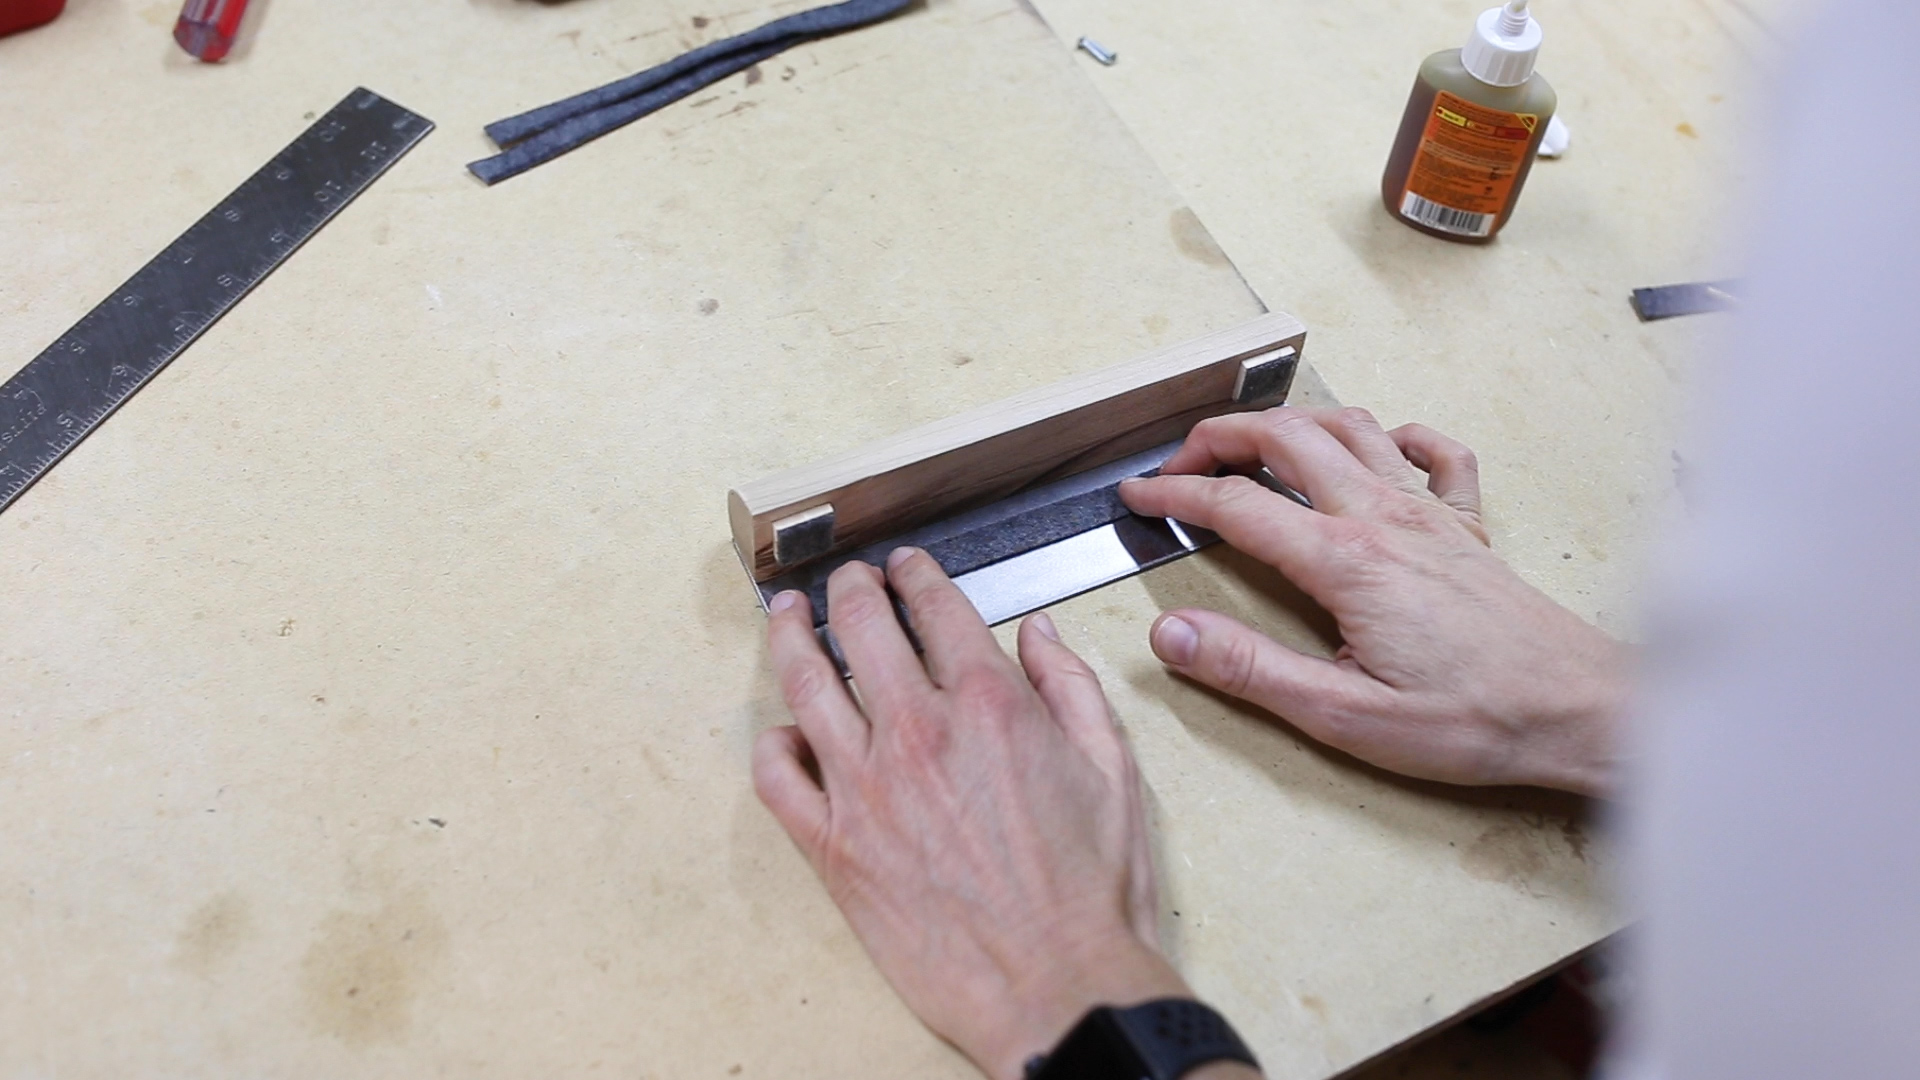
I’m going to attach the bottom plate to the wooden sides with screws. To prepare for this, I predrilled some holes in the metal and then used a counter sinking bit and made some recesses so the screws could sit flush.

Before attaching the pieces I finished the wood with a coat of water- based polycrylic in a matte finish. This is a great finish for light colored woods that doesn’t turn it yellow or shiny.
Using my metal holes as guides, I marked the bottom of the wood… and then pre drilled and attached the first side with screws.
Before attaching the second wooden side, and while my fingers could still access the middle, I cut a long strip of felt and glued it to the metal in between the two pieces of wood with a thin layer of gorilla glue. This will be a soft spot for the end of the laptop to rest while it’s docked.
Then, using calipers to double check the width of the computer, I repeated the process and attached the second wooden side.

The very last thing I did was to cut one last piece of felt to glue to the bottom of the metal plate. This will keep the metal from scratching my desk or any surface that it sits on.

And with that, the project was done!


For more detailed instructions, be sure and watch the video. I'd love to see pics of yours if you decide to make your own.
If you liked this project and want to stay up to date with what I’m building, then be sure to sign up for my emailed newsletter and you’ll get an email when I post something new. See you soon!
You can find me on Instagram @makergray