
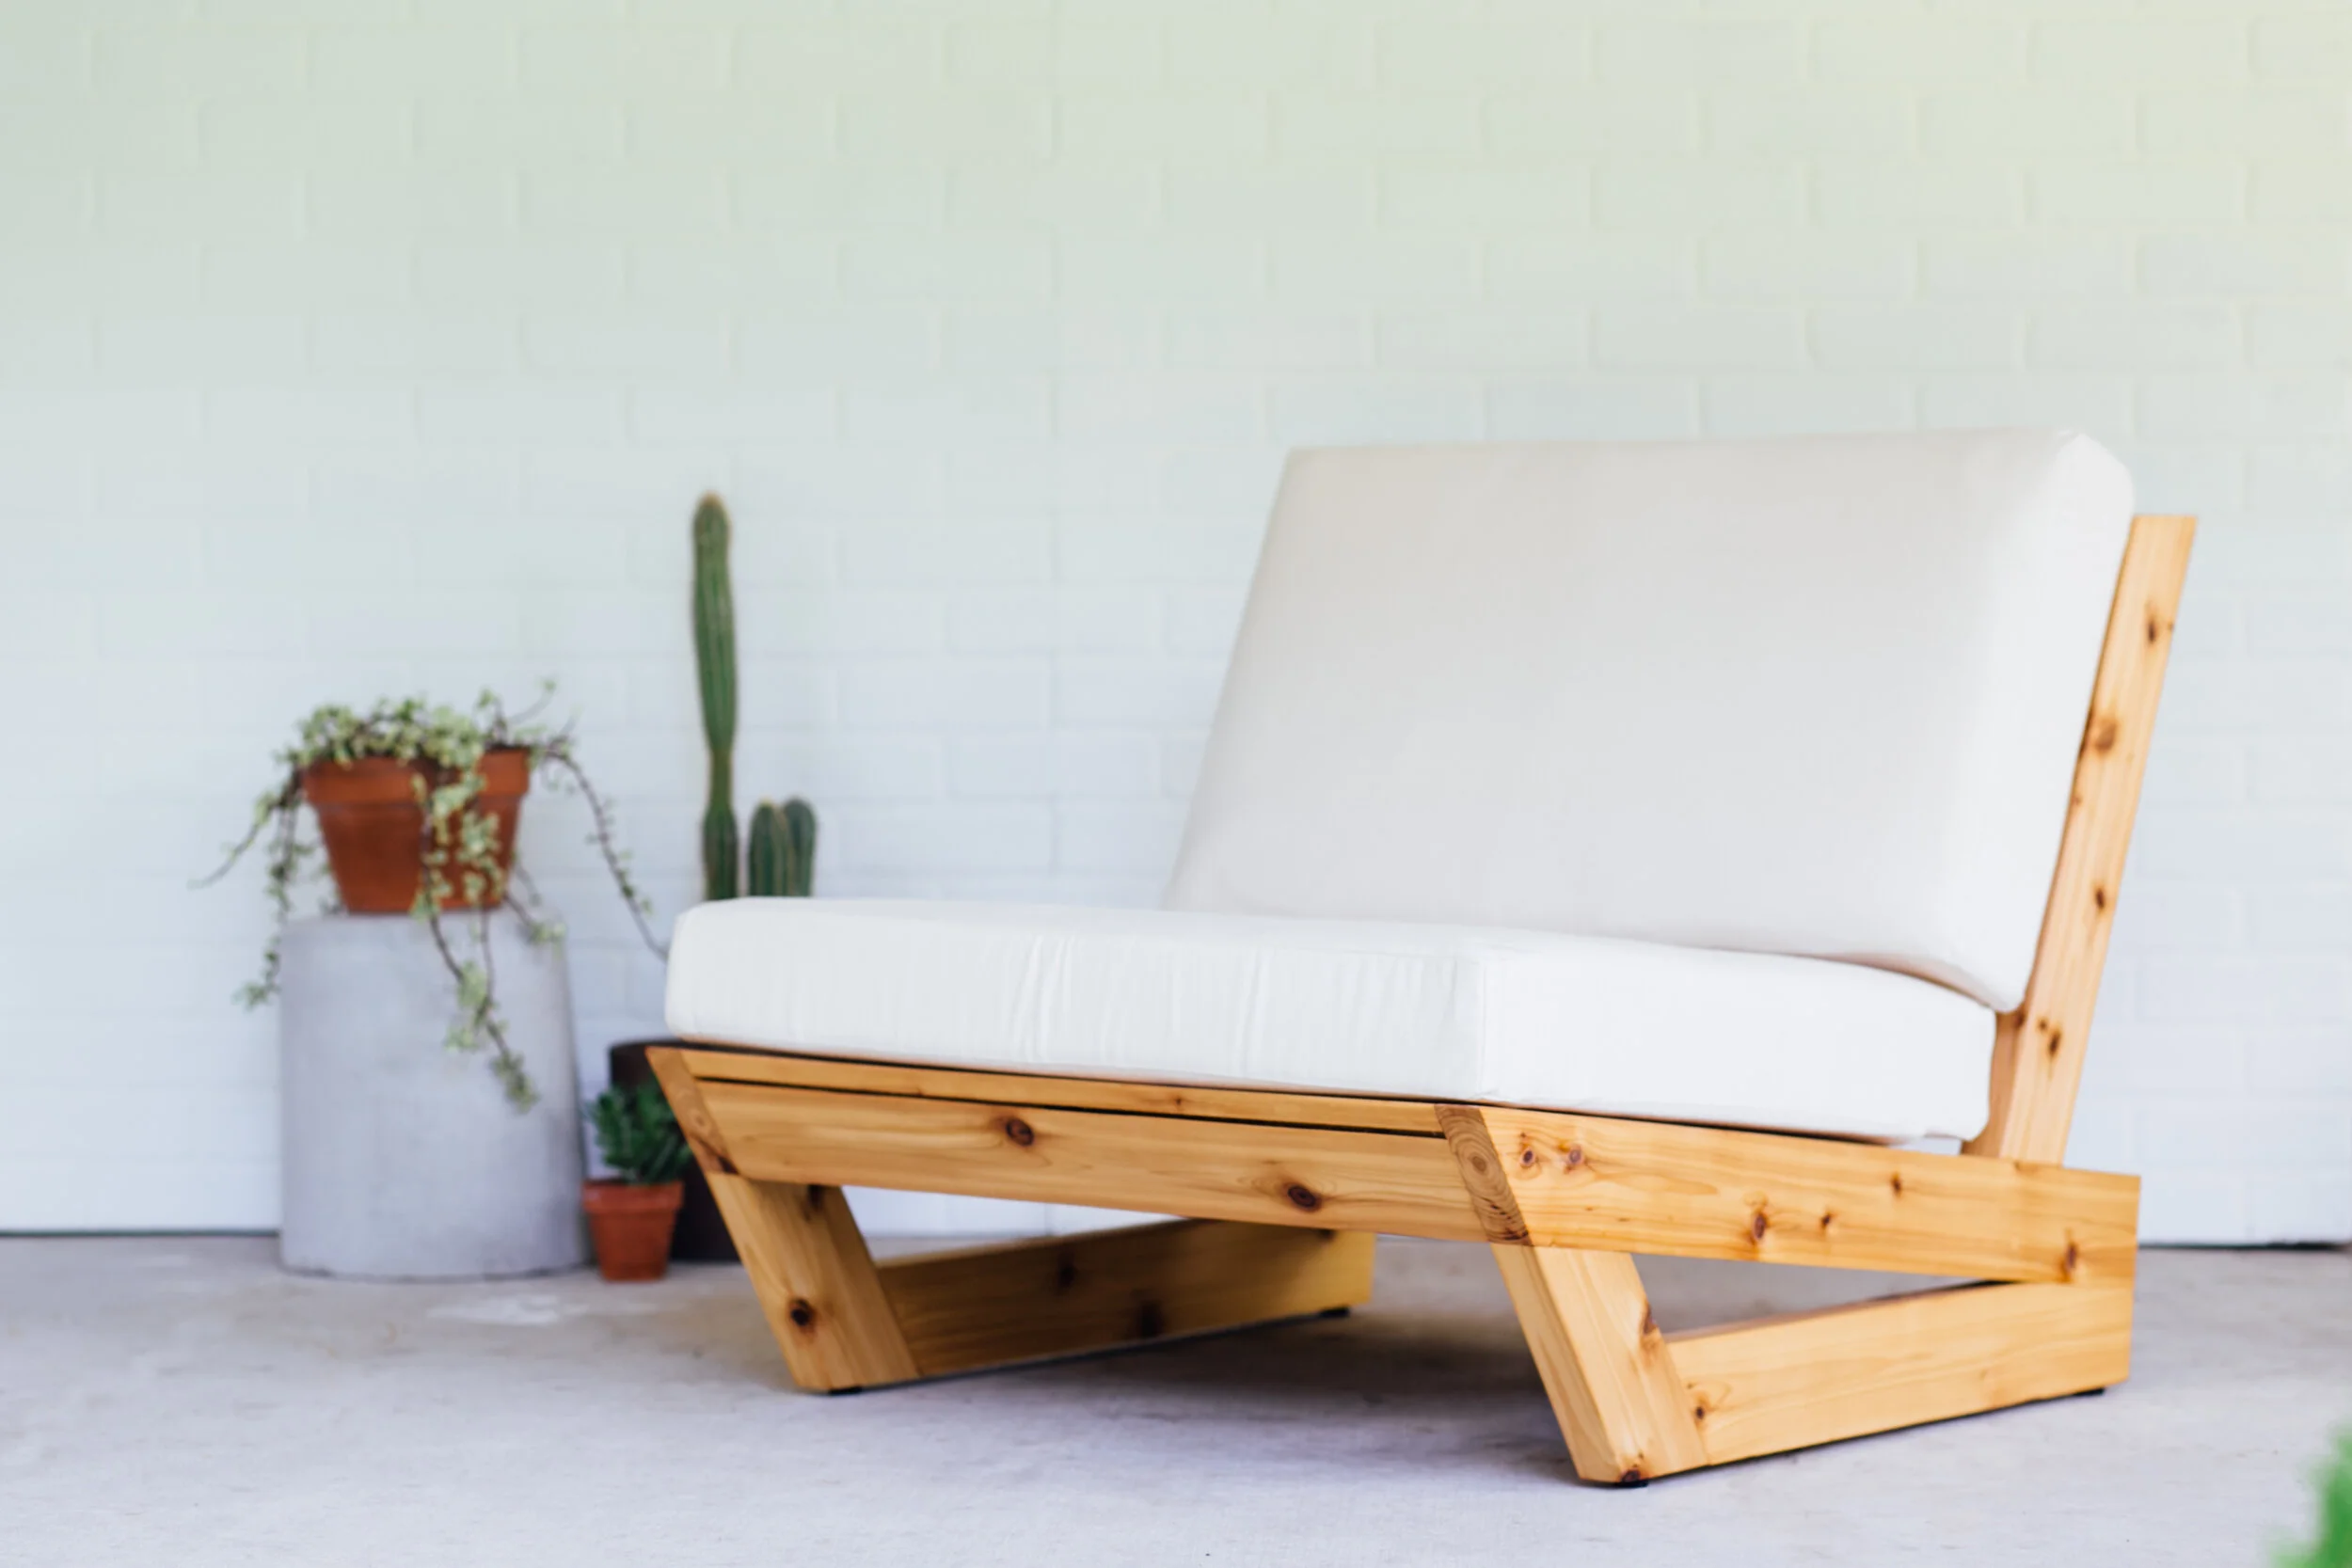
DIY Modern Outdoor Lounge Chair
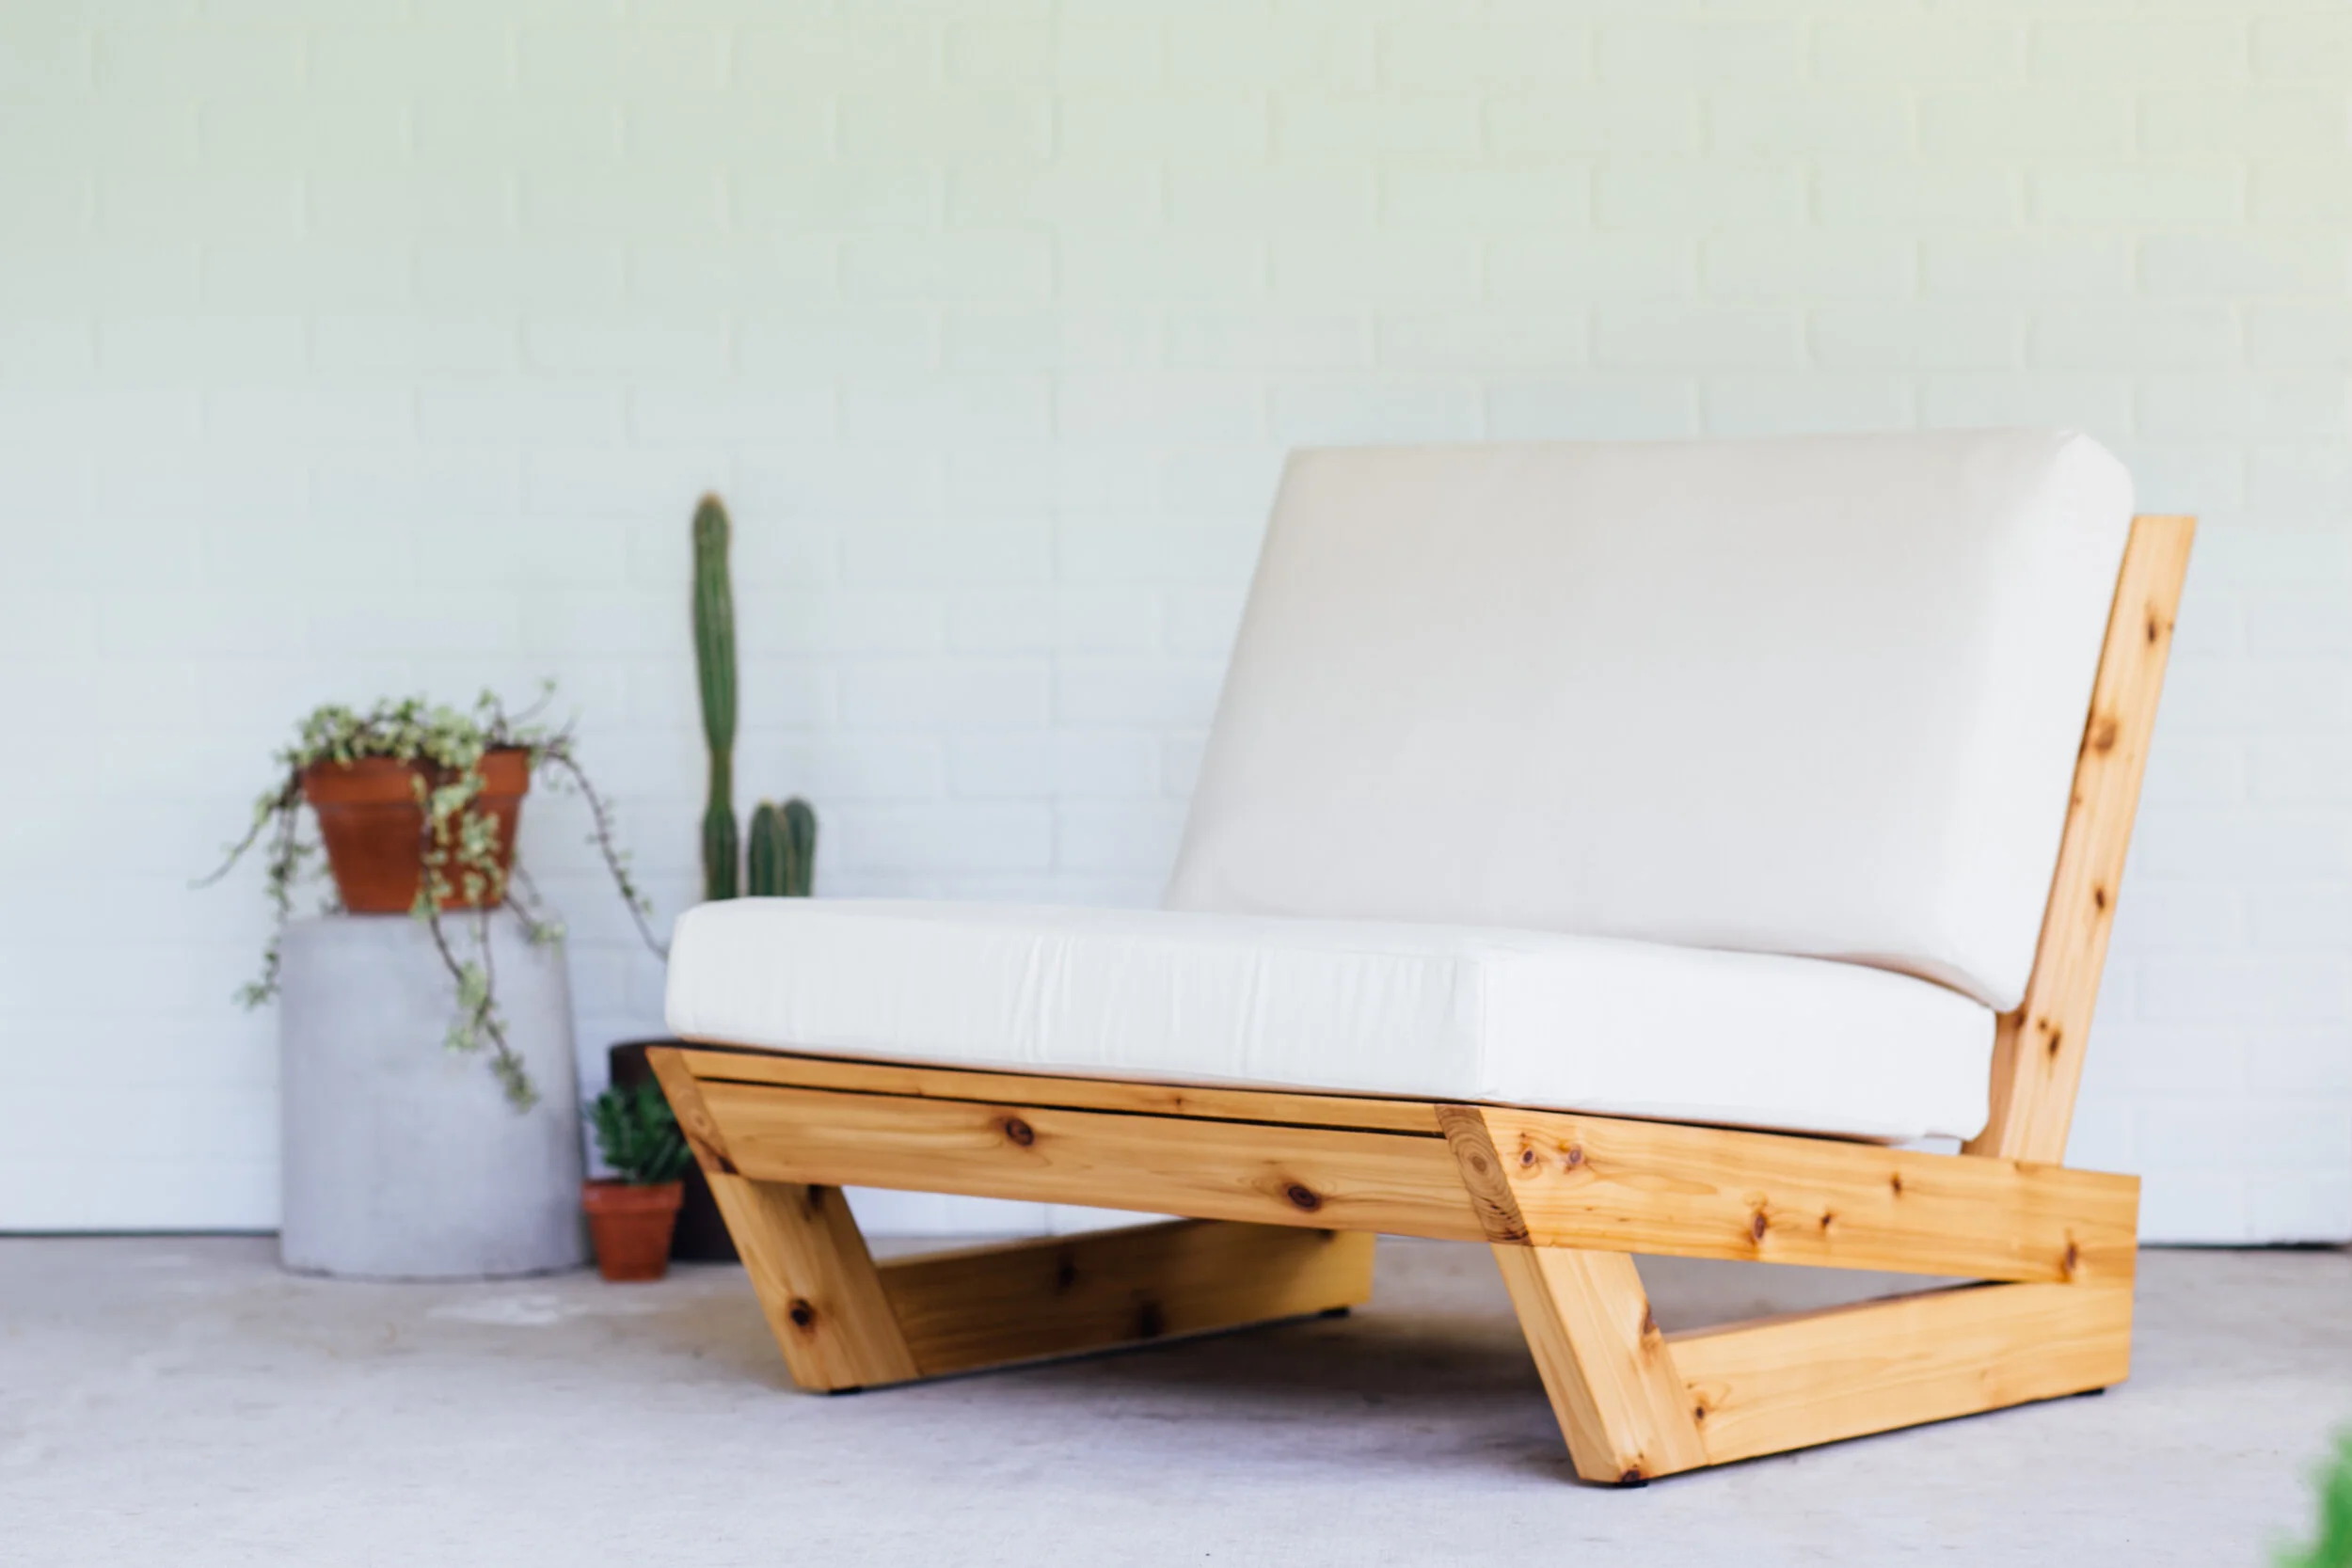
I wanted beautiful, comfortable outdoor chairs that felt intentional — that modern, mid-century vibe with clean lines and a deep seat you actually want to sink into. But when I started pricing those out? Ooof. So expensive.
So I built my own out of cedar 2x4s from my local home center for a fraction of the cost. And I loooove them.
I made two of these for my outdoor patio but they'd be just as at great inside. The design is clean enough to work in a living room, a screened porch, or a covered outdoor space. You can even modify the width to fit standard store-bought cushions, or go custom like I did. I have the cushion dimensions in the plans either way.

Why Cedar
The frame is built entirely from cedar 2x4s, and the choice matters if you are using these outdoors. Cedar is naturally resistant to water and rot, which makes it ideal for outdoor furniture. It's also lightweight and honestly just beautiful — that warm grain looks great with a stain or finish.
You can find cedar at most home centers. Everything you need is accessible and affordable.

Tools You'll Need
Worth knowing before you start so you can plan ahead.
Circular Saw — handles most of the cuts
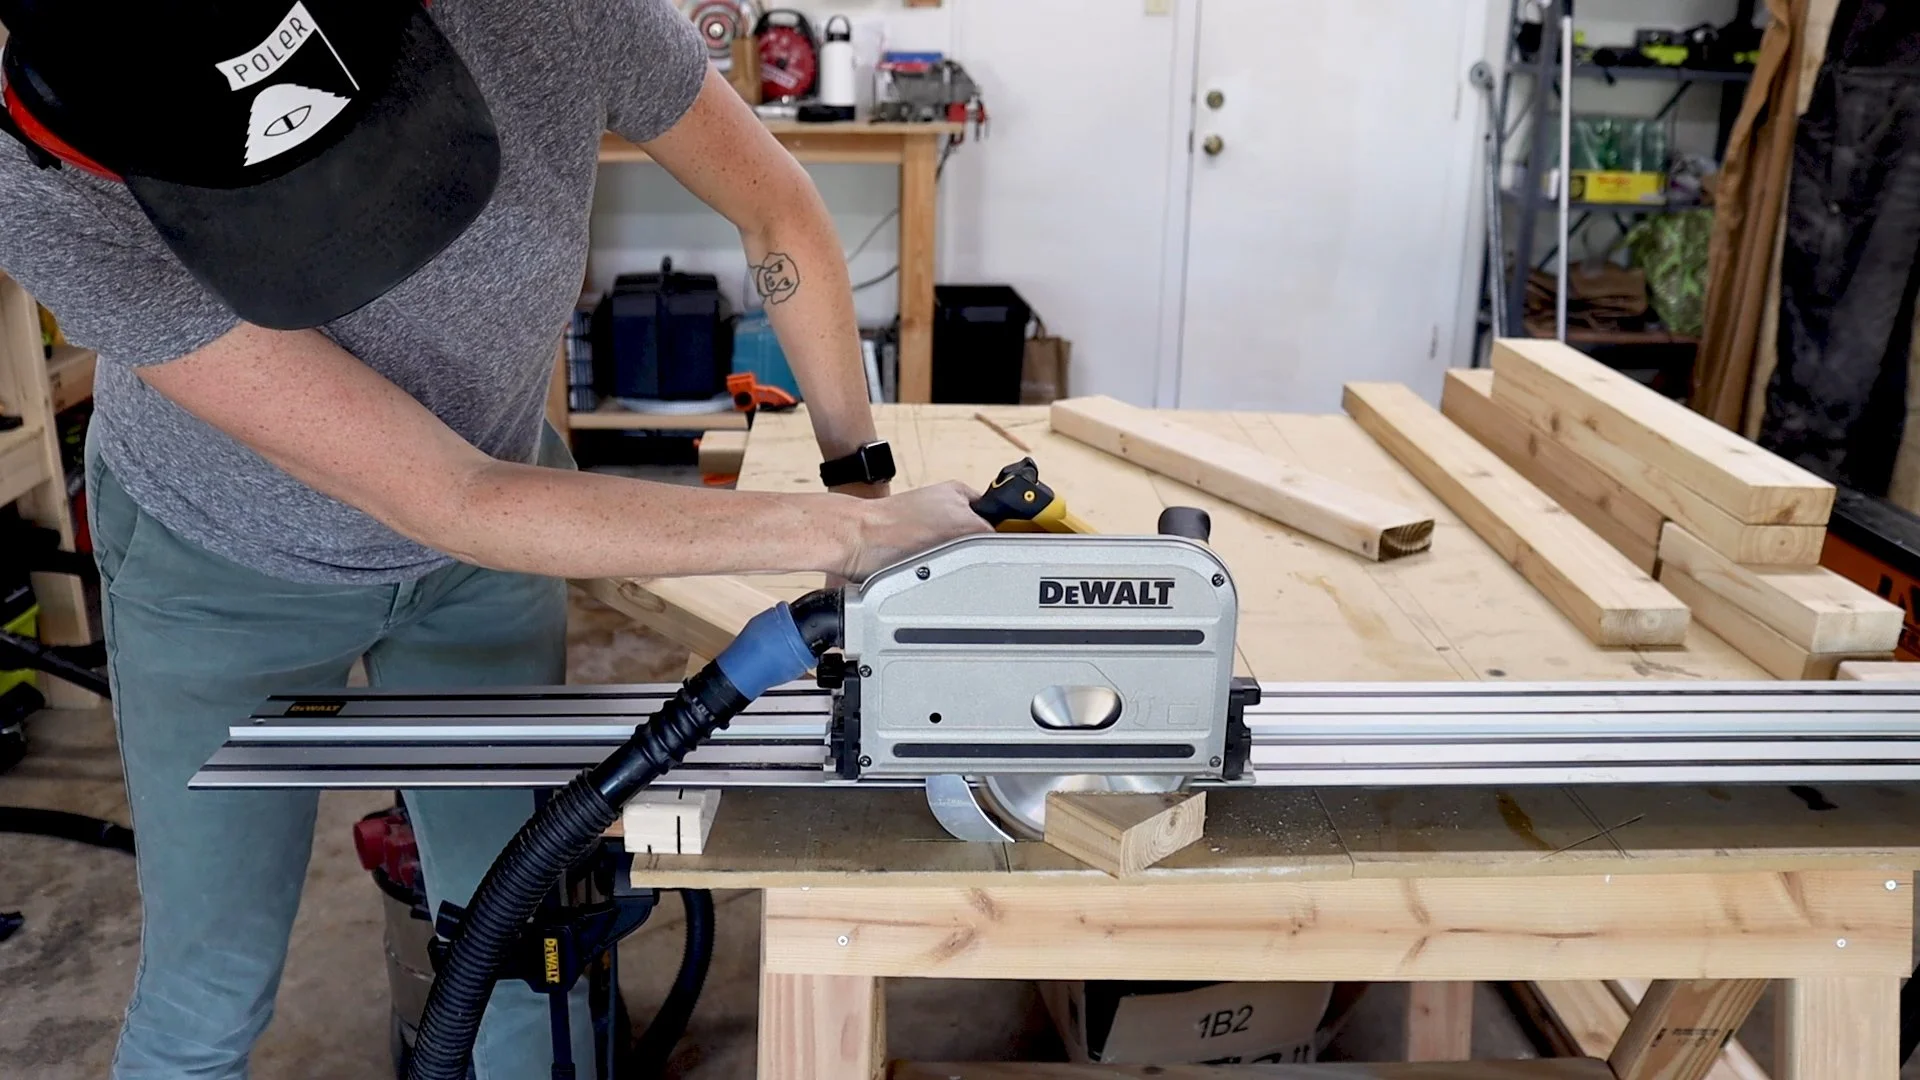
Track Saw — great for the angled leg cuts
Pocket Hole Jig — or the less expensive version
The full materials list with quantities is inside the build plans.
Get the complete cut list, material list + build plans
Watch the Full Build
A lot of the joinery and angle cuts in this build are much easier to follow visually. Watch the full build video below before you start — it'll save you time and second-guessing.
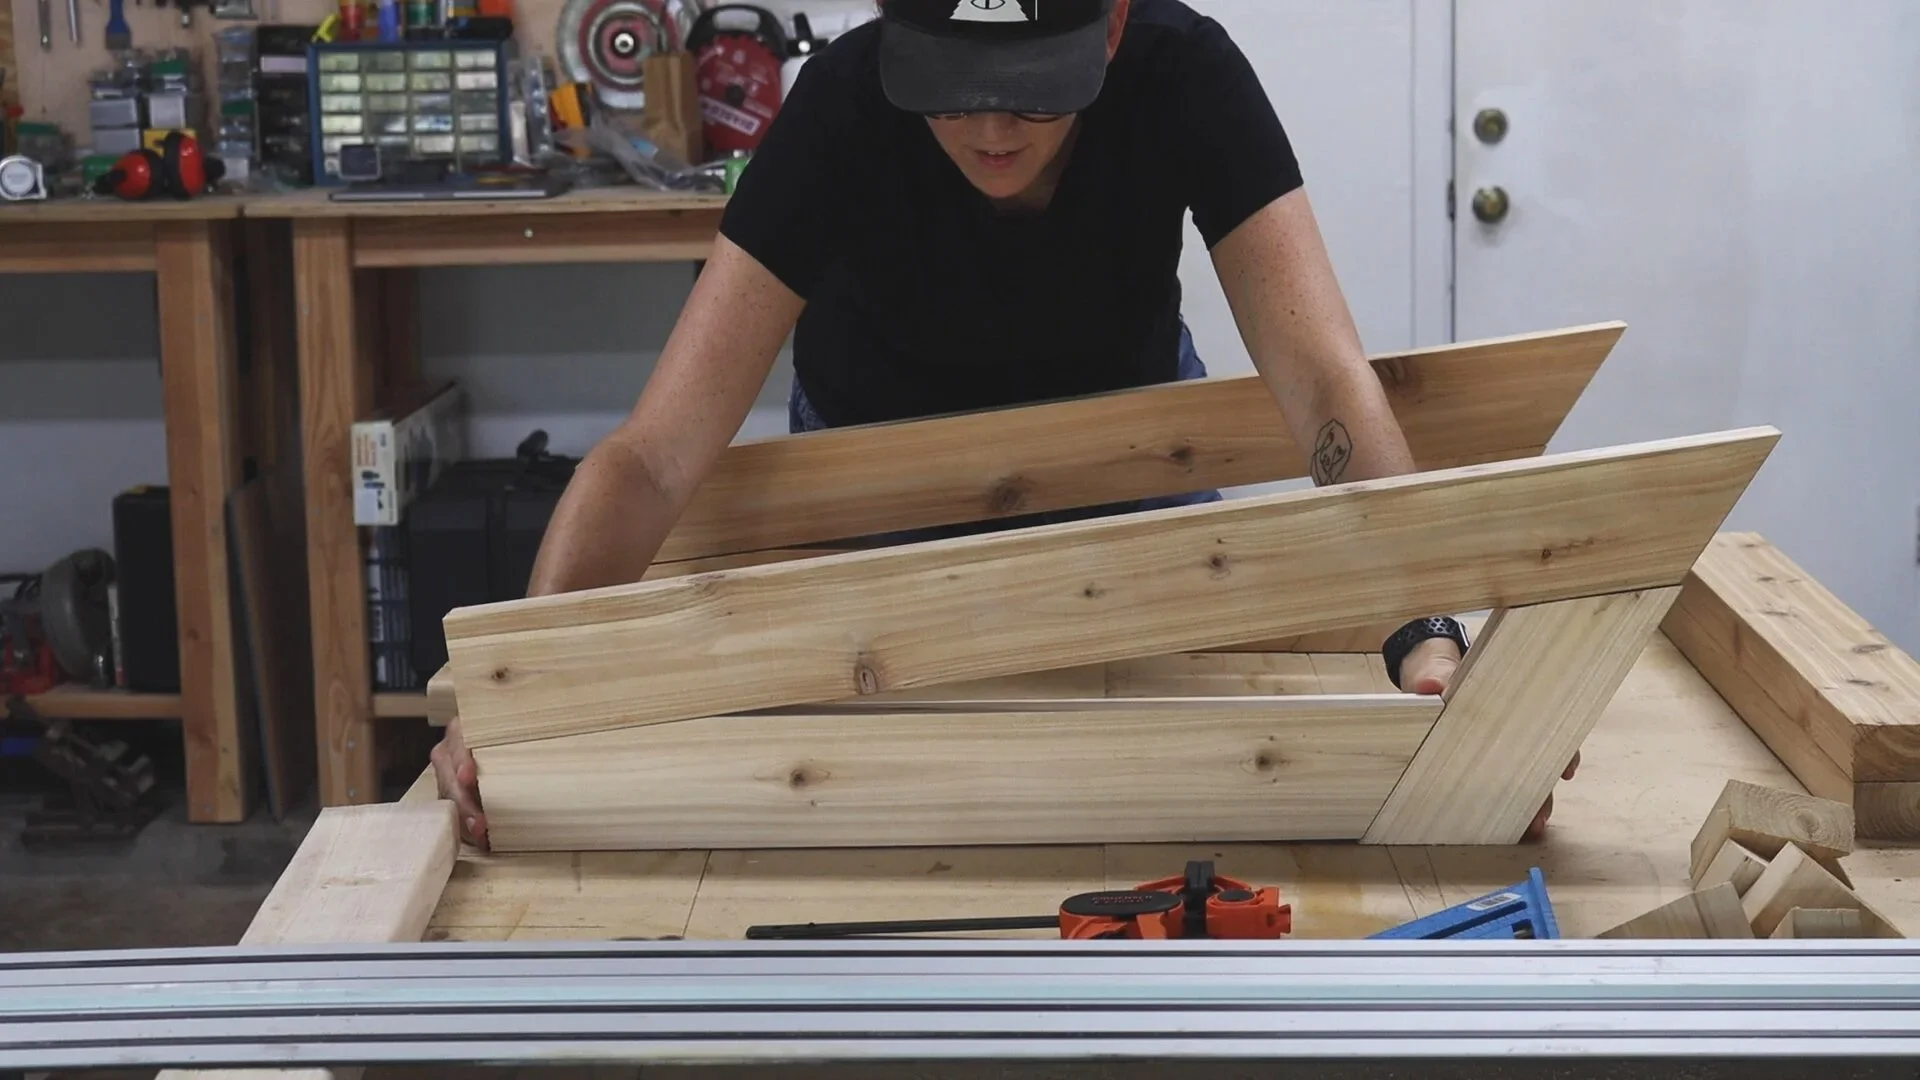
Building the Legs
The legs are made up of three cedar 2x4 pieces each — two legs total, so six pieces cut. Each piece has angled cuts, and getting those angles right is the most important part of this whole build. The plans have every angle called out, and if you want to skip the measuring entirely, the templates do the work for you — just trace and cut. If you're going freehand, I used a digital angle gauge to find and mark each angle, then cut with my track saw. A circular saw works just as well.

If the angles feel intimidating, this is one of those moments where watching the video first makes everything click. Watch it here
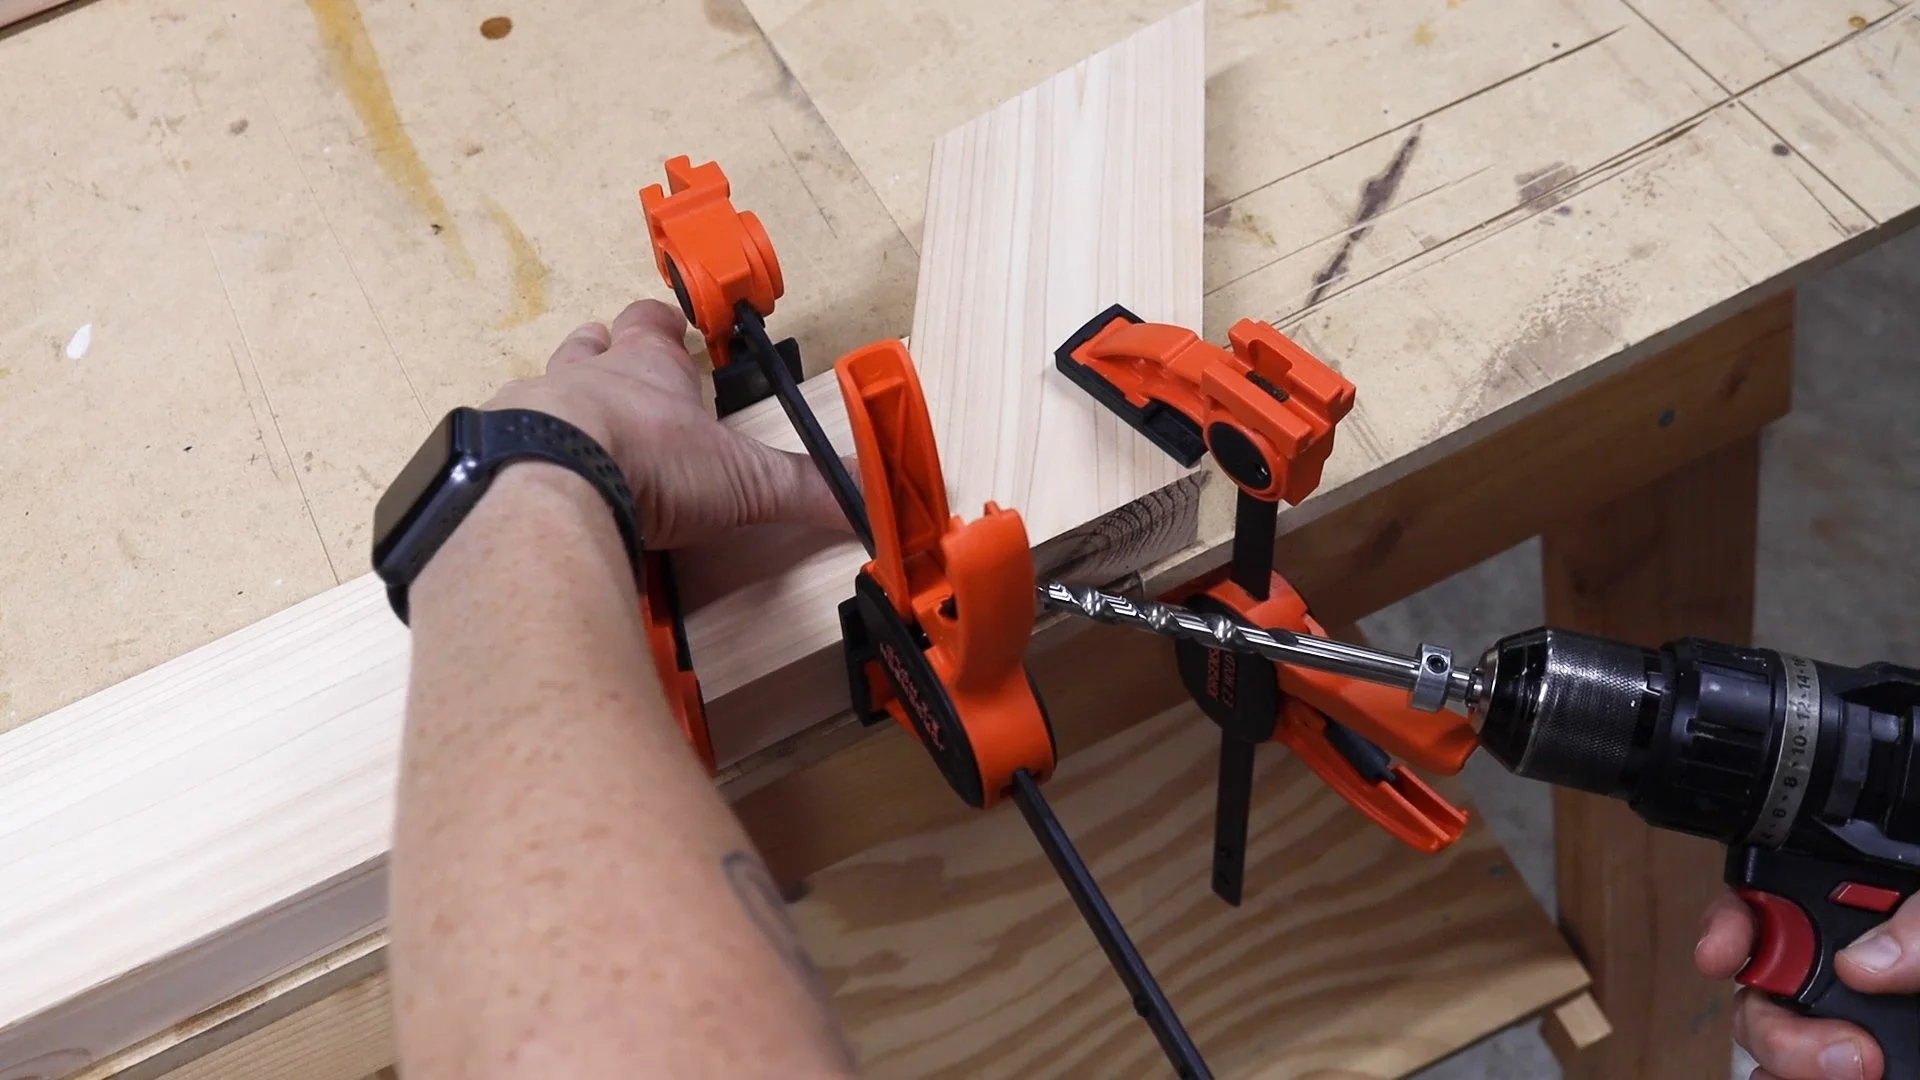
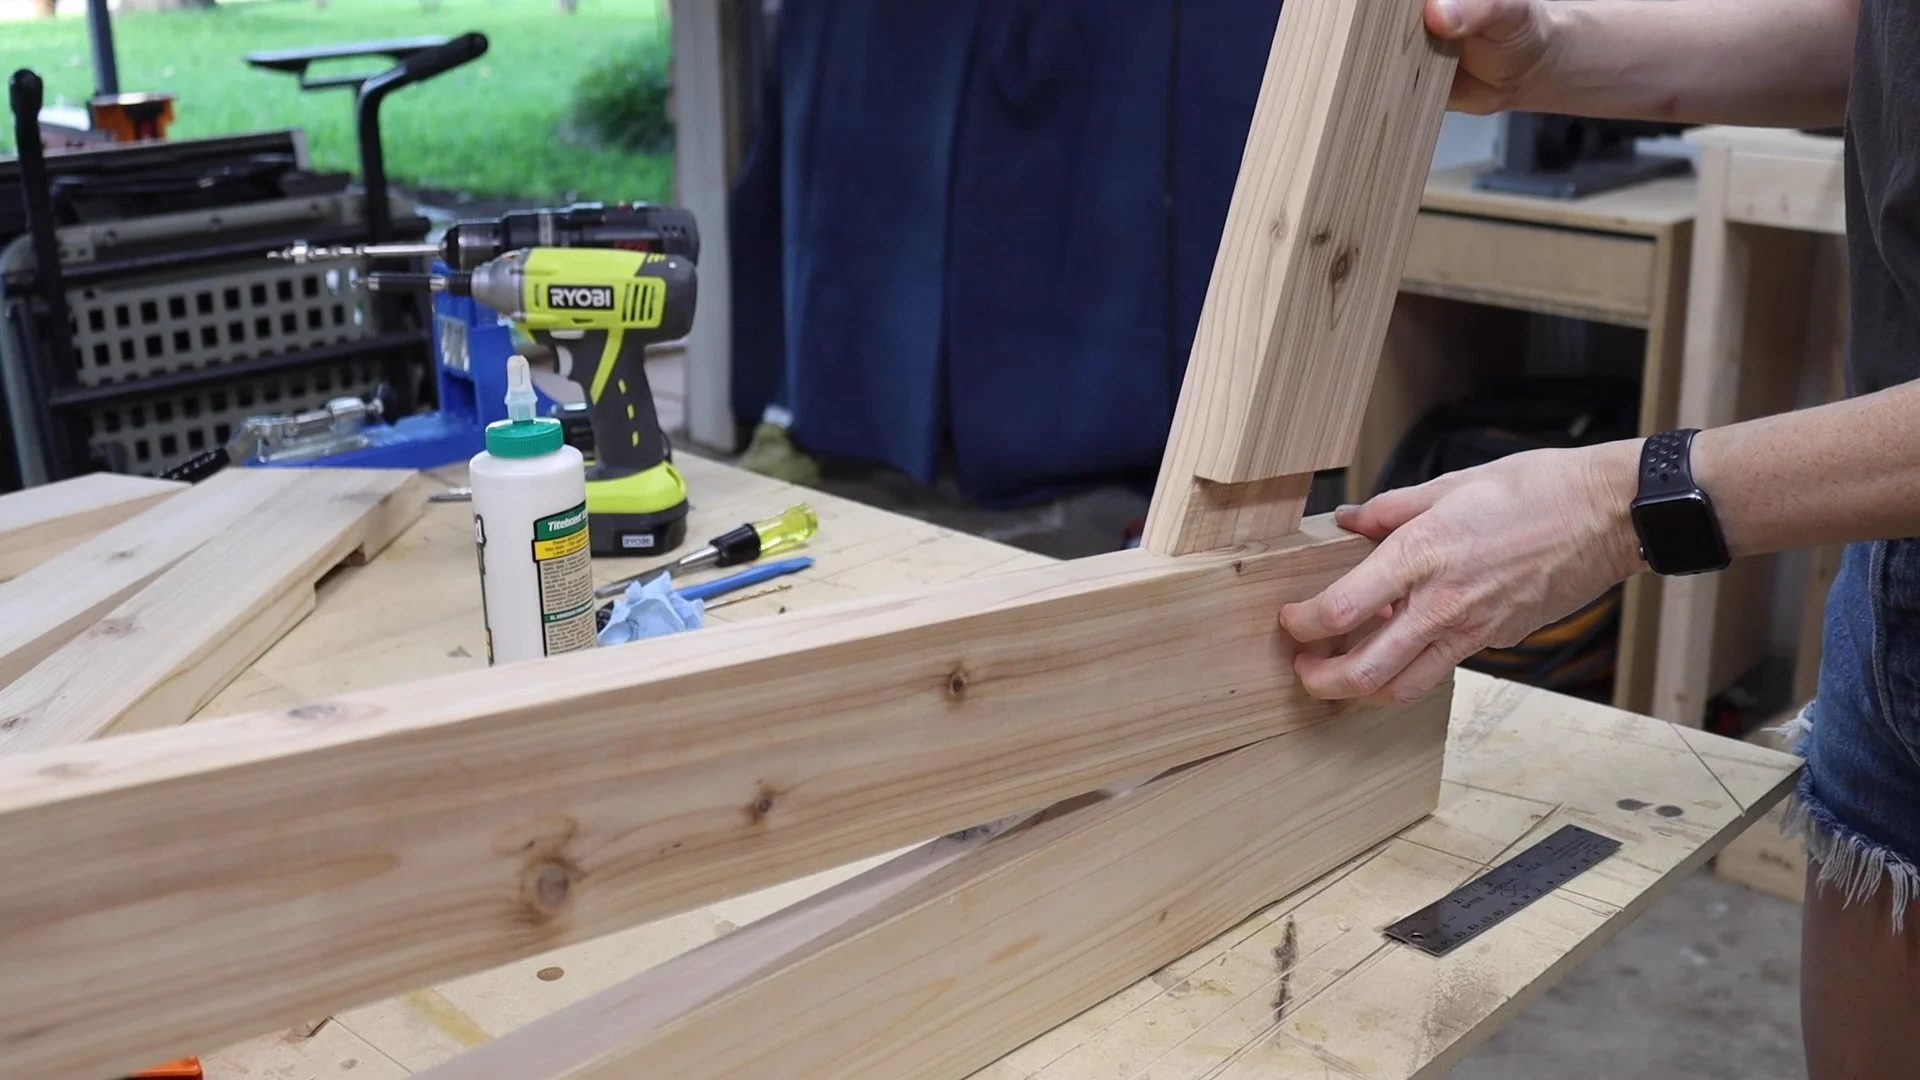
Before gluing up the legs, I needed to cut the half lap joints where the seat back side supports connect in. A half lap means removing half the material from each joining piece so they overlap flush. I clamped the two members together and made multiple passes with my circular saw set to the correct depth, then cleaned up the joint with a chisel. It's not a complicated joint. It just looks impressive when it's done. Great visual of this step in the build video.


To assemble the legs without visible screws, I made holes using a 3/8" Forstner bit, then filled those recesses later with cedar plugs cut from the same material. The result is a clean face with no hardware showing. You don't have to do this — pocket holes work fine. But I love the way it looks.


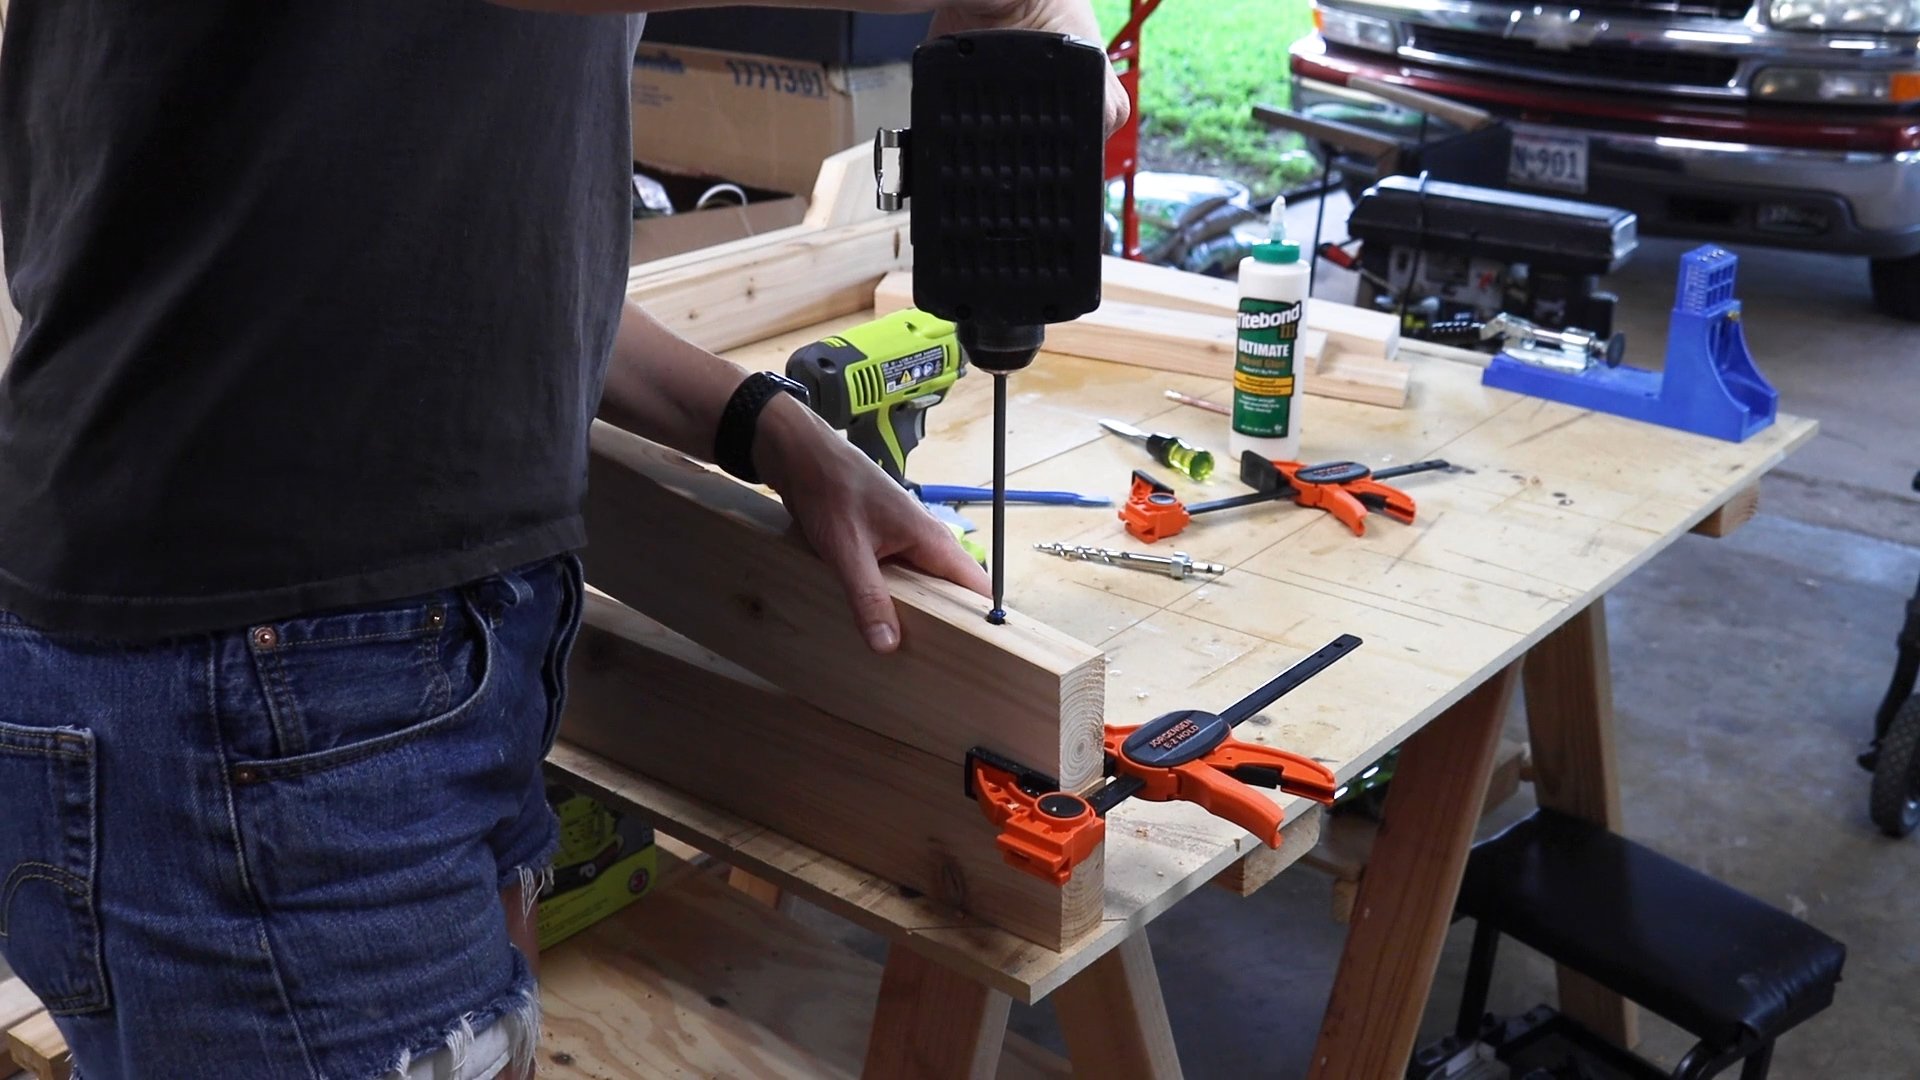
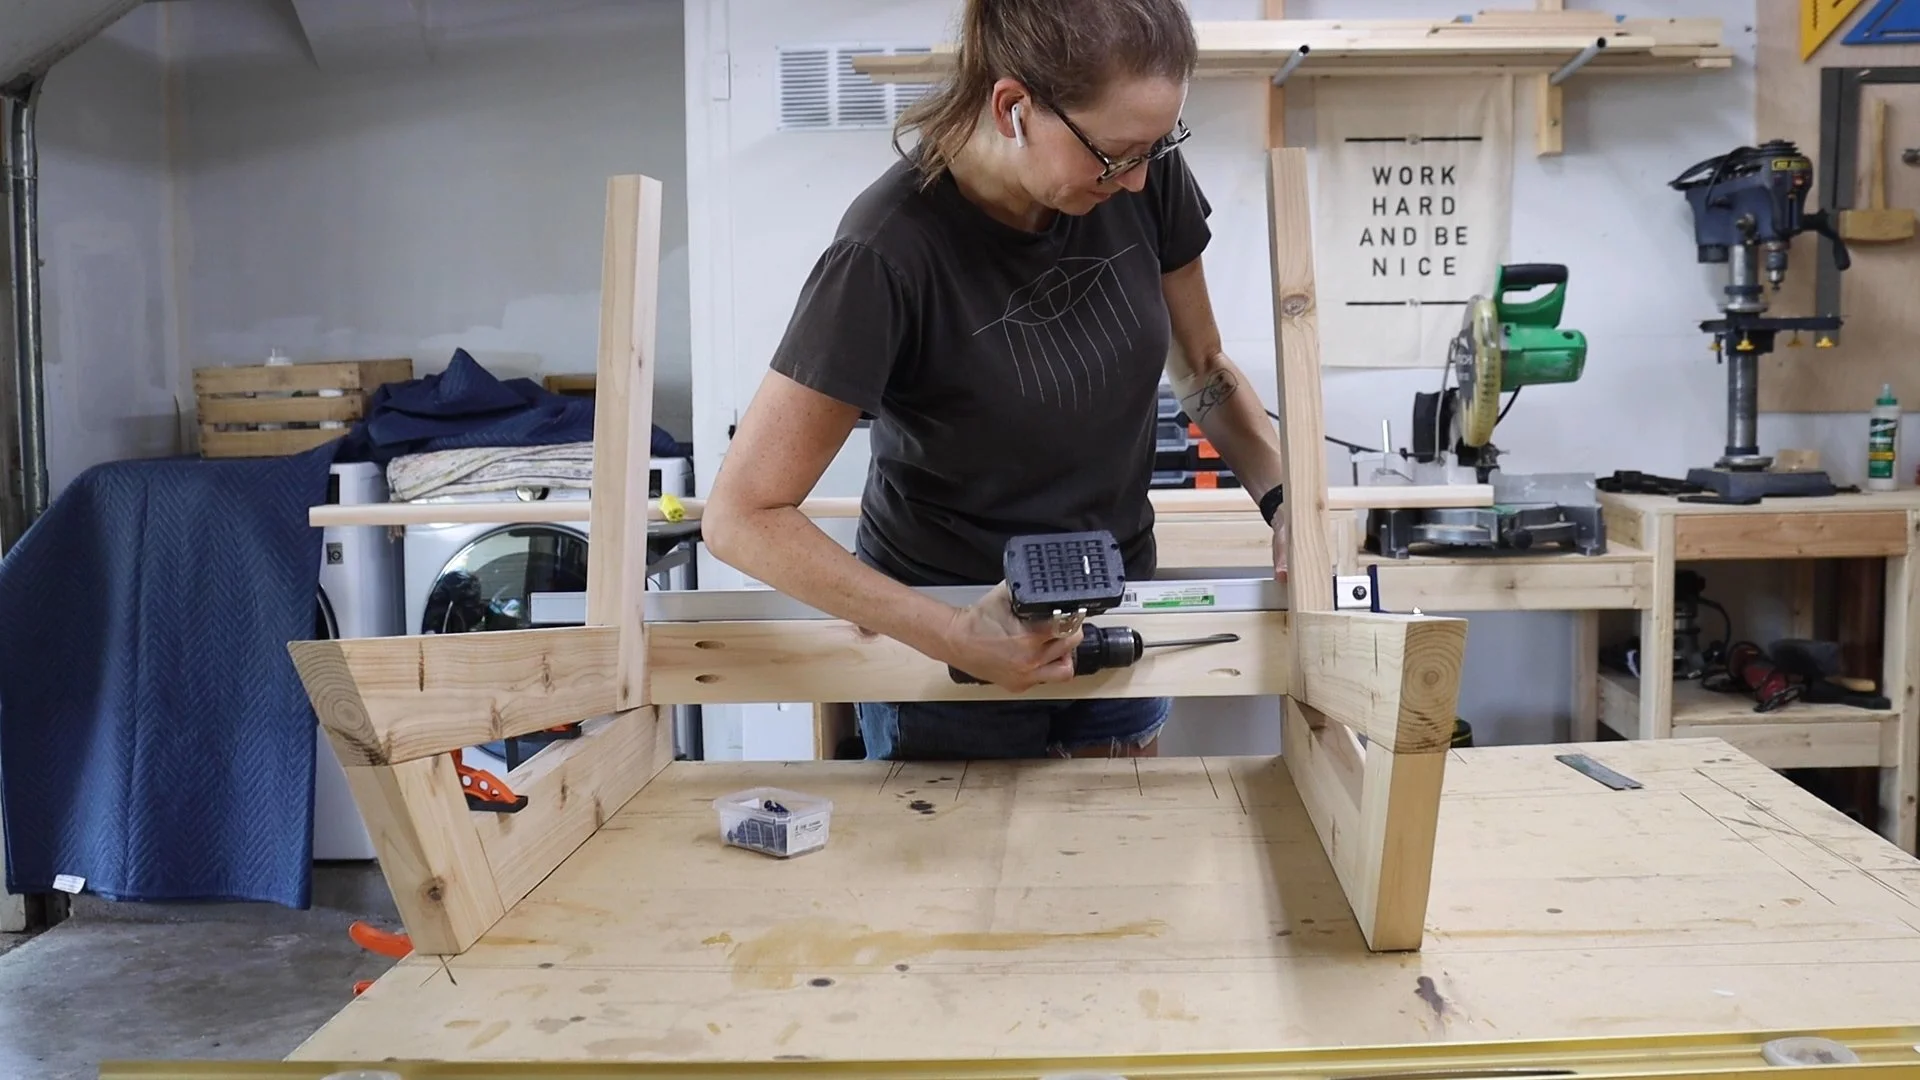
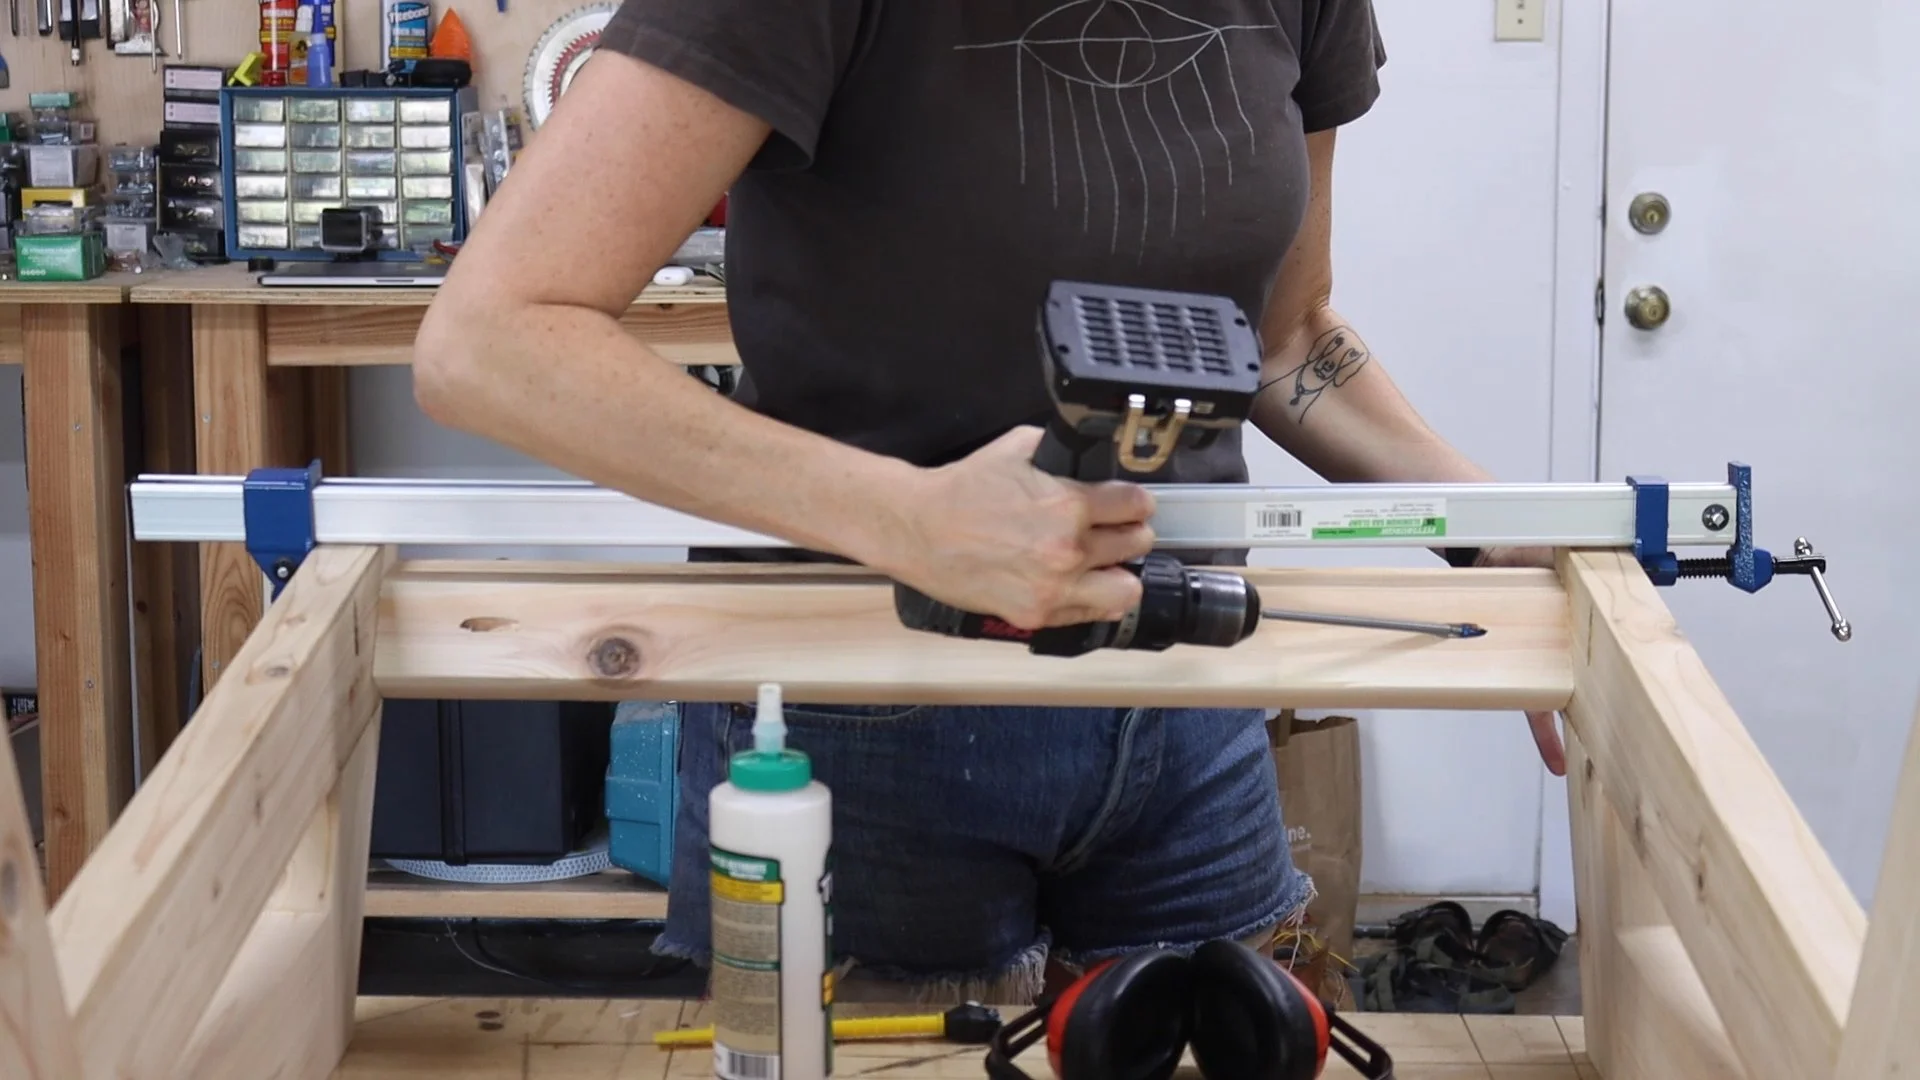
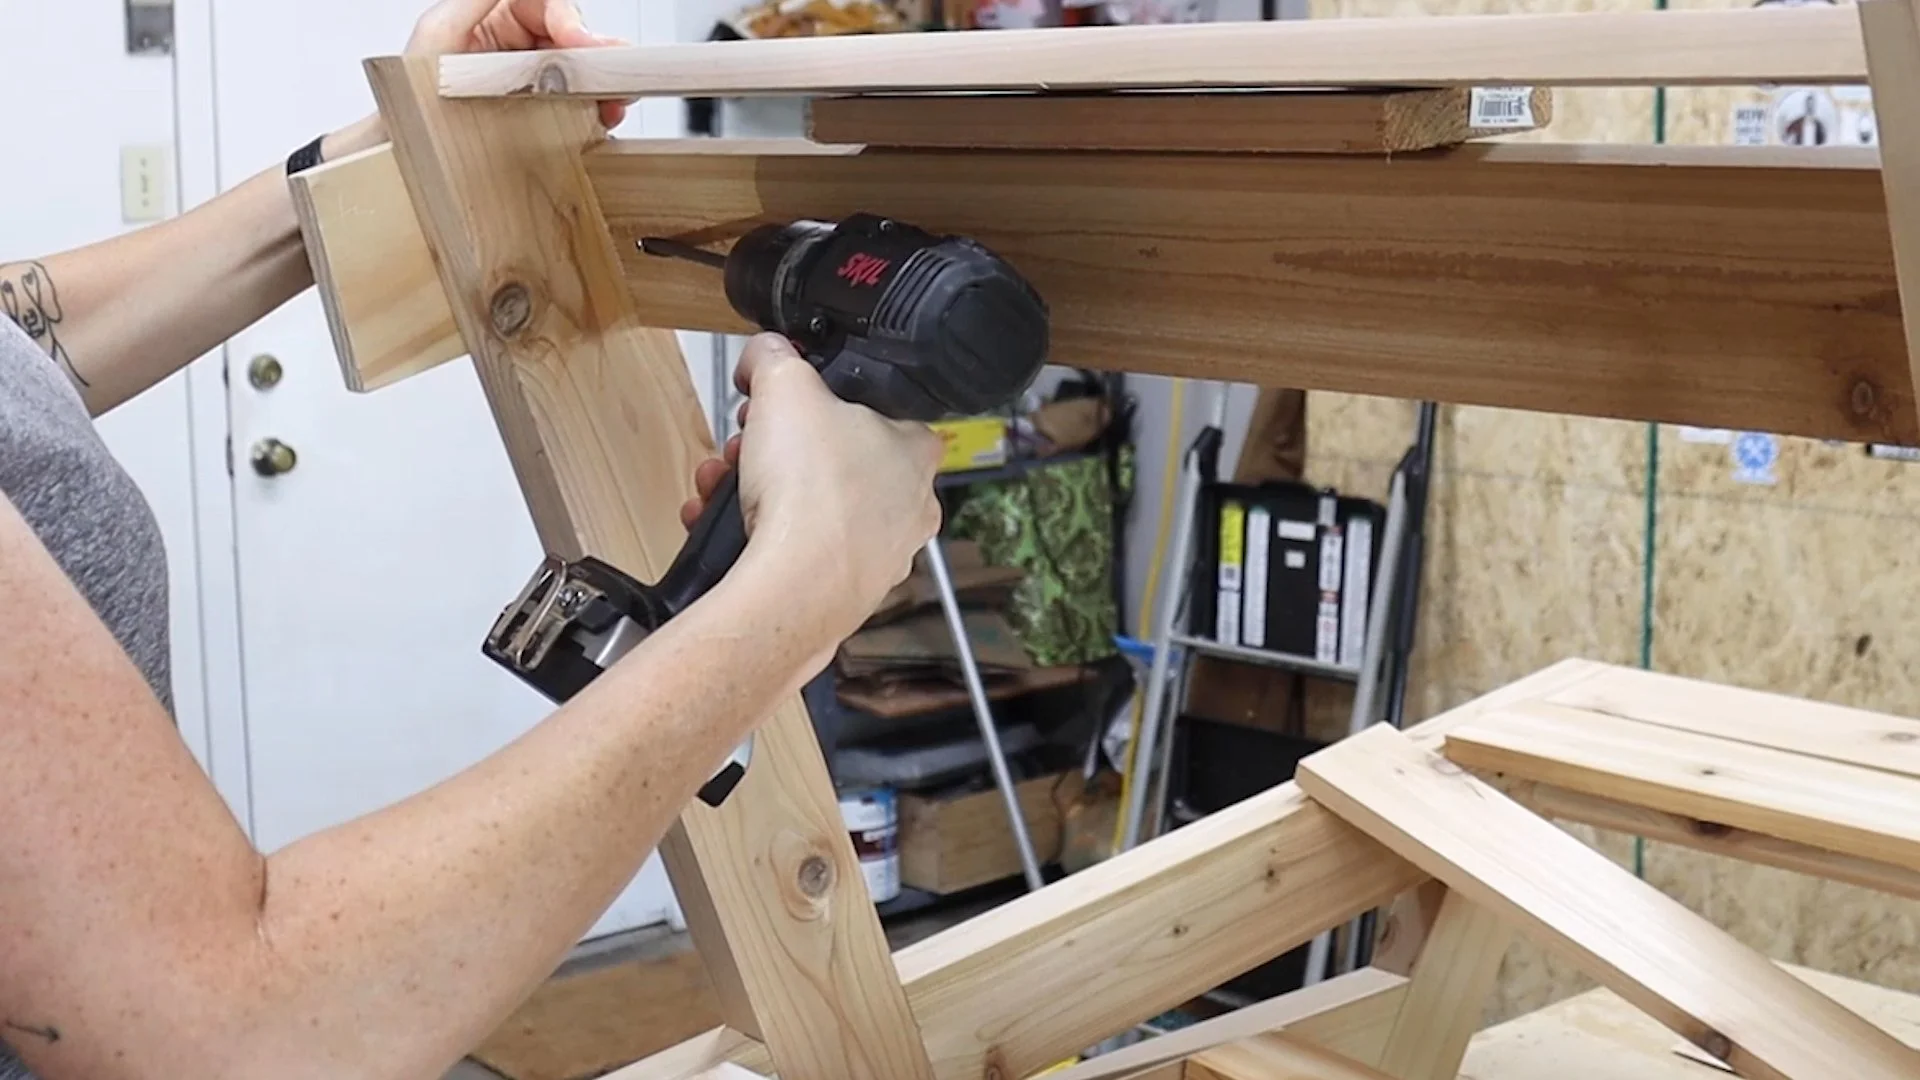
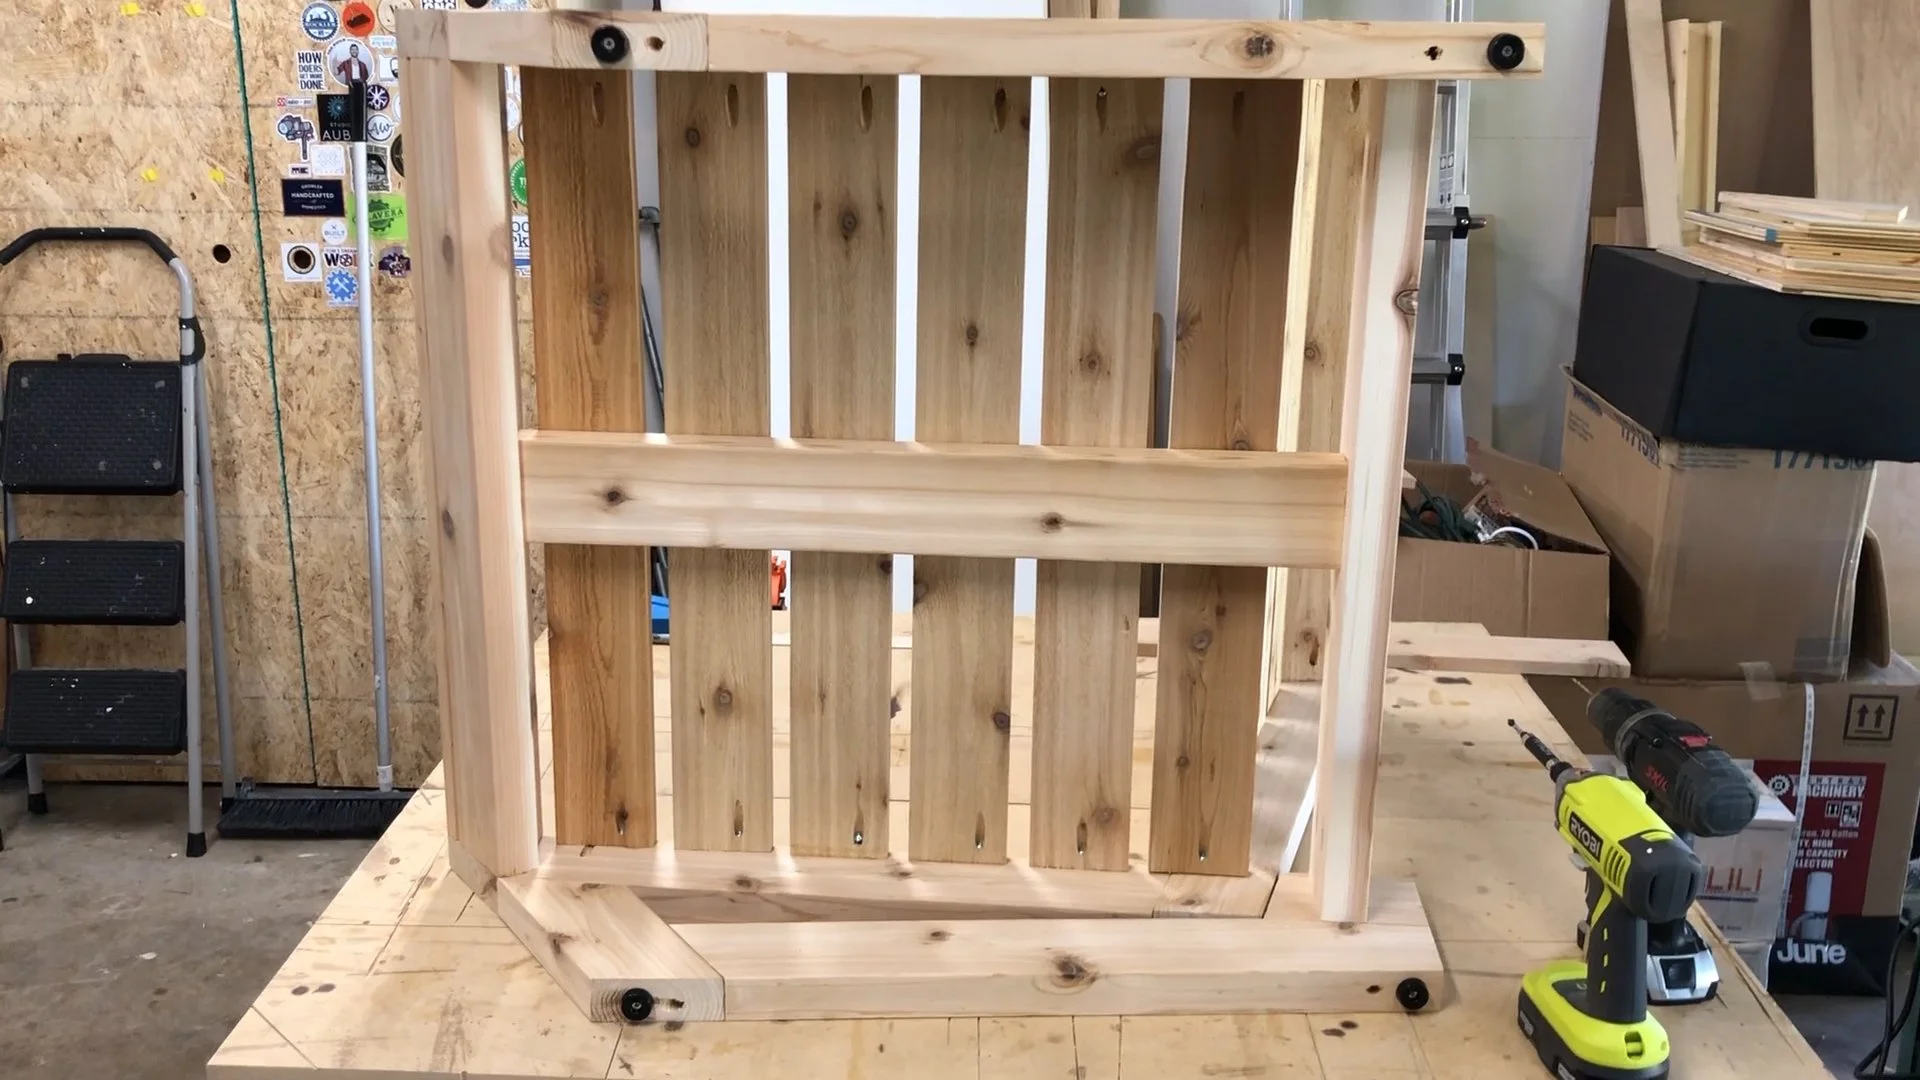
Assembling the Frame
With both legs built, the seat back side supports slide right into the half lap joints and gets glued and screwed together with hidden screws. The exact assembly sequence details are in the build plans.

From there it's about connecting everything with stretchers — front, back, and top.
The back stretcher is straightforward pocket holes.
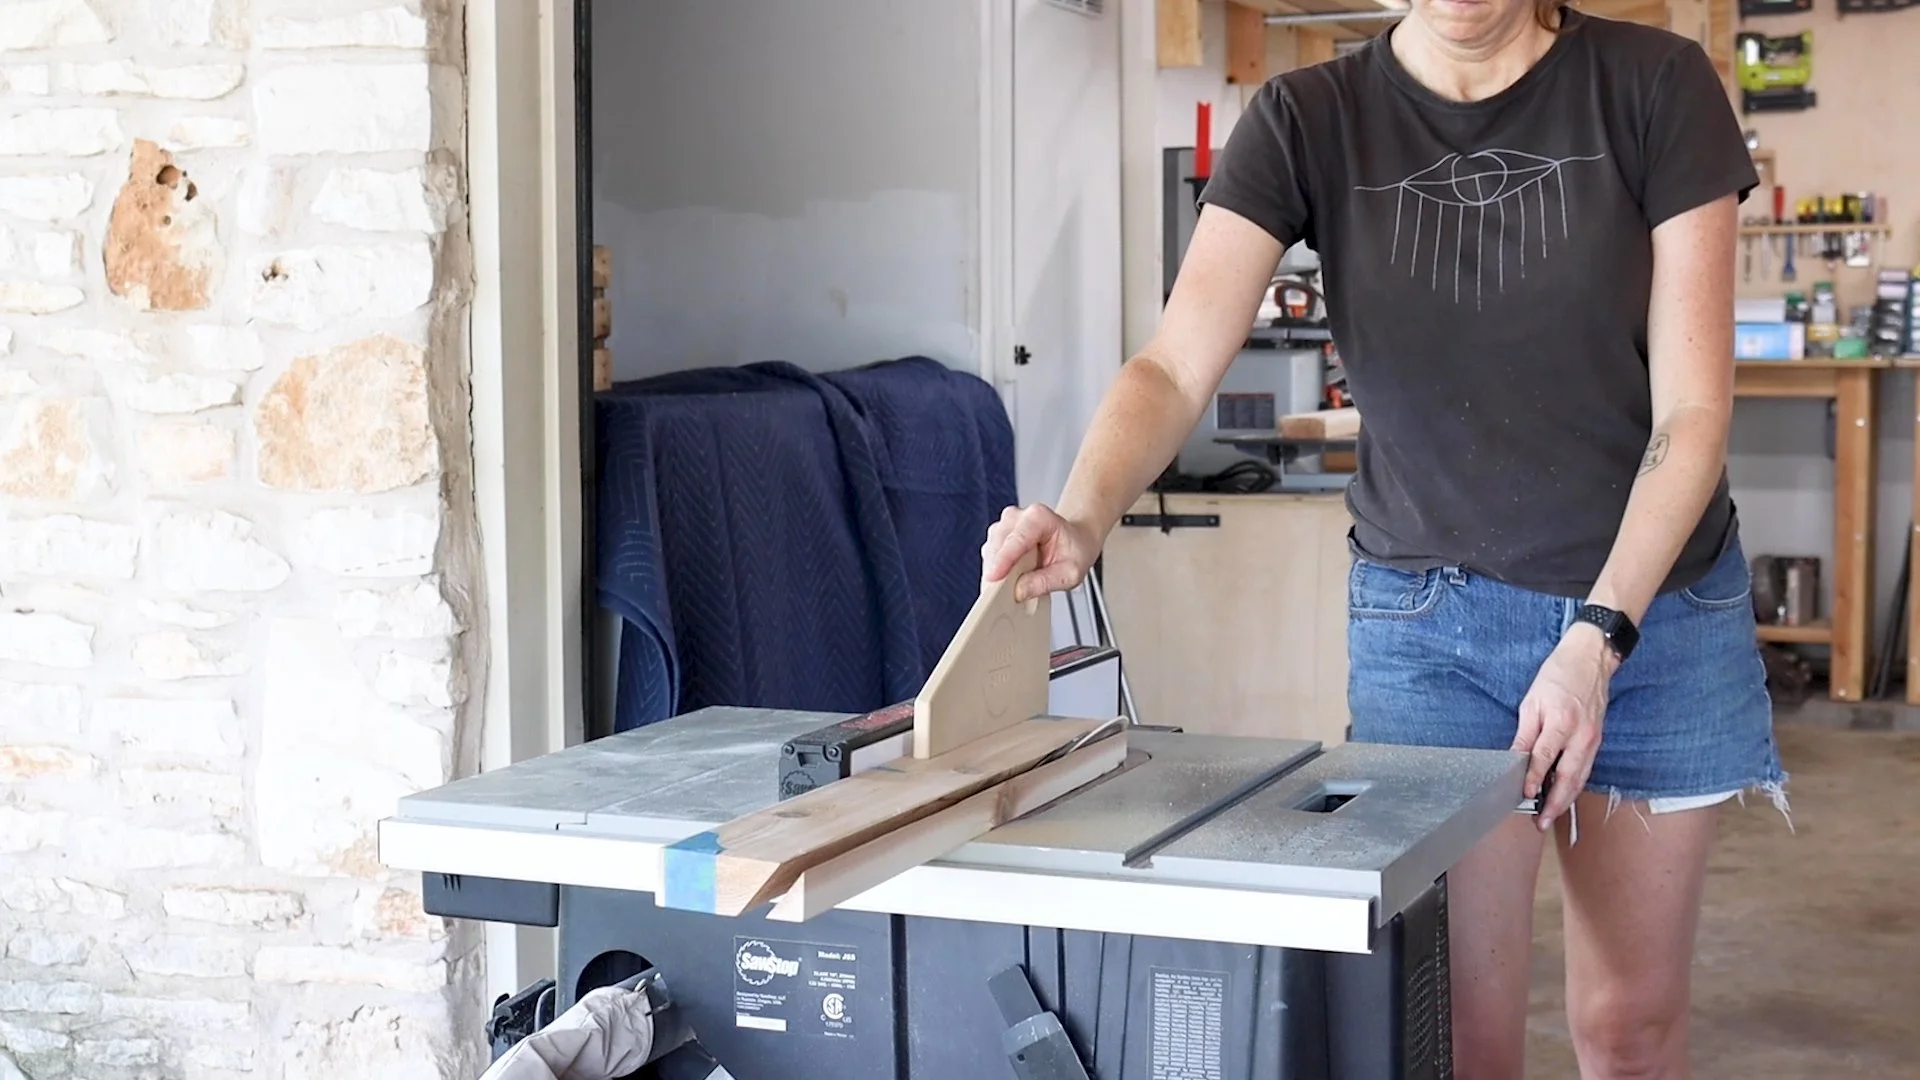
The front stretcher has a 50-degree angle, which is past what most table saws can cut. My workaround: I cut a small wedge from scrap at 5 degrees, taped it to the board, and then cut at 45 degrees — which combined gives me the 50. Little tricks like this are why the build video is so worth the watch.

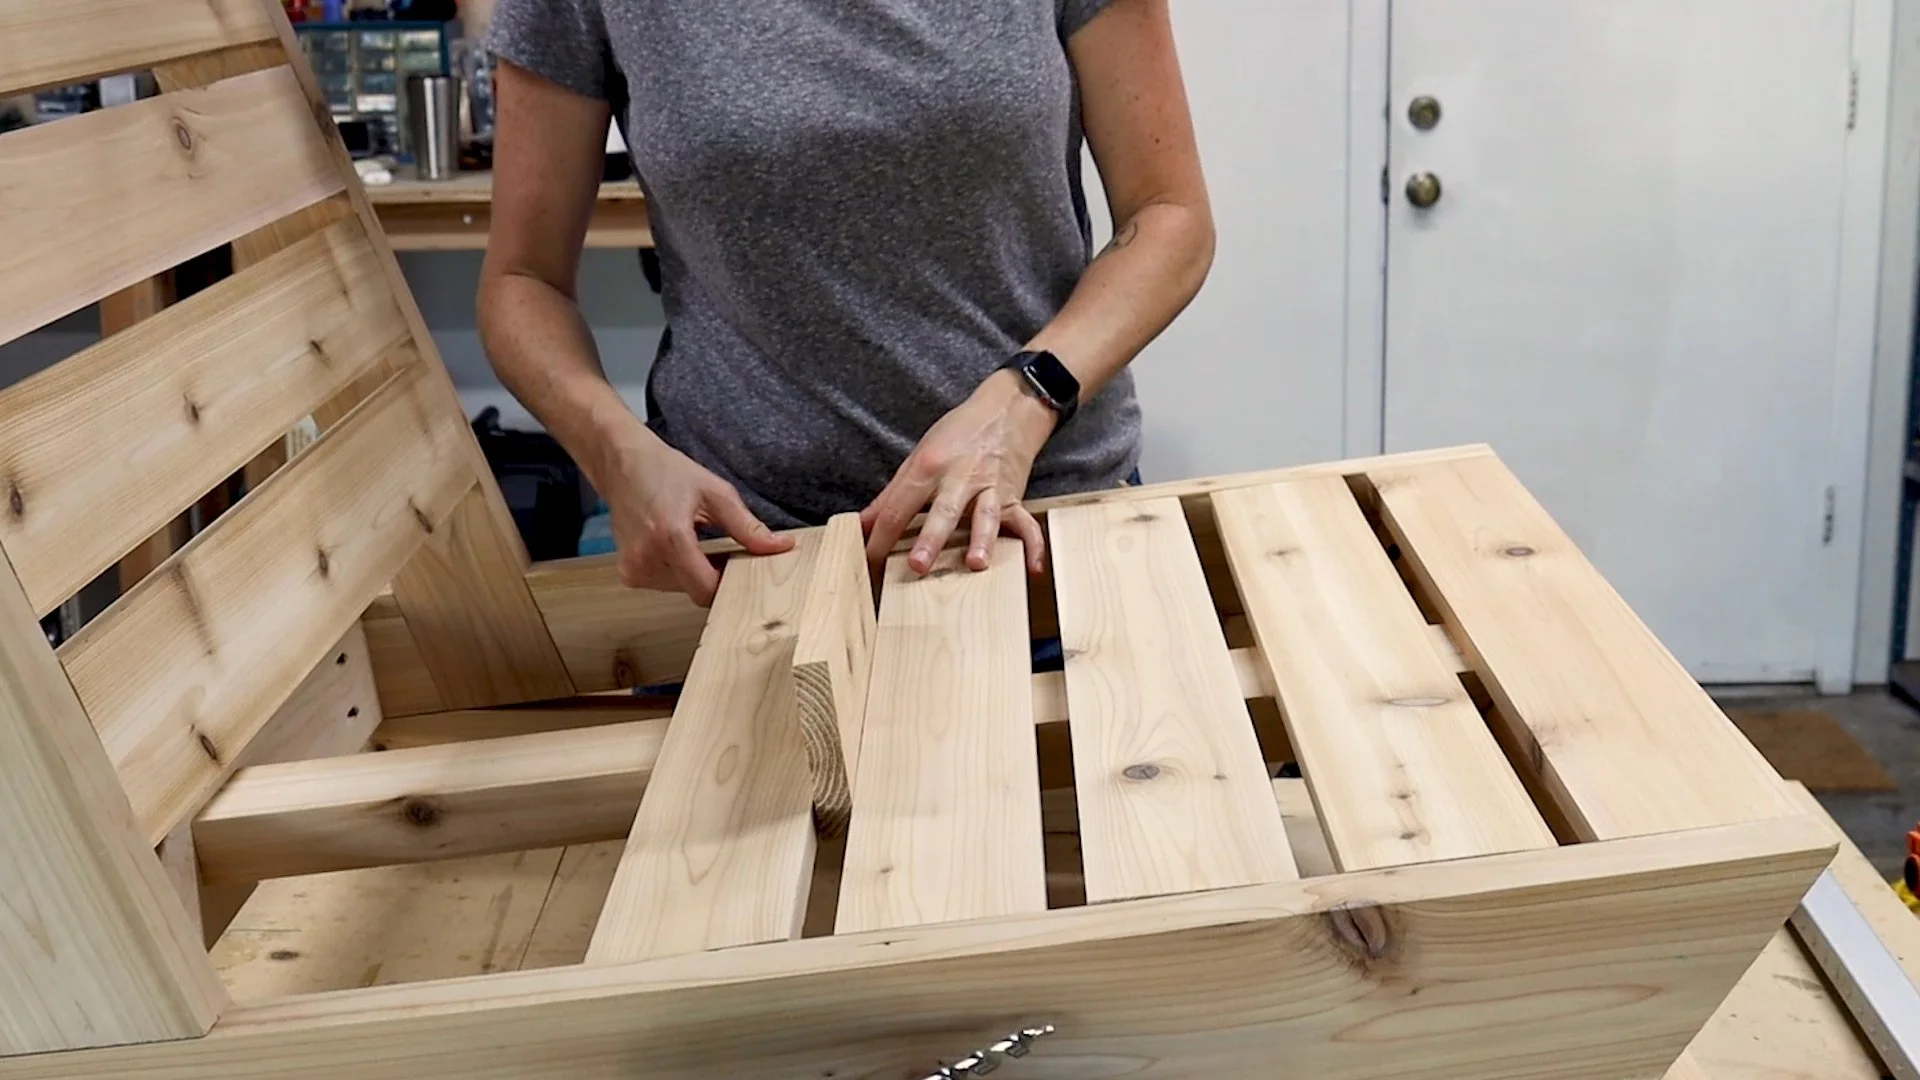
Seat Slats
All the seat slats are the same length. I set up a stop block at my miter saw and batch-cut them all at once — fast and consistent.
The seat bottom gets a center support brace for extra rigidity — just a cedar 2x4 with the front angle cut in, set at the right depth and secured with recessed screws and plugs.
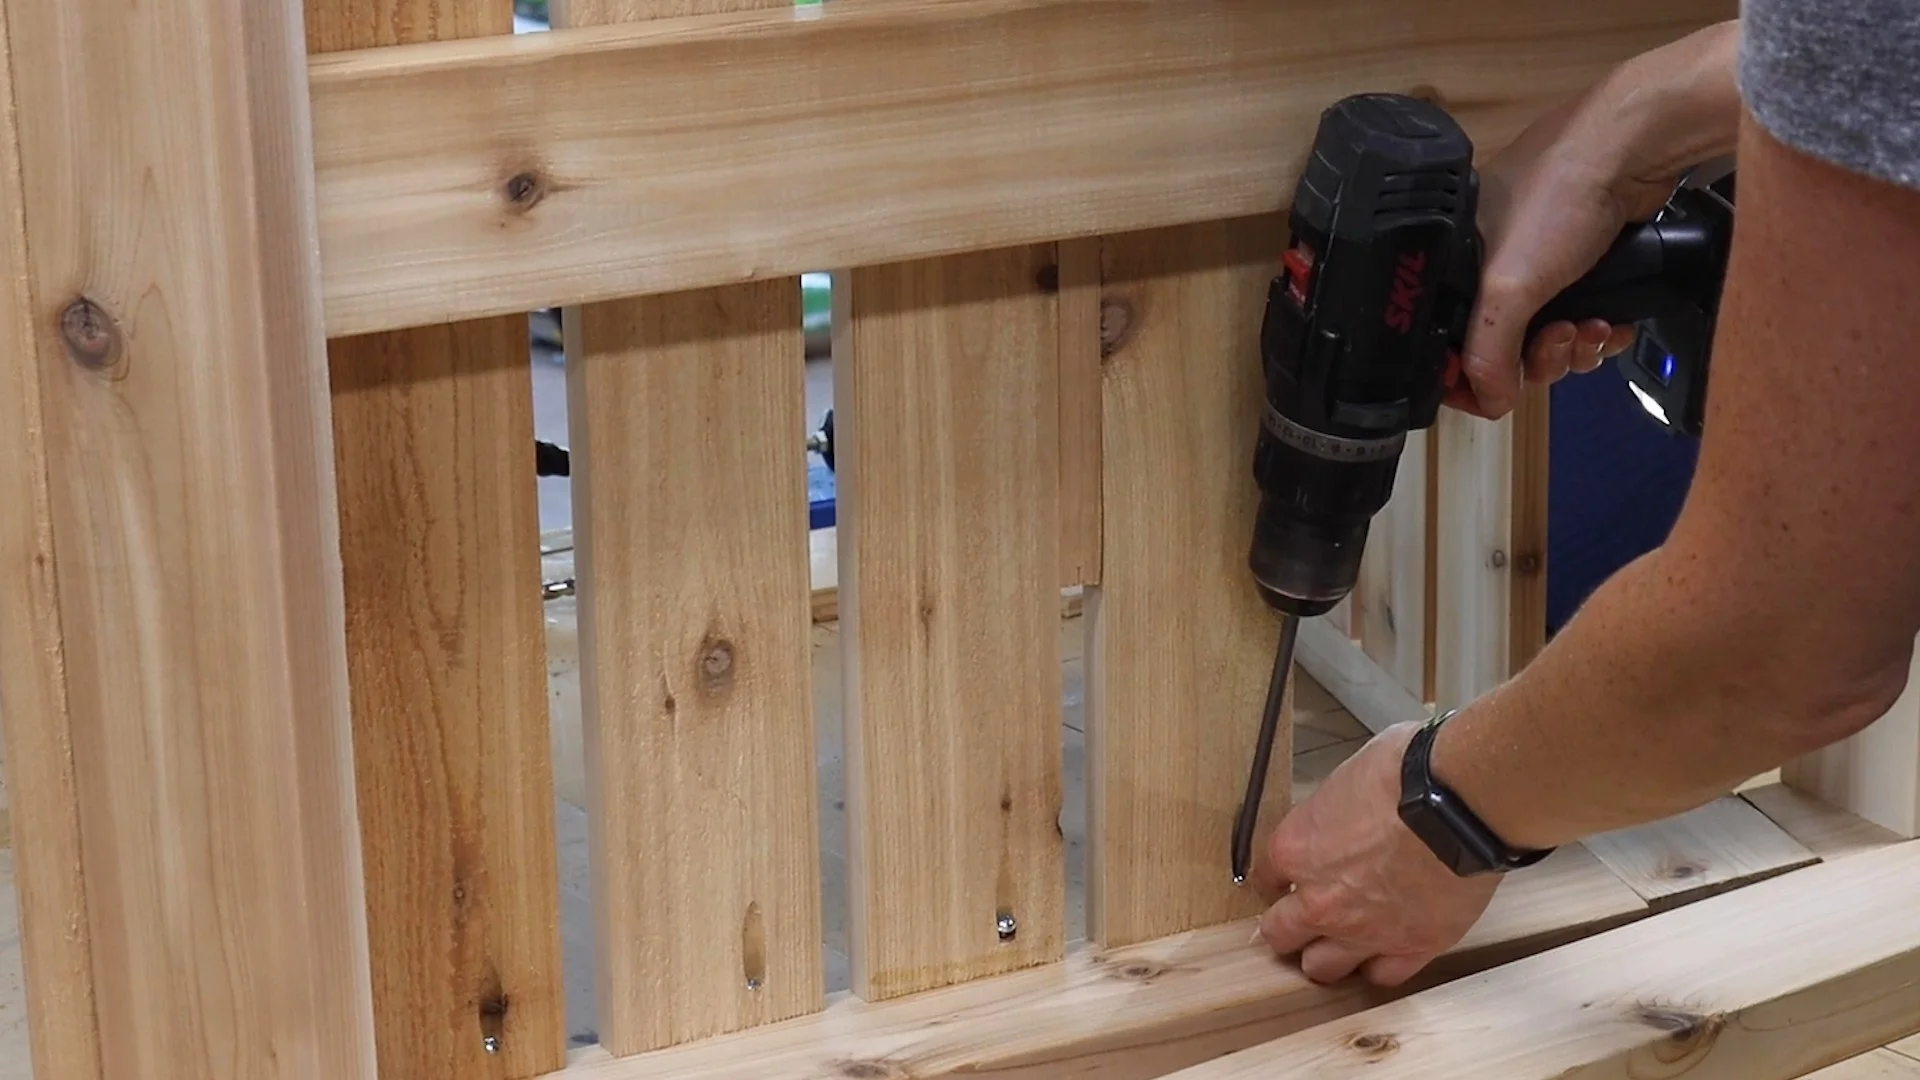
I attached each slat with pocket holes from underneath, glue, and a scrap wood spacer to keep the gaps even.

Finishing Details
A few things that elevate this build from "nice" to really nice:
Cedar plugs. I cut plugs from the same cedar using a tapered plug cutter, matching the grain direction to the board for a seamless look. These fill the recessed screw holes and hide the fasteners. Knock them in with a little glue, let them dry, trim flush with a flush trim saw.
Rubber furniture feet. I added these to the bottom of the legs — they protect the chair and prop it just slightly off the ground so it doesn't sit in water when it rains. Small detail but so worth it.

Rounding the front edge. Before finishing, I ran an orbital sander along the front edge of the seat to round it slightly. Small detail, big difference in comfort.

The Finish
For an outdoor-appropriate finish I used a mix of 70% teak oil and 30% spar urethane — a technique I picked up from Izzy Swan's YouTube channel. Brush it on, let it sit about five minutes, wipe it off. It soaks into the cedar beautifully and protects it from the elements.
If your chairs will be fully exposed to sun and rain (mine are under a covered porch), you may want a tougher exterior finish. But for covered or semi-covered situations, this mix is perfect.
One finish I'd love to try on these chairs if I built them again: the Cabot stain in Honey Teak that I used on my big cedar fence build. It enhances the natural cedar color without masking it — looks warm, natural, and really beautiful on cedar. If you want to see it in action before committing, [check out that build here].


Cushions
This chair is deep by design — it's meant to be used with cushions, and the back cushion fills in the depth to make it really comfortable. I had mine custom made since my chair width is slightly wider than standard store-bought cushion sizes.
The build plans actually include two versions of this chair — the standard width (what you see in the video) and a slightly narrower version designed to fit store-bought cushions without any custom ordering. Both sets of measurements are in the plans, so you can choose which works best for you before you make a single cut. Either way, the cushion dimensions are in there so you know exactly what to order or have made.
For store-bought options, search "deep outdoor chair cushions" at Target, or look for cushion covers with foam inserts you can cut to size — deep seat cushions work best for this chair.

What's In the Plans
The build plans are a downloadable PDF with everything you need:
Full cut list with every angle called out
Material list with quantities
Step-by-step instructions
Measurements for both the custom-width version and the standard cushion-width version
I also offer templates as a separate add-on — these make cutting the leg angles significantly easier if you want to skip the angle gauge setup.
Get the Build Plans → here
Or the Plans + Templates → here
Make It Your Own
This design is flexible. A few ways people modify it:
Build it as a sofa — extend the width and add a center leg for support
Use it indoors — the cedar and clean lines work beautifully inside too
Go narrower — the plans include the narrower width that fits standard store-bought cushions if you don't want to go custom
For detailed instructions on this DIY Bed Platform, be sure and watch the video.
Follow Maker Gray:
Instagram @MakerGray https://www.instagram.com/makergray/
Facebook https://www.facebook.com/MakerGray/
TikTok: https://bit.ly/3lXgdHh
If you liked this project and want to stay up to date with what I’m building, then be sure to sign up for my emailed newsletter and you’ll get an email when I post something new. See you soon!
(Most of the links listed above are affiliate links. As an Amazon Associate I earn from qualifying purchases. I super appreciate your support for Maker Gray in this way)