
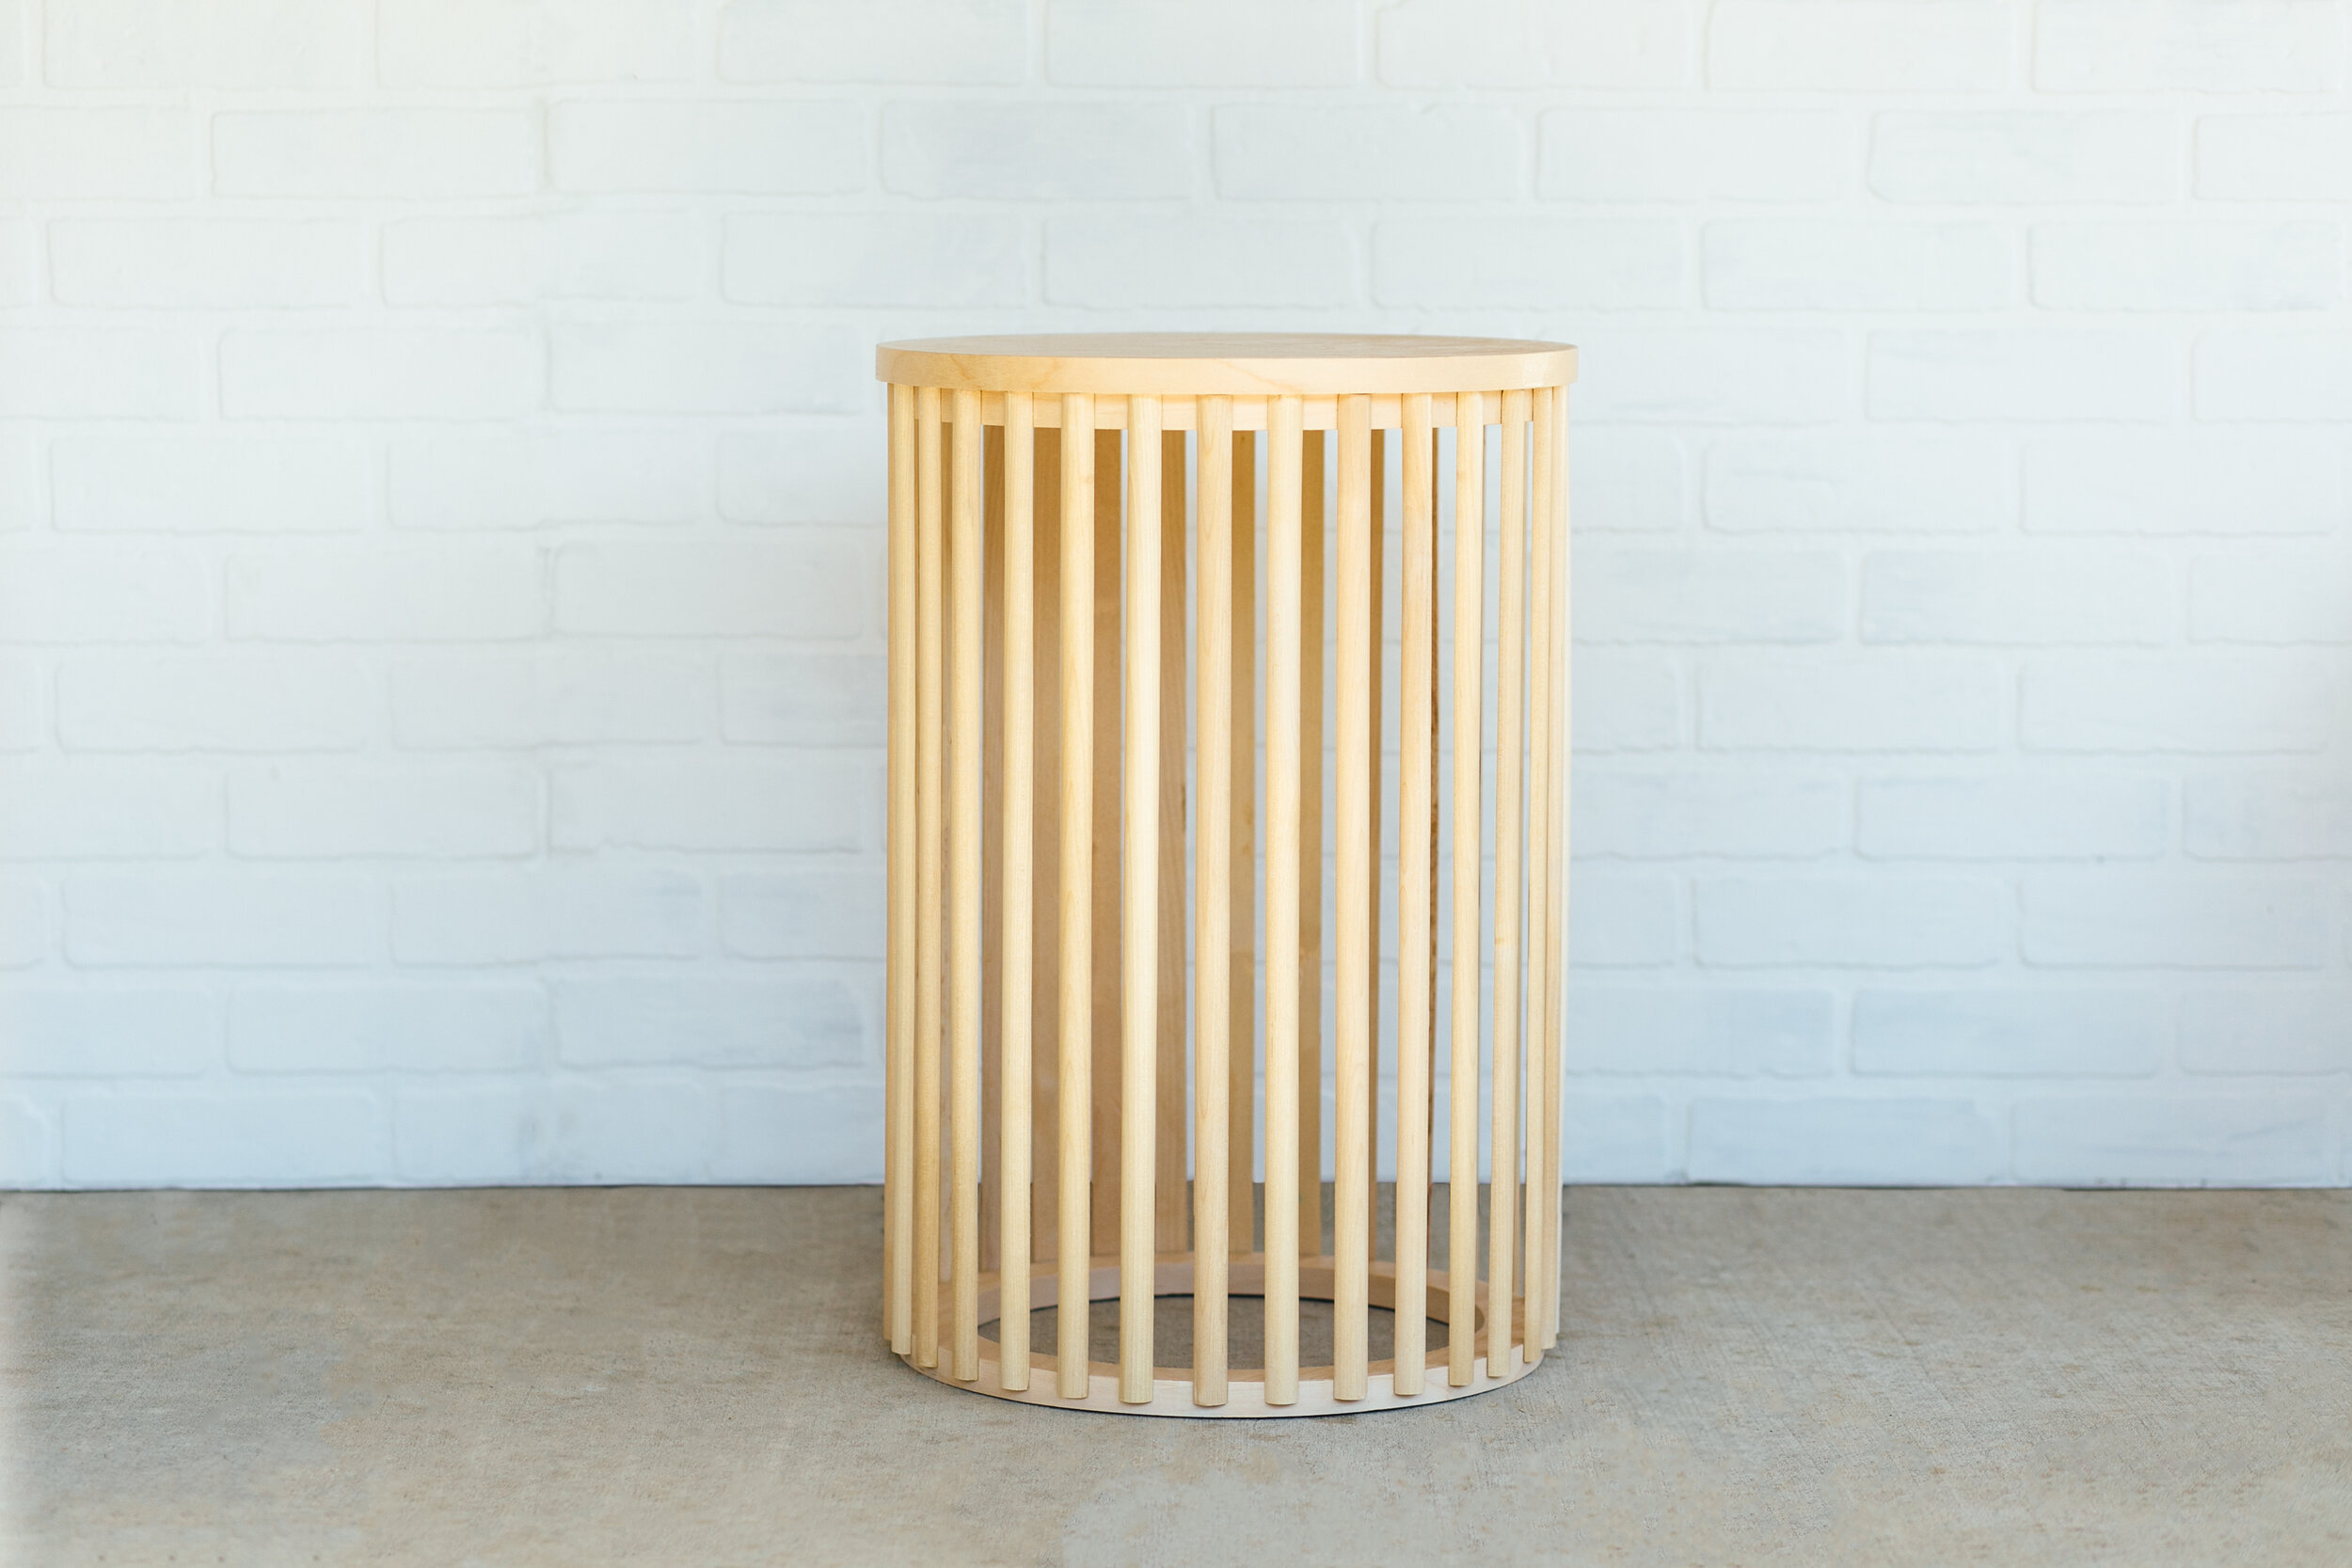
Build A SLATTED Wooden Side Table
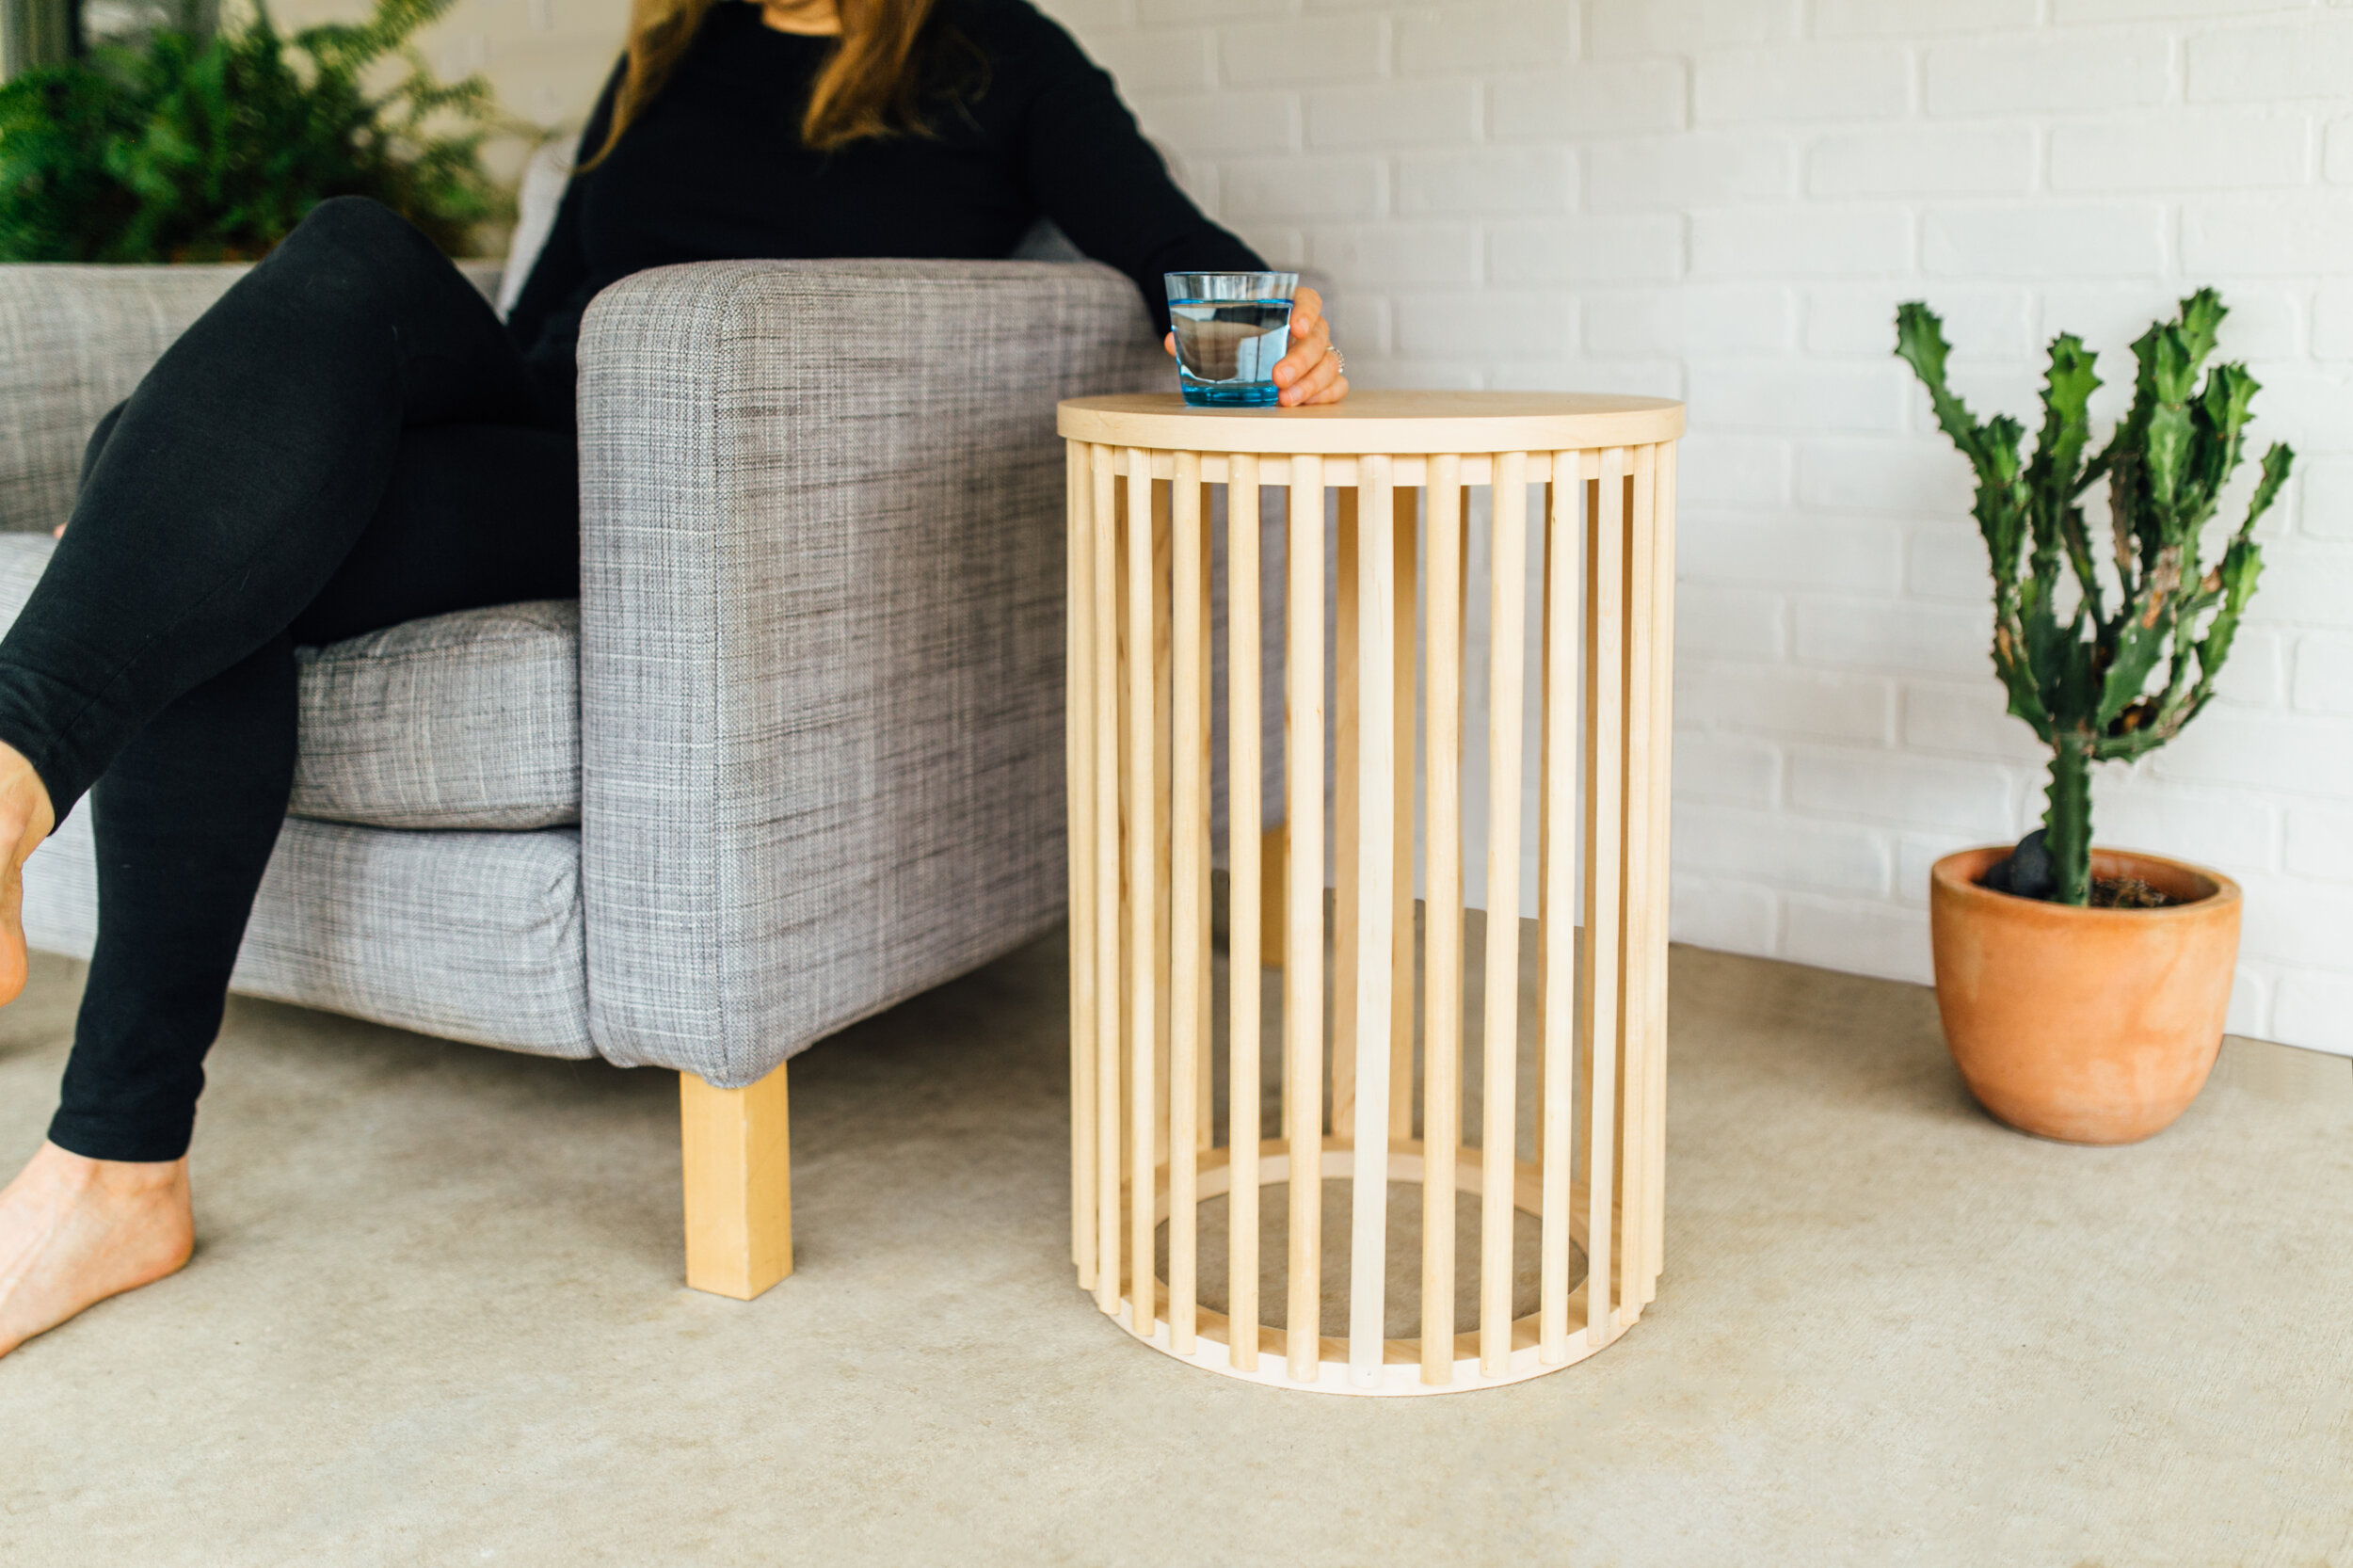
In this Maker Gray tutorial I'm going to show you how to build this awesome modern slatted side table / end table out of plywood and dowels! It could even be used for a night stand. It was fun to find out how easy cutting circles is and I love the look of the slats. This table is relatively easy to build and looks more complicated than it is. Watch how to build it and make sure to check out the DIY plans below.
Materials and Tools I Used:
Birch Wood Dowels: https://bit.ly/35DkaJ0
Router Bit (1/4” Straight): https://amzn.to/2LMIWPA
Router Bit (Flush Trim): https://amzn.to/39zhygb
Trim Router: https://amzn.to/2YXmJk9
Table saw: https://amzn.to/31rOQI1
Jigsaw: https://amzn.to/2G8twP4
Push Block: https://amzn.to/3bDuSTA
Edge Banding: https://amzn.to/3idK7Uy
Brad Nailer: https://amzn.to/3nEFhjZ
Wood Glue: https://amzn.to/2D8lqFx
Orbital sander: https://amzn.to/2uWHM8A
Dust Mask: https://amzn.to/2G8w8wm
Wood Finish: https://amzn.to/2TDOAFQ
Click here to get the Plans for this Table
I started this project with a half sheet of 3/4” Birch Plywood. I’m going to cut circles out of this plywood and to do that, I made this circle-cutting-jig for my router.

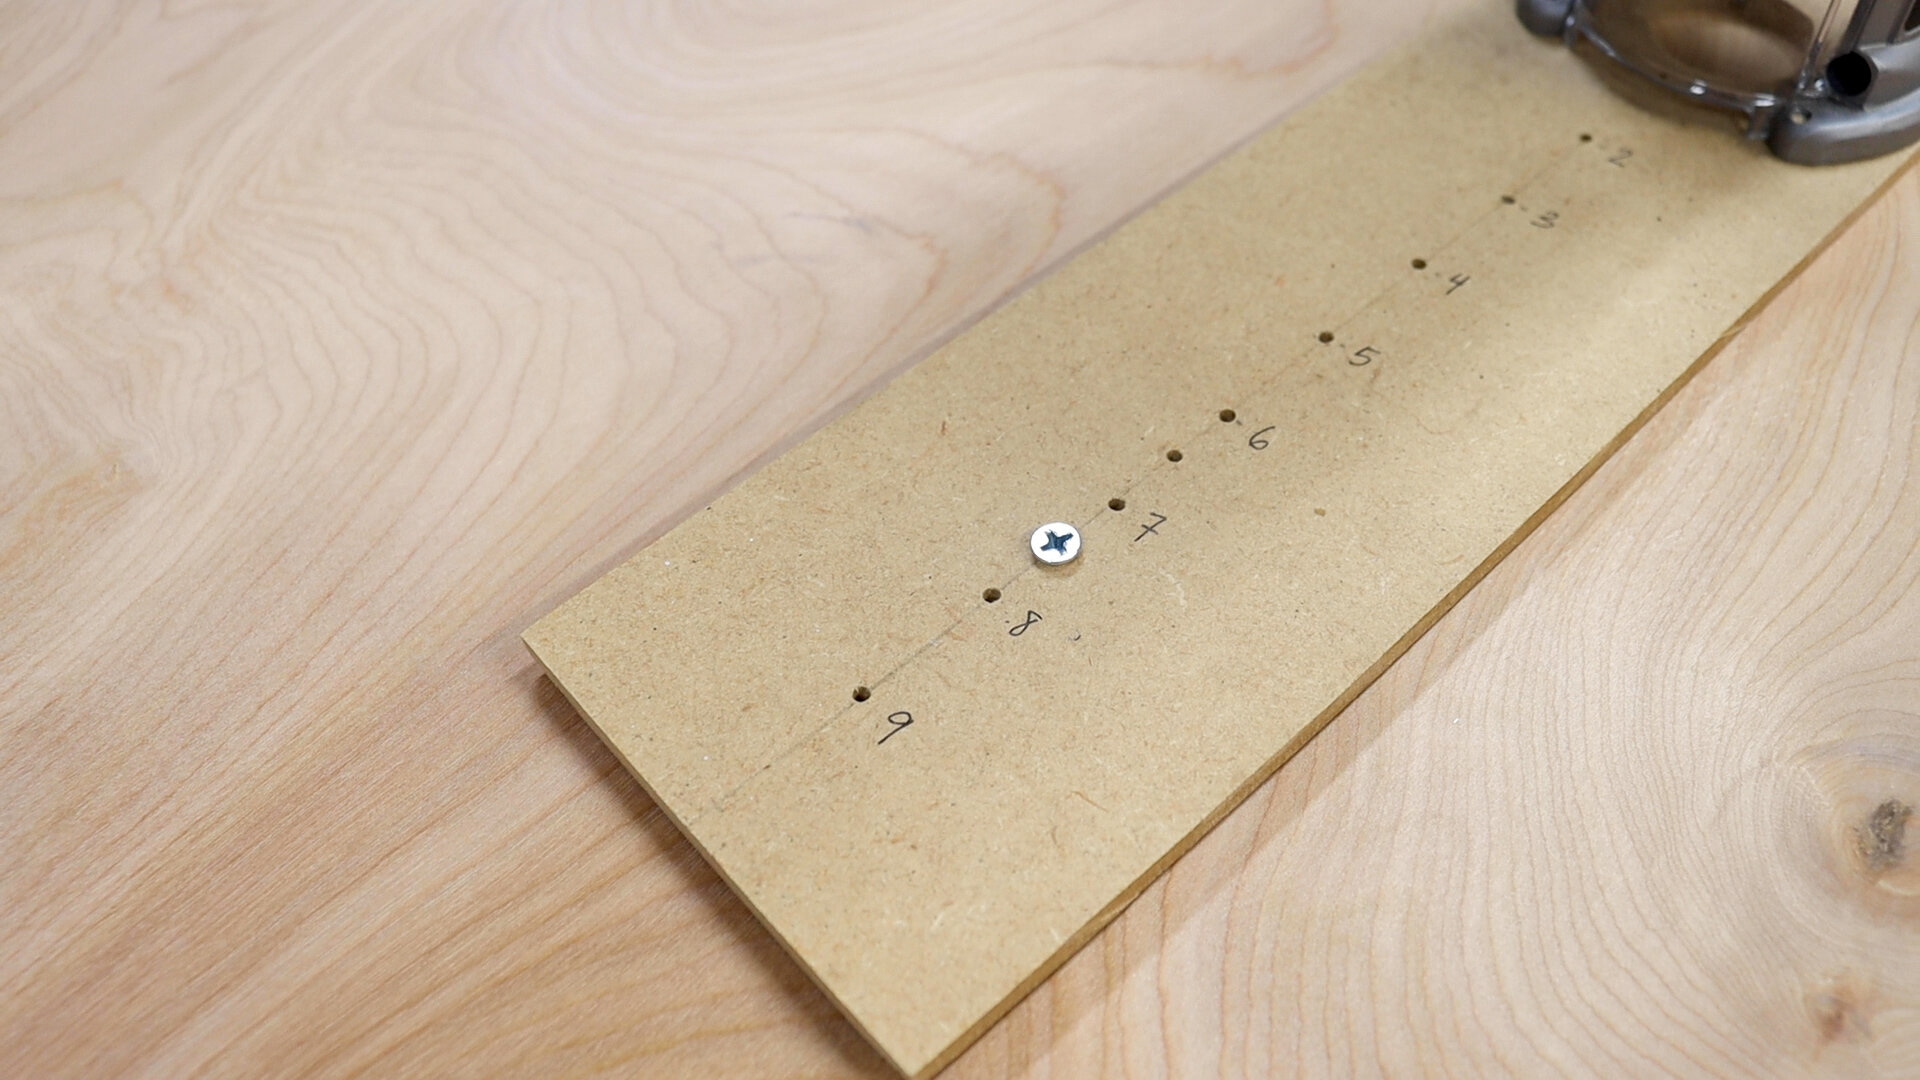
This little jig screws right into my router . Each of these points represents half of the diameter of the circle that I want to cut.

I want a 15” circle, so I screwed the jig into my plywood at the 7.5” mark, which will be the pivot point.
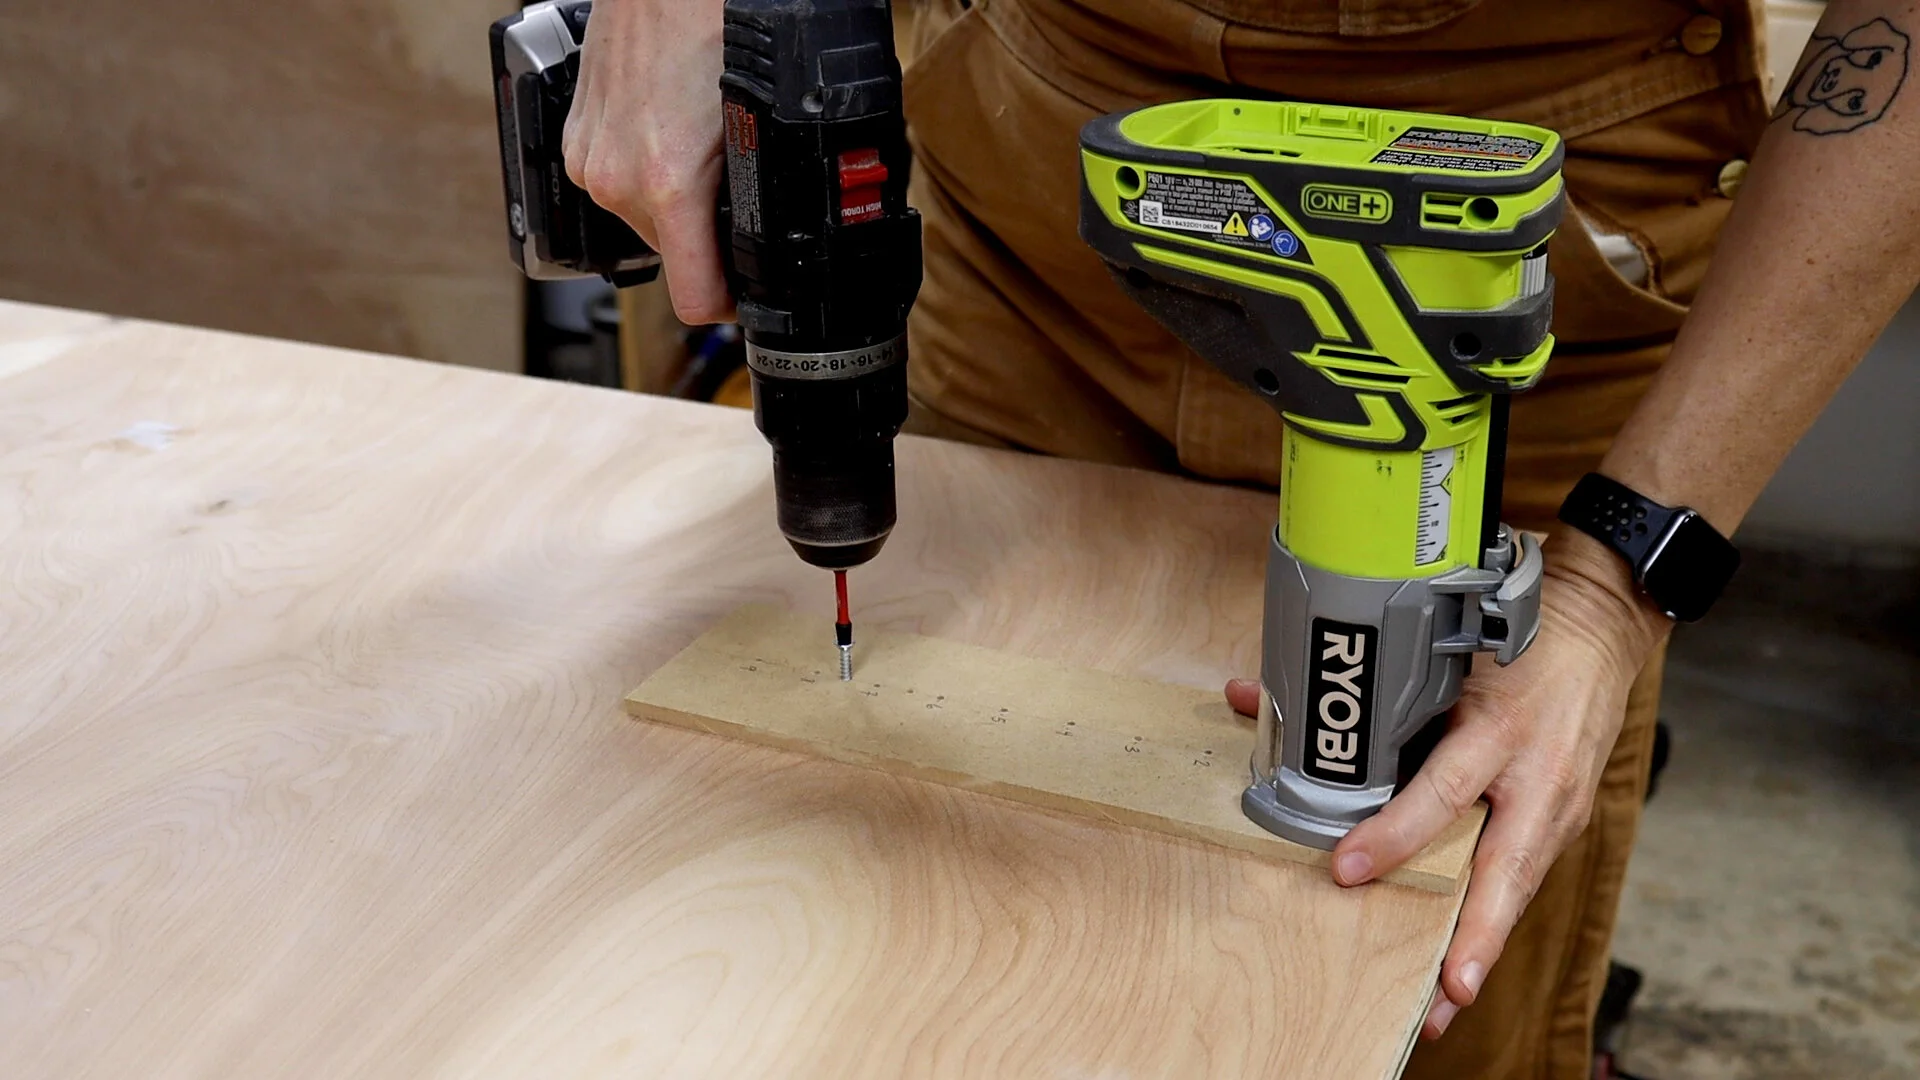
The bit I’m using is a 1/4” straight bit.

There are lots of YouTube tutorials showing you how to make Circle Jigs for your router. If you’re interested in how I built mine, I’ve got a short tutorial on my Instagram account linked here. It’s super easy to make out of scrap wood.
I took several passes to cut through the wood, cutting about a 1/4” per pass. You don’t want to remove too much at a time as it’s not safe.

Instead of cutting all the way through with my straight bit, I decided to stop with about 1/3 of the material left. I cut the rest out with my jigsaw, not cutting flush against my original router pass and leaving the cut a little proud.


I then took a flush trim router bit with a bottom mounted bearing and trimmed the remaining amount flush to the original cut.


And then I sanded everything smooth.

I repeated the same steps and cut out my second and third circles. This time, I decided to just cut all the way through with my straight bit (instead of finishing with the jigsaw and flush trim bit) and honestly I felt that the finished cut was just as good as the method before.

These two are going to have circles cut out of the middle of them, making a ring shape. To cut out the middle, I screwed back in my circle jig at smaller number and made my passes.


The wood slats around the exterior of the table are going to be made from 3/4” dowels that are cut in half, lengthwise. I’m going to show you my method to cut them. But if you’d like to buy these slats already cut in half, you can purchase these half-round trim moulding pieces here: https://thd.co/39nq1ms

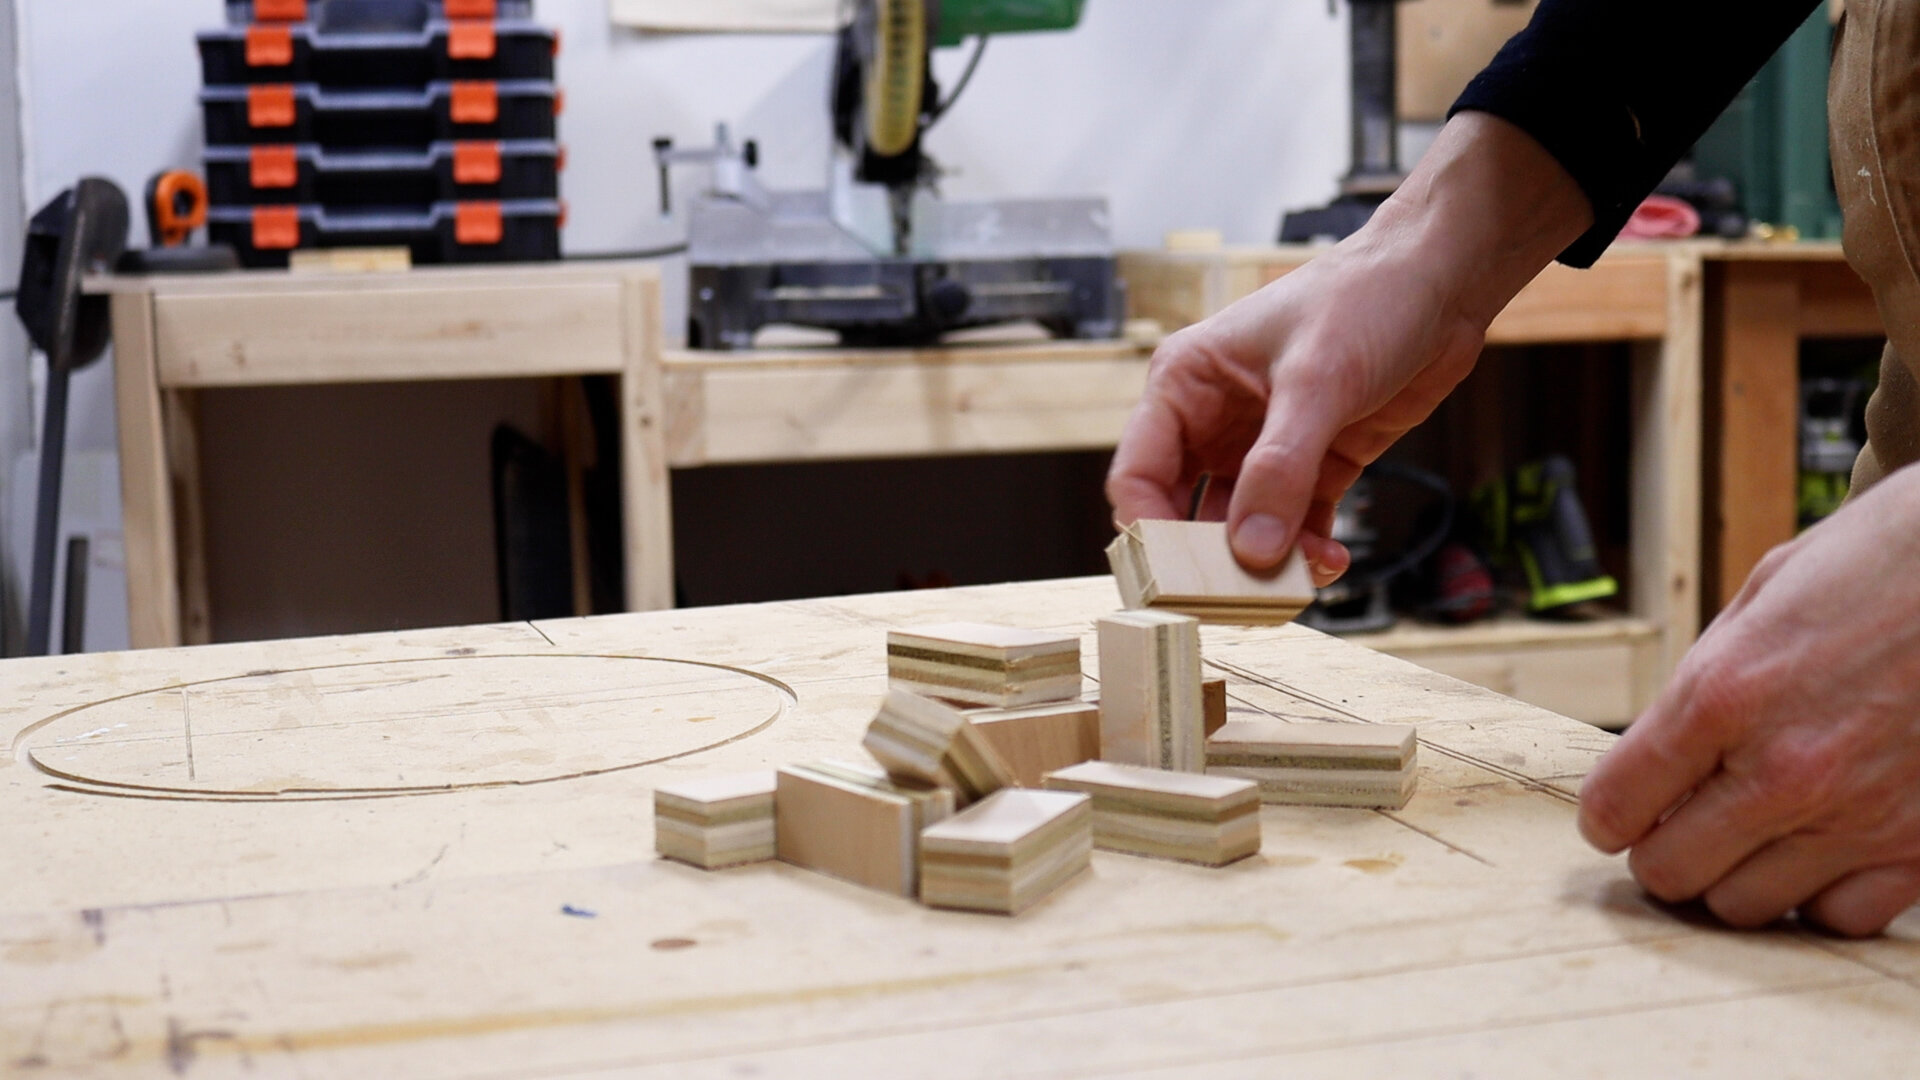
To cut the dowels I took a scrap piece of plywood and cut a bunch of rectangles. Then I glued one on each end of my dowels to create a flat surface that would keep them from rolling.

You can see that I kept one side of the rectangles flush with one side of the dowel.

Once the glue was dry, I moved to my table saw so I could cut them in half. I moved my fence to give me a center cut and you can see here how those rectangular ends make it possible for me to get this cut without the dowels dangerously rolling out of position.


After splitting the dowel in two, and once the rectangular ends are cut off, this is what I’m left with

I felt safe making this cut with the help of my push block, which is so great for cutting small parts safely.
*I encourage you though to only make these cuts if you feel safe and knowledgeable with your table saw.
To finish these off, I took them all to my miter saw and cut all of the rectangles off of the ends, which also cut them to my final length.


Before attaching these slats, I added edge banding to the circles. This will cover up my plywood layers and make it look like a solid piece of wood.

This iron on veneer works great. And I just used a razor blade to trim the excess veneer flush.
I then gave all of my pieces a good sanding before applying finish. To preserve the light birch color, I used a water-based Polyurethane in a satin finish.

From there, I could move to assembling the table.
I first attached the top two circles by centering the smaller circle on the larger. I attached them with wood glue and let them dry overnight.

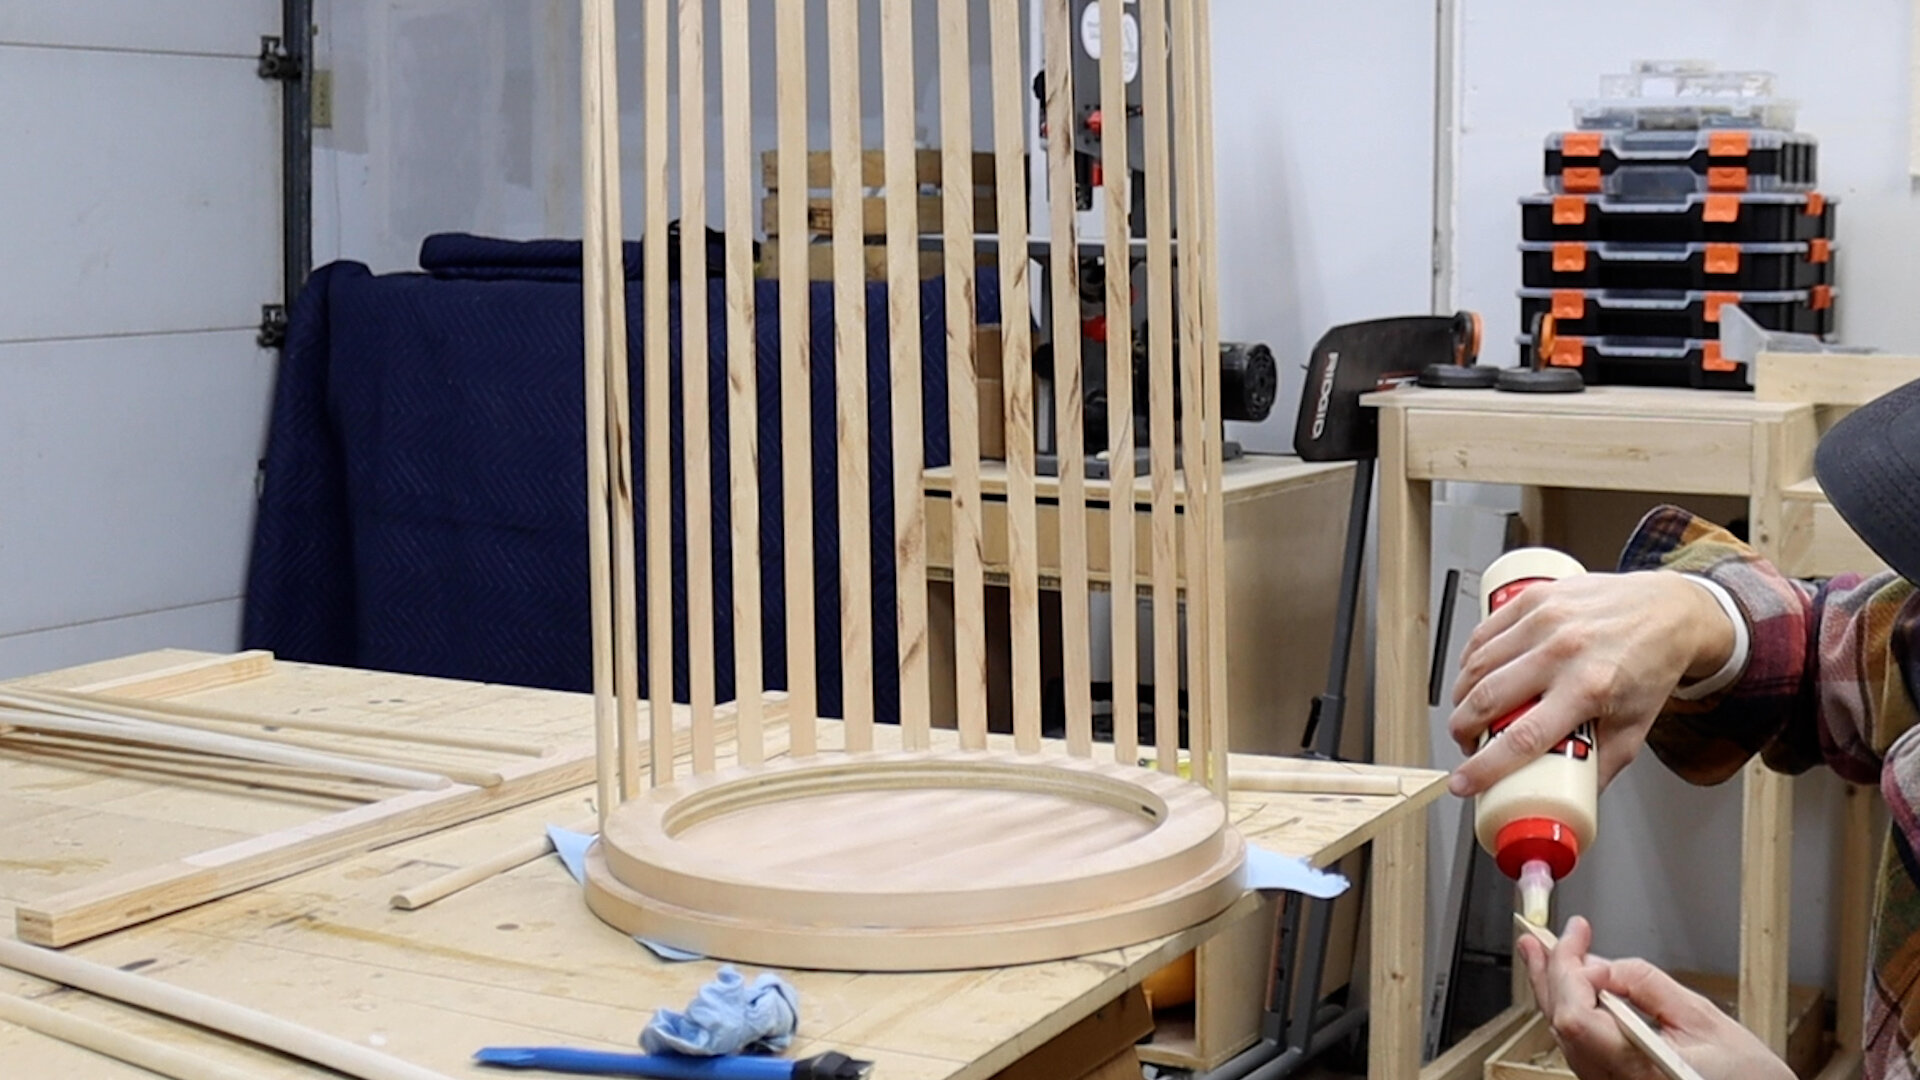
To attach the slats, I used a little bit of wood glue and a finish nailer to hold them in place. I used a framing square to make sure each one was straight and used a scrap slat as a spacer between each one.


This part I am working on is actually the top. And once I got it all assembled I flipped it over and set it on the bottom circle.


I think a cool detail would be to set these bottom ends up off the bottom just a bit.

To do this, I grabbed some scraps to hold the slats up just a tad.

And then to attach them, I shot a couple brad nails to hold the slats up in place and then I used only glue on the rest so there would be no holes.

The slats stayed right in place and it worked great. I applied a little bit of glue behind each piece and then cleaned up the glue squeeze out.
Once I got them all in place, I applied some light colored wood filler to cover my brad holes and then I left everything alone so the glue and filler could dry overnight.

The very last thing to do was to sand down the wood filler and add a touch of finish to cover those spots.

And with that done, this side table was finished!
Guys. You need this adorable table in your house.


Don’t forget that I have plans linked below if you’d like to build one yourself. They include a cut list and material list.
For detailed instructions on this DIY Bed Platform, be sure and watch the video. I'd love to see pics of yours if you decide to make your own.
See you on the next project!
You can find me on Instagram @makergray
If you liked this project and want to stay up to date with what I’m building, then be sure to sign up for my emailed newsletter and you’ll get an email when I post something new.
(Most of the links listed above are affiliate links. As an Amazon Associate I earn from qualifying purchases. Thank you for supporting me in this way.)