
Workshop Organization! Miter Saw Station, French Cleat Tool Wall and MORE!
I love organization, but my workshop is missing the mark big time.
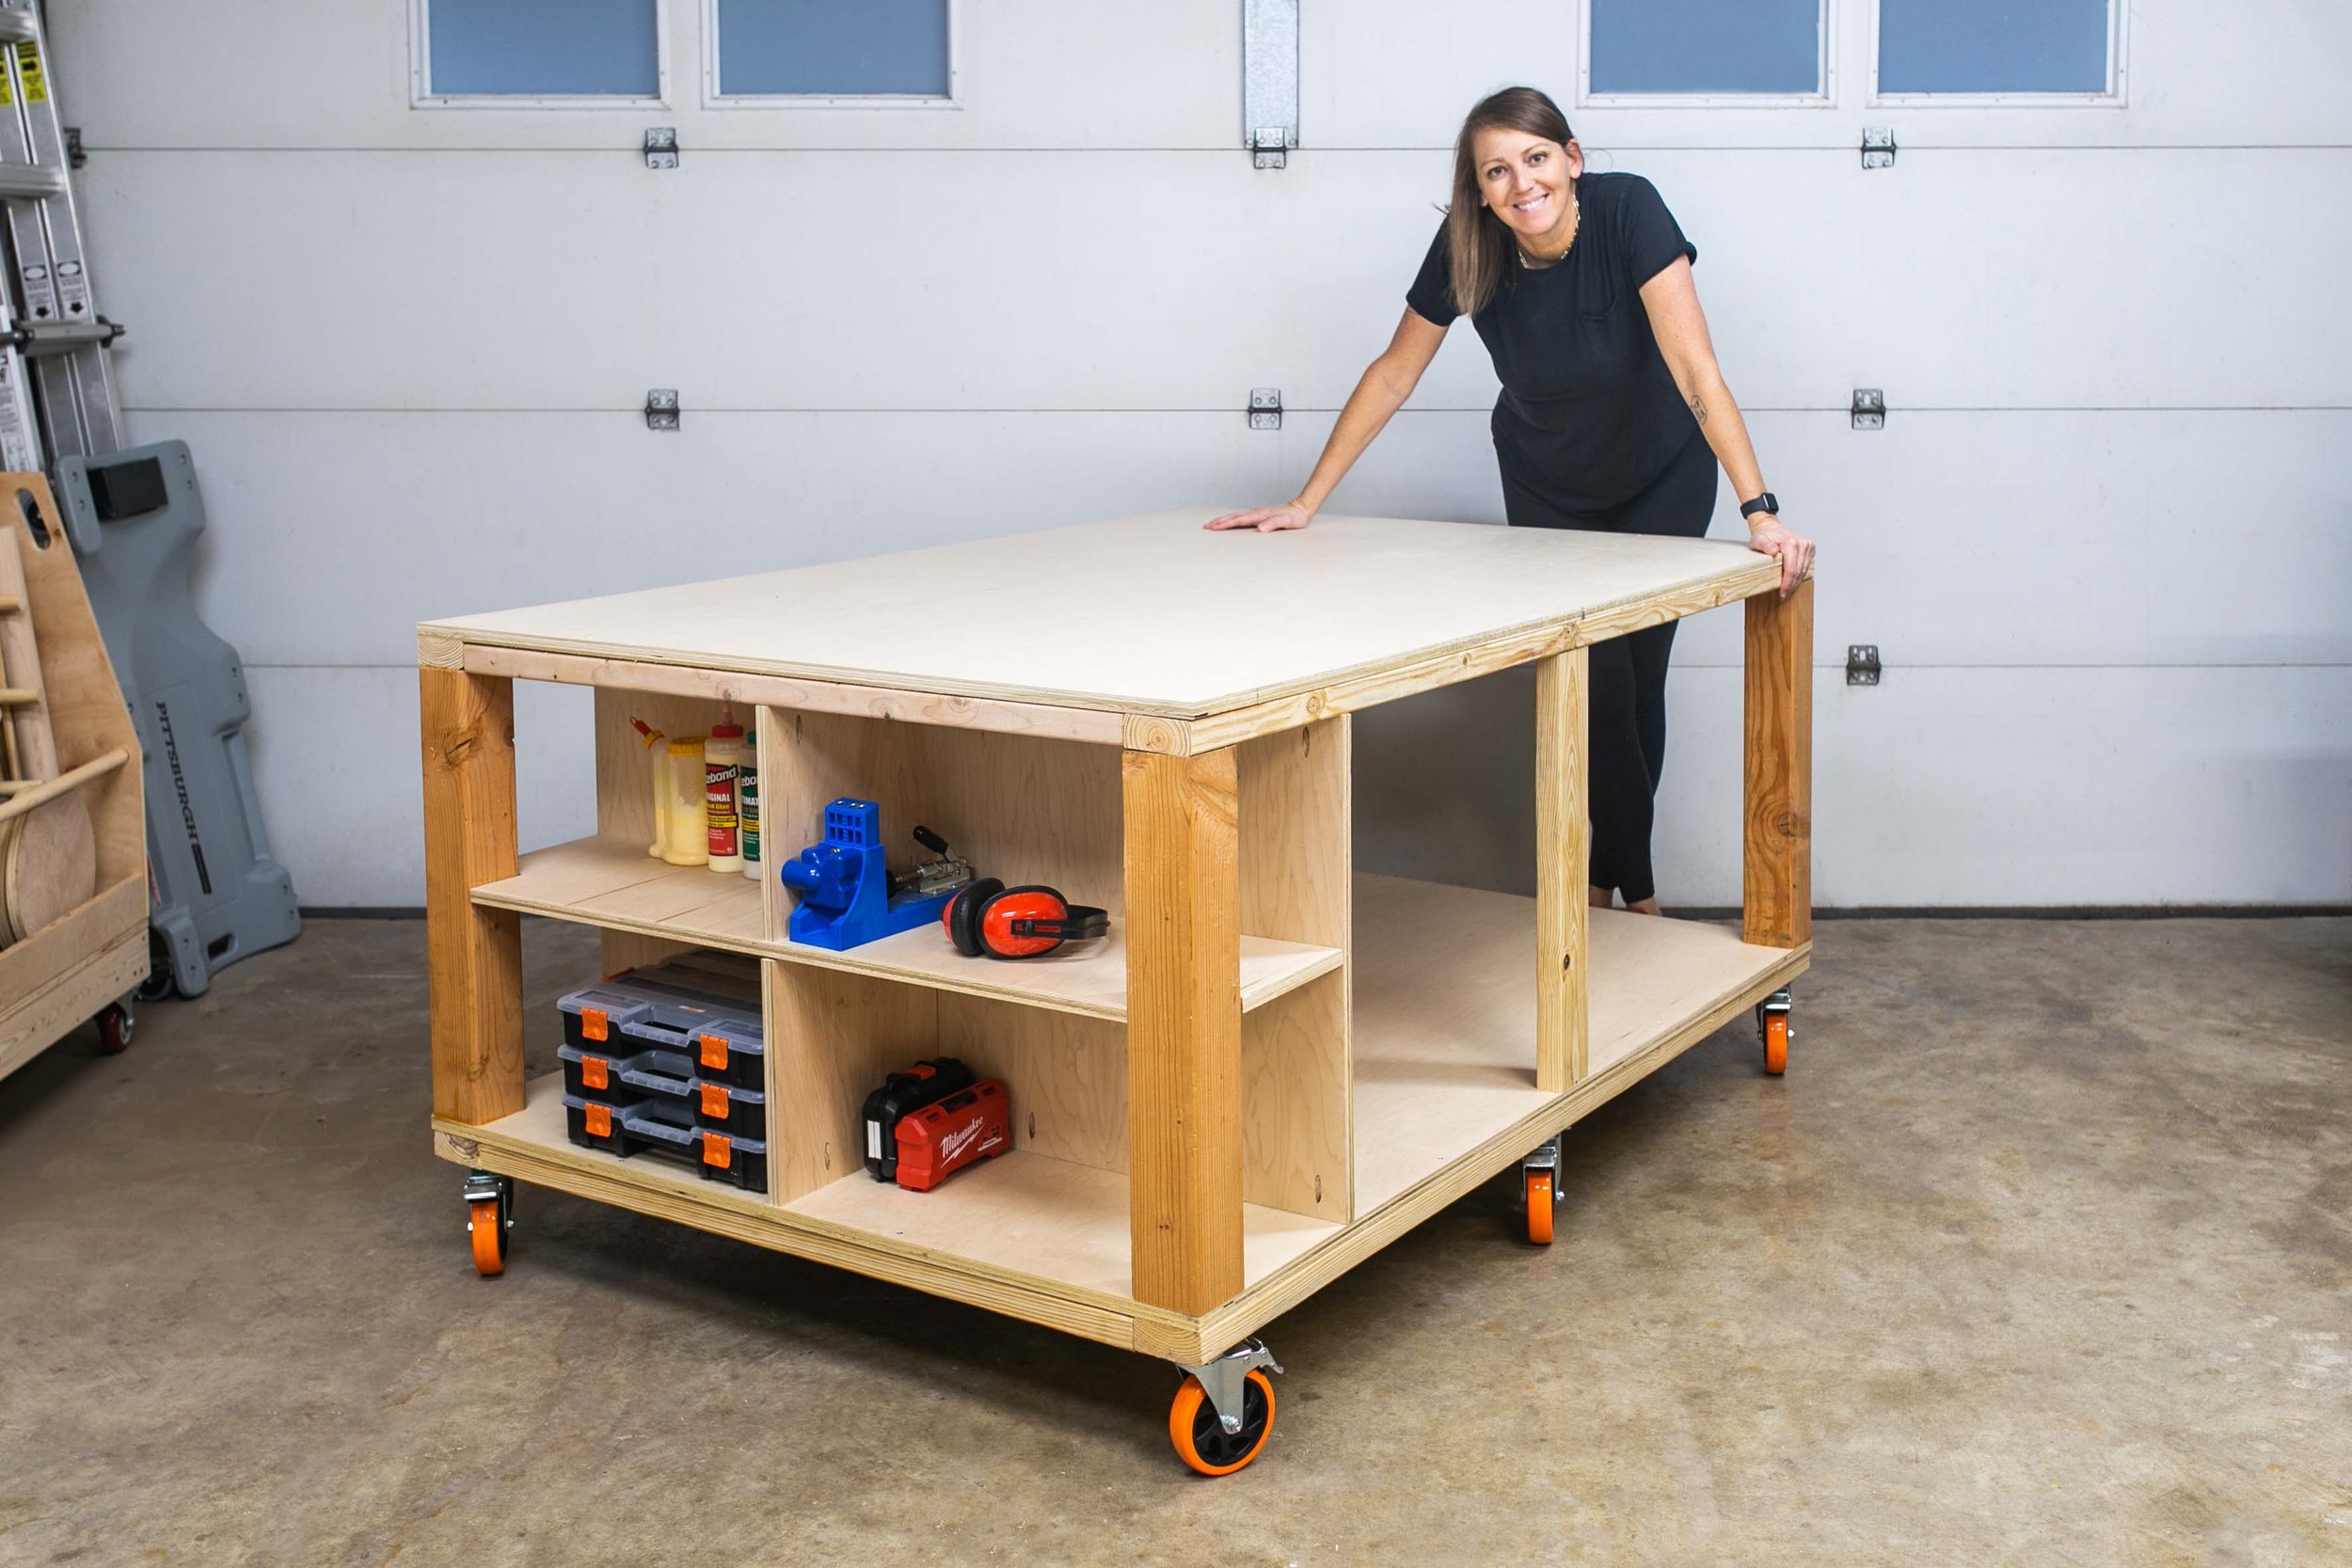
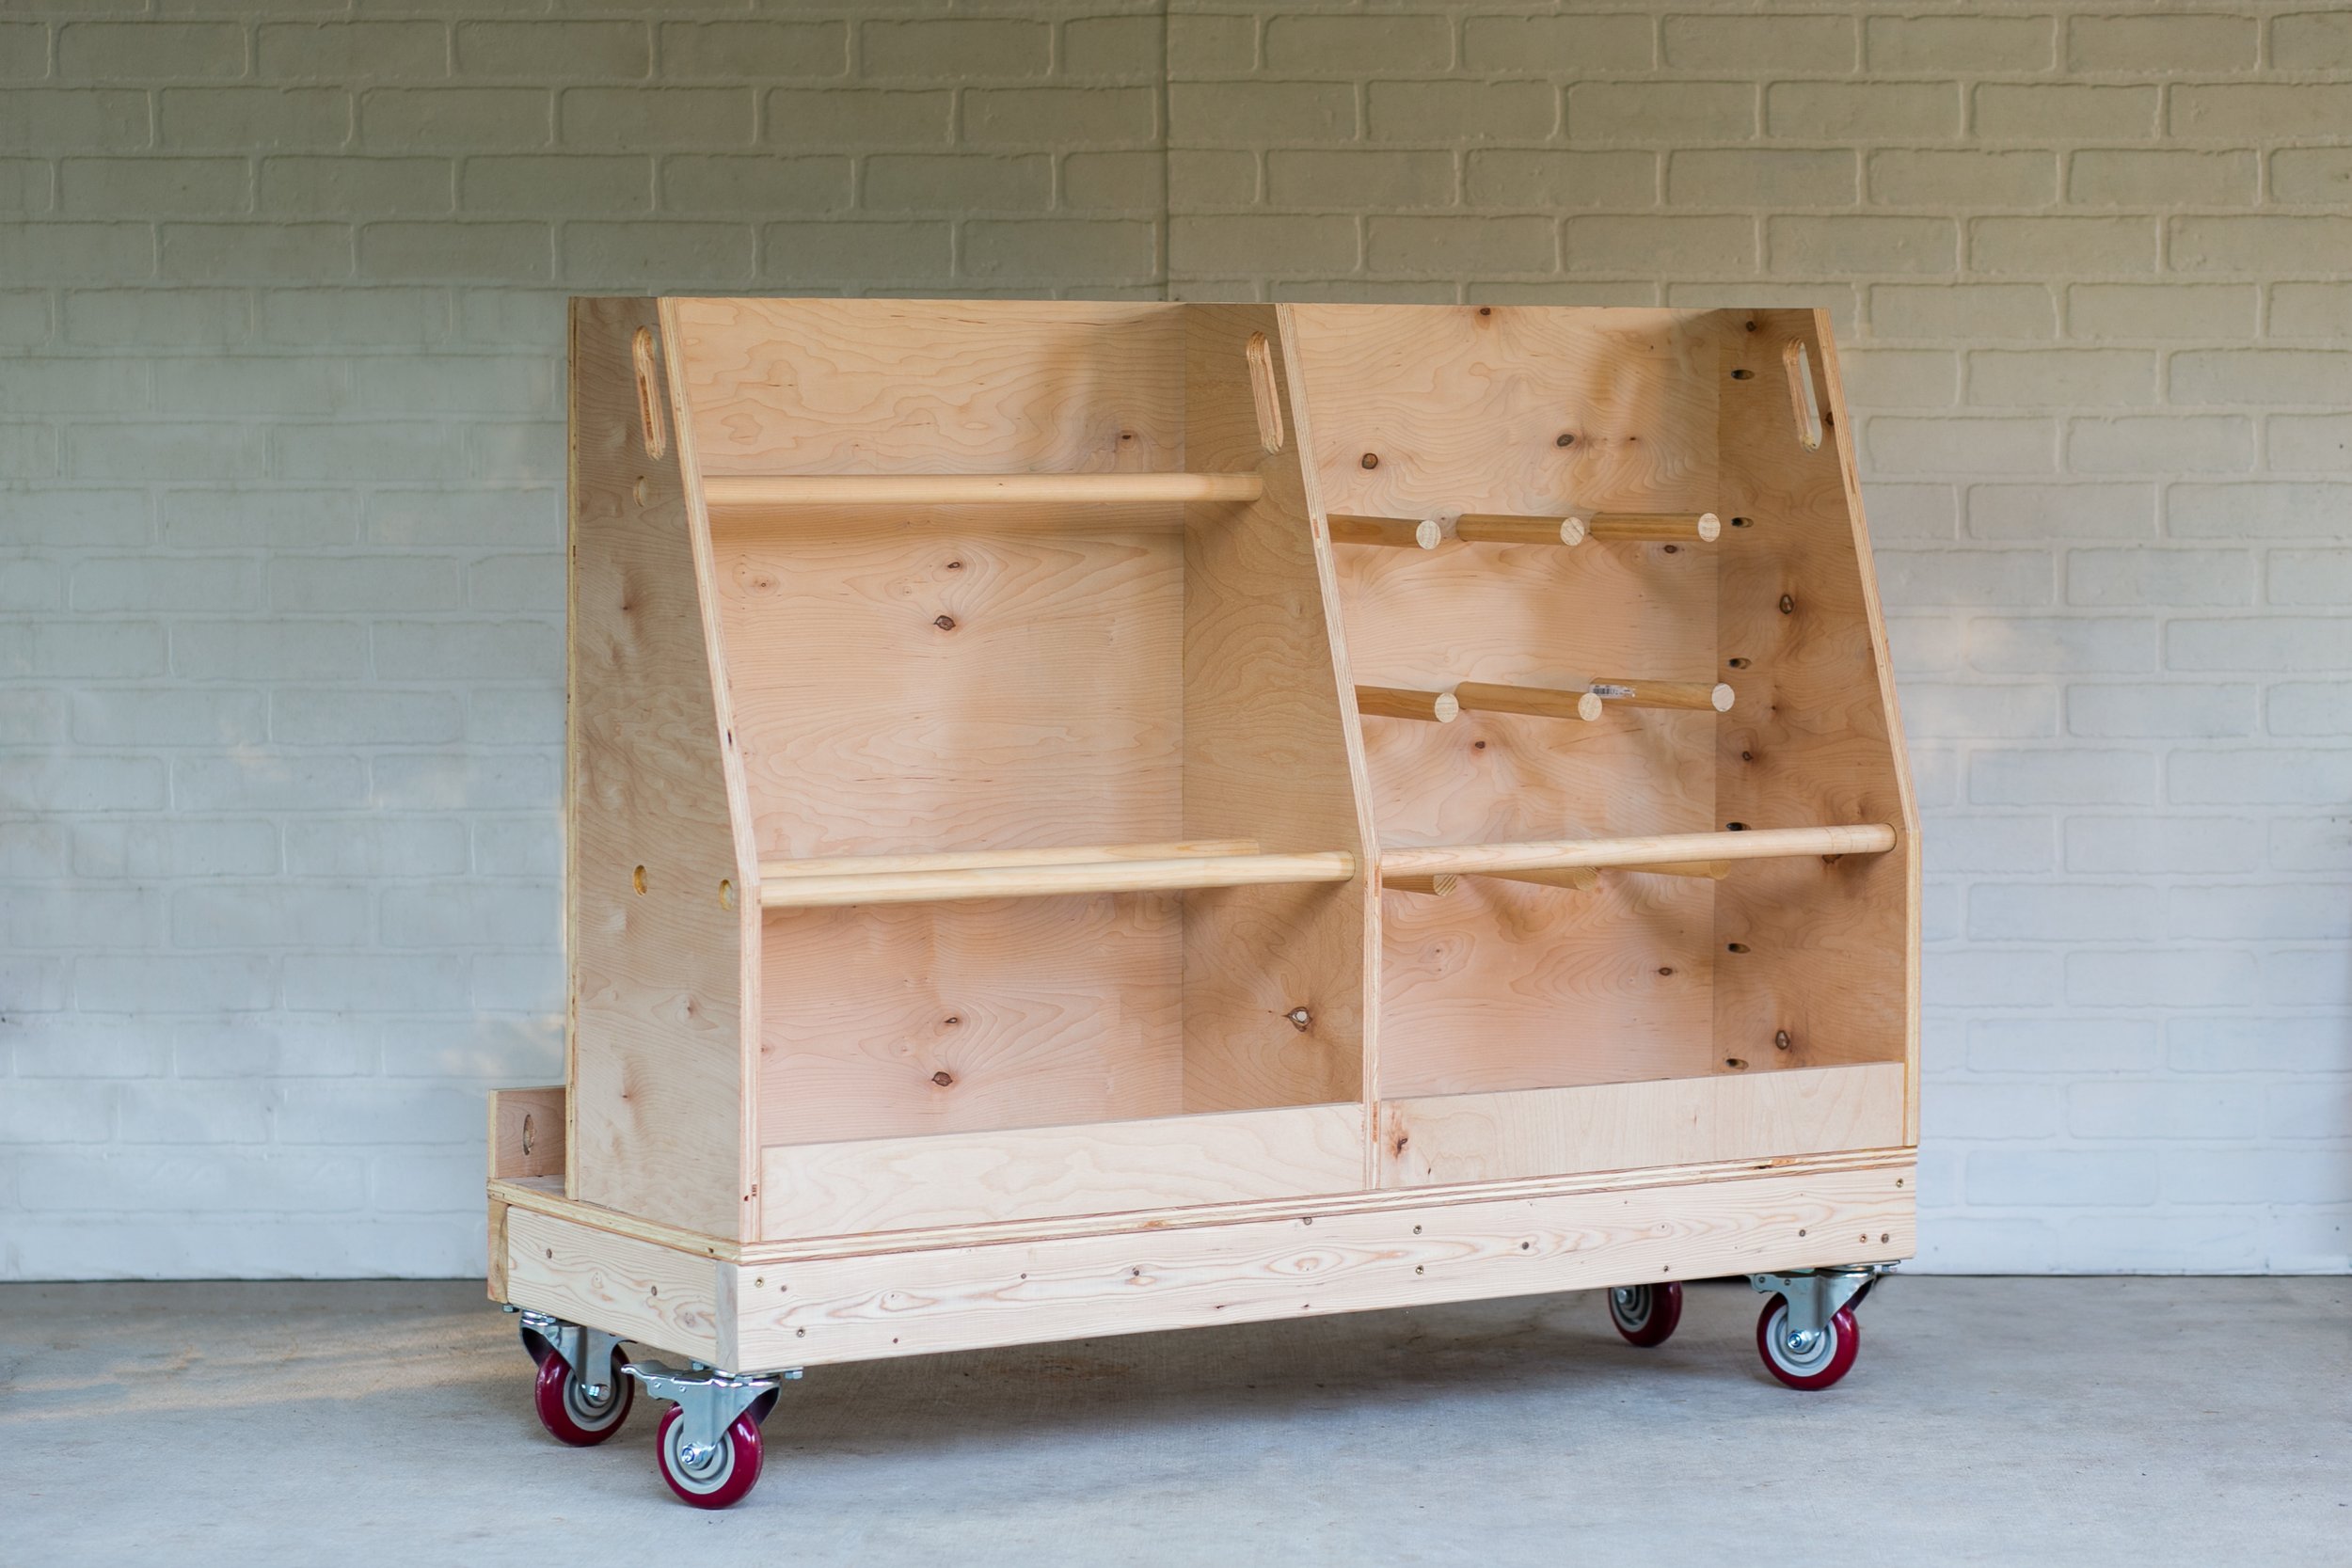
I’ve already built a wonderful Mobile Workbench for the center of my workshop, as well as a Mobile Plywood and Lumber Storage Cart. Both have been excellent additions! But there is more to do.
I built my miter saw station when I was just learning woodworking. And while it works, its a simple 2x4 build and lacking functionality. My biggest issue is all of the wasted storage space. I work out of a 2 car garage workshop and I need to take advantage of every inch of space.
While I’m at it, I decided to take the time and upgrade/organize a few more problem areas as well. So today I’ll be showing you these projects:
New Miter Saw Station - with storage!
Small Parts Storage
French Cleat Tool Wall
Clamp Rack
Battery Charging Station
Track Saw Track Storage
Keep reading to see how much more organized I am now! And be sure to check out the build video to see details on how I built everything!
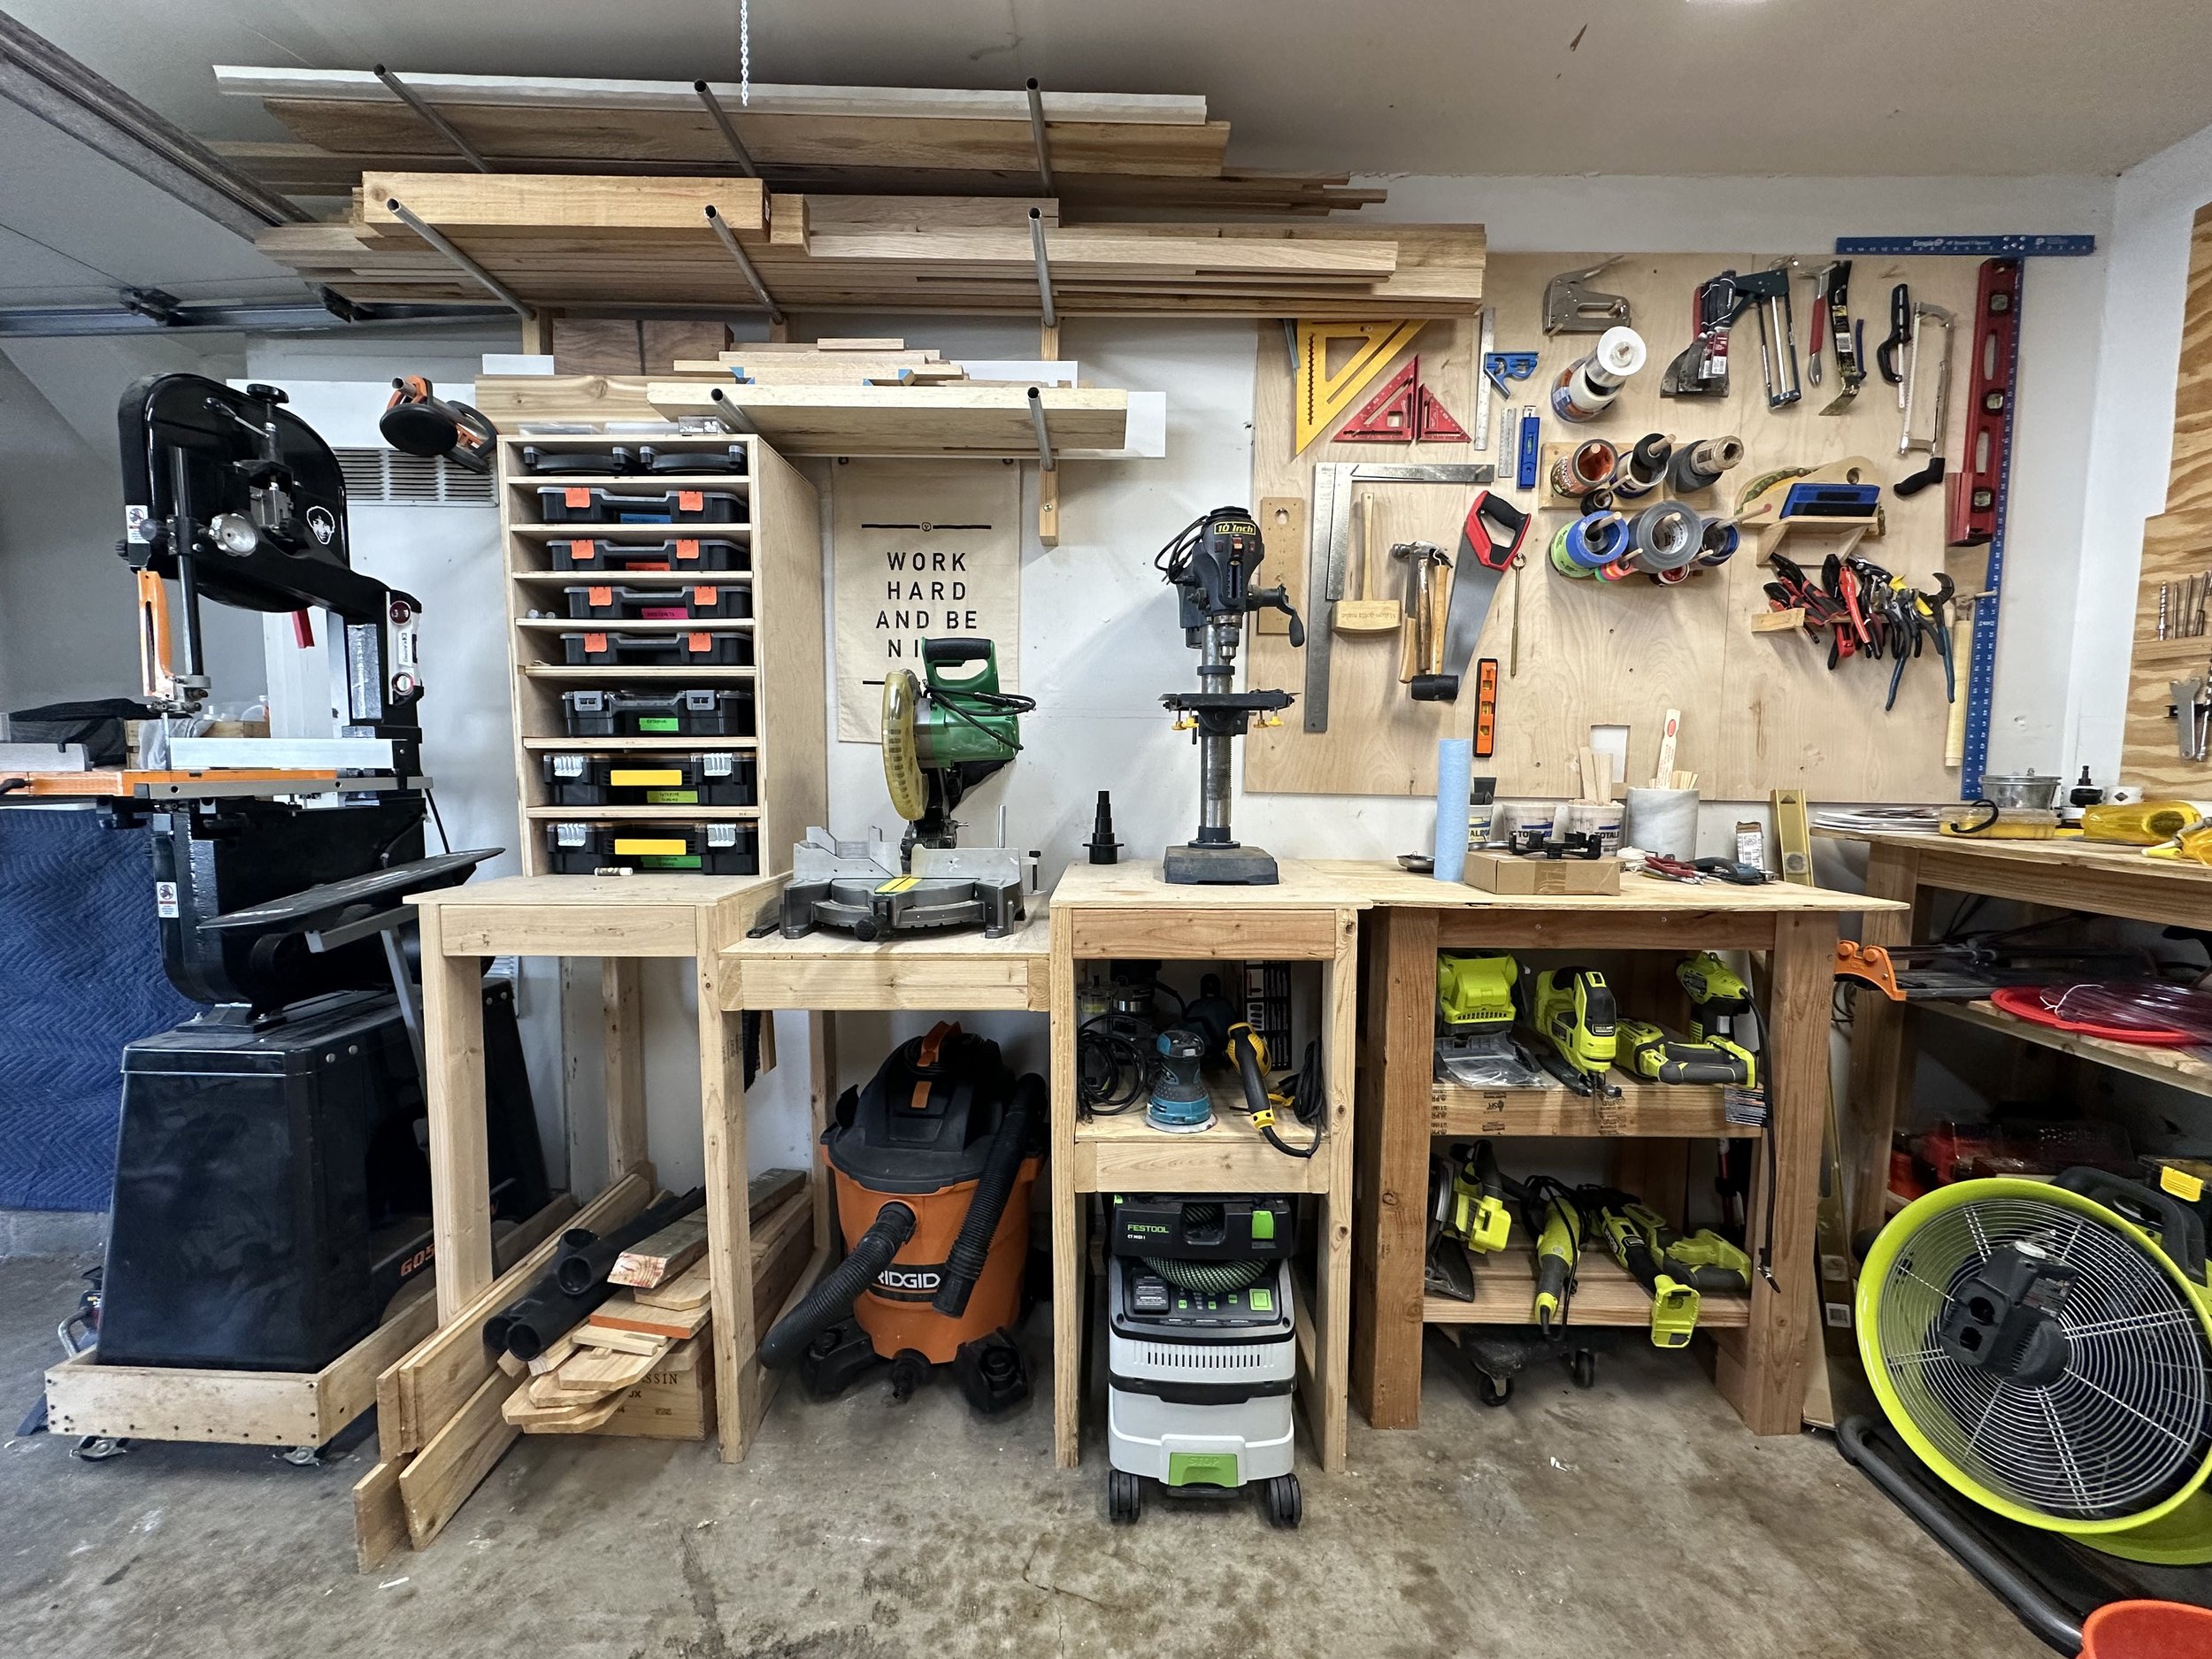
Here’s this workshop area before….

It’s crazy to look back on this before pic, because this whole space is so different now! Let’s get into it.
Things I used in this project:
Alm Fab Miter Saw Station
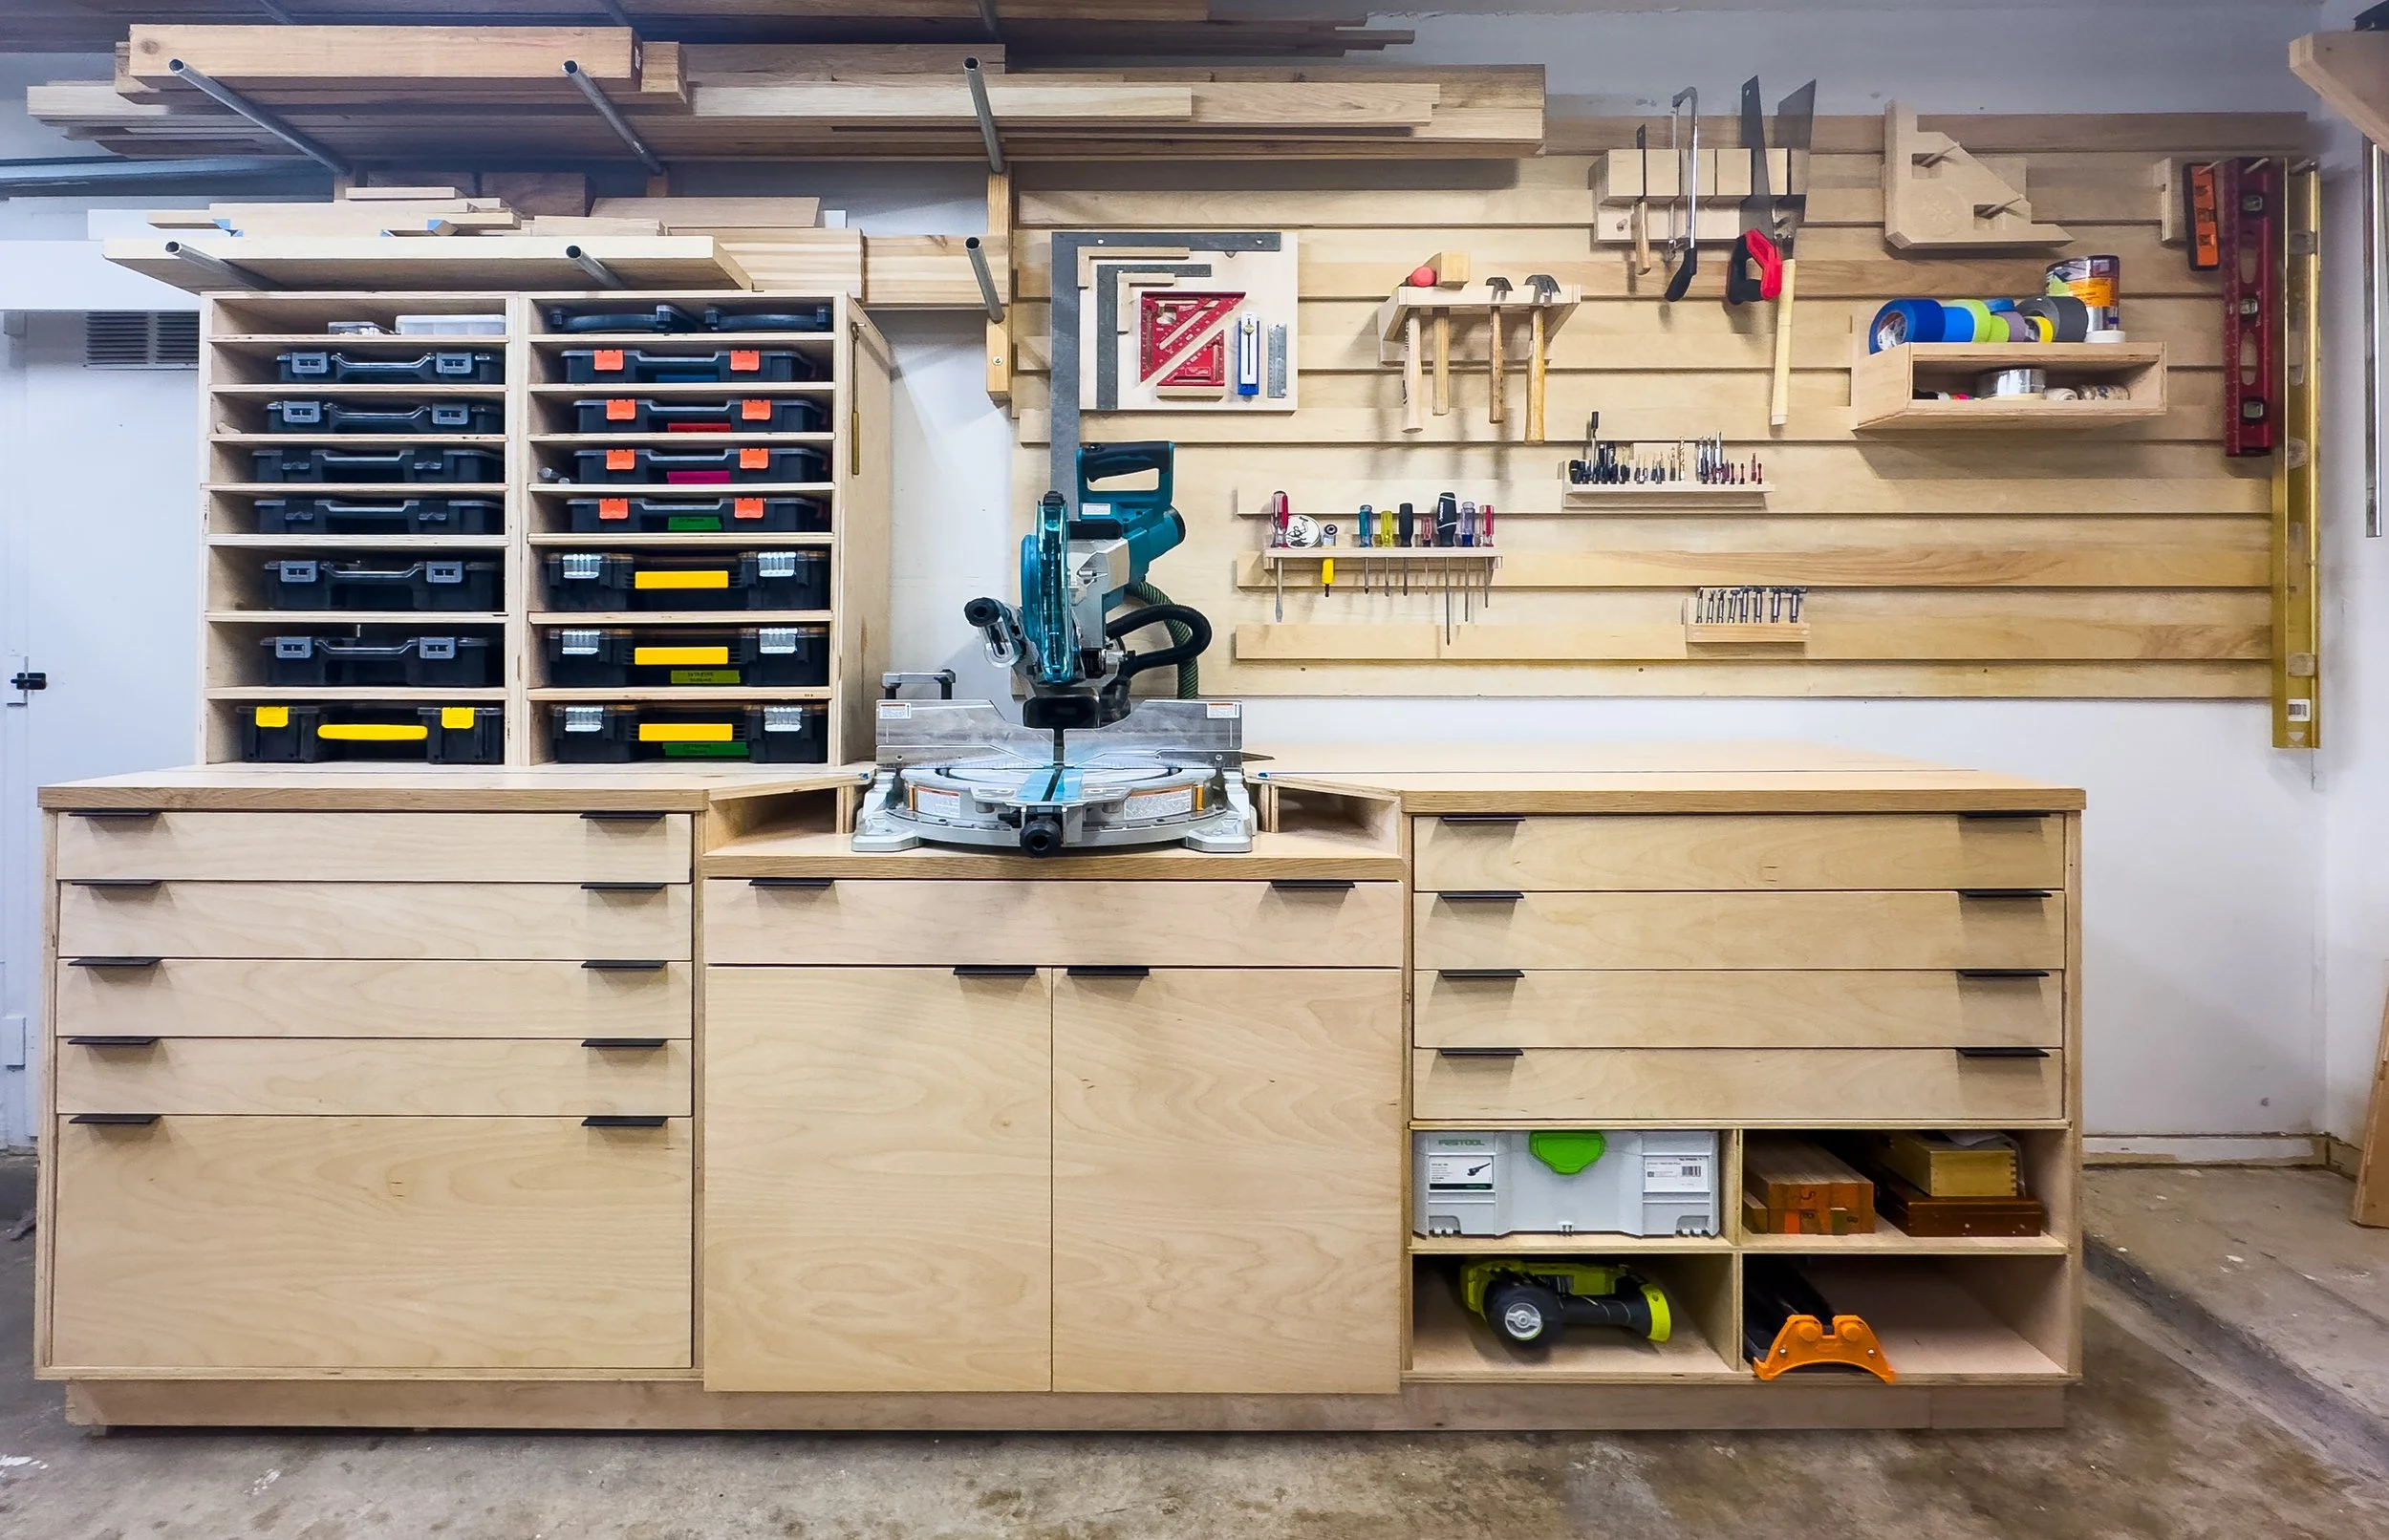
I’m starting with a new Miter Saw Station. I LOVED Michael Alm’s Miter Saw Station build. Why change perfection! So I decided to buy his build plans and build his station - with a few modifications.

Alm Fab Miter Saw Station
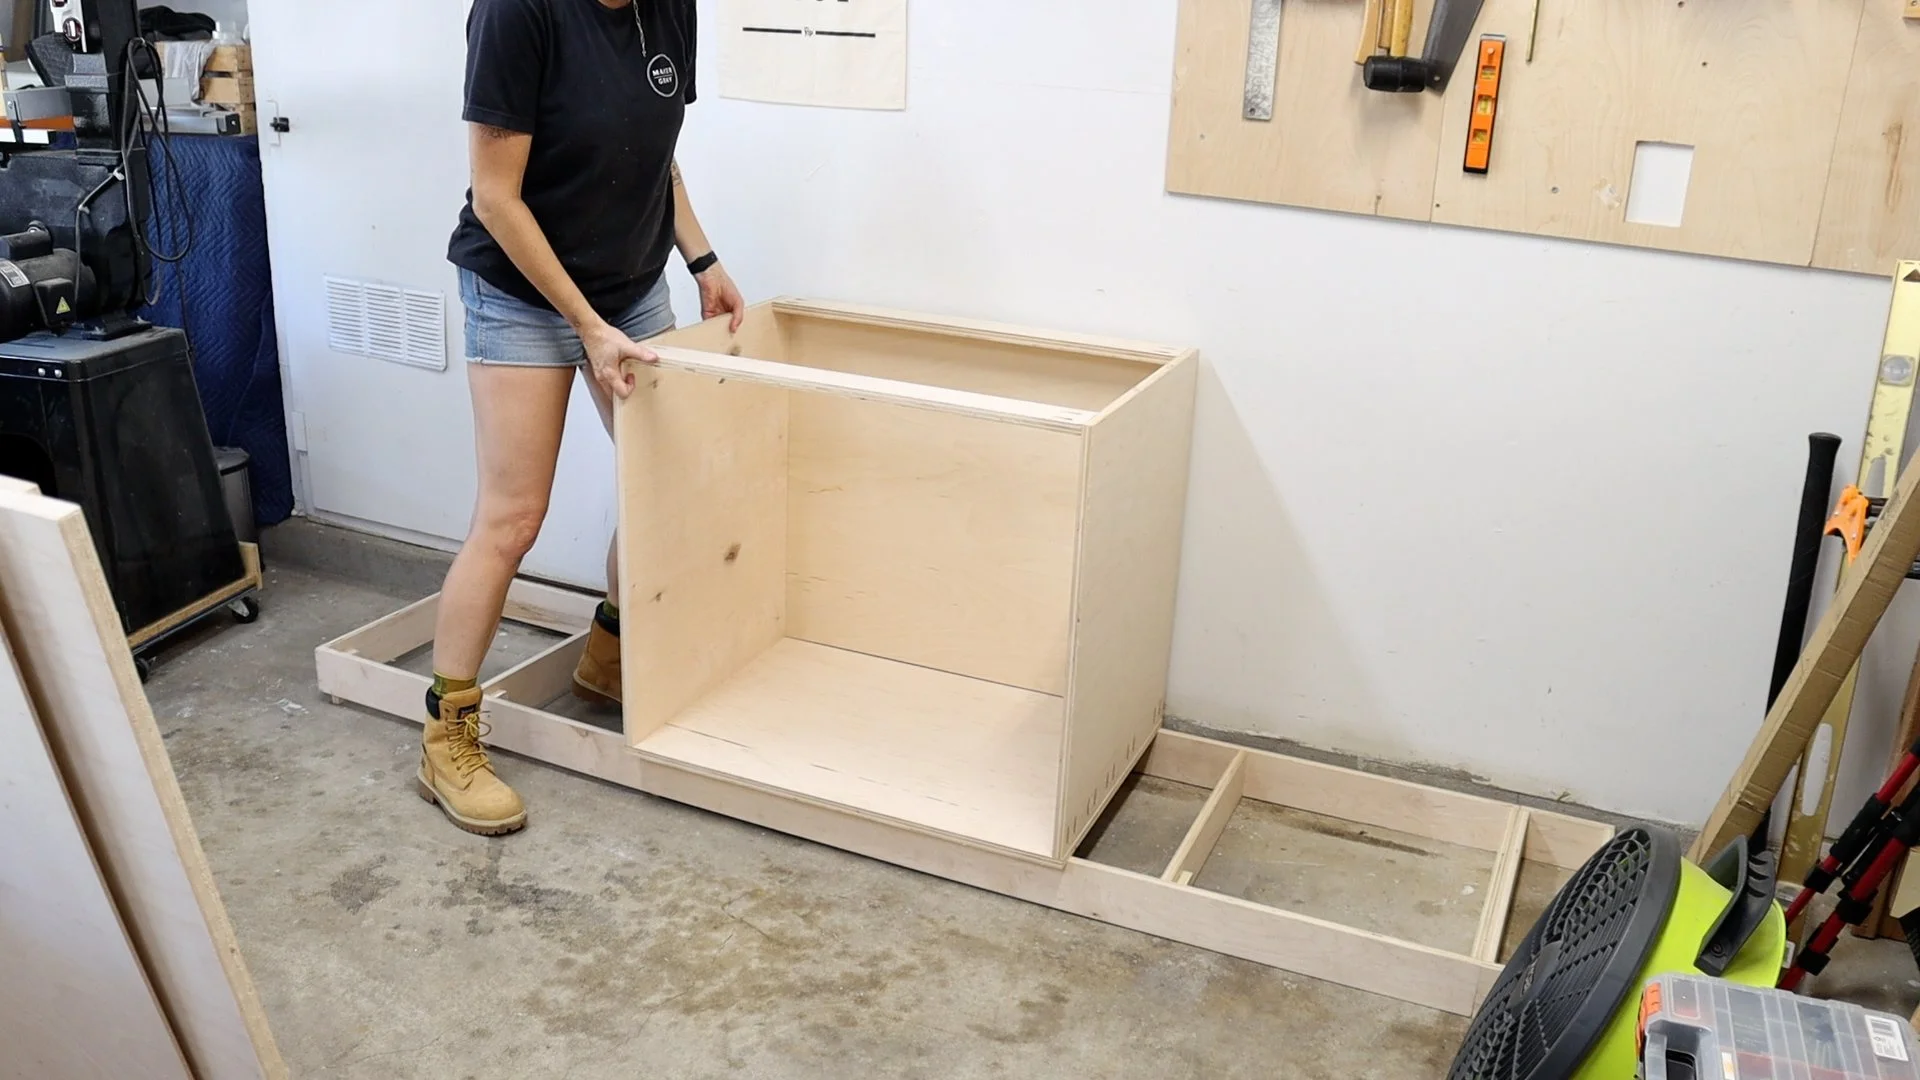
One of my favorite things about building Michael’s cabinets is that he builds his toe kicks separately. This allows you to level the cabinet base on the floor first, and then everything is built on top off of a level surface. Handi Shims come in very handy here.

From there, I built my cabinet boxes (using 3/4 ply) from the cut list and instructions on the build plans. I’ve never build cabinets before, and the plans made this process very easy. I made my first modification here as I’m building my station for the Makita 10” Miter Saw.

The right cabinet has some open boxes at the bottom. I like this as it’s the only open storage this station has and I think it would be good for scraps. These were made with dados and 1/2” ply. Be sure to watch the video for the details.


The countertops need a few cuts and modifications to allow for the left and right movement for different degrees of cuts of the saw. I also cut a dado in each side before securing the tops. This will allow for T-Track, which will be used for stop blocks.


Now for the drawers! This is another new build for me. But again, the build plans made it easy. I batched out and organized all of my parts and easily assembled all 10 drawers. I’m using 3/4”, 1/2” and 1/4” plywood and full extension drawer slides. Installation was very easy using Michael’s technique that he covers in his tutorial video.


The two cabinet doors were very easily installed with the help of this Kreg Concealed Hinge Jig and Rockler’s Hinge Plate Template.

After all drawers were installed, I gave everything a good sanding and applied a good quality finish for durability and protection.


Michael’s design has a solid wood bumper below the saw. I used white oak left over from my Wood Slat Wall build, and installed it with biscuits and wood glue. I cut and installed some white oak trim as well.


Small Parts Storage
A few years ago I built this rack for my bins for small parts storage. It’s worked so well at keeping my small parts organized. There is a bin for everything I need, in categories like exterior screws, interior screws, nuts/bolts, drywall anchors and more. I’m out of room so I built a second one, with room to grow.

I used scrap wood and cut matching dados on two 3/4” plywood boards. Then I cut shelves to slide into the dado grooves. It’s a very simple build! Check out the build video for the details!


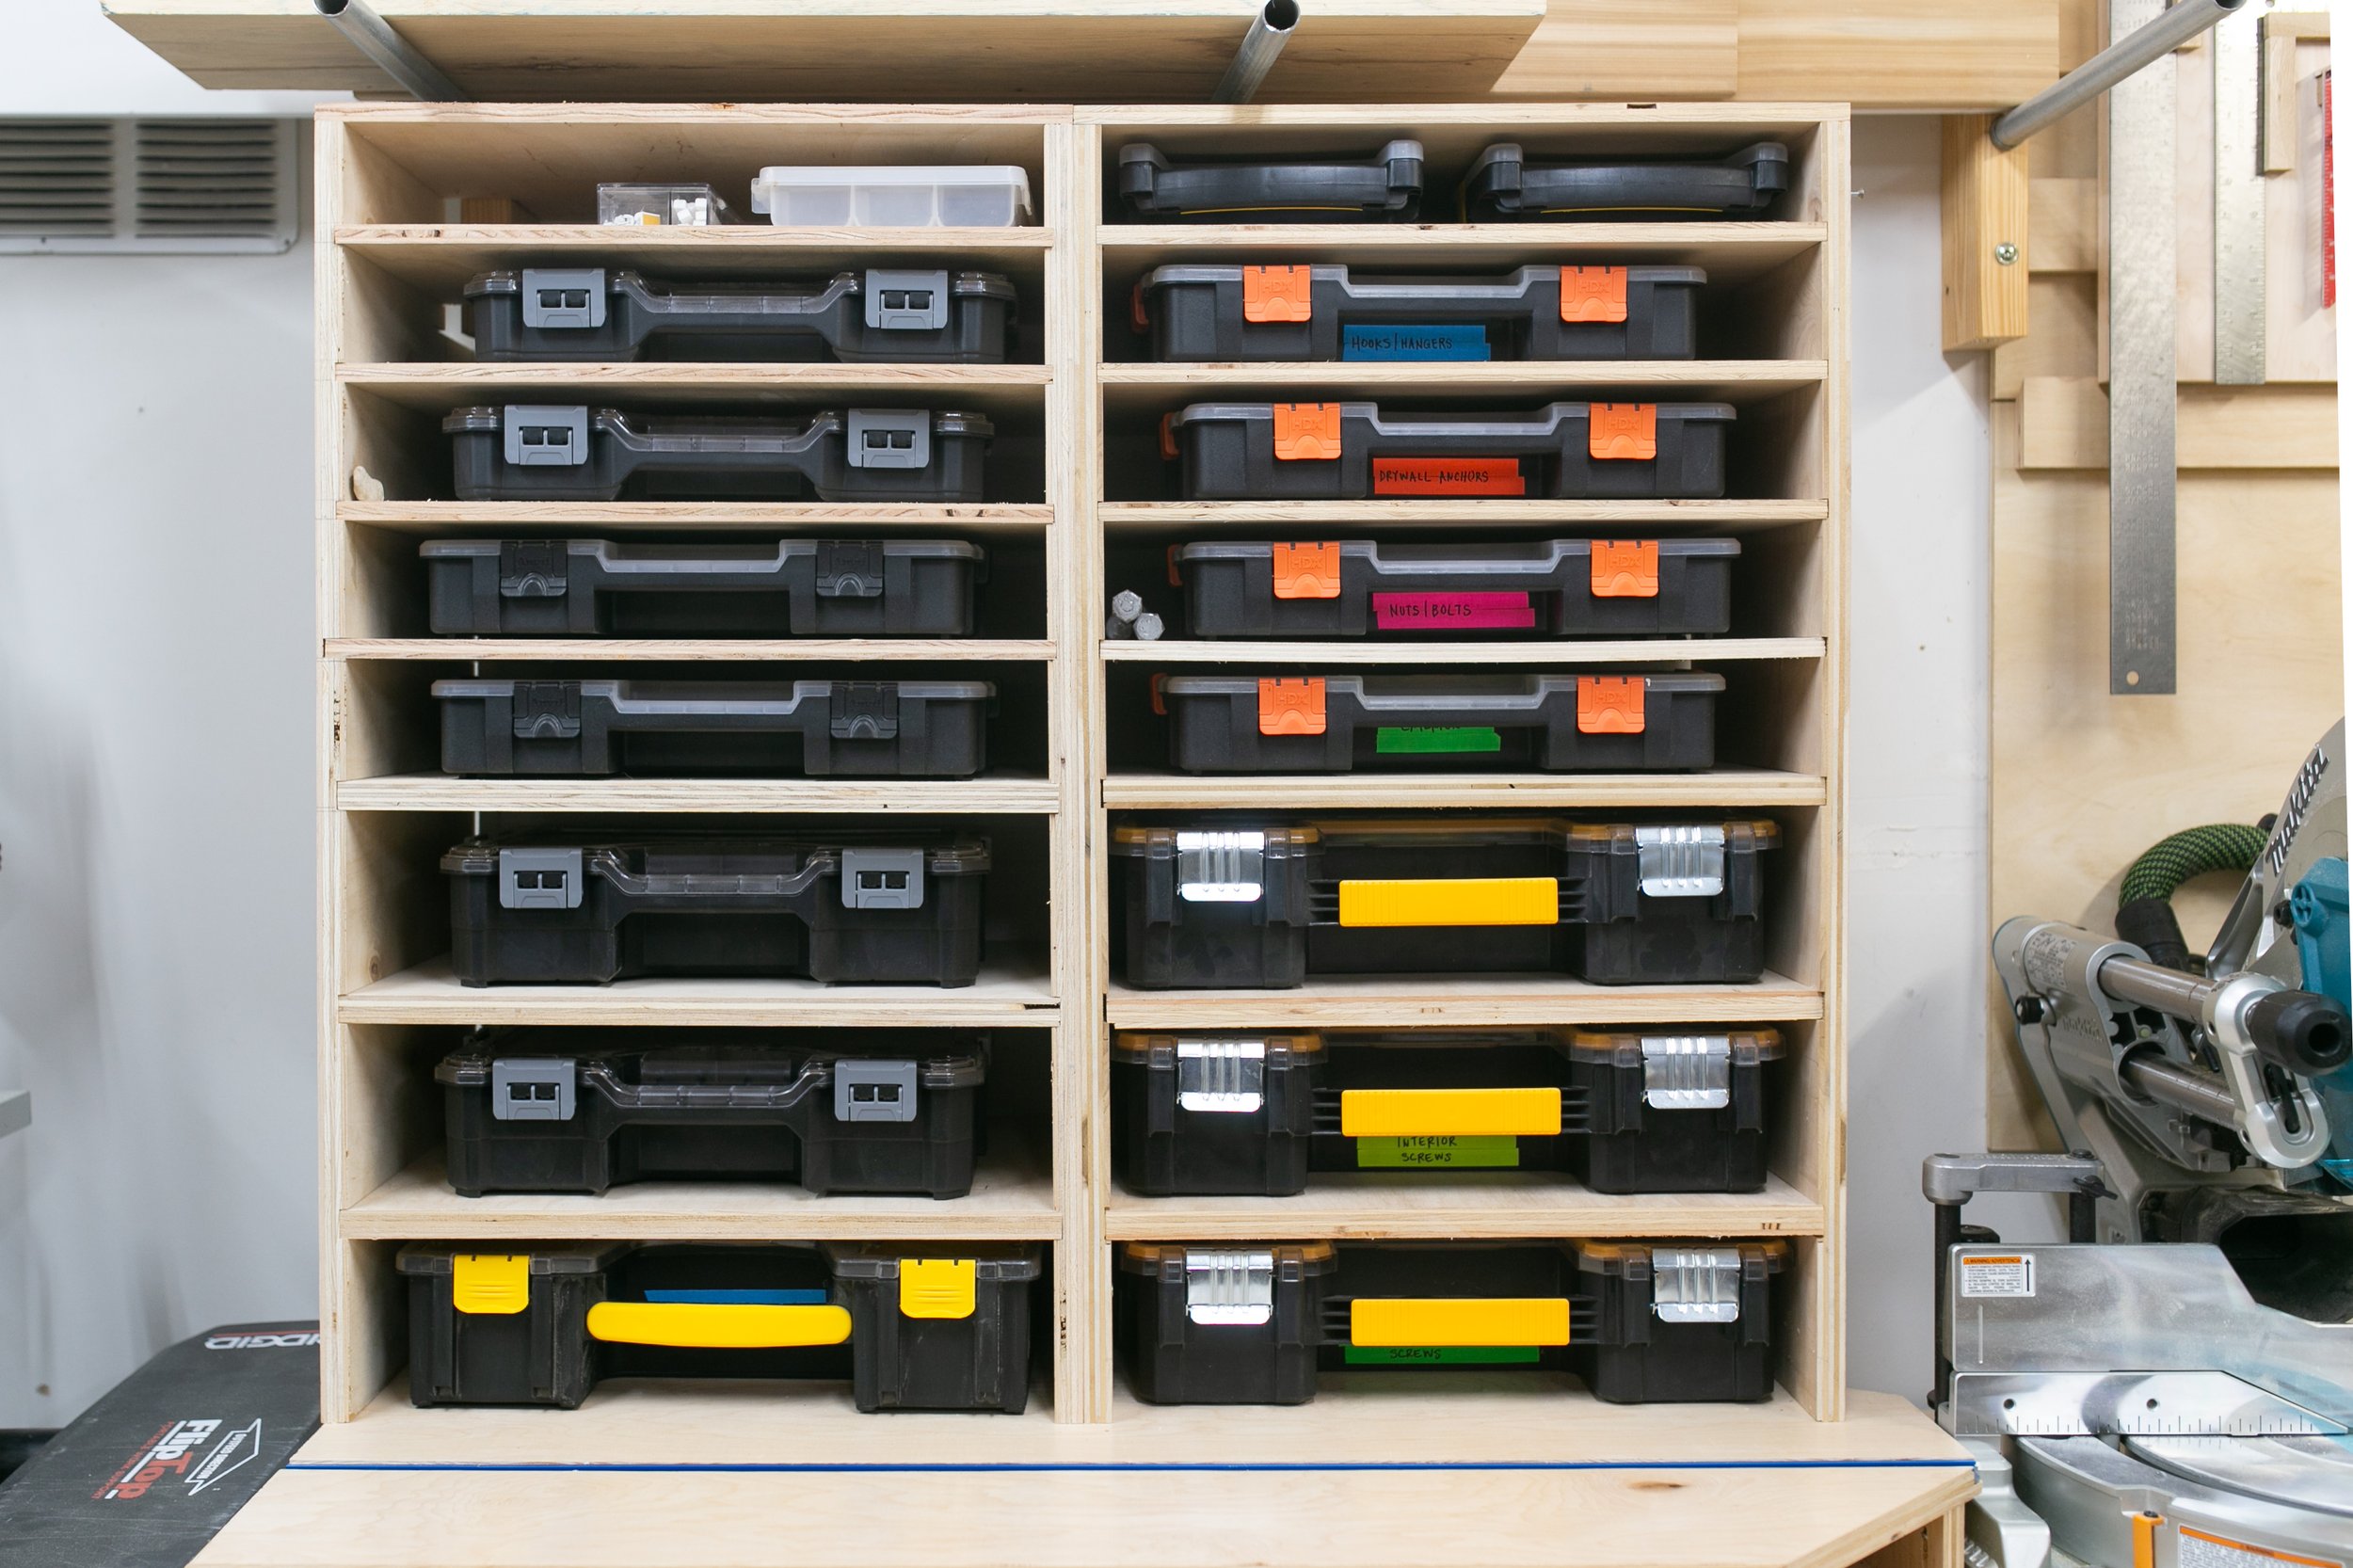
I love this simple small parts organization. I can quickly find what I need, everything is labeled, and the bins slide right back in when I’m done.
French Cleat Tool Wall
Years ago I made these plywood boards from scrap wood for my wall. They’ve worked really well but I’ve outgrown them and the overflow just ends up on the workbenches, which drives me crazy. I can do so much better with a French Cleat Tool Wall, which is the strongest and most adaptable mounting system.

Check out the build video for the details! Here is an overview:
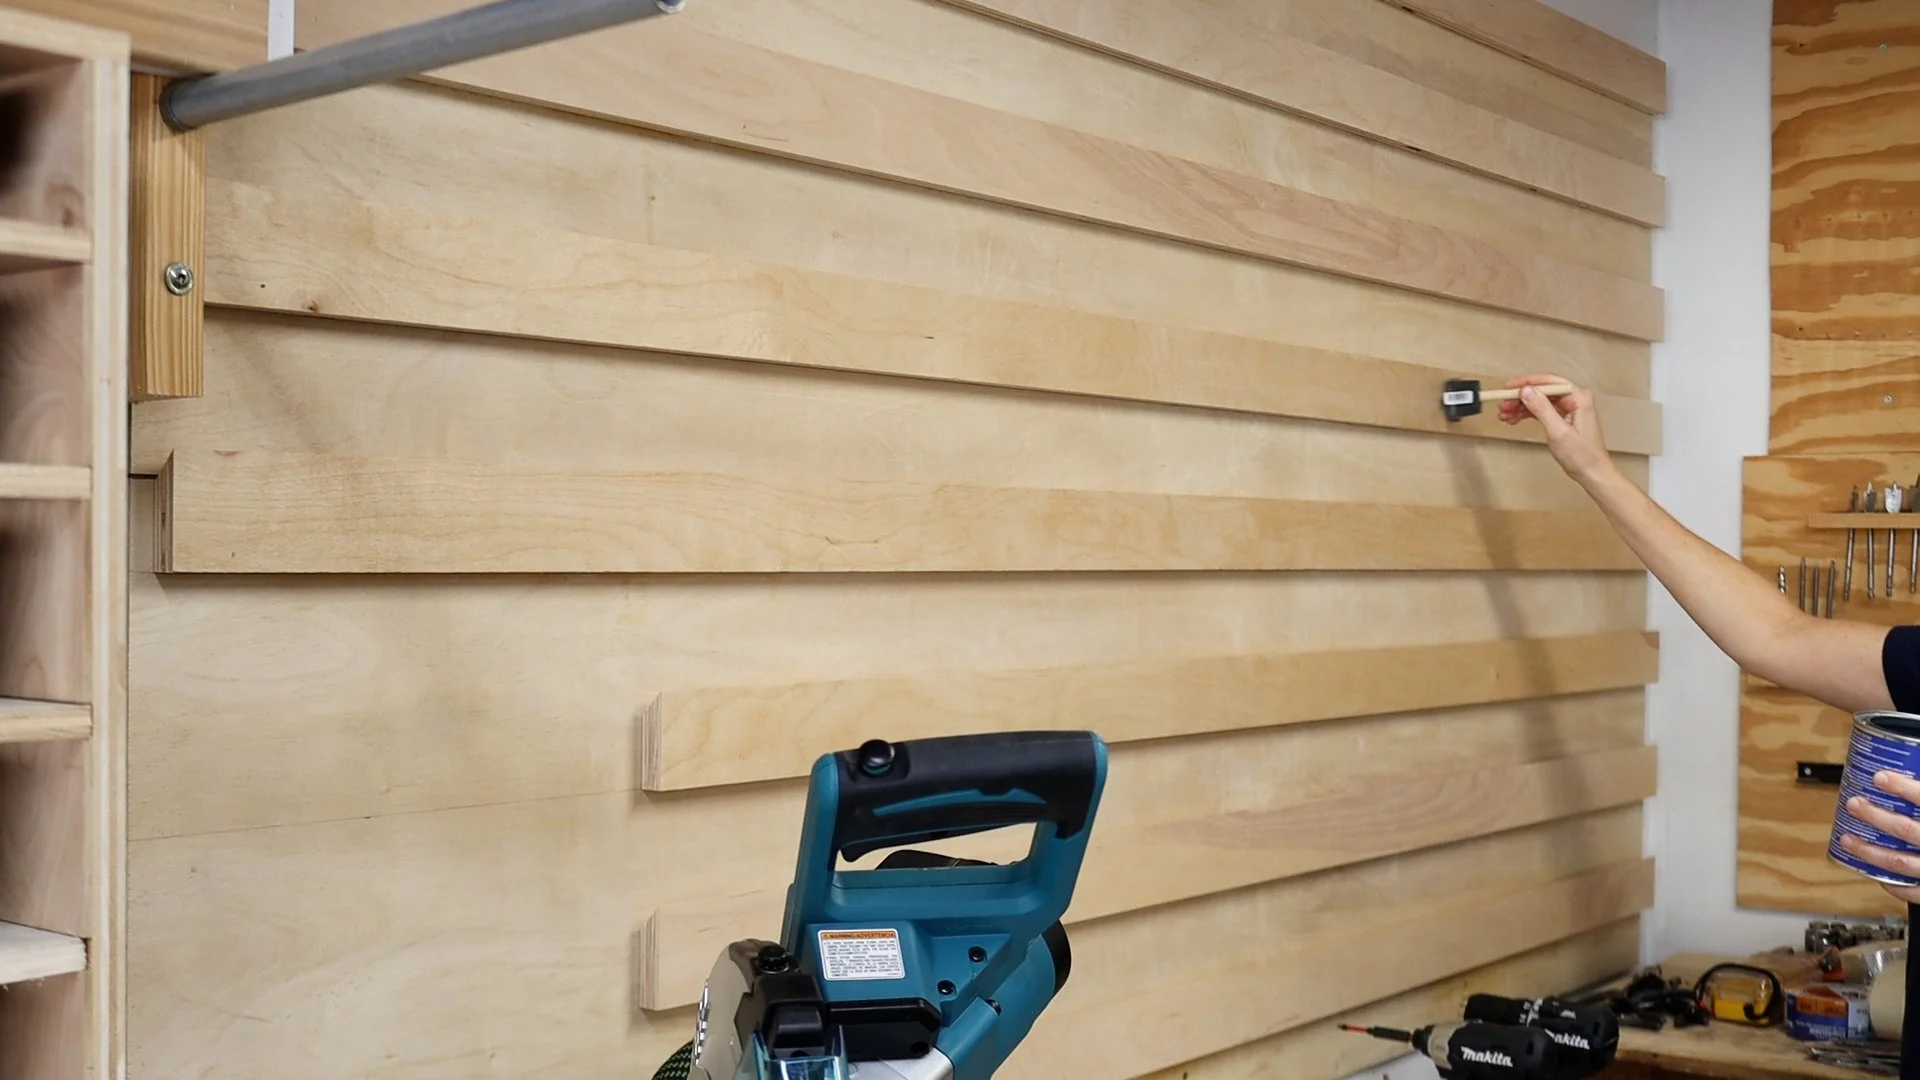
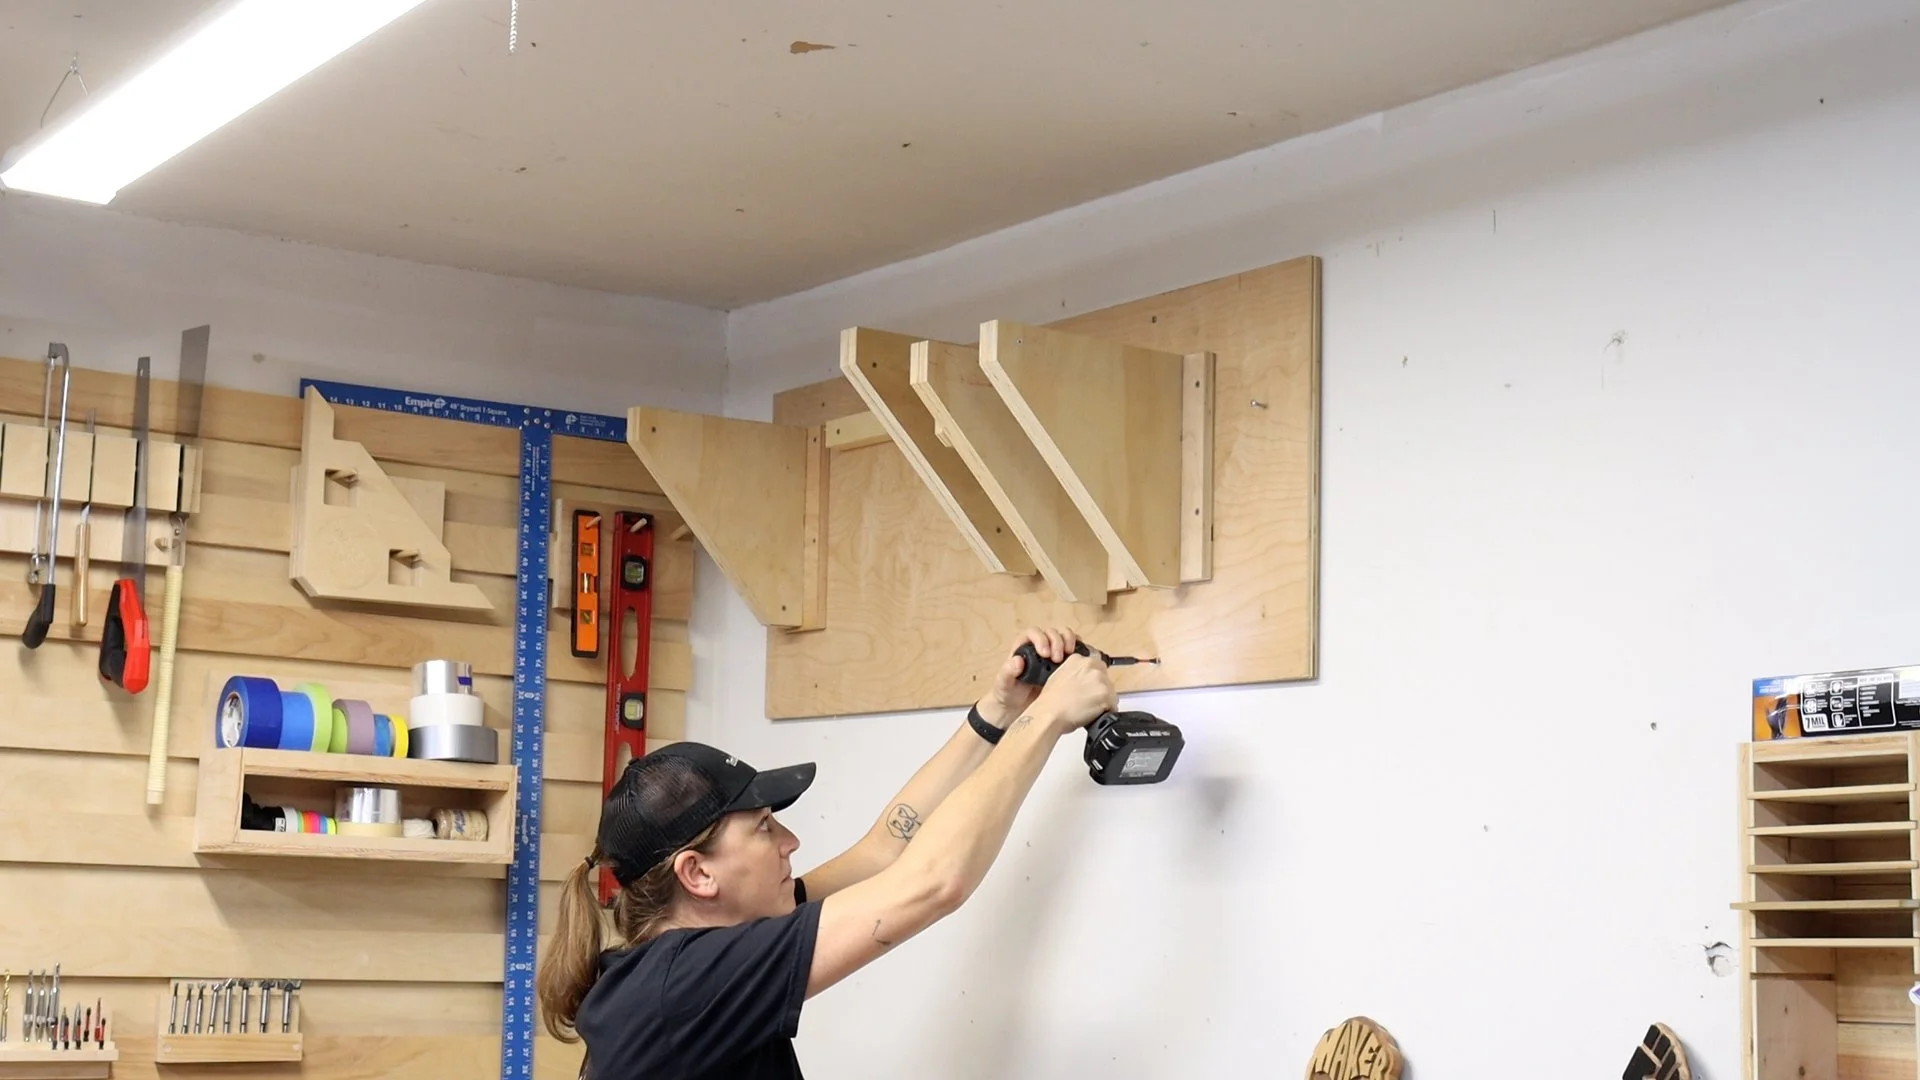
I removed the old boards and replaced them by screwing a fresh 1/2” sheet of plywood to the wall. I then cut out 5” wide strips of 3/4” ply with my track saw, and then cut the strips down the center at a 45 degree angle on my table saw, which gives me two french cleats.

I then glued the cleats to the wall in level lines. Brad nails hold the cleats in place while the glue dries. The glue will supply all of the holding strength once it dries.

Now the fun part - creating individual tool holders! I love how every single one can be made from scraps. I’ve got details in the build video covering the process of each.

measuring tool holder

tape holder
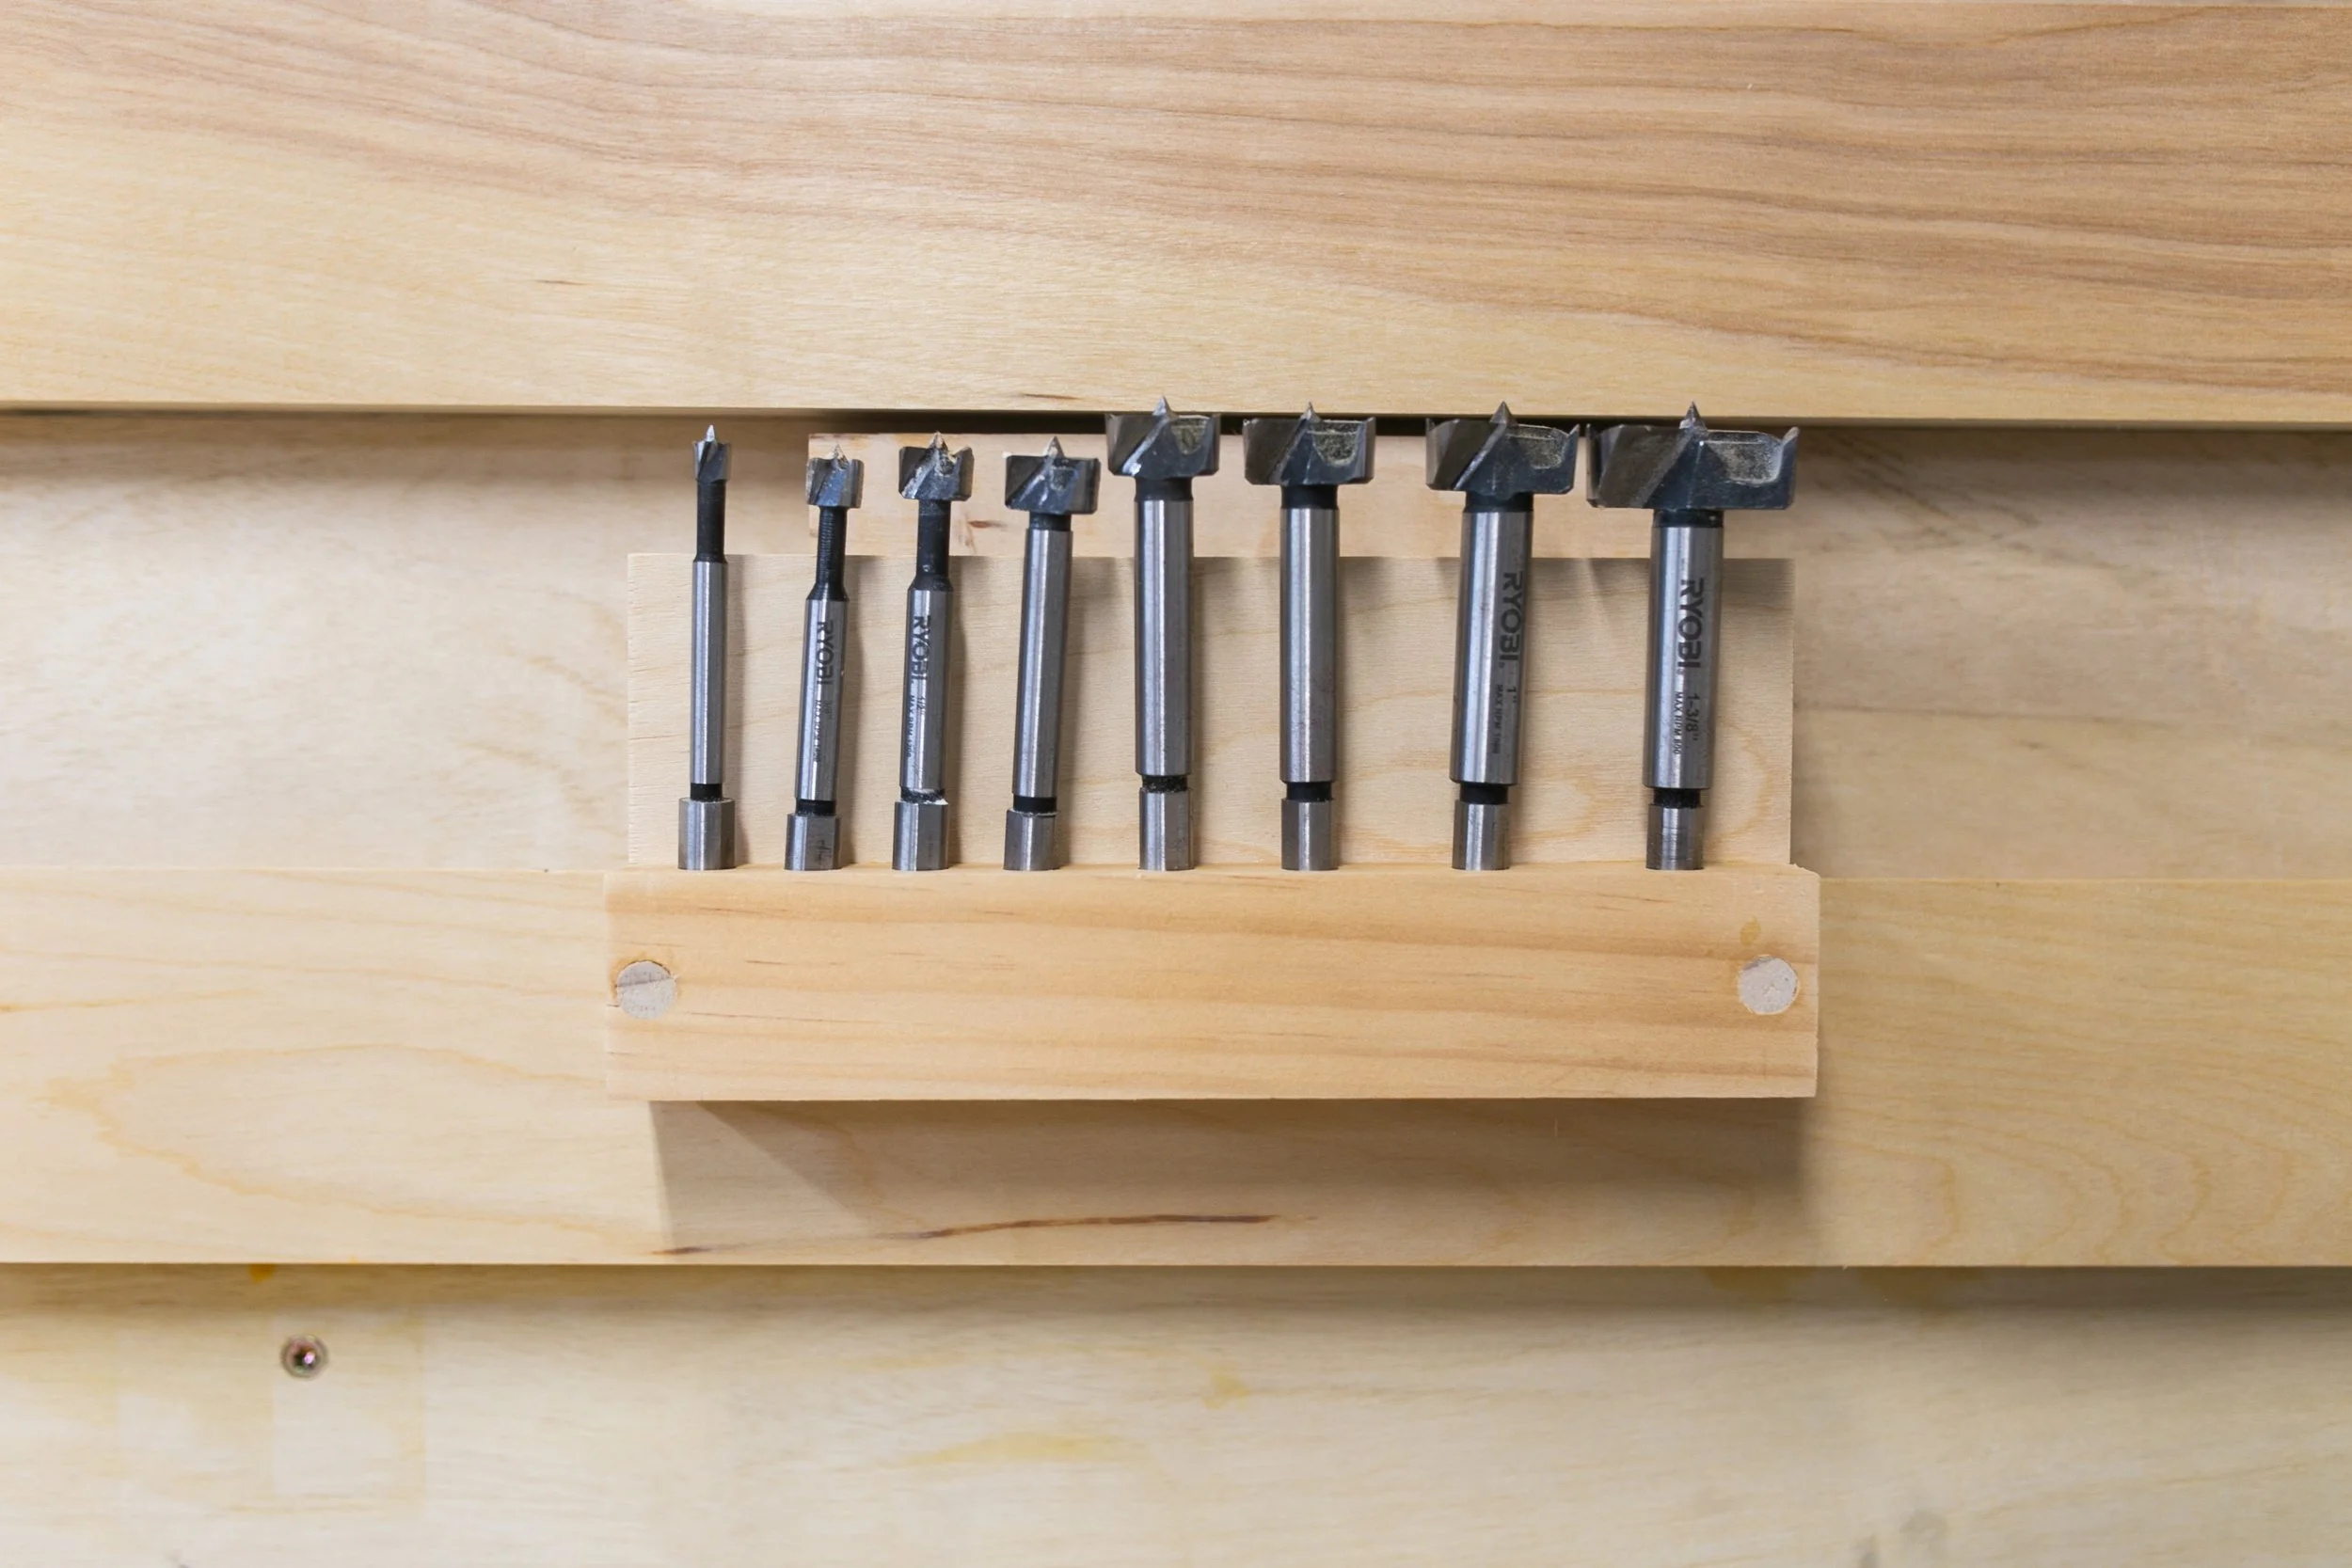
forstner bit holder
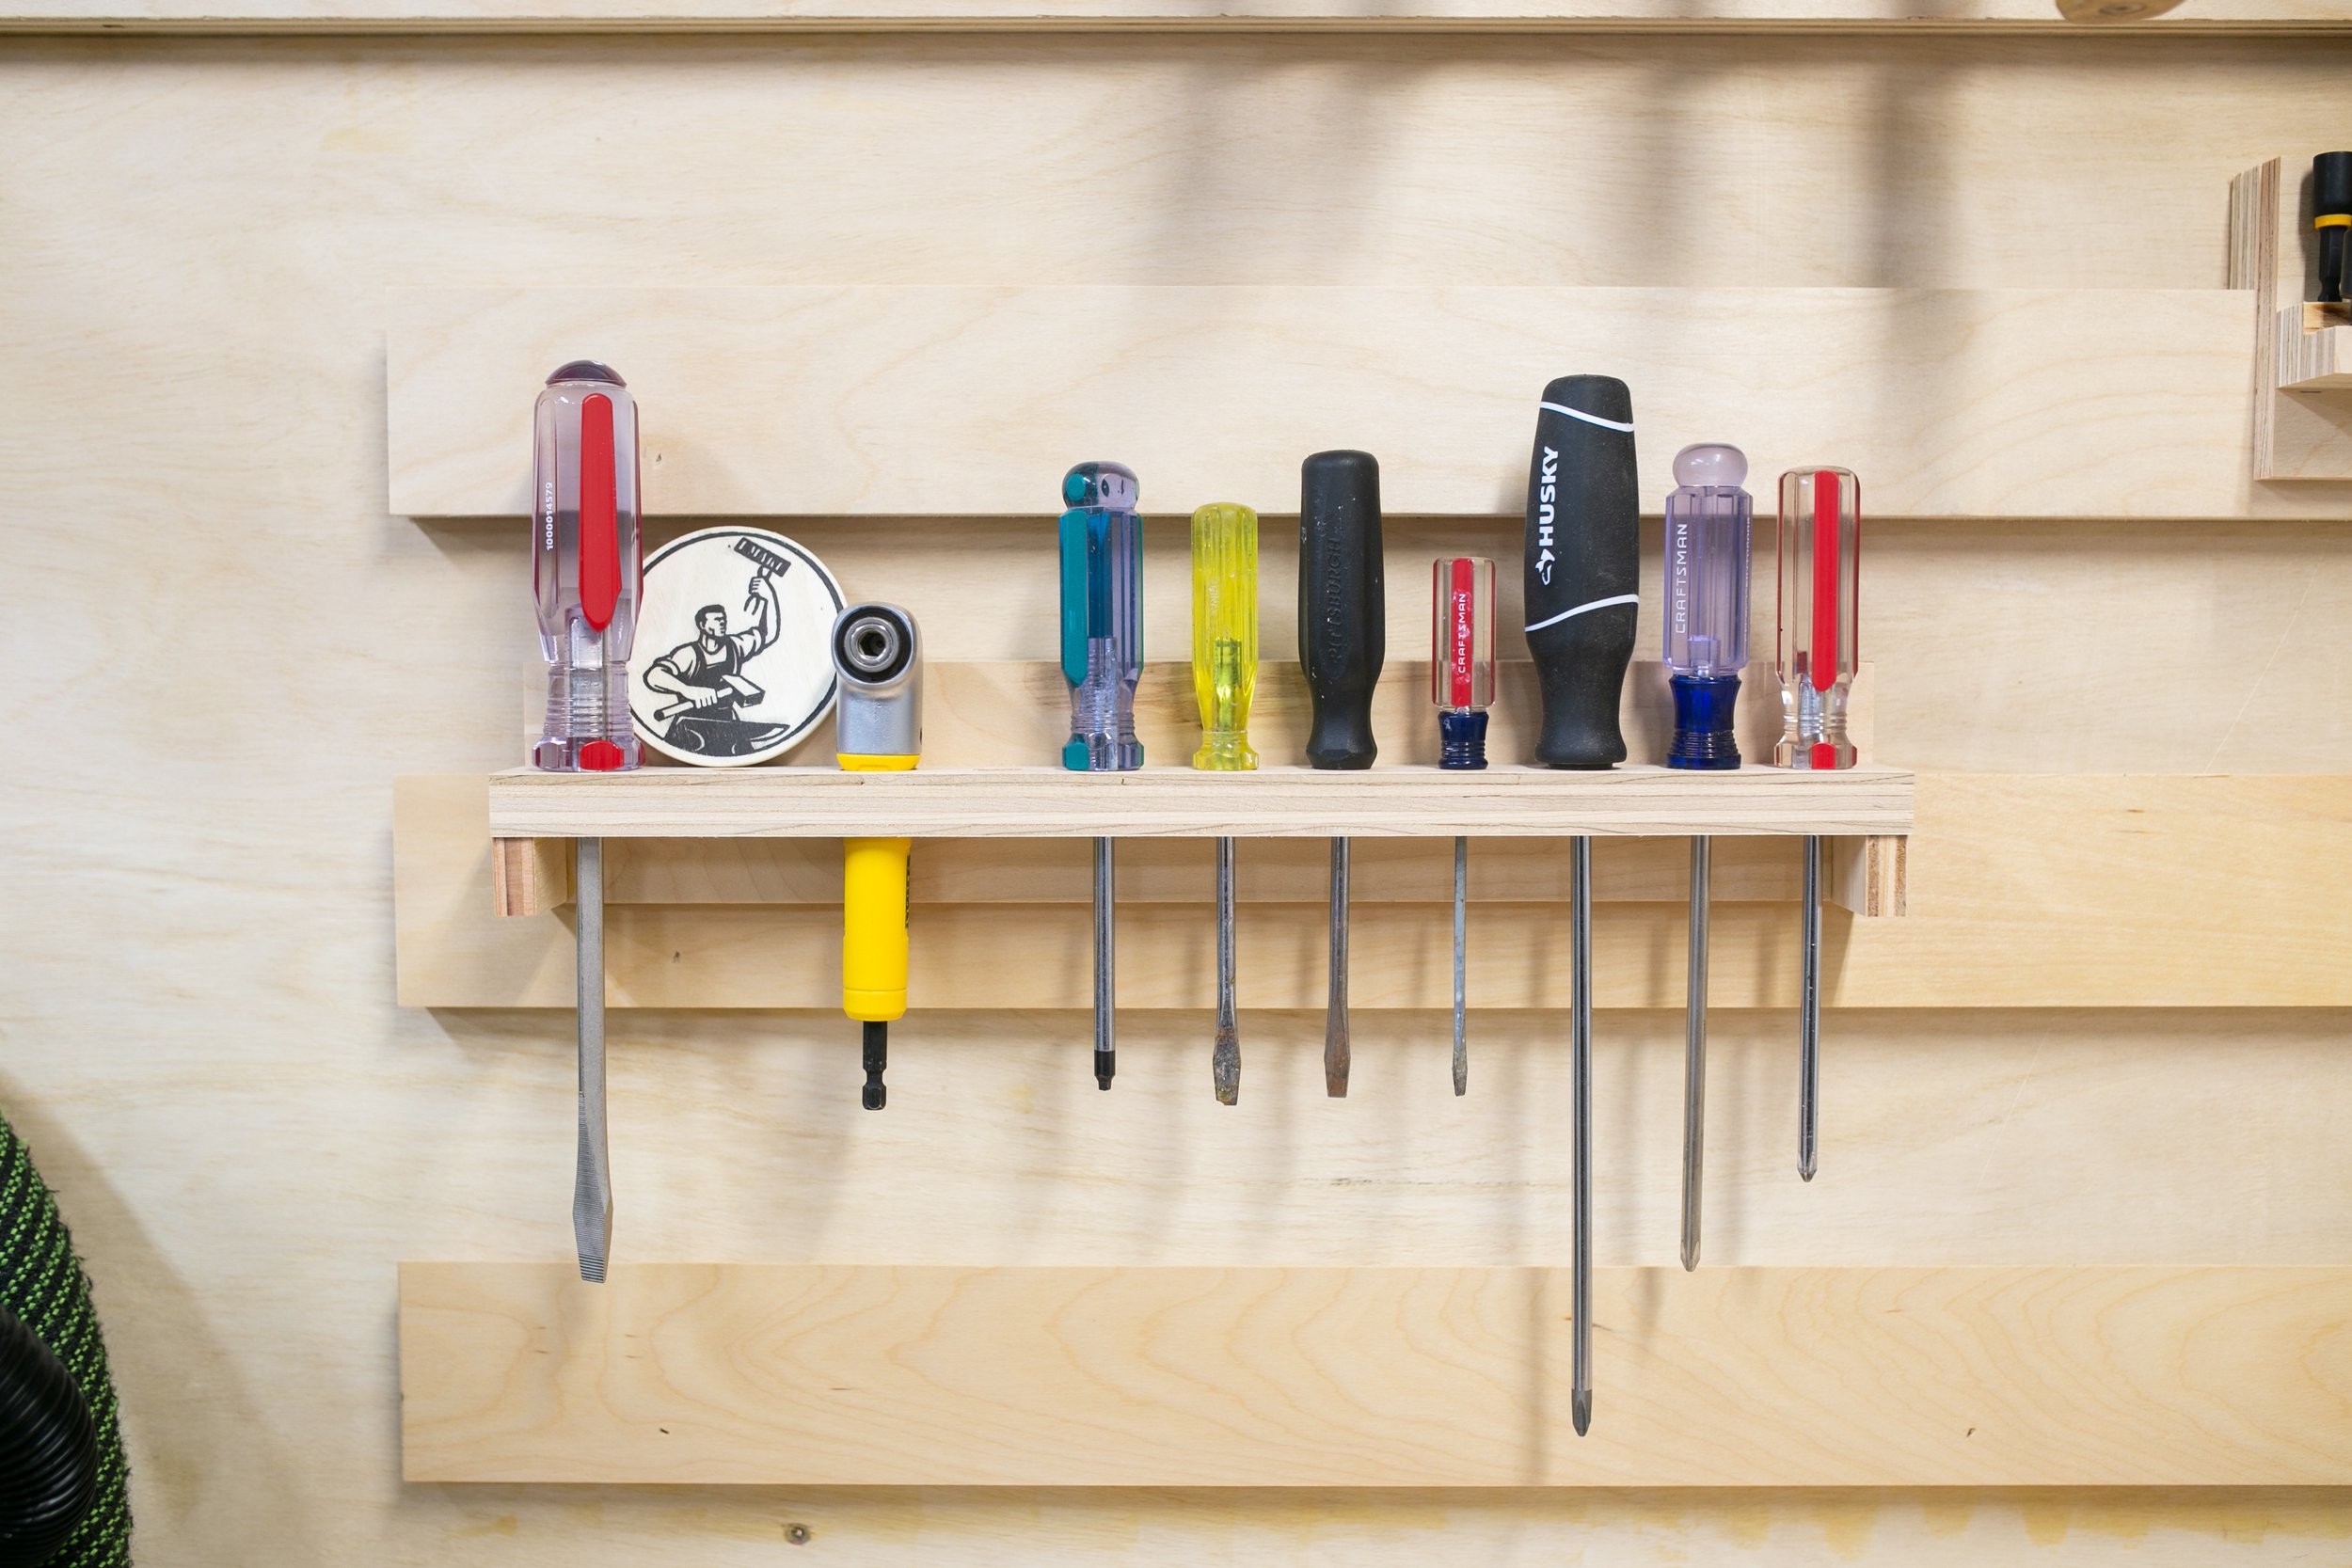
screwdriver holder

hammer & mallet holder

bit holder

level holder
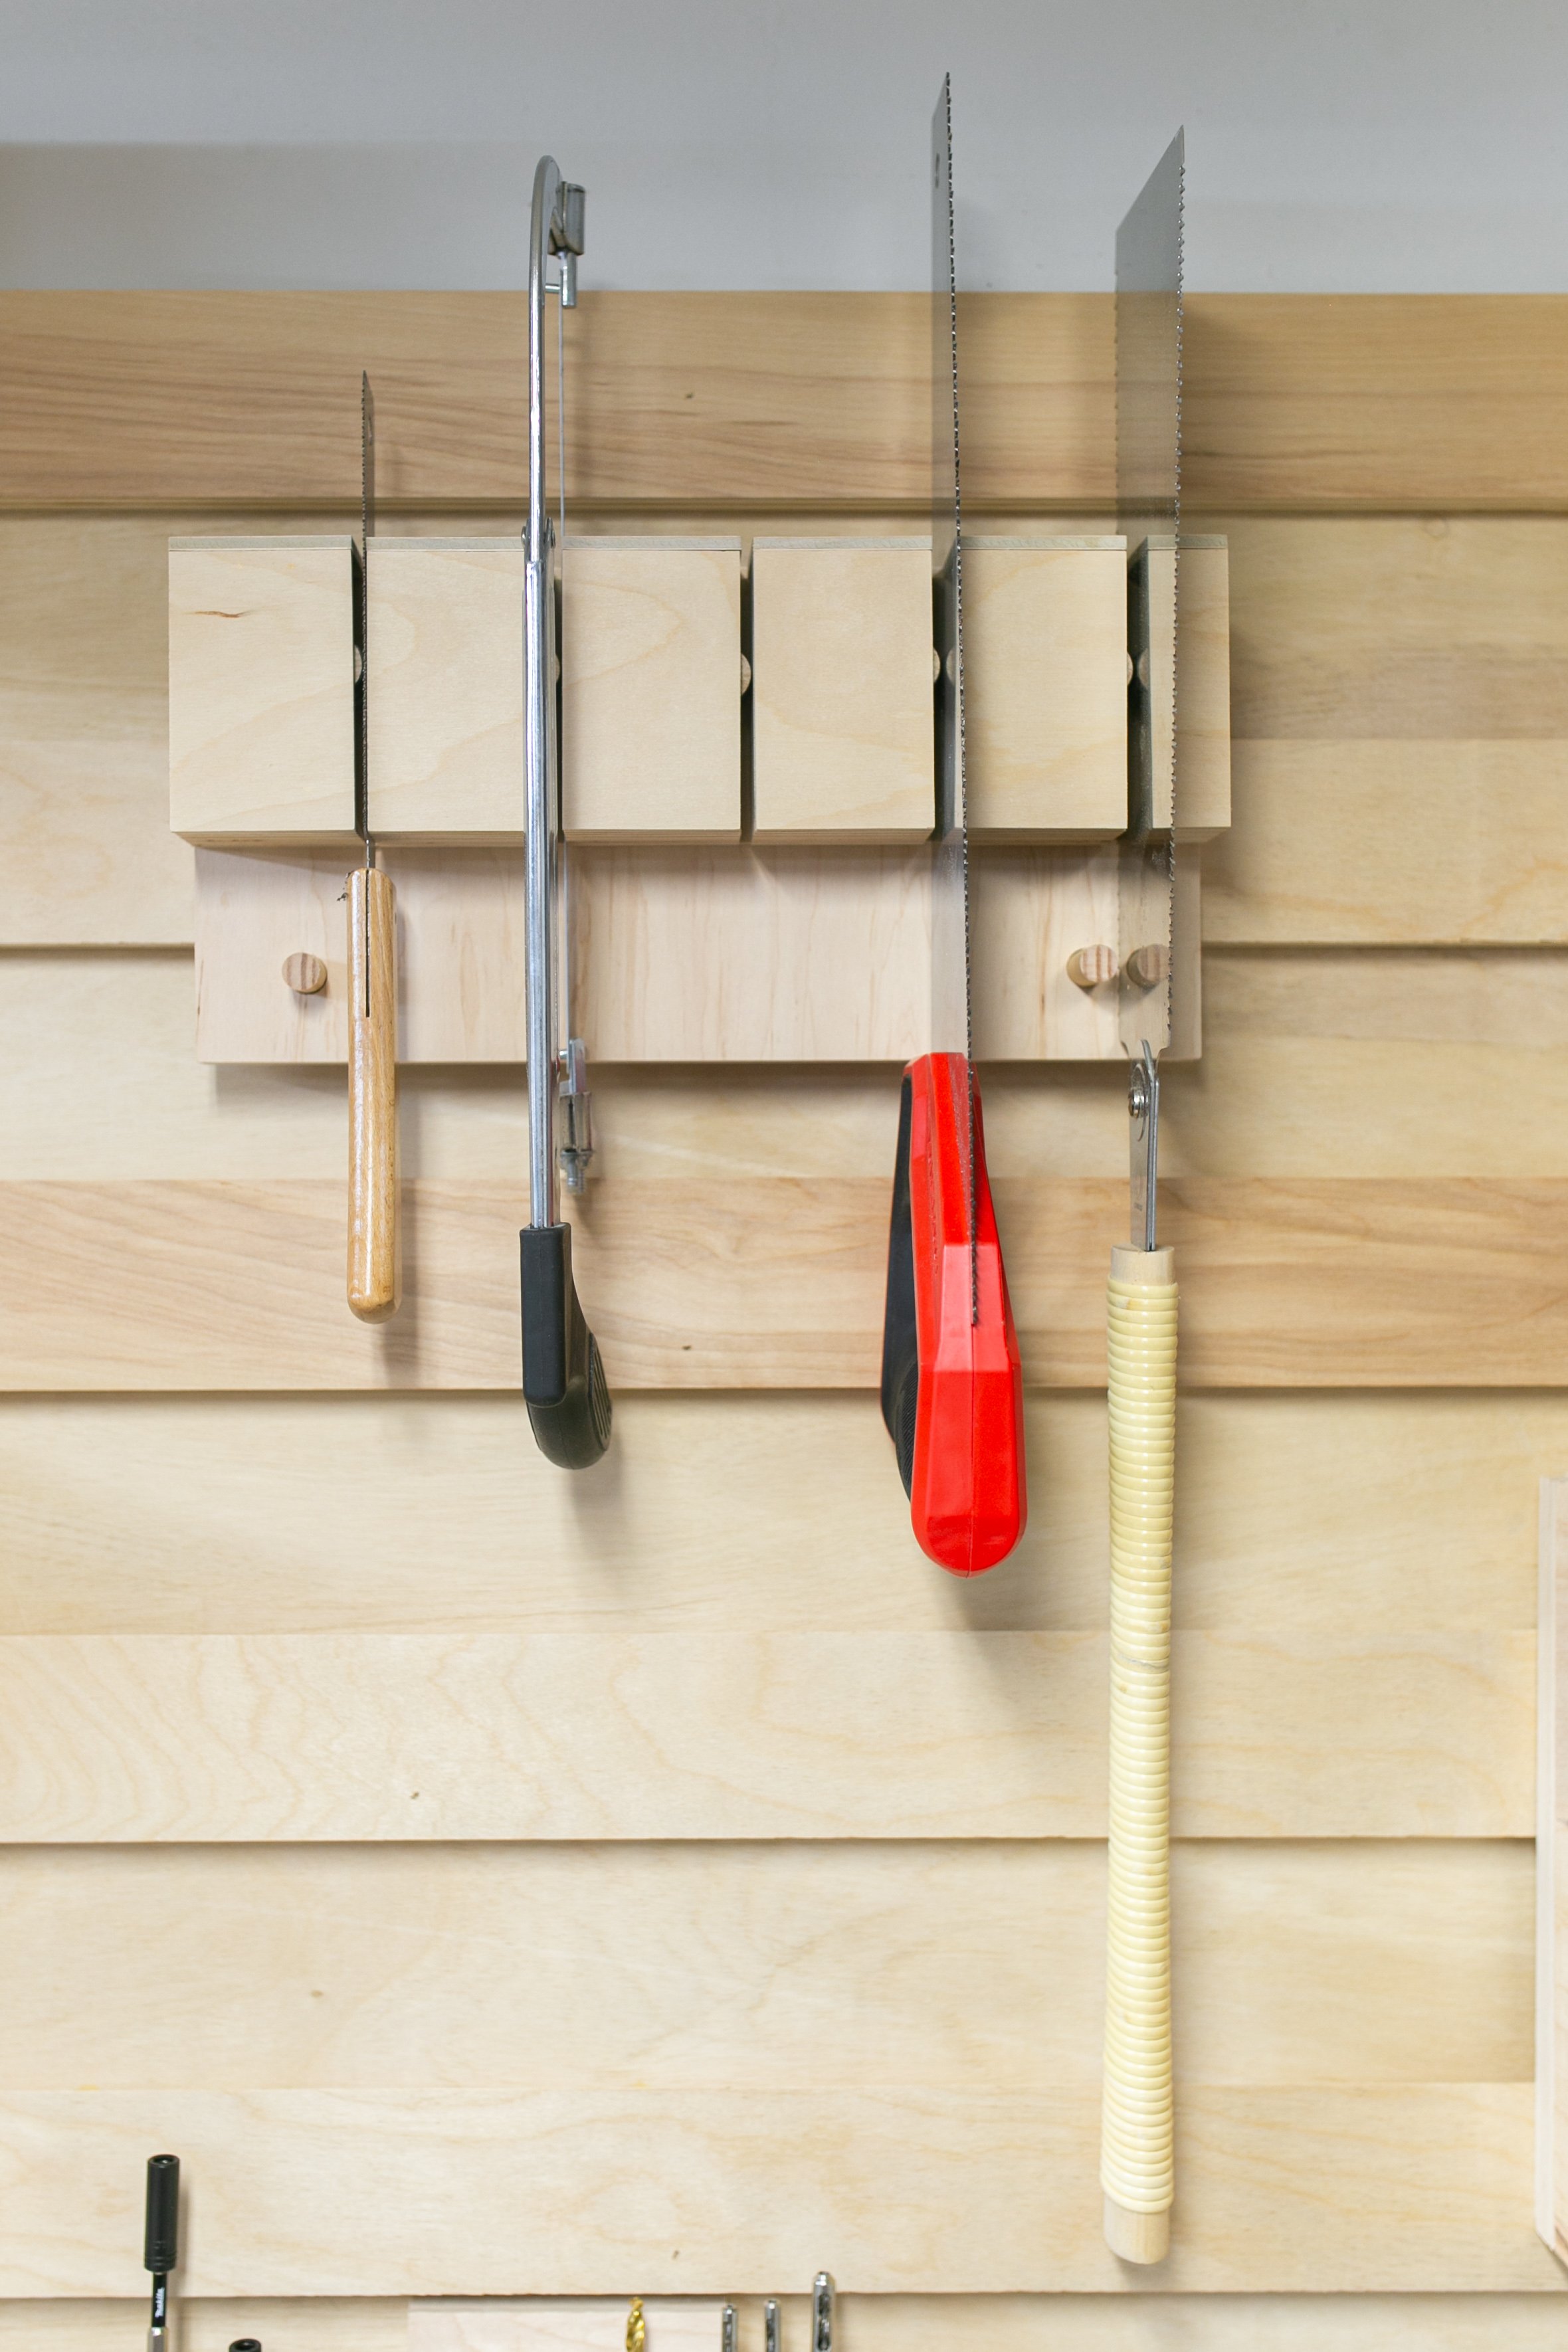
This one might be my favorite - a Floating Saw Holder. This holder uses gravity and friction to hold saws in place! All I have to do is push the saw blade up between the boxes and when I release, they stay in place! To take one down, I simply push up on the tool and it releases free. It works so well. See how I built it in the video here.
I absolutely love this French Cleat Tool Wall. It so simple, it functions so well and its a thing of beauty. Most tool holders can be built from scraps And I can endlessly reconfigure it to accommodate my tools as my collection grows. What tool holder should I build next? Let me know in the comments below!

Clamp Rack
I built this clamp rack about a year ago from some scraps, and its worked wonderfully. The only issue was where I placed it. I found that it was often hard to get to. I moved the clamp rack over to this newly renovated area, which is so much more convenient.

It’s a super simple build. The backer boards are screwed into the studs. The trigger clamps just attach themselves to these blocks. And the longer clamps hang on these triangular racks, allowing me to stack them deep, saving wall space.

Battery & Charger Storage Station
Awhile back I built this battery charging station and it was worked so well. However, my battery systems have evolved, so now I’m needing to update it.

I’ve got battery storage on the left and chargers on the right, with individual on/off switches for each charger. I recently got some Makita batteries so I want to add the charger, but it doesn’t have any keyholes on the back for hanging. So let me show you my fix.
I found someone on Etsy that 3D prints brackets for hanging this Makita charger, so I picked one up. It comes with this backplate, which screws to the mounting surface.

The charger mounts perfectly onto the plate, and then two brackets snap into place on the top and bottom, holding the charger securely to the plate. It’s so good and a great design solution. 3D printing is so cool.

Now I can get the station back on the wall, get the power strip back in place and plug everything in.

I really like having battery holders to organize my charged batteries. My friend Alma at Pink Soul Studios 3D printed these Makita holders for me, which only require a couple of screws to install. Now, when the batteries are done charging, I can place them in their holders, ready to use.

And while we’re on 3D printed solutions, Alma also printed me these parts that combine to make holders for my track saw tracks. She got the print files from Pete Squared. The parts combine with springs to create a spring latch. So cool.

You then screw the bottom mount to a wall or garage door. And then screw on the top spring latch above it. Now, I can store my long tracks on my garage door, utilizing this unused space. The spring latches keep the track secure, even when the garage door is up and open.


before and after…

Happy to answer any questions below, or in the comment section of the video. See you on the next project!
Check out these similar projects!


Follow Maker Gray:
Instagram @MakerGray https://www.instagram.com/makergray/
Facebook https://www.facebook.com/MakerGray/
TikTok: https://bit.ly/3lXgdHh
If you liked this project and want to stay up to date with what I’m building, then be sure to sign up for my emailed newsletter and you’ll get an email when I post something new.
(Most of the links listed above are affiliate links. As an Amazon Associate I earn from qualifying purchases. Thank you for supporting me in this way.)