
DIY Full Length Mirror
This Maker Gray tutorial shows how I made an industrial metal and wood floor mirror. This is a project that was easier than I expected and the results are even better than I expected!
The mirror I used came from a local mirror and glass shop. I just did a Google search for local shops and found one with great reviews. I gave them my dimensions and they had it cut for me in no time.
Be sure to check out the build video tutorial HERE
Materials and Tools I Used:
1x6 board
(2) Steel Angle Iron
Acetone


I started the project by picking up two pieces of Angle Iron which will be the sides of the mirror. I used my Orbital Sander and sanded off the rust and mill scale from the metal.
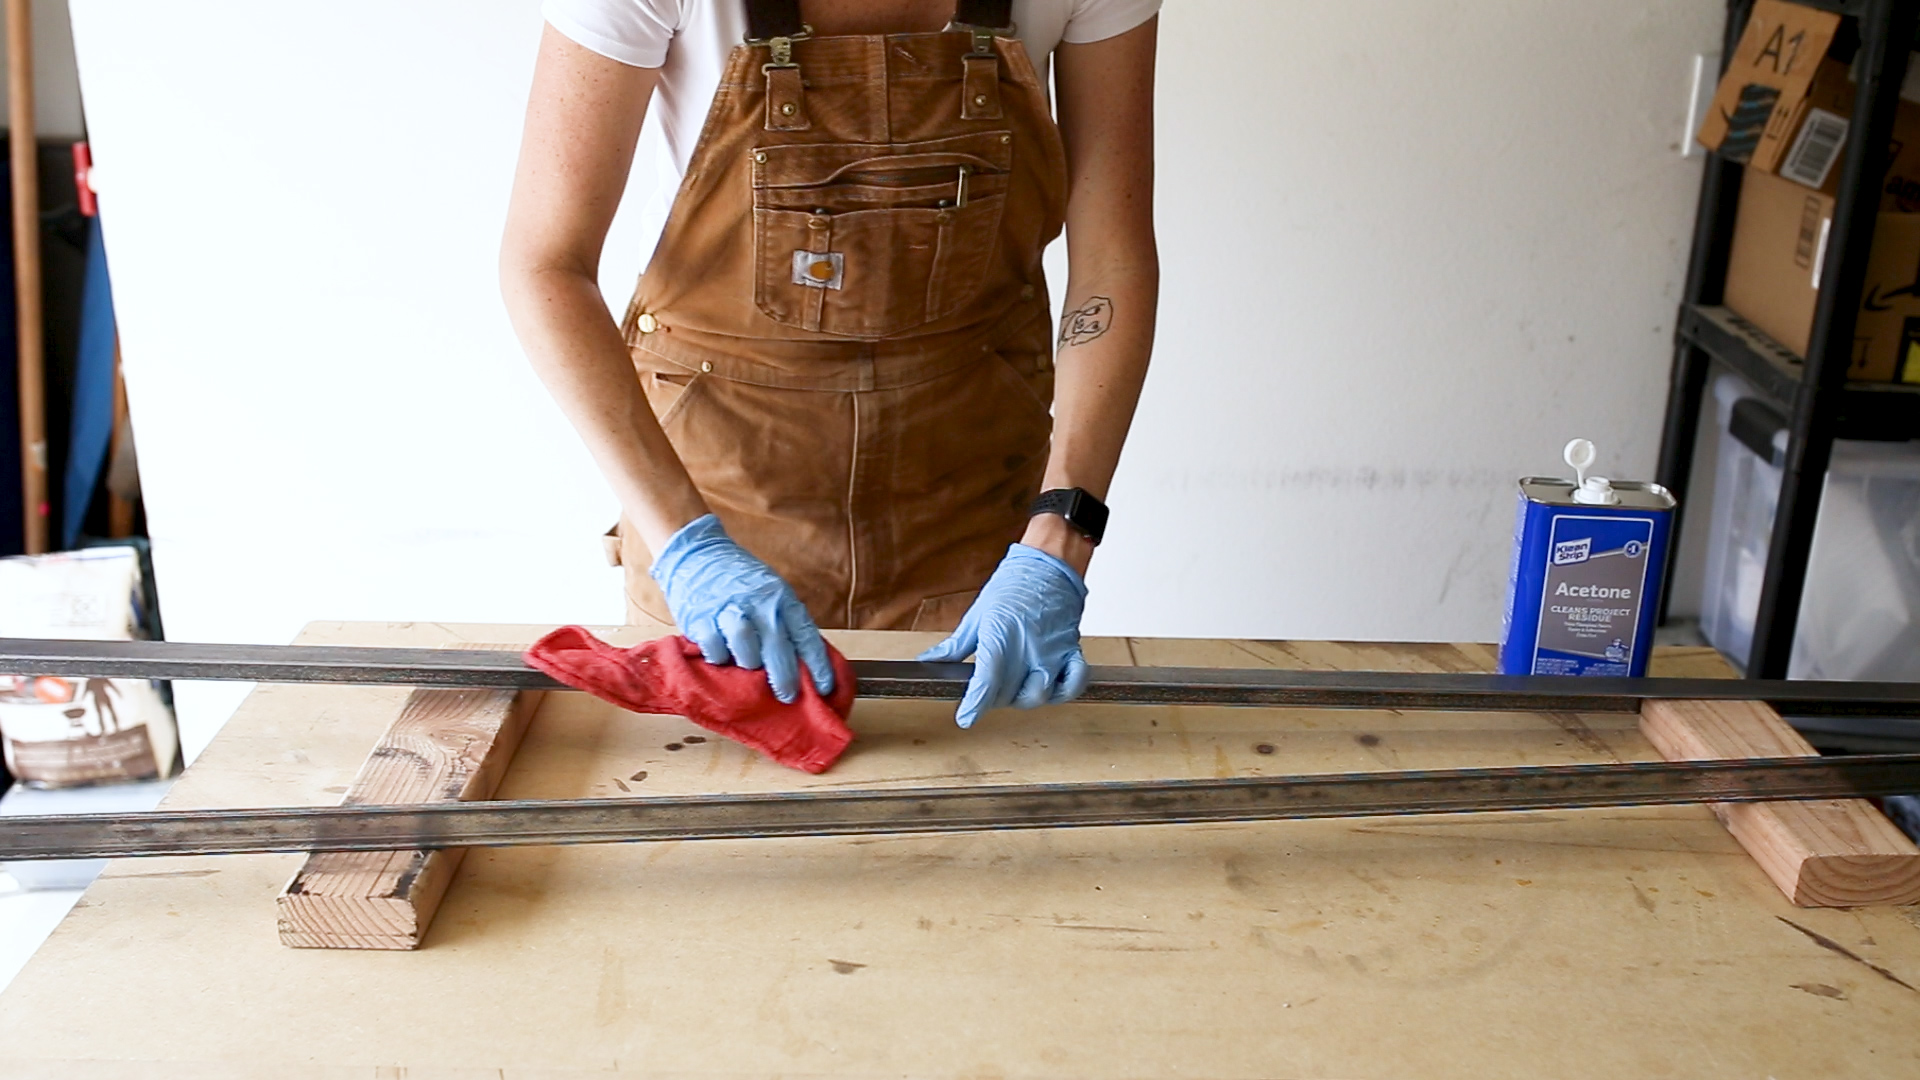
I then used Acetone to clean further clean the metal and remove any grease.

With the metal clean, I then used Paste Wax to seal and protect the metal. This leaves the metal with a nice, protected, non-oily finish.

For the wood top and bottom, I picked up a 1x6 board and measured for my cuts.

I used a Speed Square as a straight edge and cut two 26" boards with my Circular Saw.

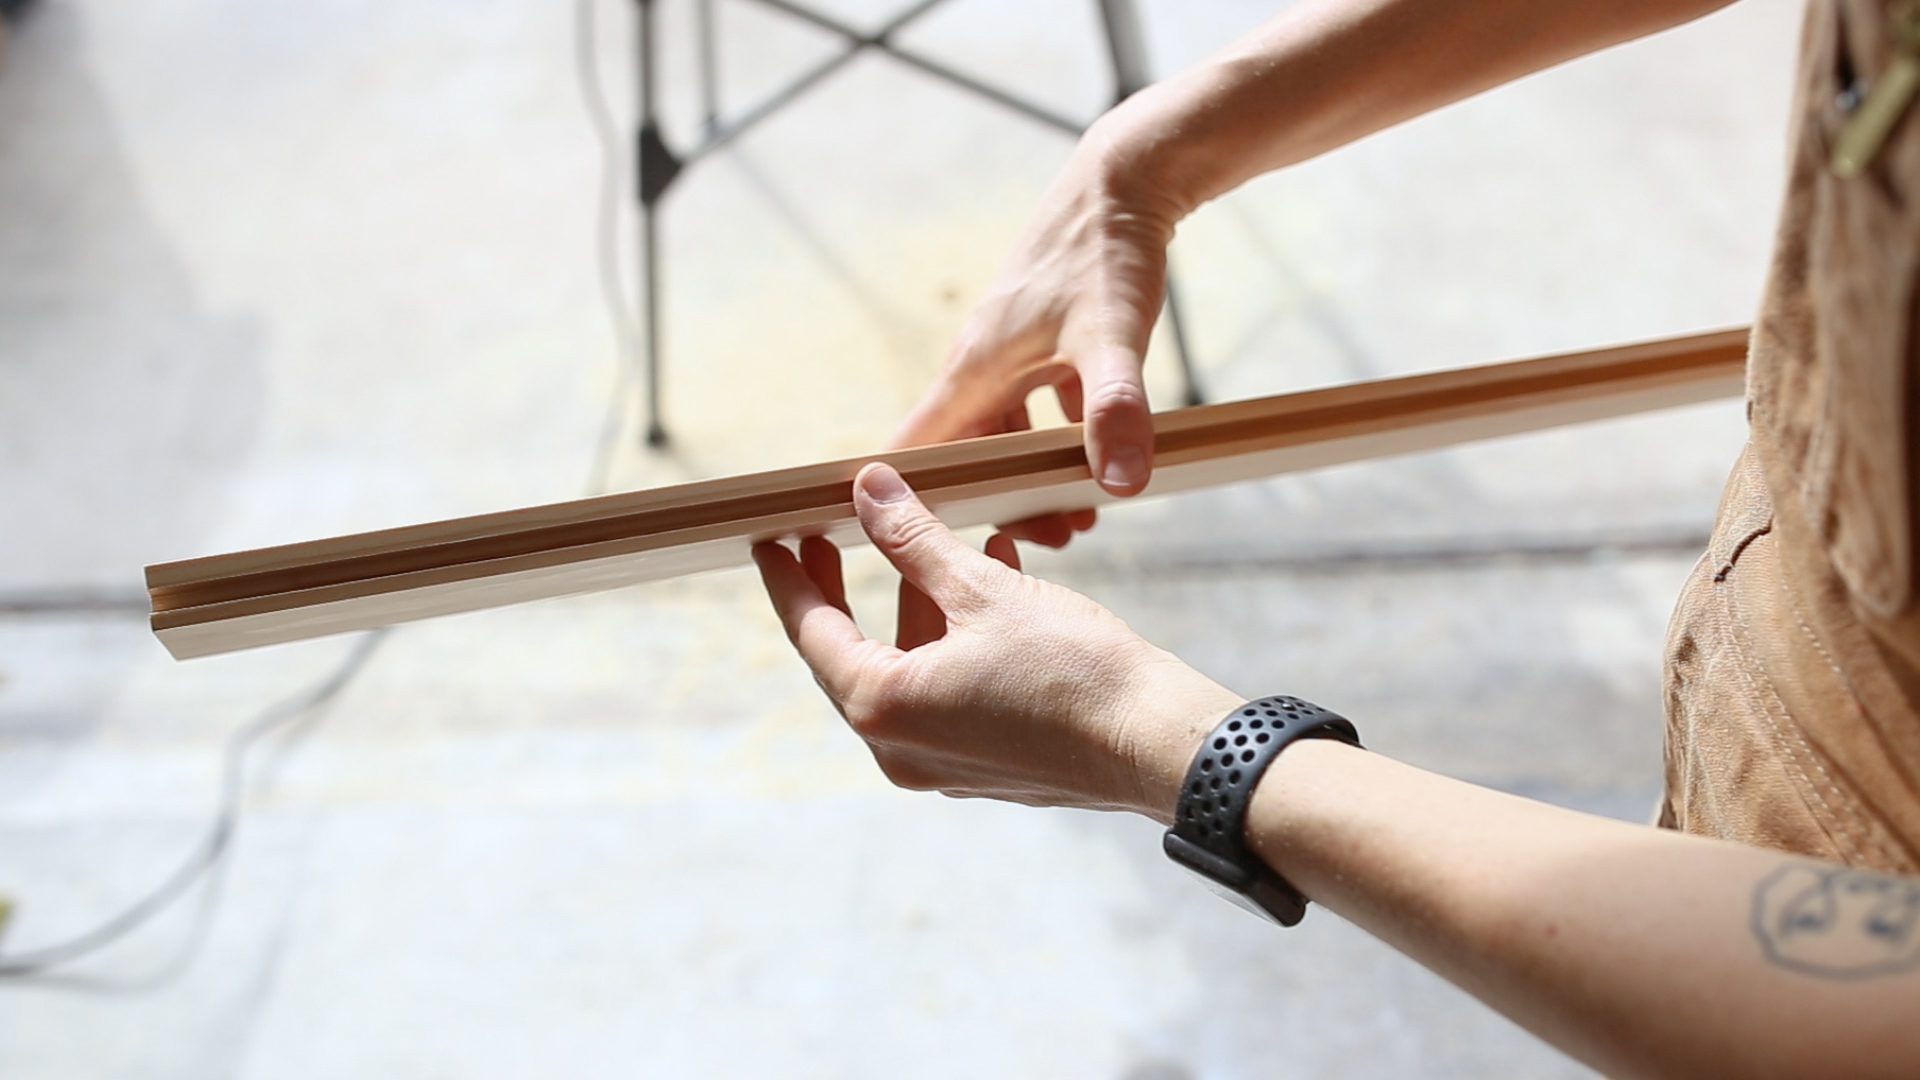
I then moved to my Table Saw and ripped the boards to a width of 4.5".

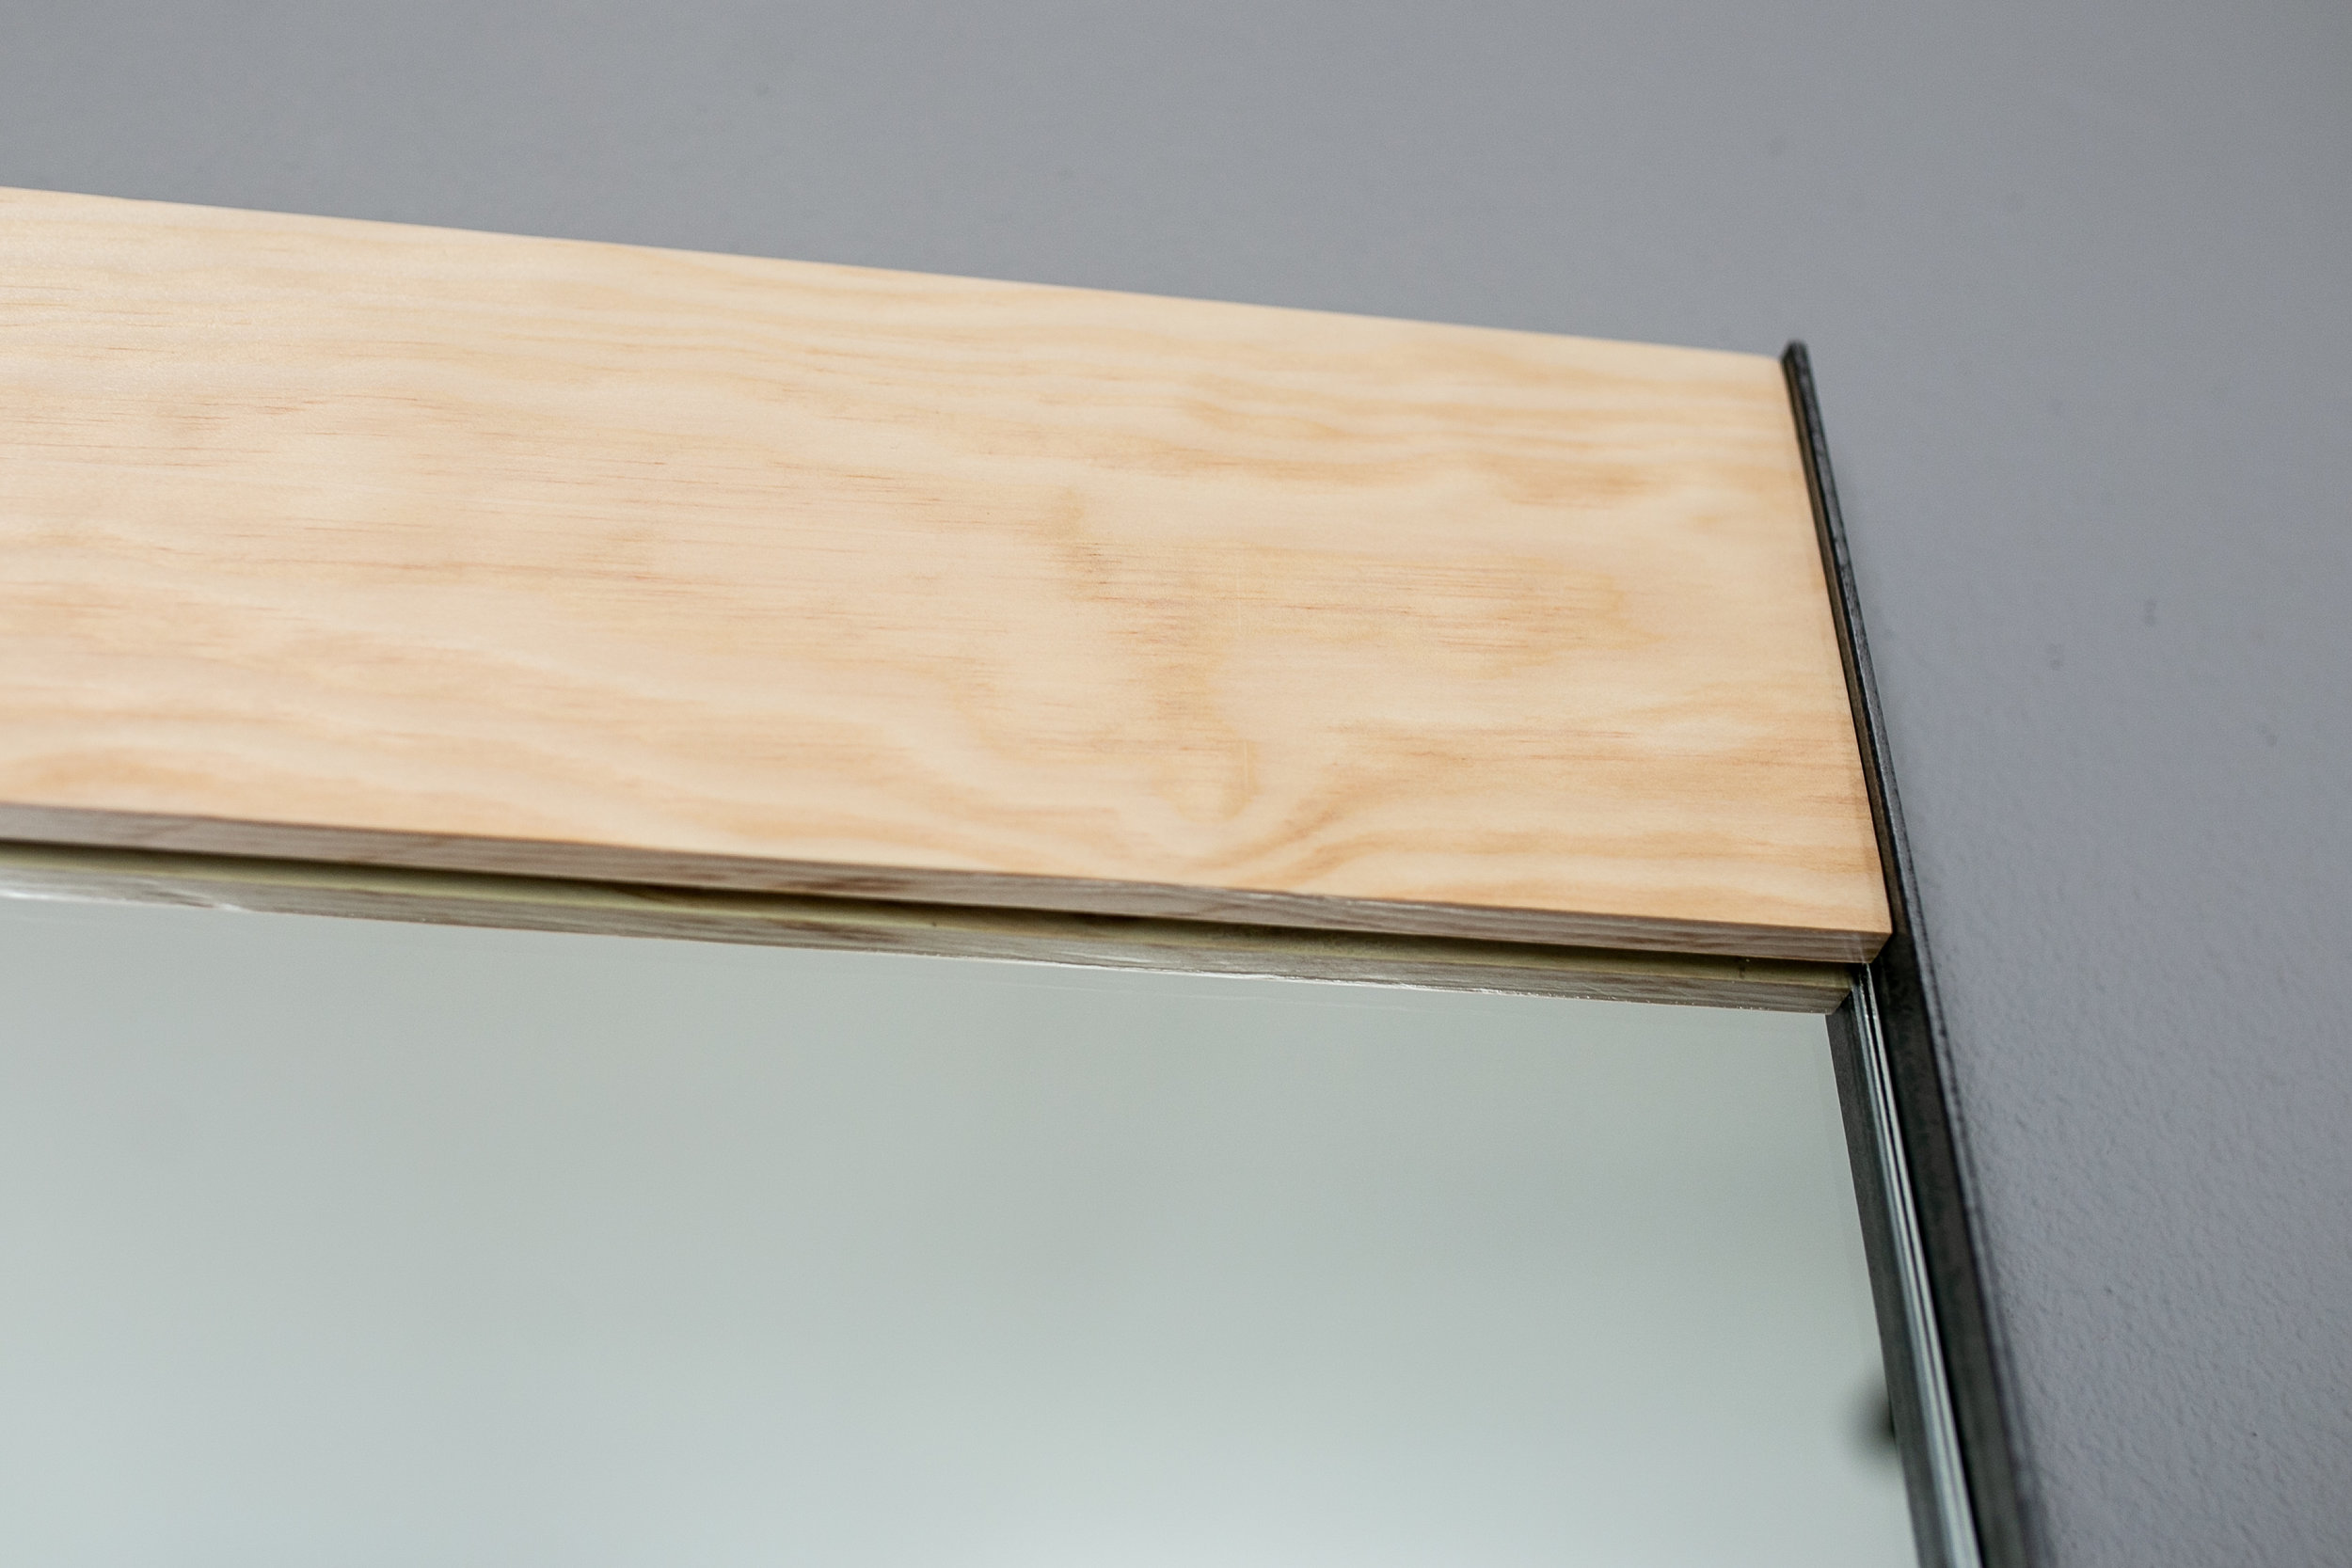
I also used the Table Saw to cut a 1/4" dado (groove) on one of the long ends of each board. These will hold the mirror.
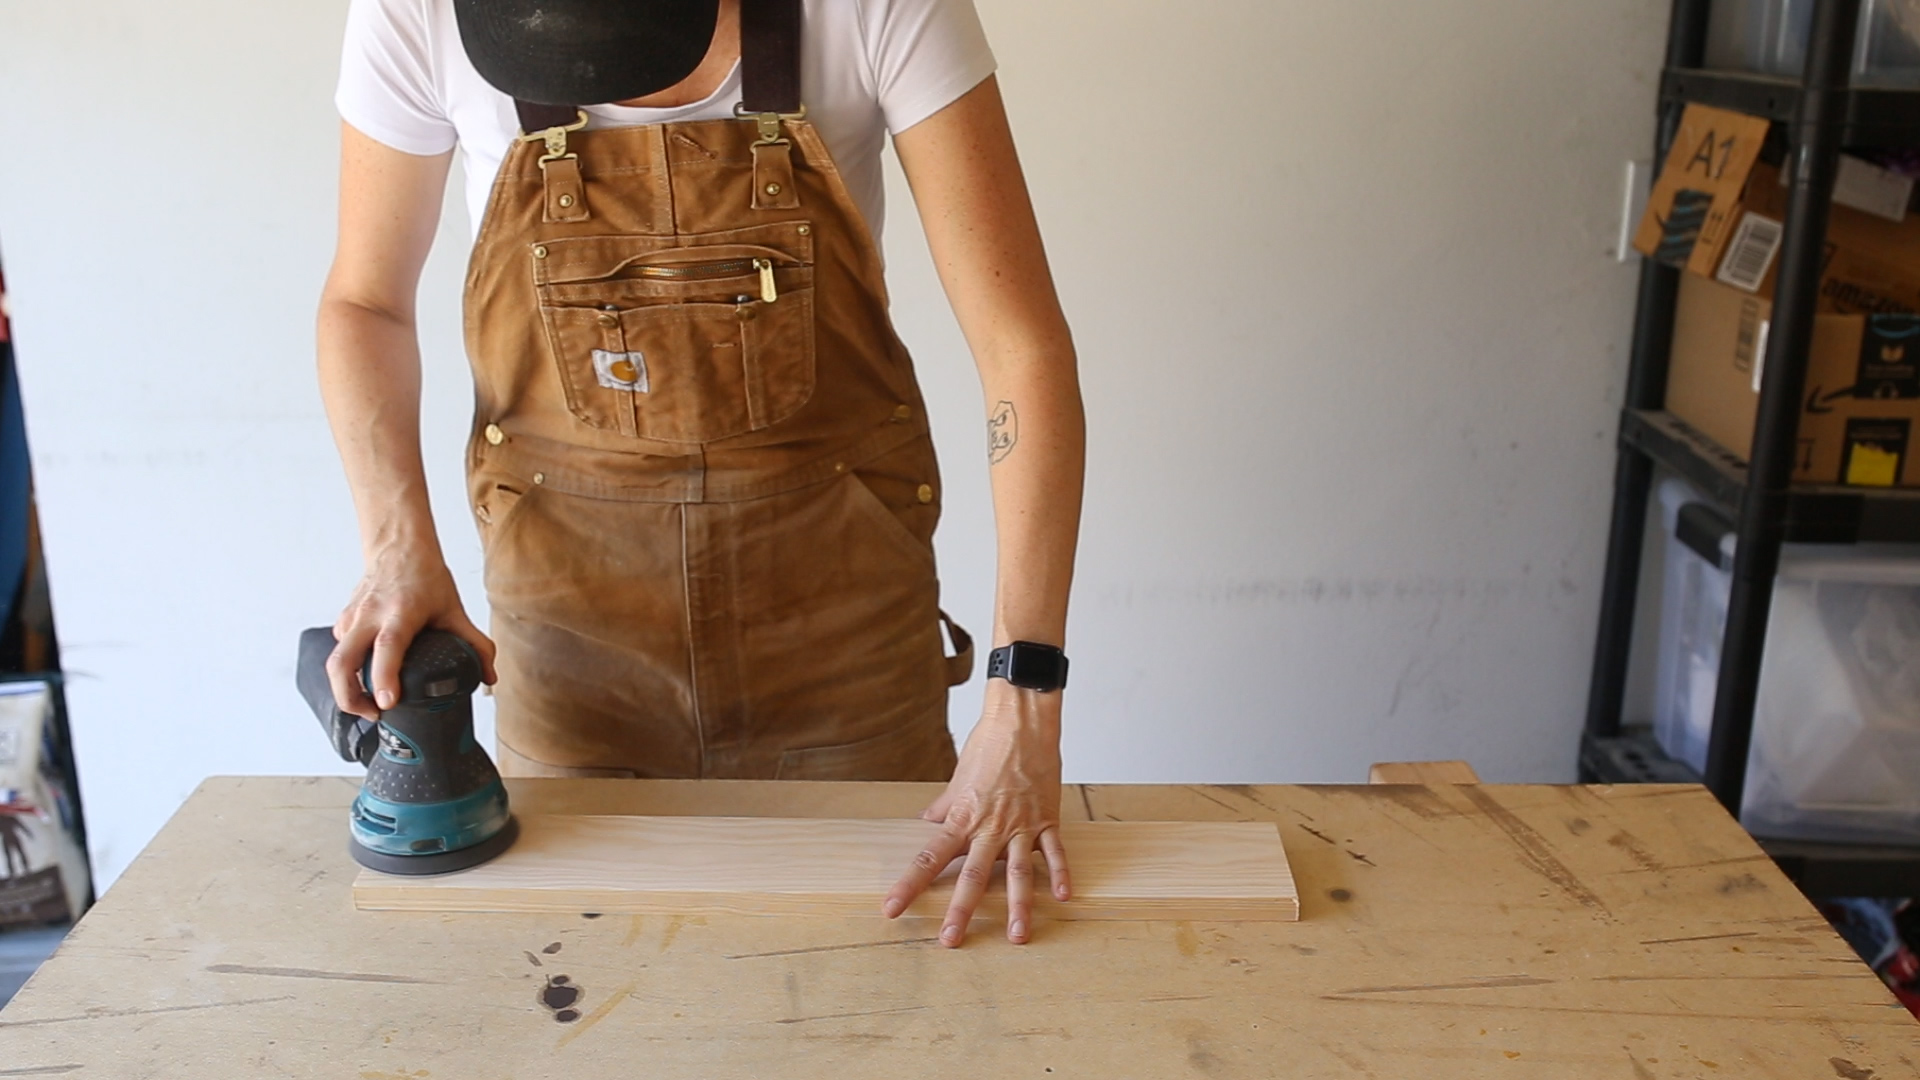
After the cuts were done, I finish sanded the two boards with my Orbital Sander.
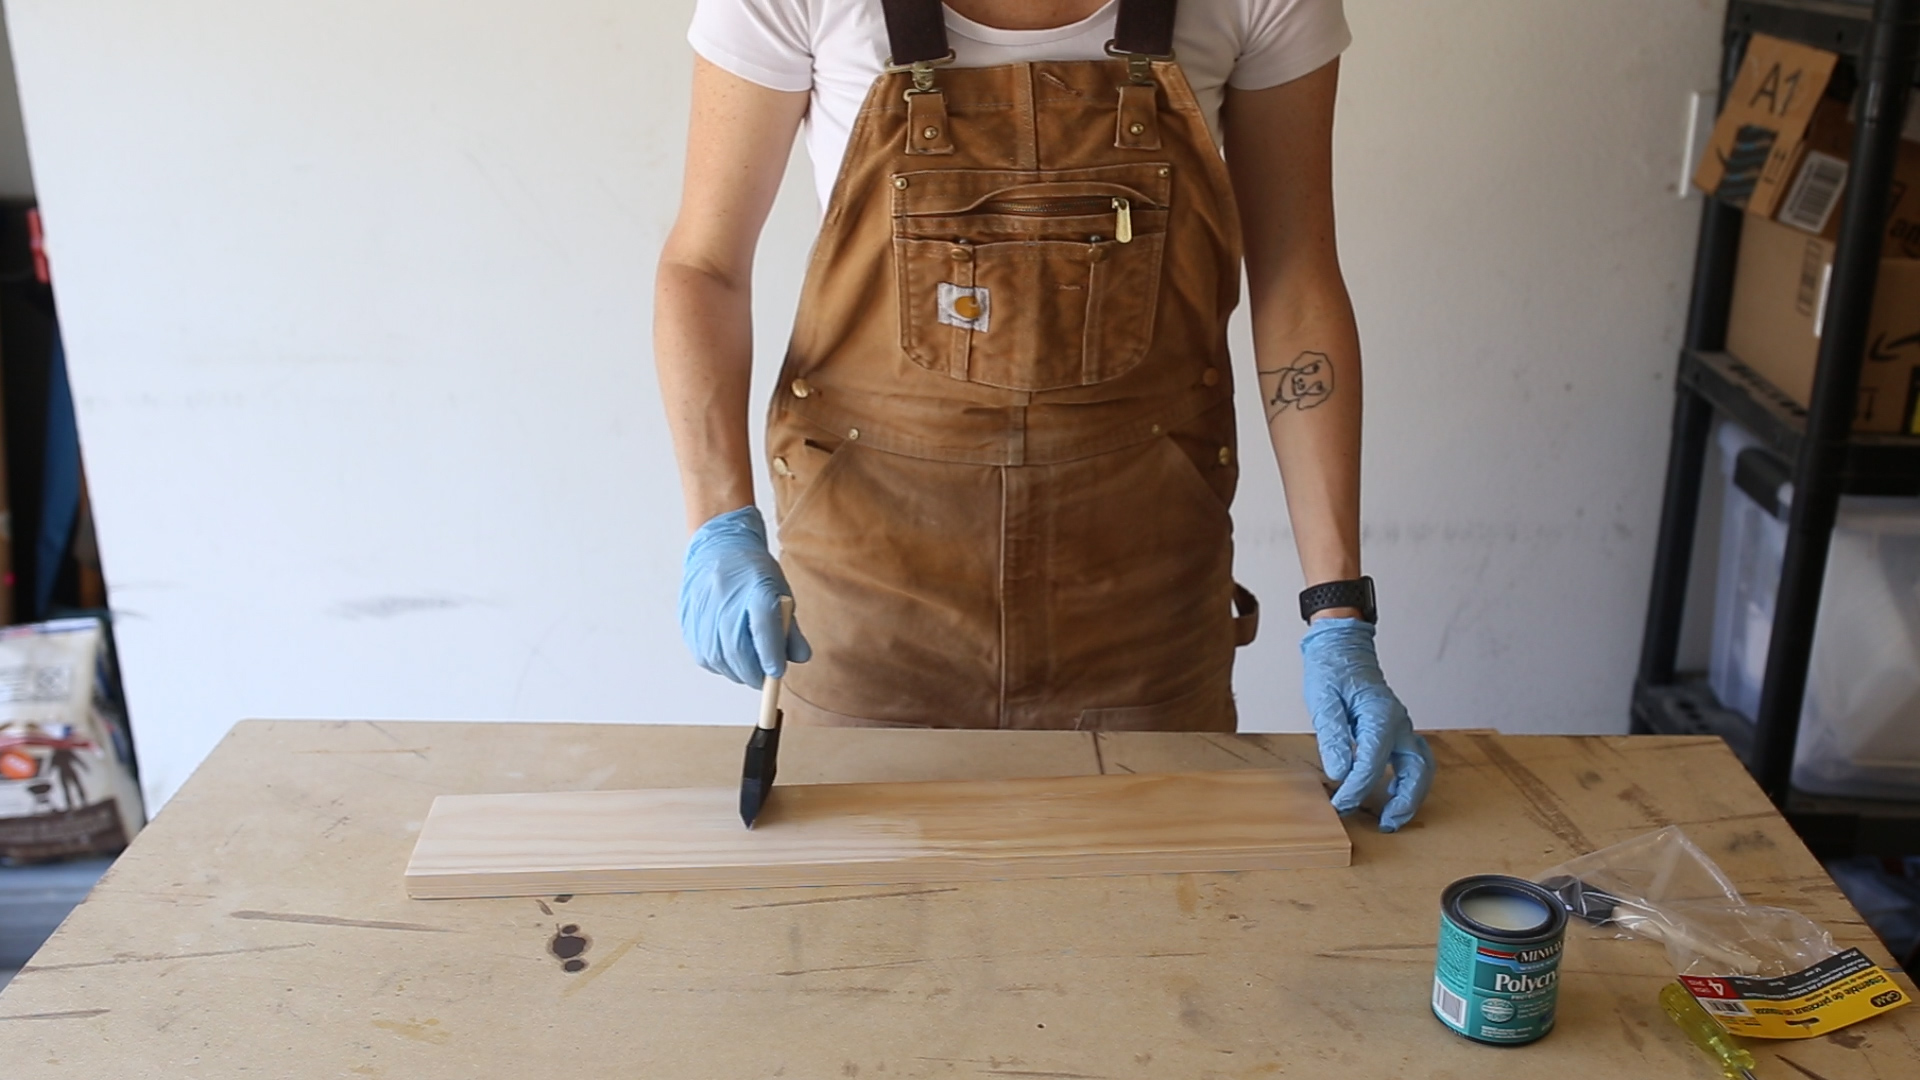
And then I applied two coats of Minwax Polycrylic in a matte finish.
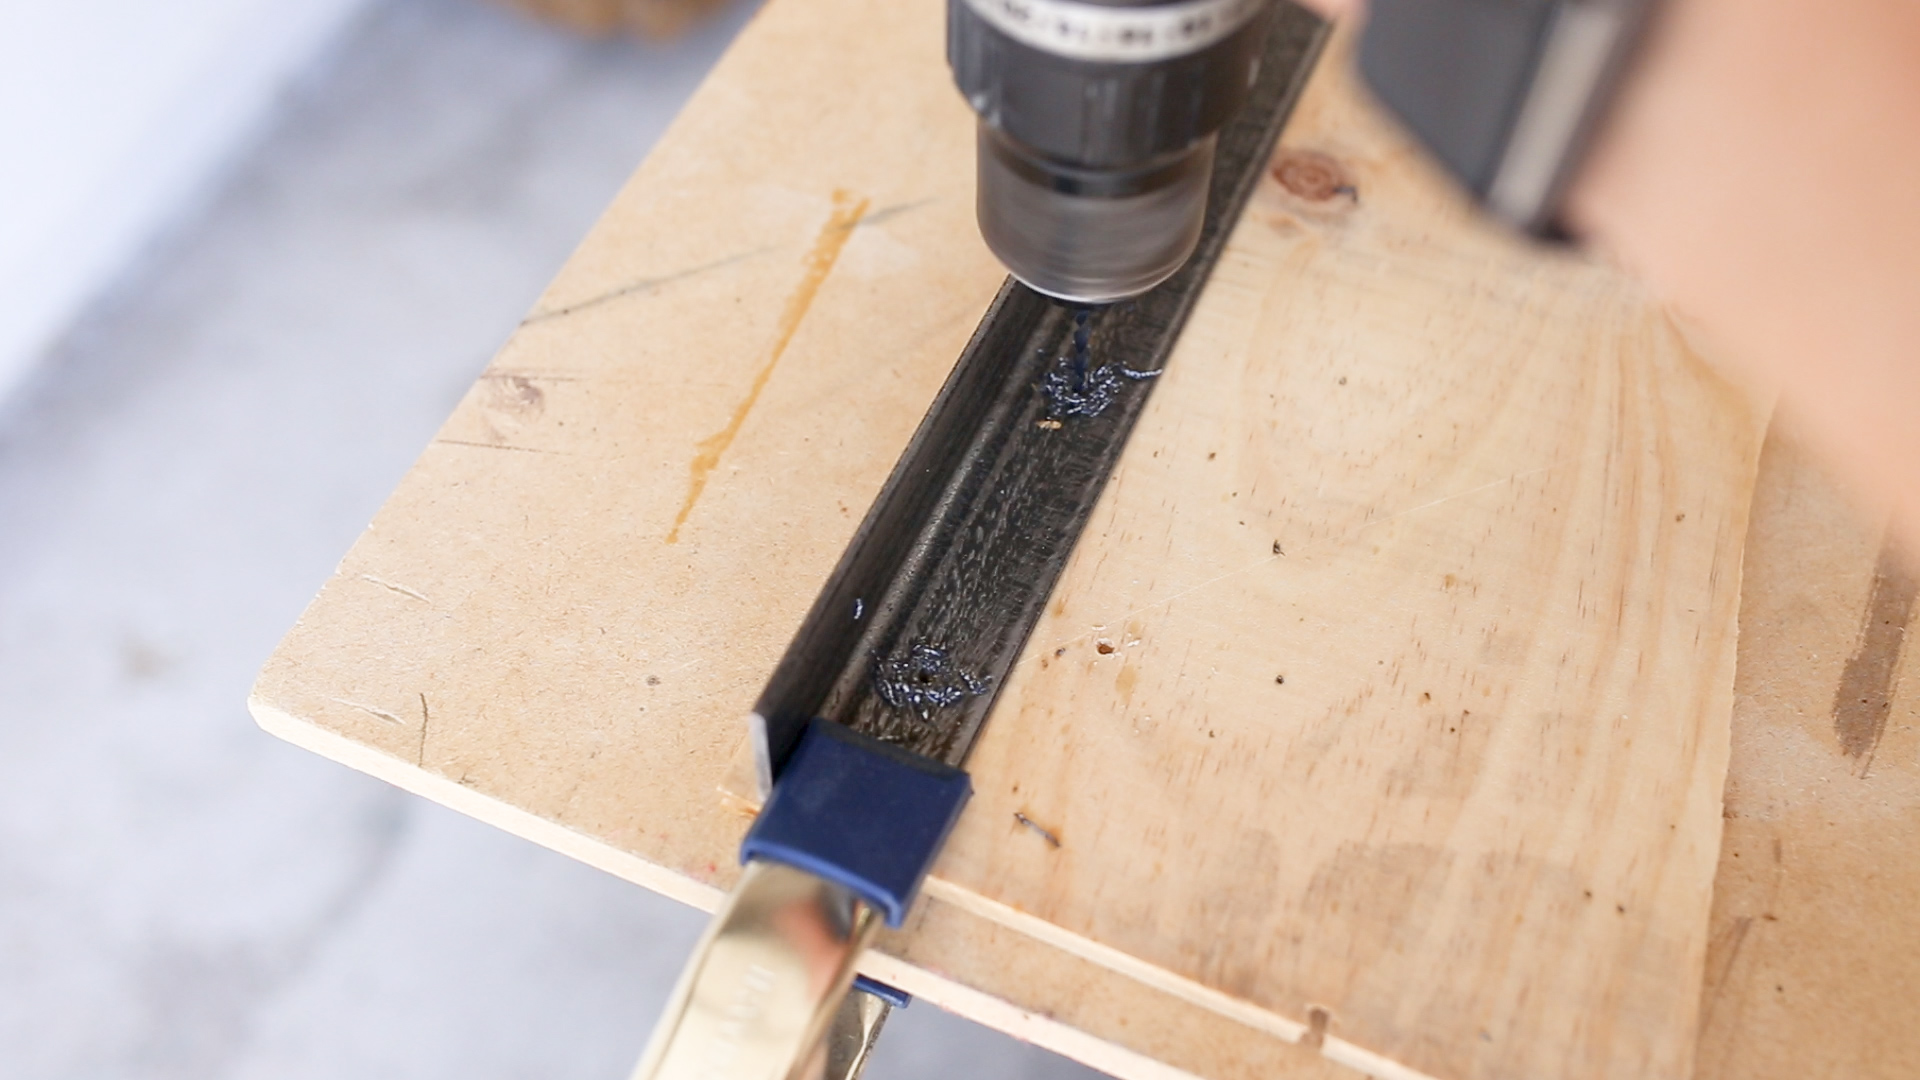
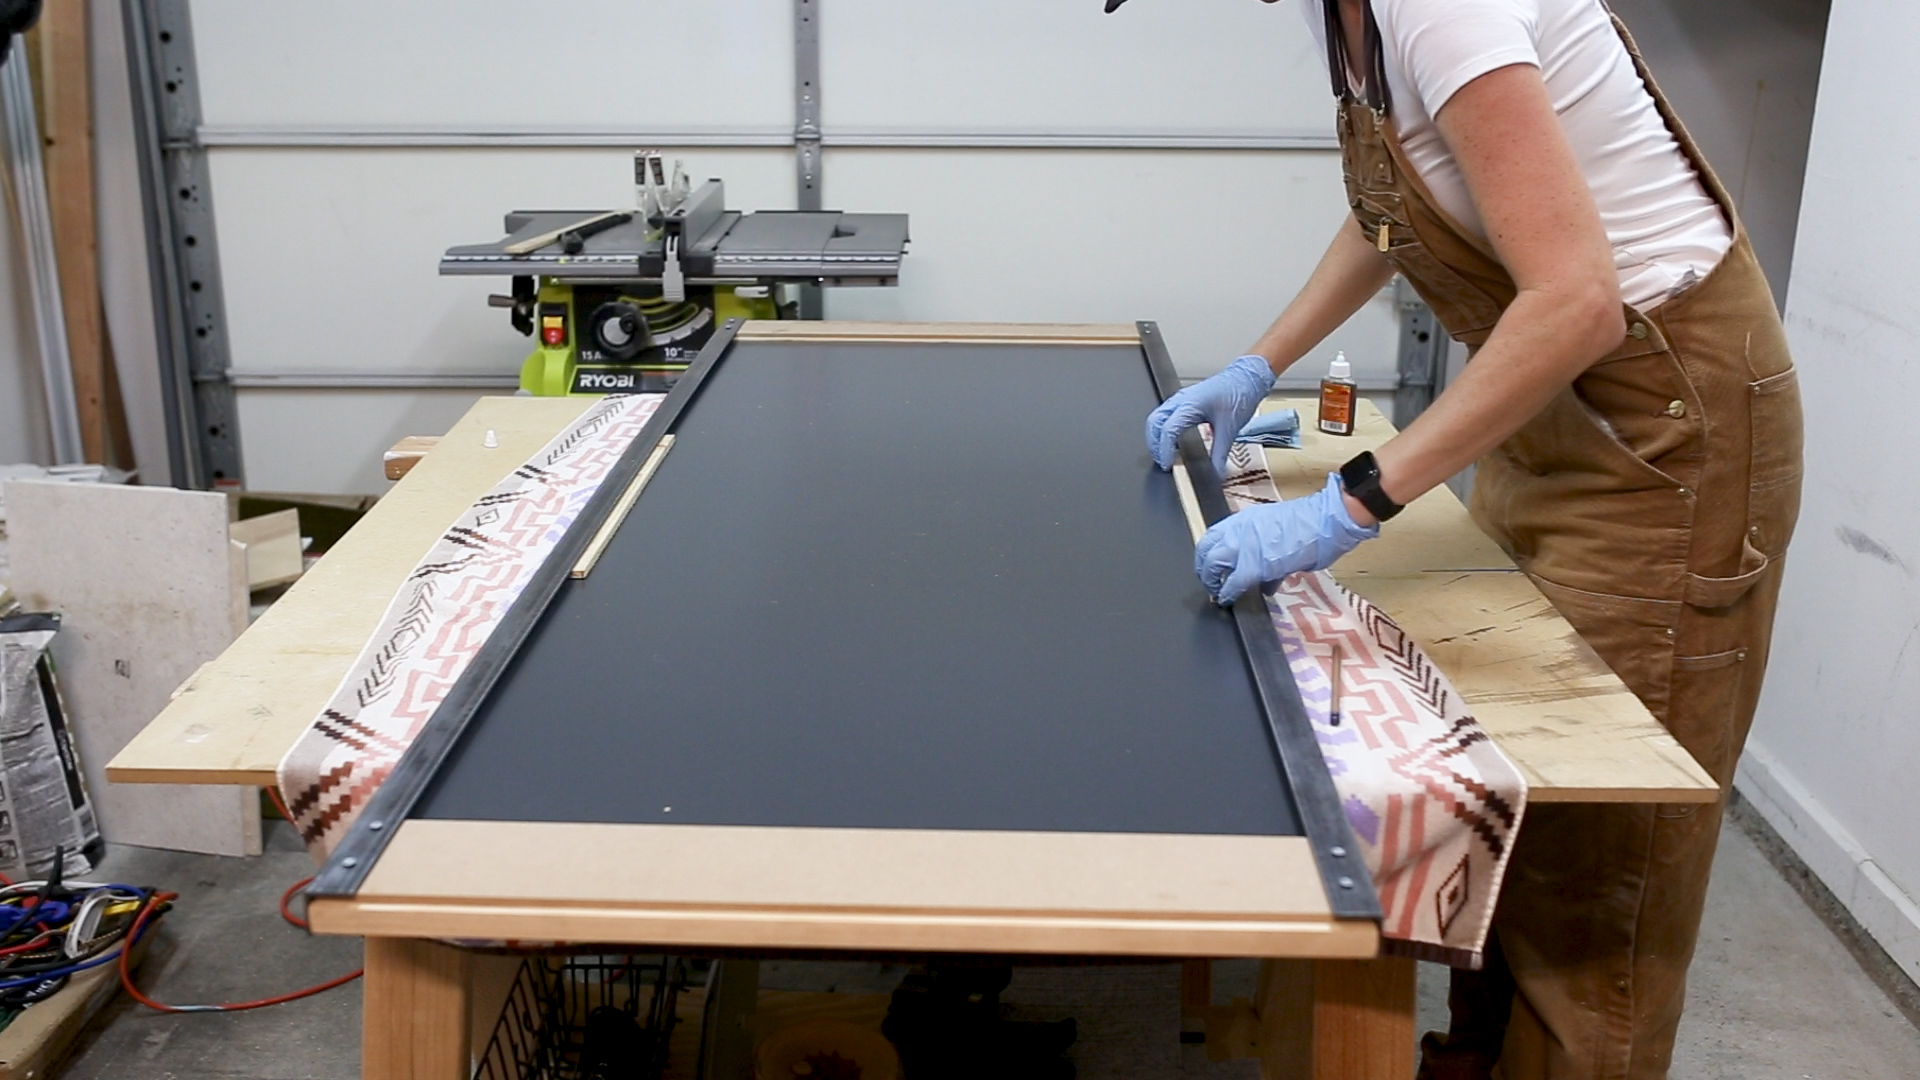
To attach the wood to the metal, I used screws. To drill the holes in the metal I used cutting oil and Black Oxide Drill Bits and drilled two holes per end.

The depth of the wood was shallower than I wanted. To fix this, I used a 1/4" scrap shim and glued it to the back of the wood. It will never be seen.

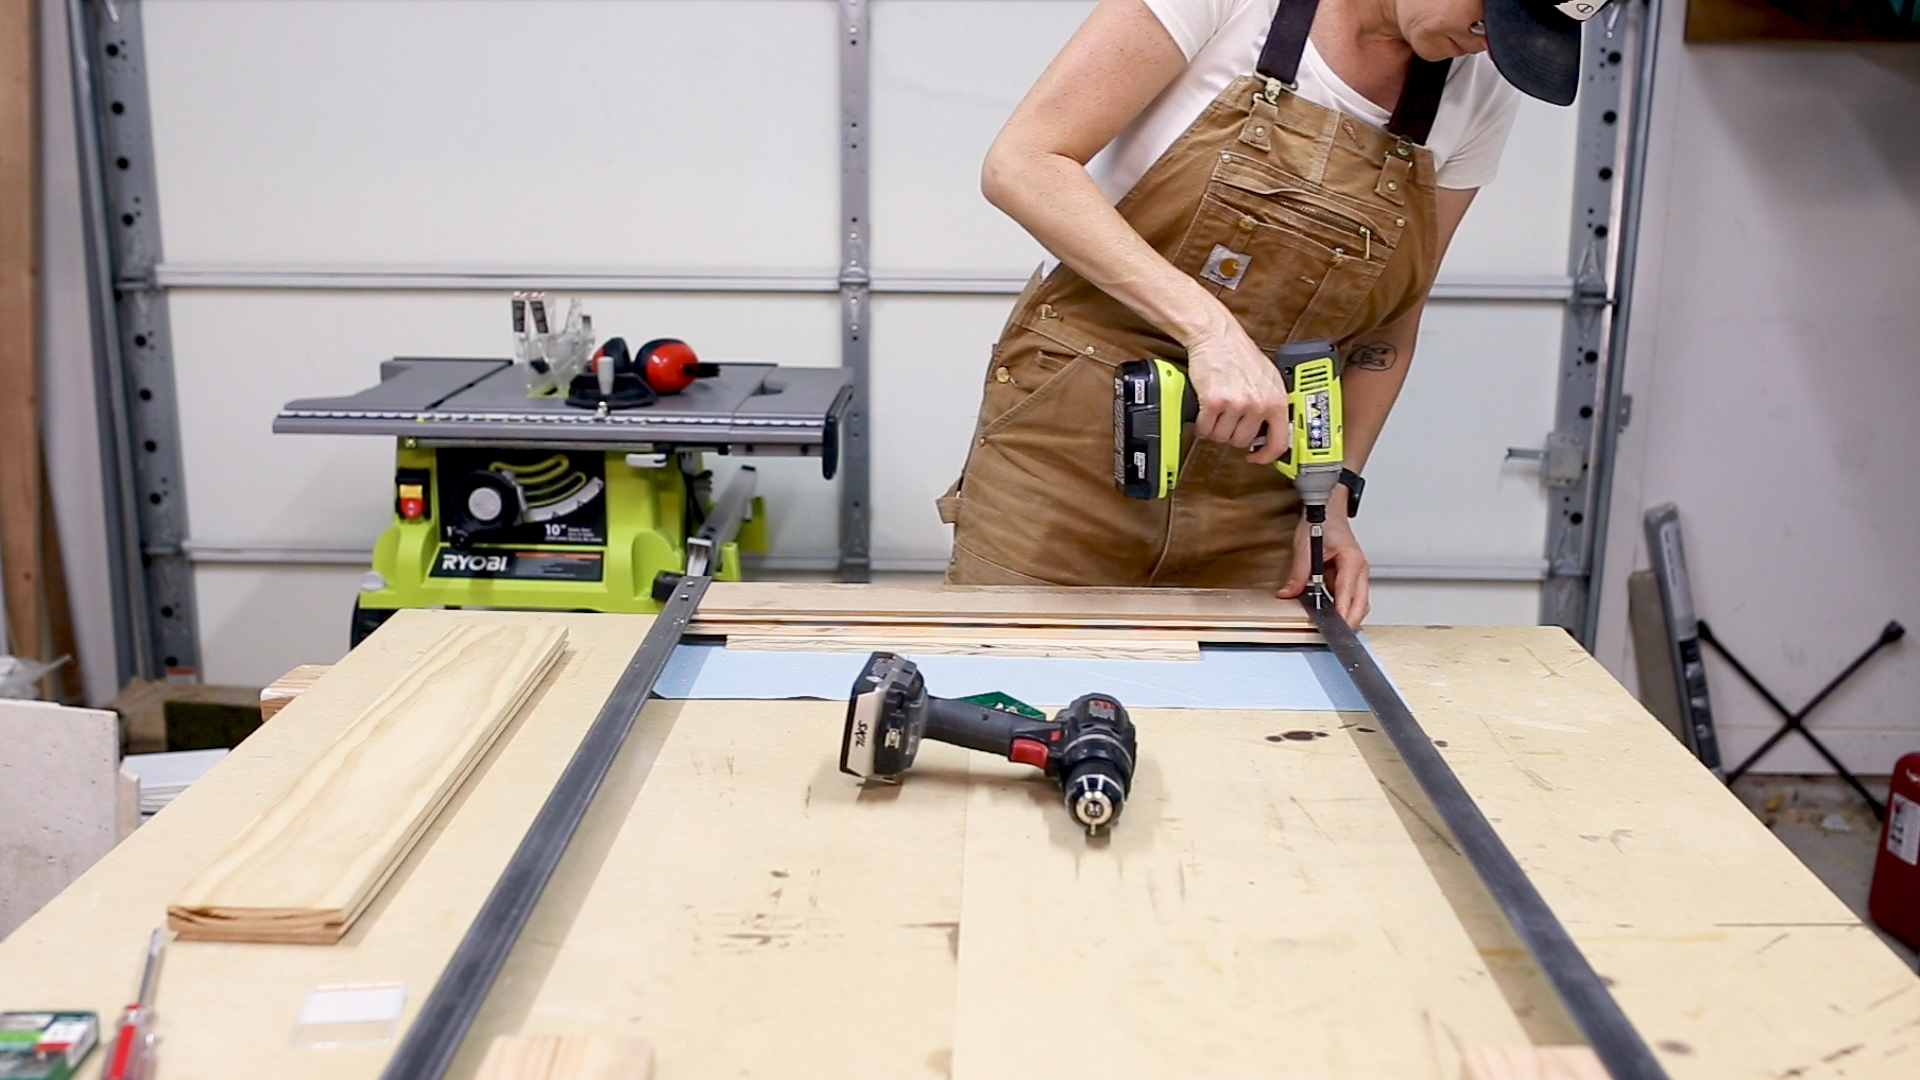
I then turned the frame upside down and placed one of the pieces of wood in between the two metal sides. I pre-drilled for my holes and then screwed the metal to the wood from the back.
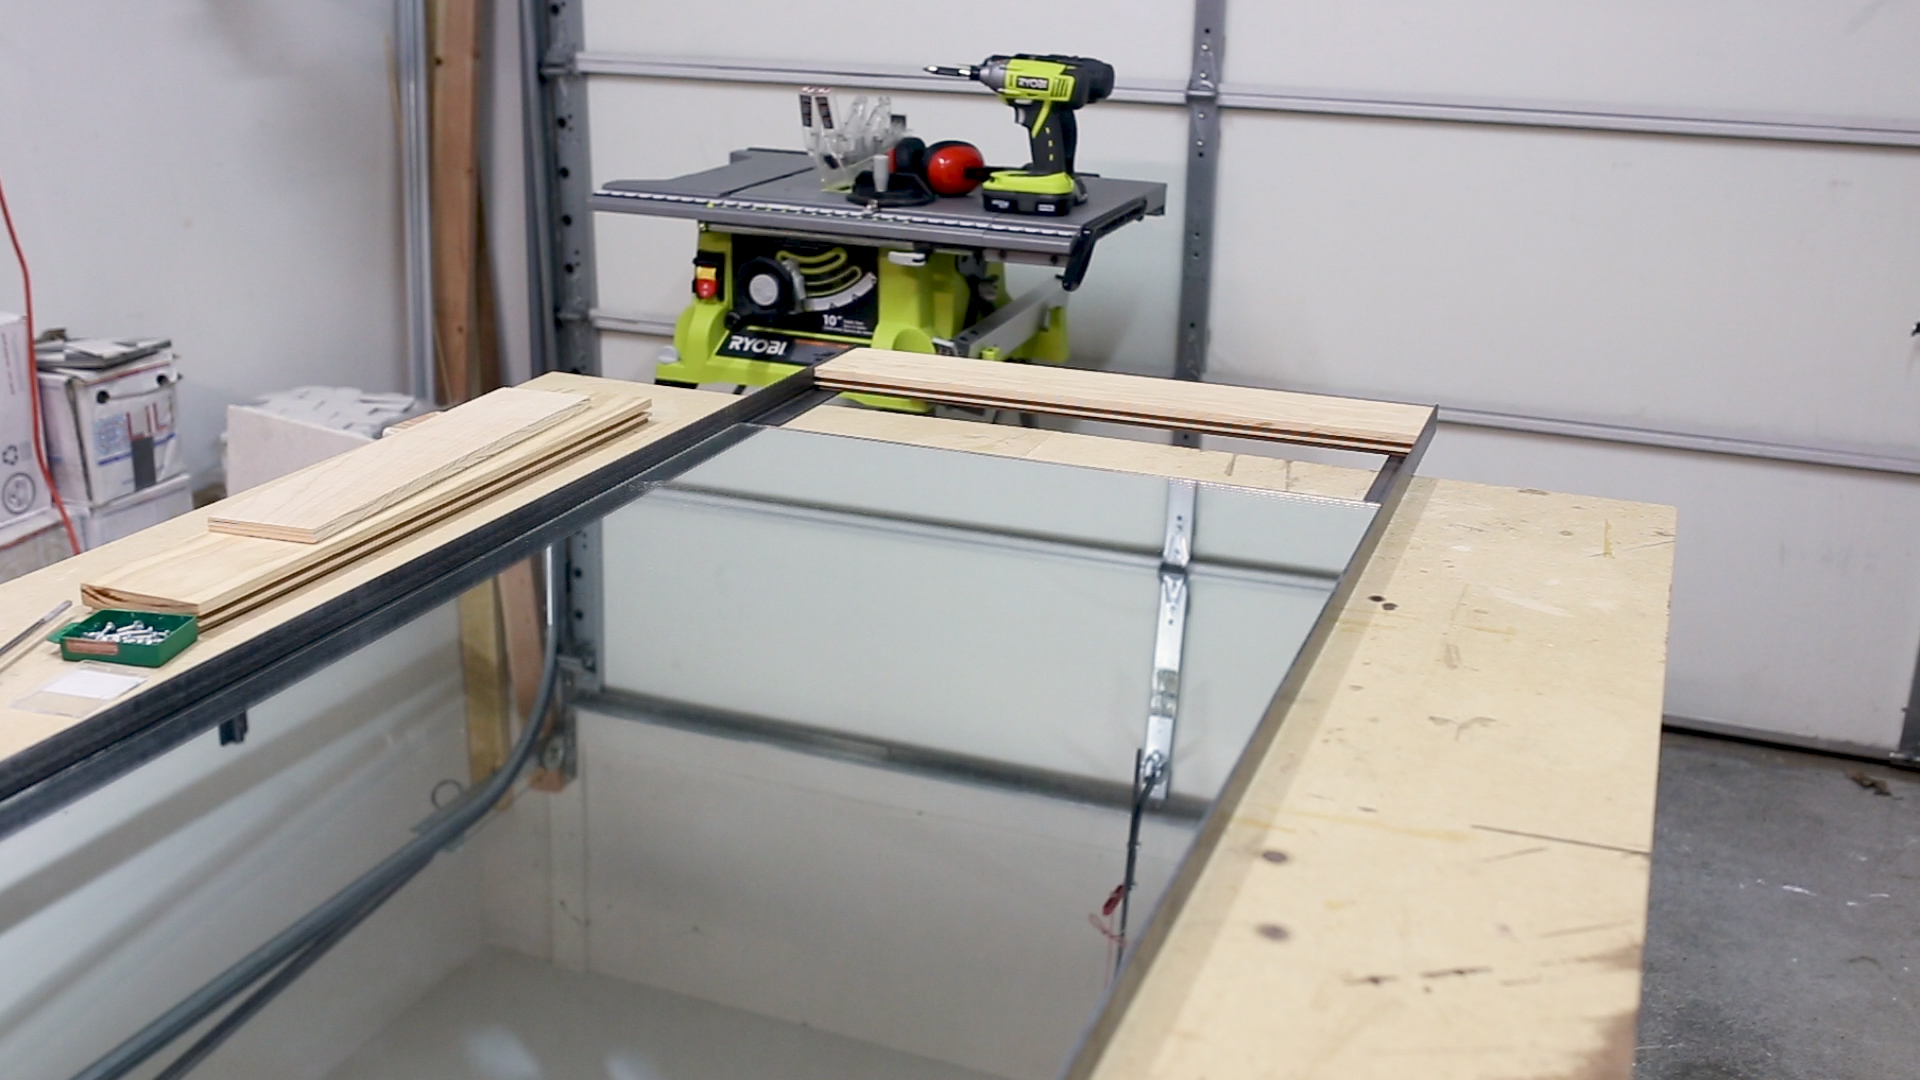
I then slid in the mirror and placed it in the dado (groove) in the wood end.

Next I could attach the bottom board, again placing the mirror on the dado to hold it in place.
And then I repeated the process of pre-drilling and screwing the wood to the metal.
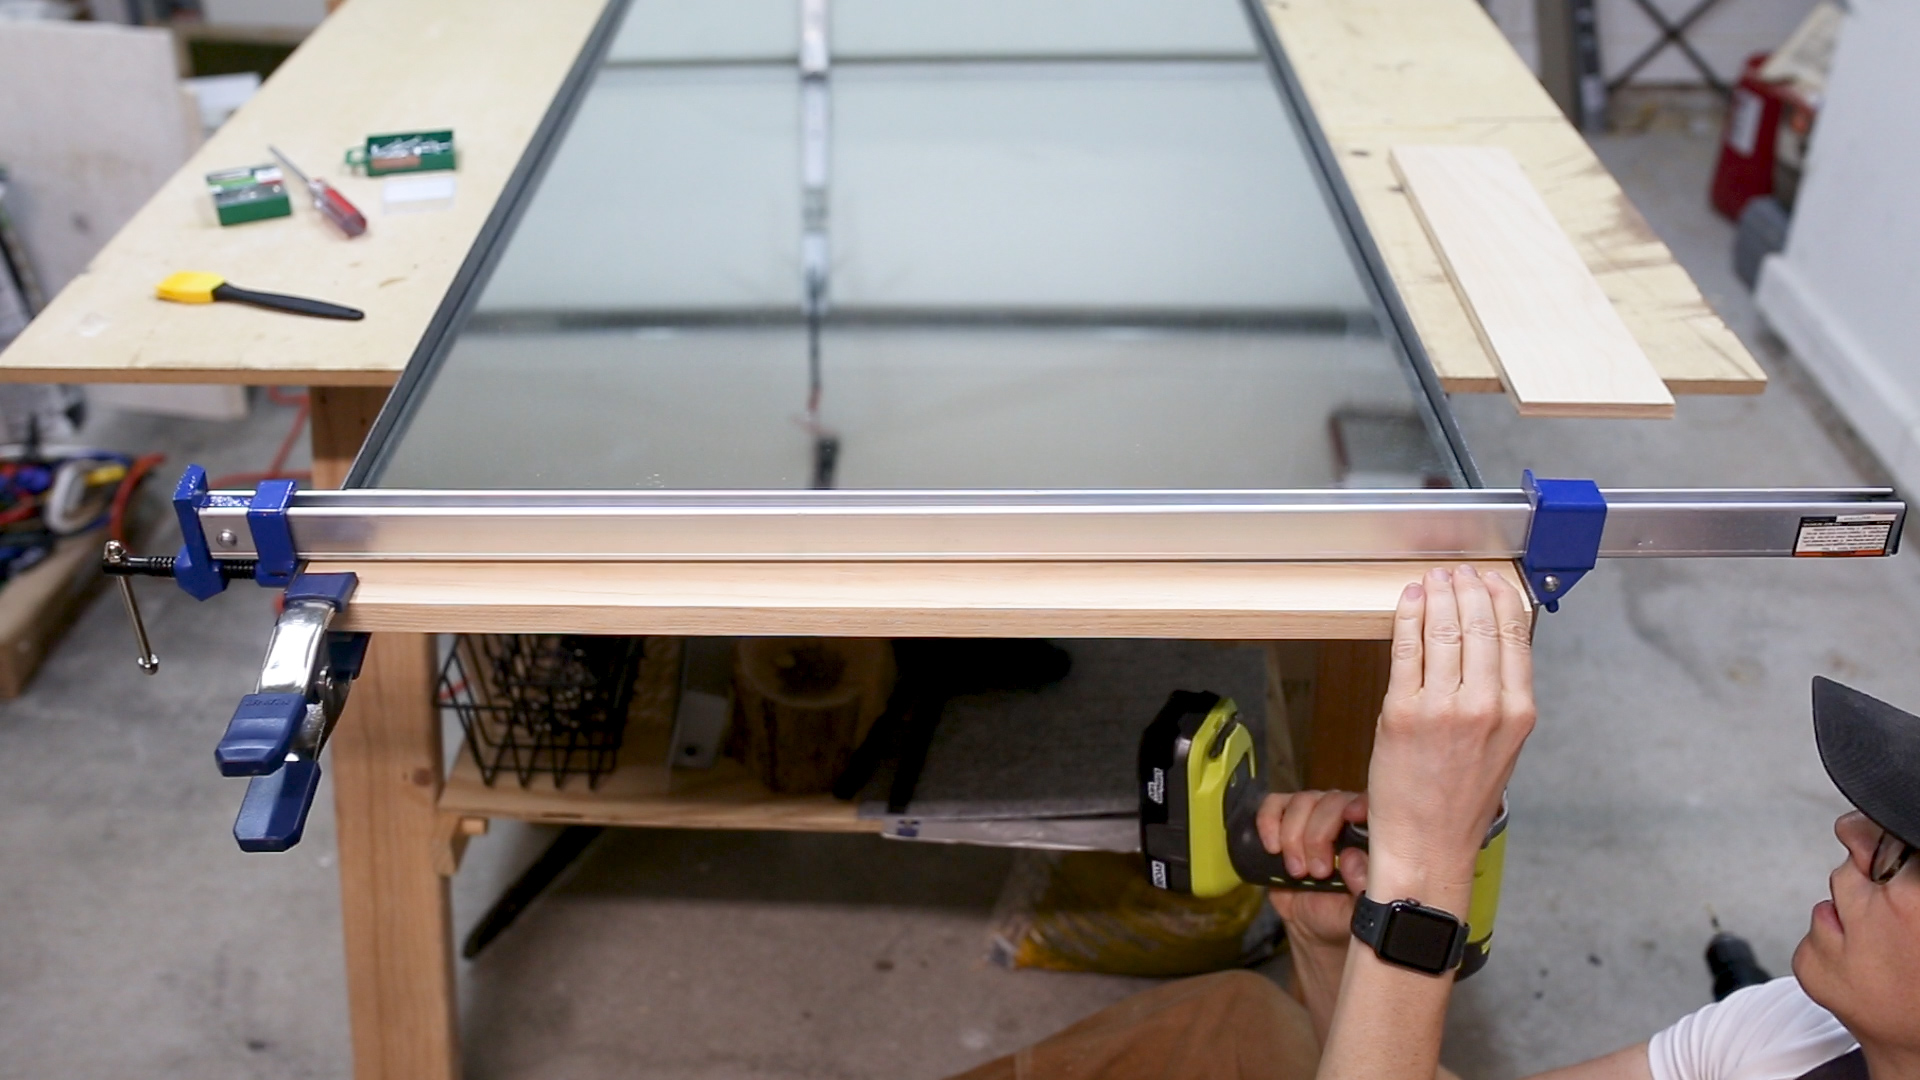
The mirror has a slight bend in the middle. To fix this, I glued in two scrap pieces to both sides in the middle with Gorilla Glue.
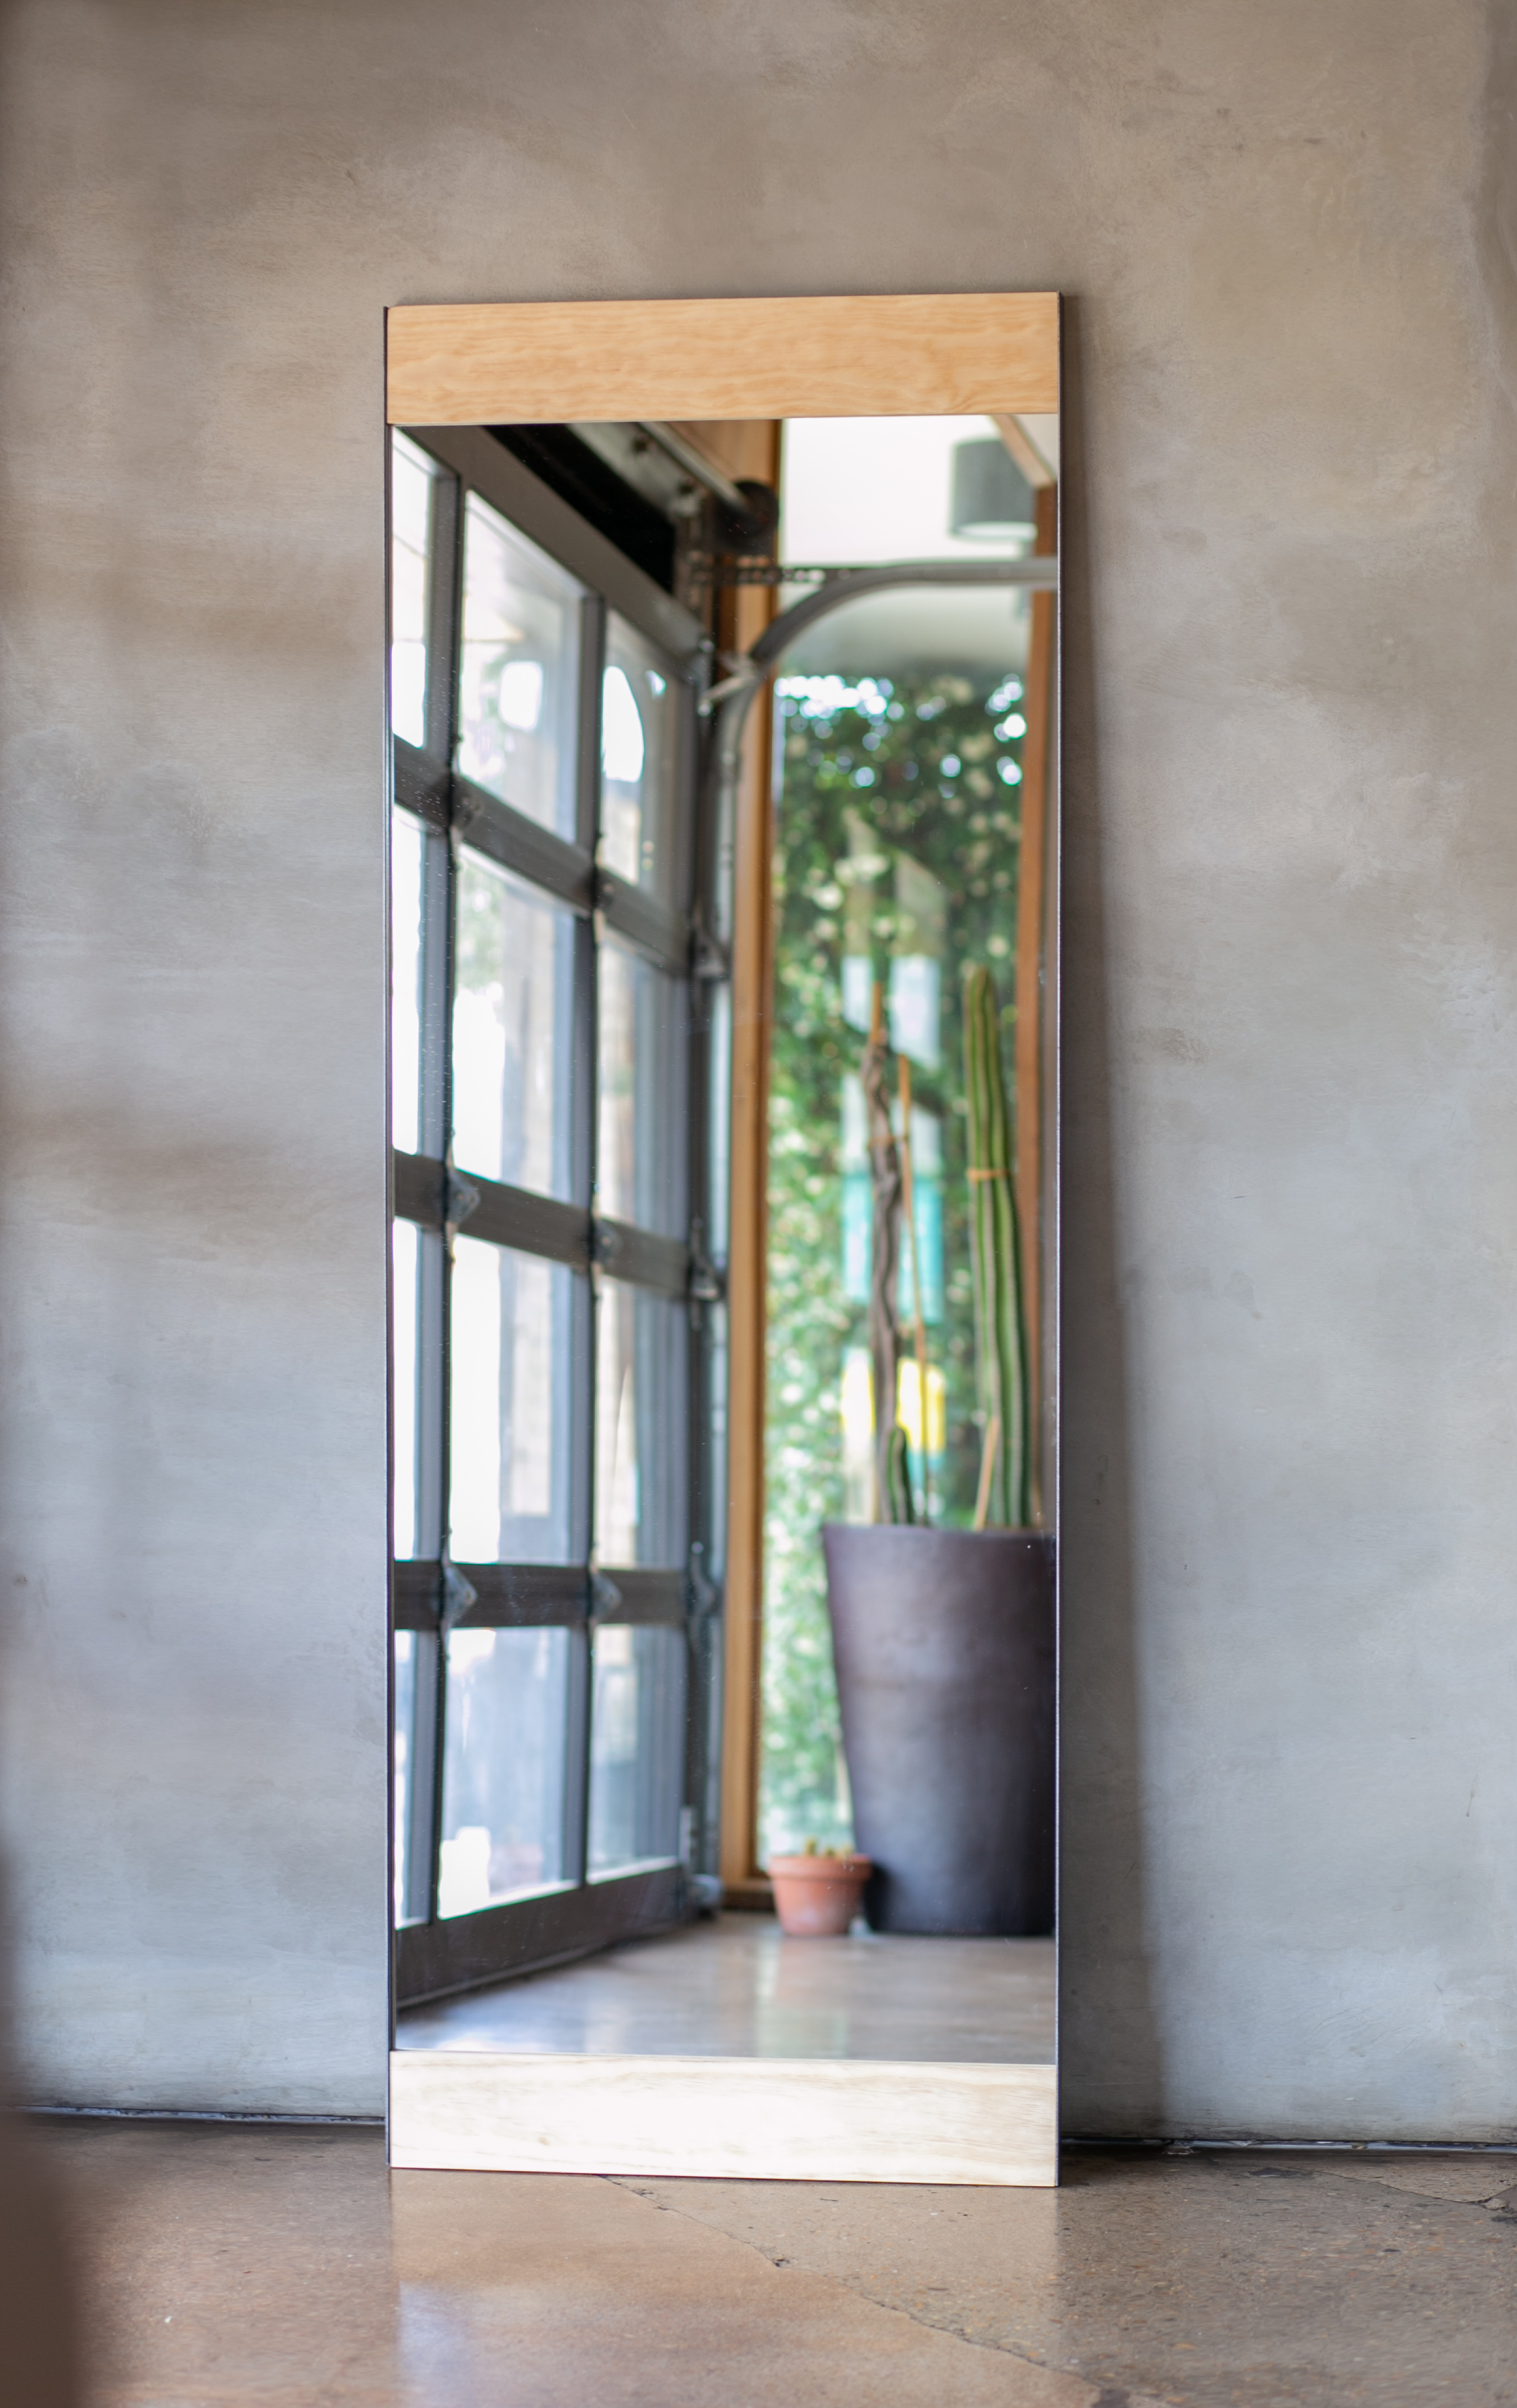

I'm so thrilled with how well this mirror turned out!
This mirror is relatively heavy. So to be extra safe and make sure this mirror doesn't accidentally tip over, I ordered this anti-tip kit from Amazon.
For more detailed instructions on the mirror, be sure and watch the video. I'd love to see pics of yours if you decide to make your own.
If you liked this project and want to stay up to date with what I’m building, then be sure to sign up for my emailed newsletter and you’ll get an email when I post something new. See you soon!
You can find me on Instagram @makergray