
How to Build a DIY Outdoor Shower

I built an Outdoor Shower for our backyard! And I’m obsessed.
It’s really amazing how wonderful it is to have summer showers outdoors, day or night. There's something genuinely wonderful about showering outside, and having one right next to the stock tank pool makes it even better for a quick rinse before jumping in. I keep finding excuses to go out and use it.
If you’ve been dreaming of a refreshing outdoor shower, this weekend project shows you exactly how to make it happen. I’ll walk you through how we built an outdoor shower with a cedar frame, natural stone floor, and built‑in plumbing — transforming a tucked‑away side yard into a stylish backyard escape. Whether you’re rinsing off after swim or unwinding under the stars, our step‑by‑step plans make it easy.
→ Get the Outdoor Shower Build Plans HERE! (includingcut list, material list and assembly instructions if you are interested in building this project yourself)
→ 🔥 Hot Water Update: I've since added hot water to this shower — and it was way simpler than I expected. No traditional plumbing required. Check out the hot water update HERE
Keep in mind that the build video is a full tutorial. Watch the Full Build HERE
What You'll Build
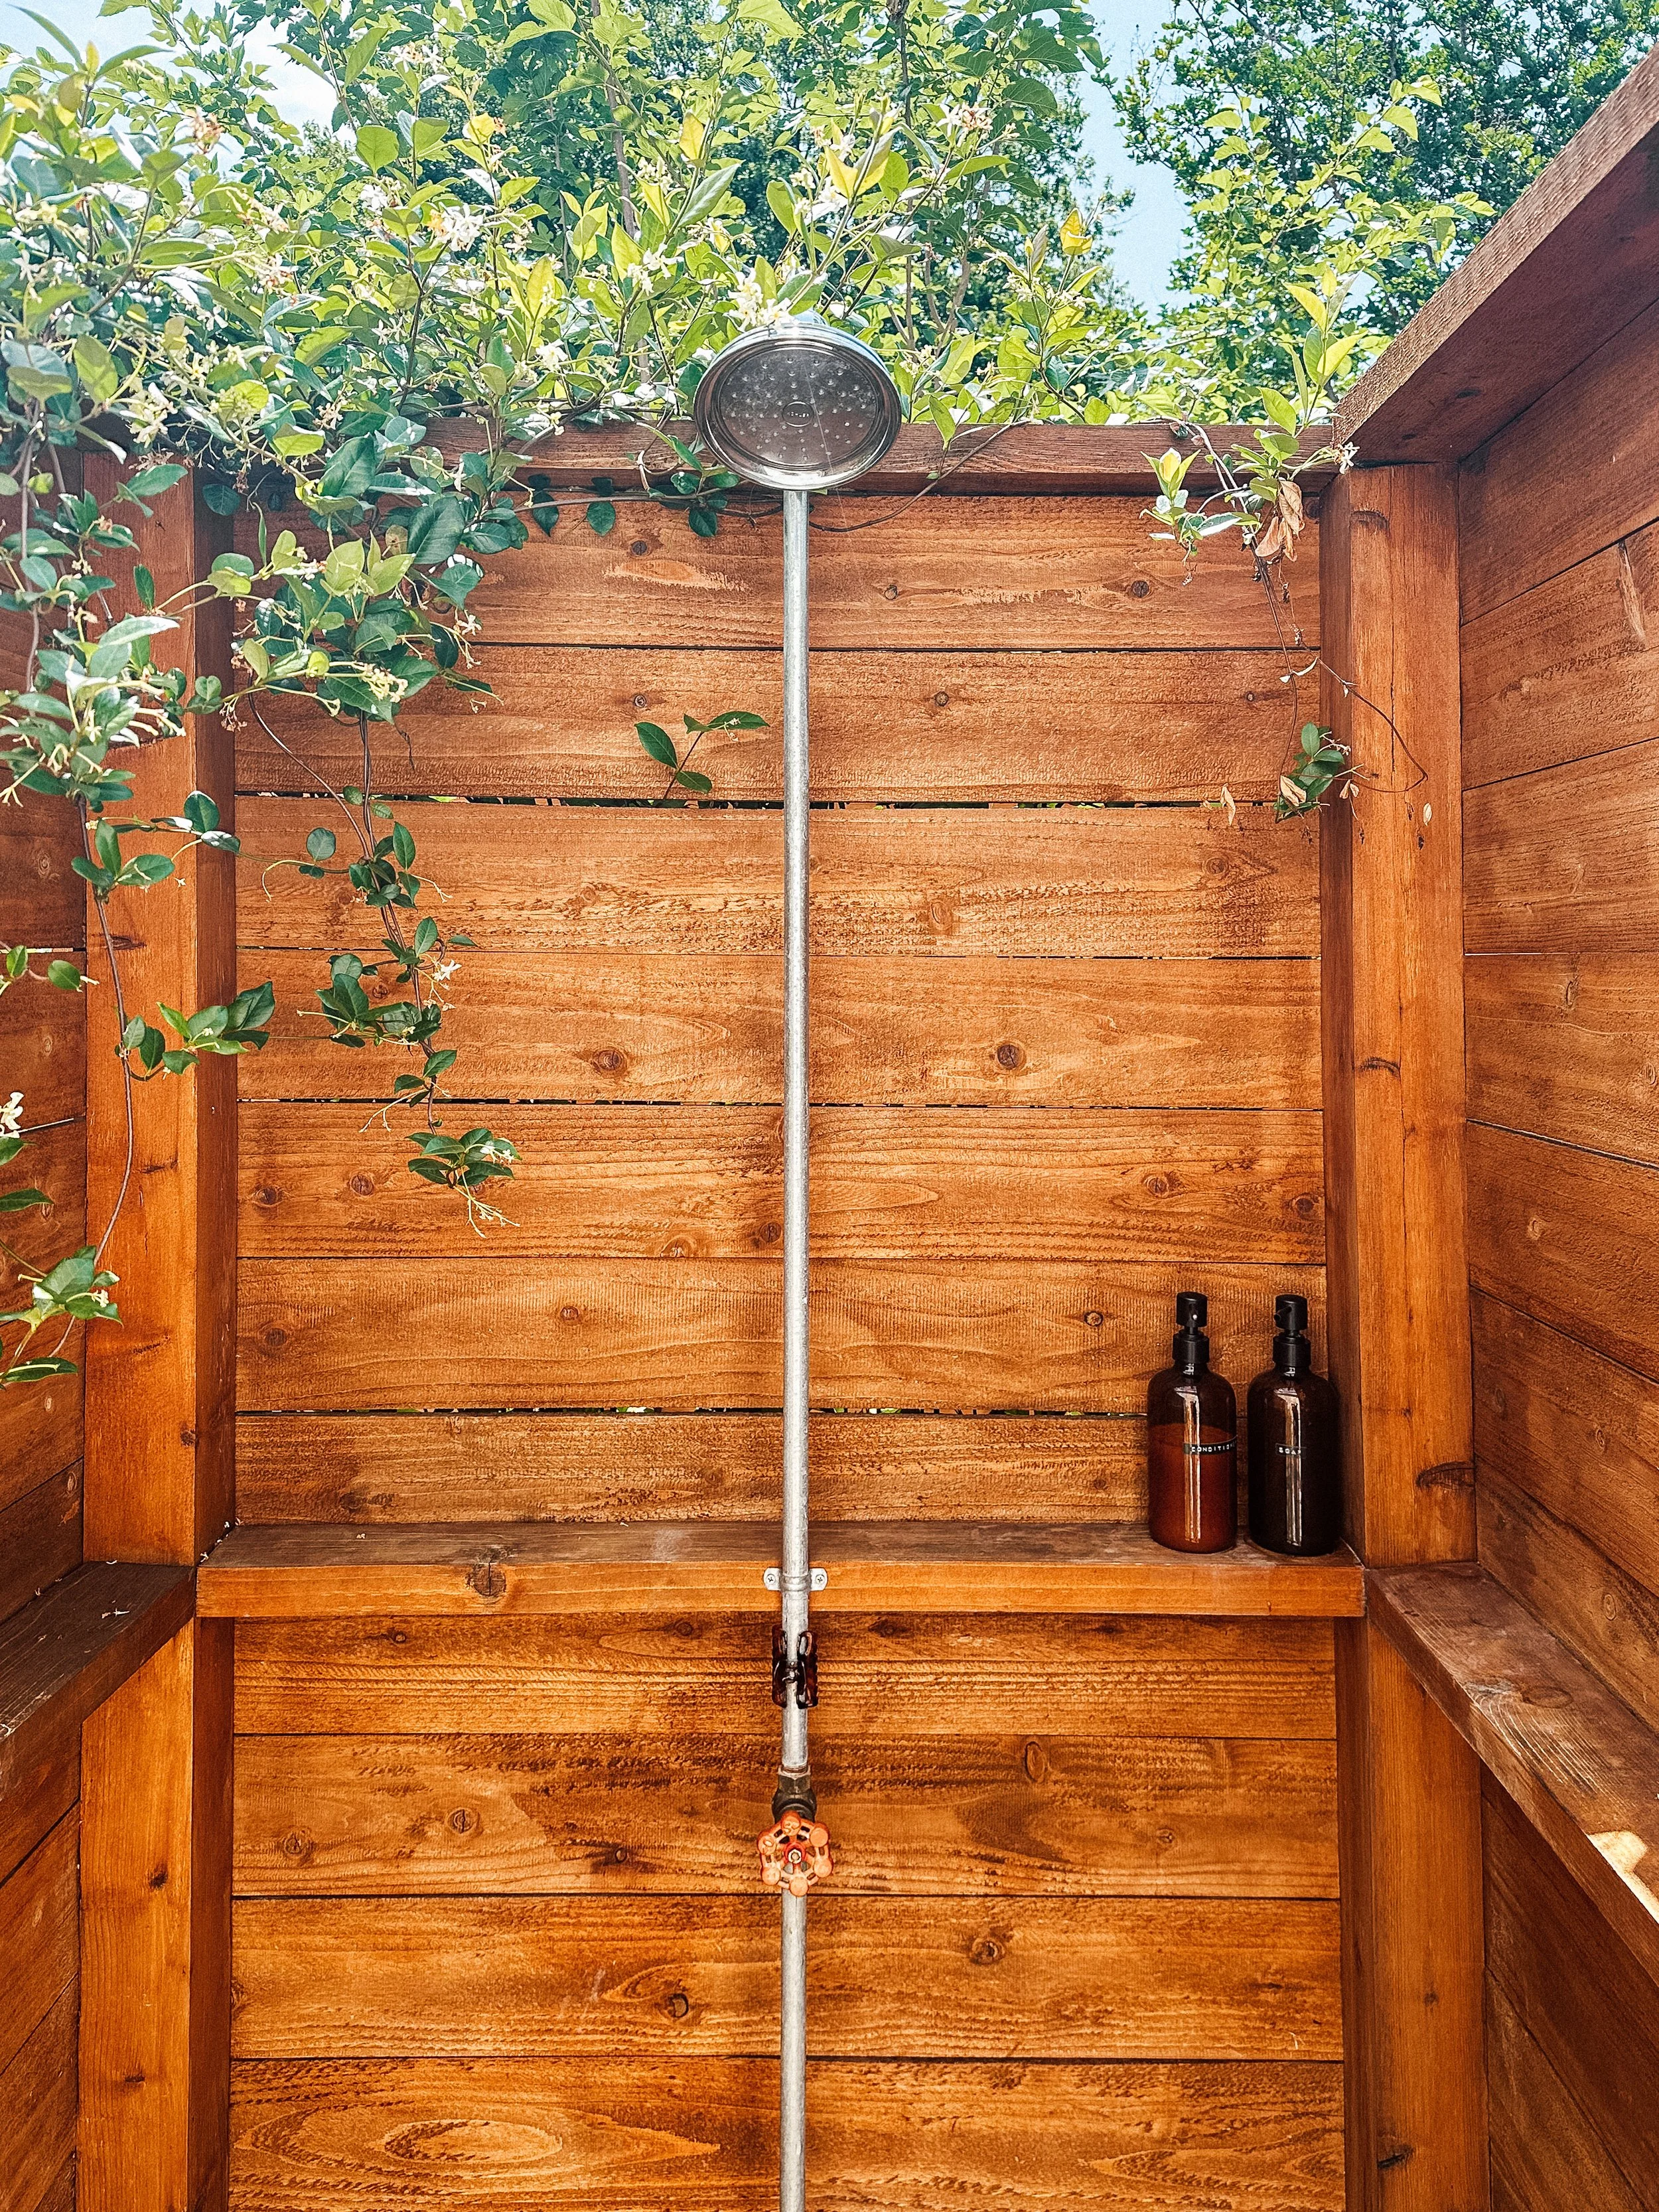
This shower is built from four cedar posts set in concrete, with horizontal cedar slat walls, a natural stone floor, galvanized pipe plumbing, and a proper shower head. Here's what the finished build includes:
Cedar post frame set in concrete
Horizontal cedar fence picket walls with trim finish
Natural limestone paver floor with river rock fill
Galvanized steel pipe plumbing with shutoff valve
Shelf built into the wall framing
Cedar cap boards
sealer or finish for the cedar wood
Tools I Used
Post Saver Sleeves — I recommend these
Heat Gun — for the sleeves
or Cabot Stain
Pendleton Towels — because you deserve a good towel
Full materials list with quantities is in the build plans.
→ Get the complete build plans HERE
Step 1: Dig the Post Holes
The shower is supported by four cedar posts set in concrete. I dug each hole by hand — exact post spacing and hole dimensions are in the build plans.
Before you dig: always call 811 to have your utility lines marked. You don't want to hit a water or power line.
Once dug, add a couple inches of pea gravel to the bottom of each hole. This helps with drainage and keeps the post bottoms out of standing moisture — which is exactly where rot starts.


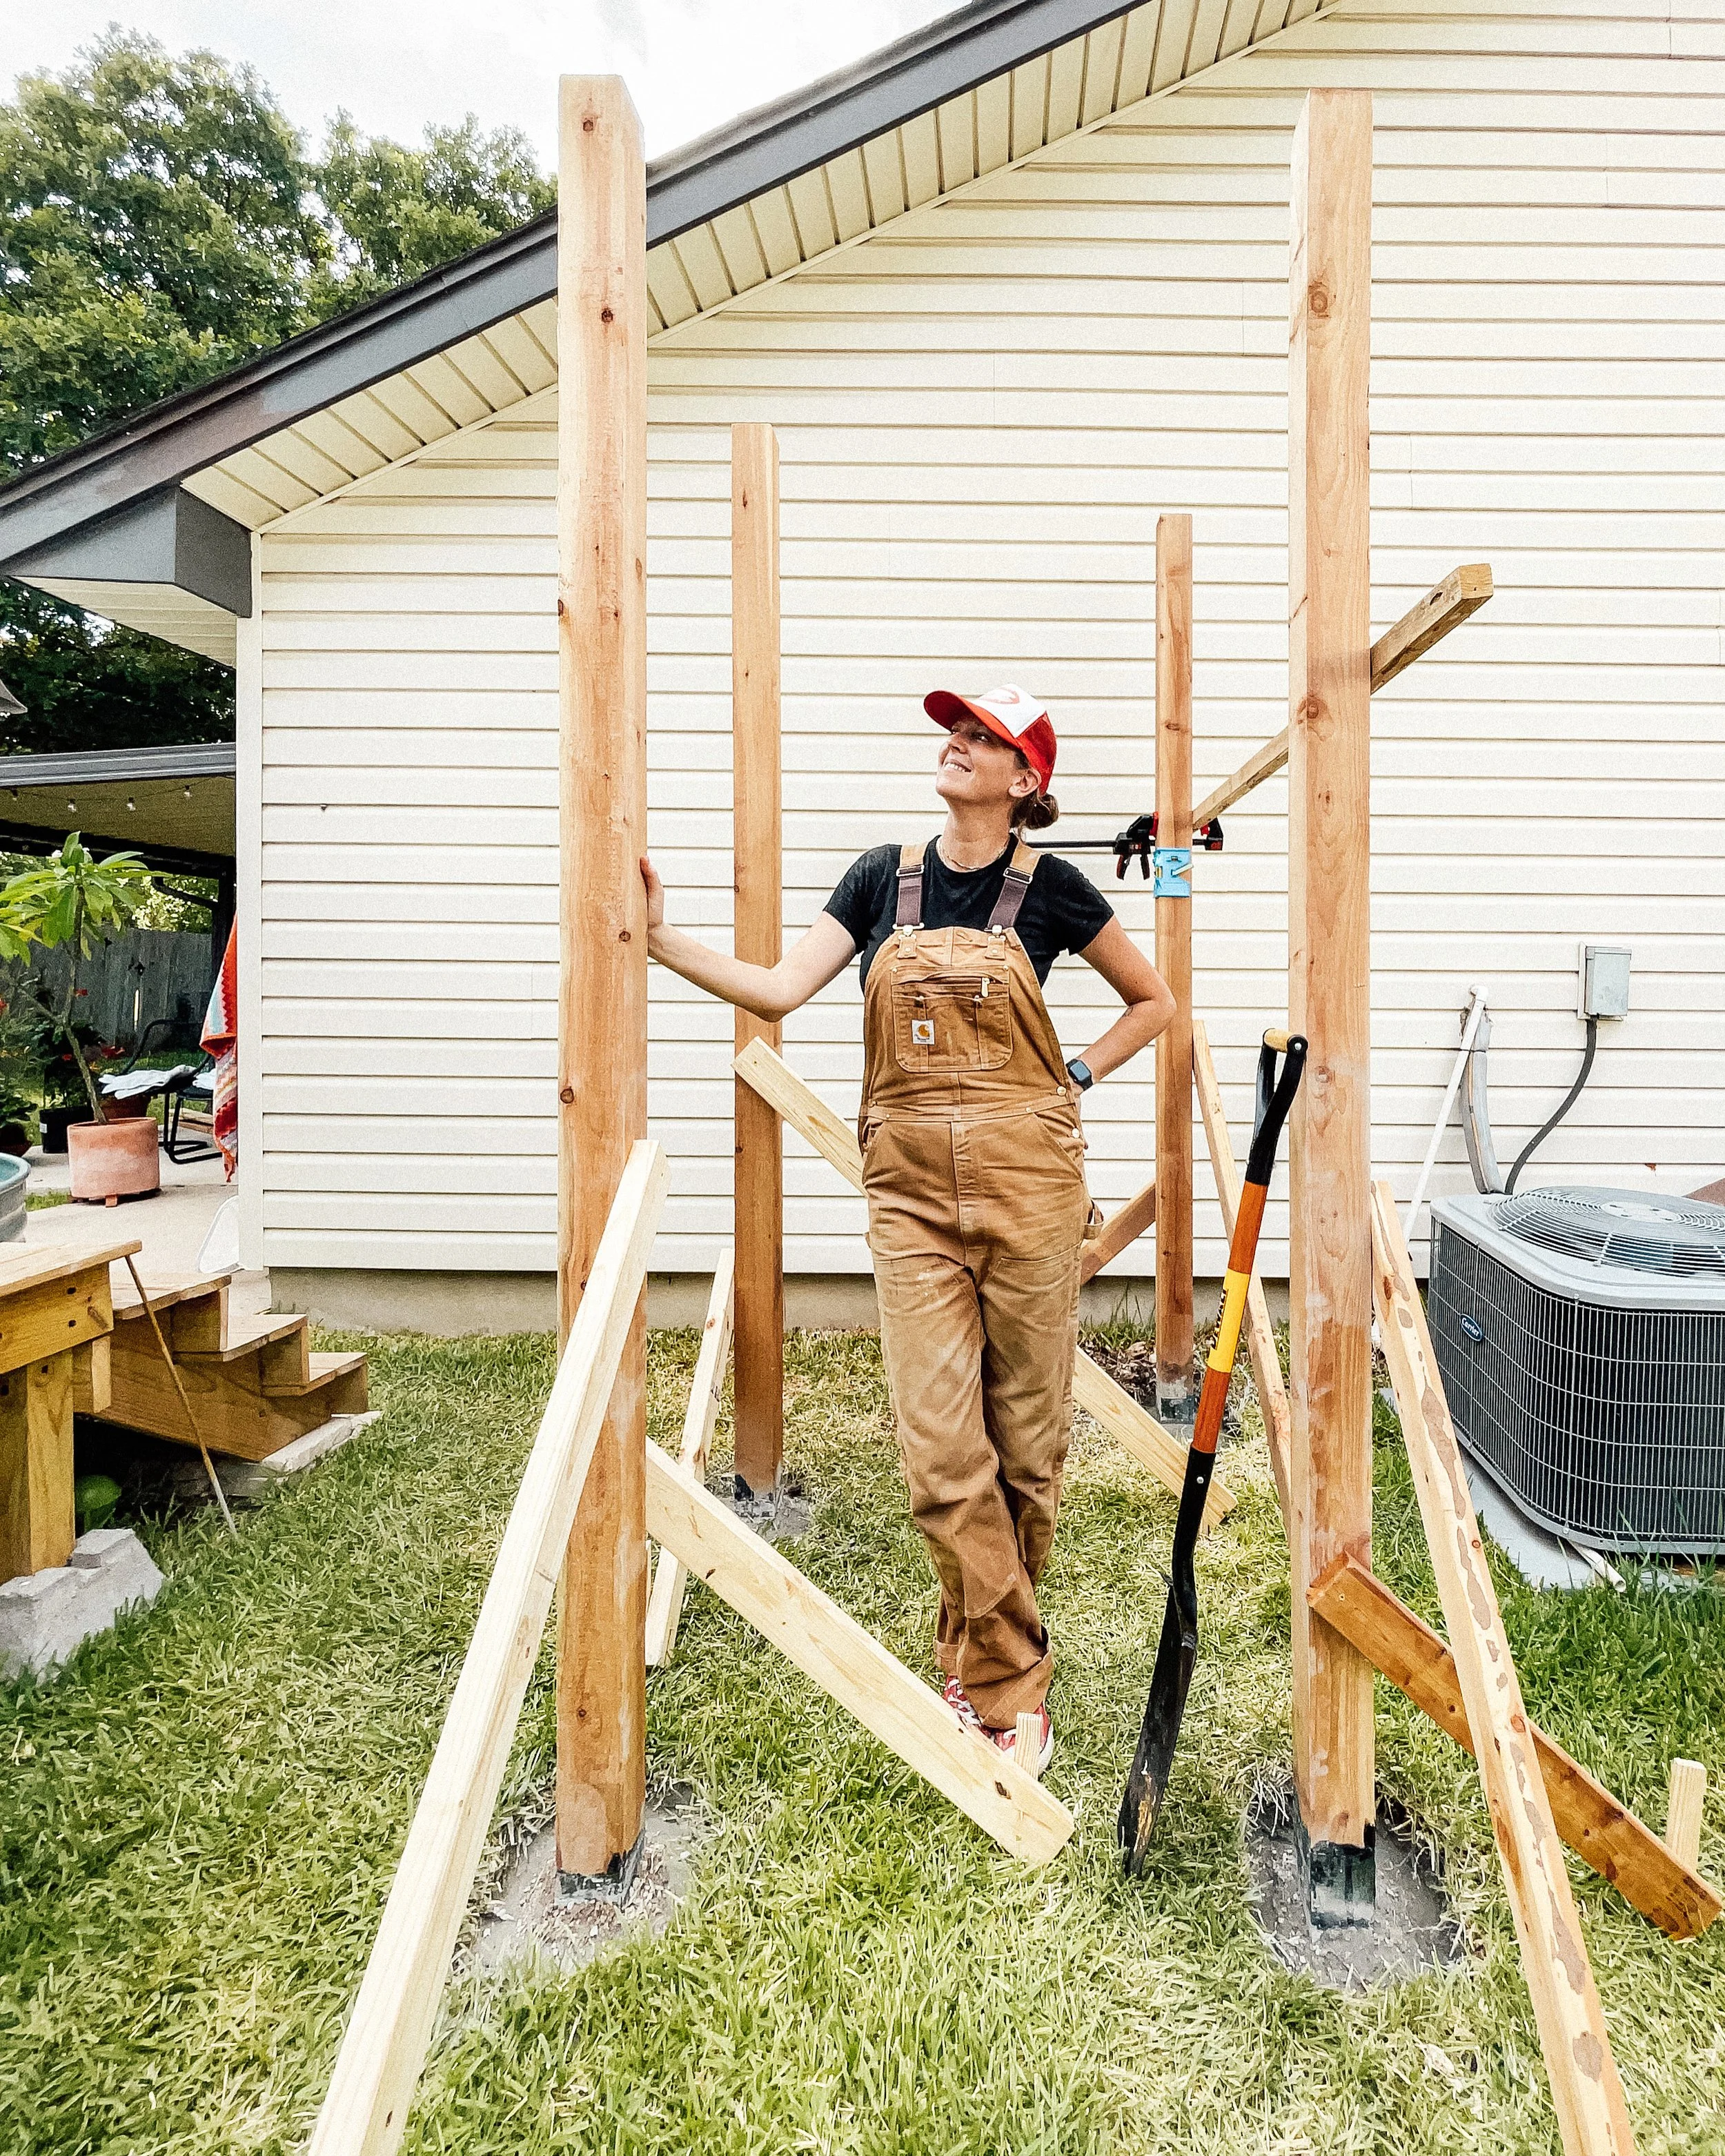
Step 2: Set the Posts
With your holes dug, set each post and strap on a post level. Brace each post with two 2x4 braces screwed to adjacent sides and staked into the ground — this holds everything plumb while the concrete sets.
One thing I'd personally do again: Postsaver sleeves on each post before setting them. Posts don't rot from the bottom — they rot at the ground line where moisture collects. These heat-shrinkable sleeves create a watertight seal right at that vulnerable spot. Totally optional but worth it if you want the posts to last as long as possible.
I used fast-setting Quikrete — pour the dry mix in the hole, add water, no mixing required. Sets in minutes. Slope the top of the concrete away from the post so water sheds outward.
Leave the braces on overnight before removing them.

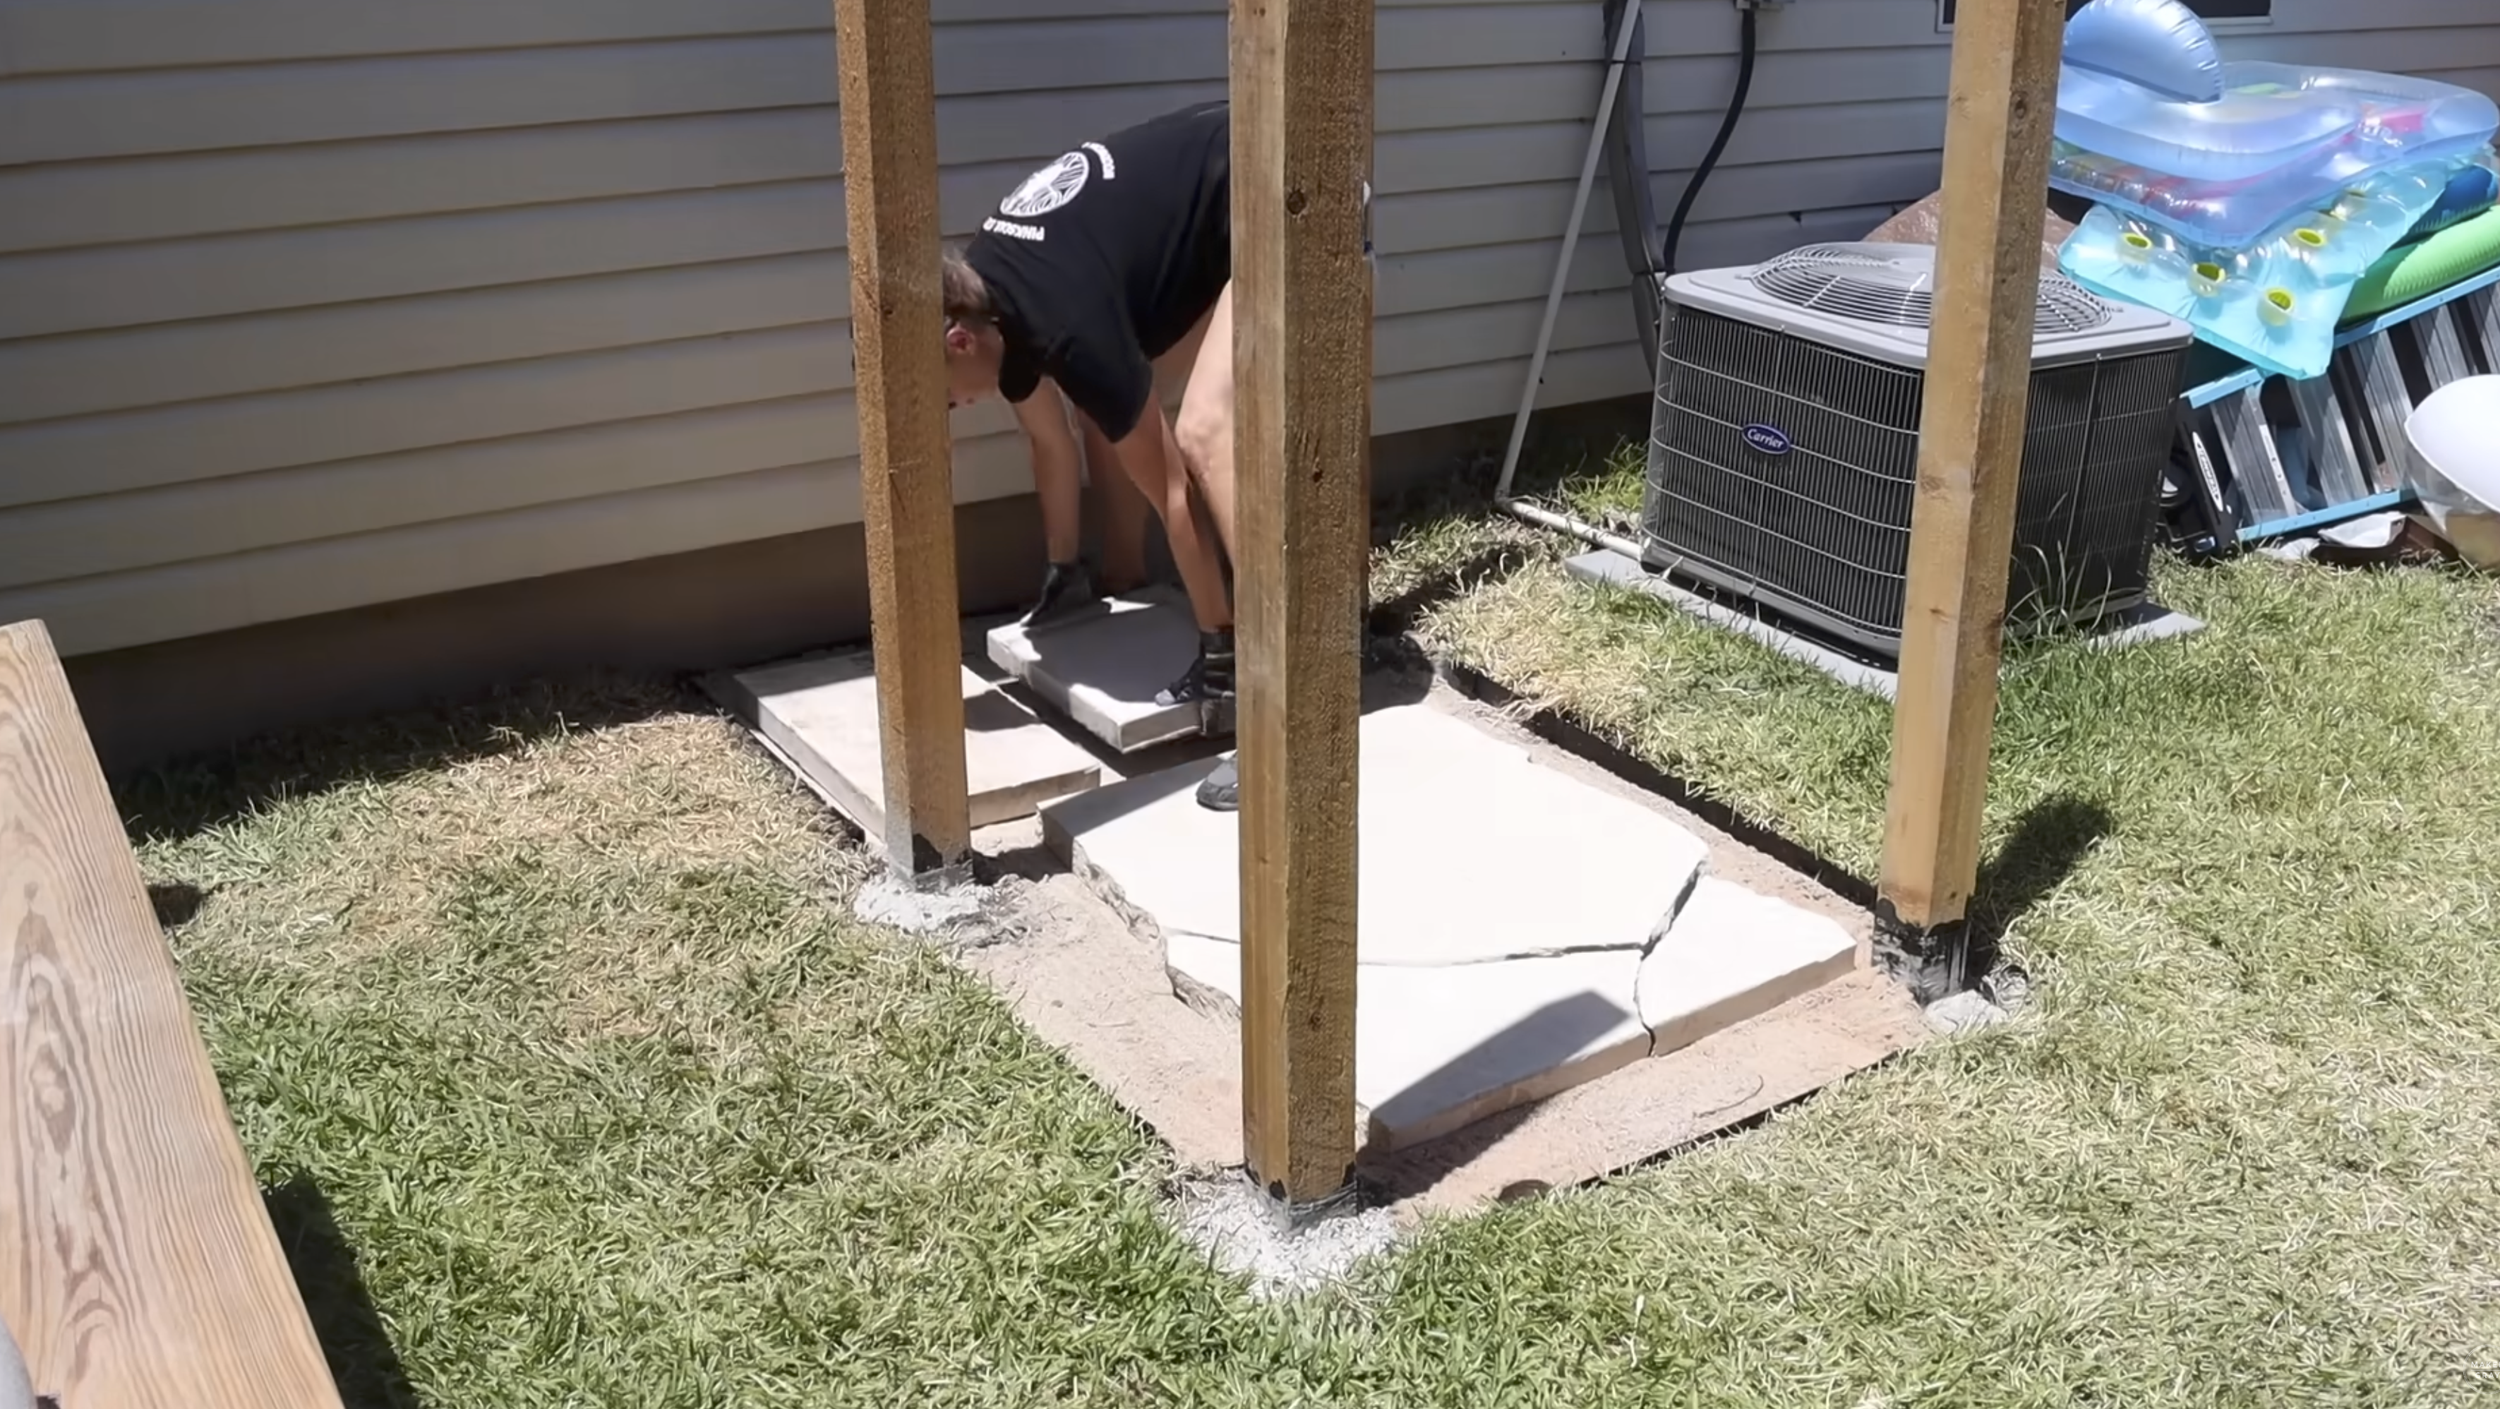
Step 3: Prep the Floor
We decided to make our shower floor from natural stone. We got a large limestone paver from a local landscape supply store, filled in with Colorado River rock. Here’s how I prepped for it it…
I dug out the grass and a few inches of dirt inside the shower footprint, keeping a gradual downward slope away from the house for drainage — this is important. I installed metal landscape edging around the perimeter, then tamped the ground flat with a tamper tool. Then added a layer of sand and level it out. And then laid the stone.


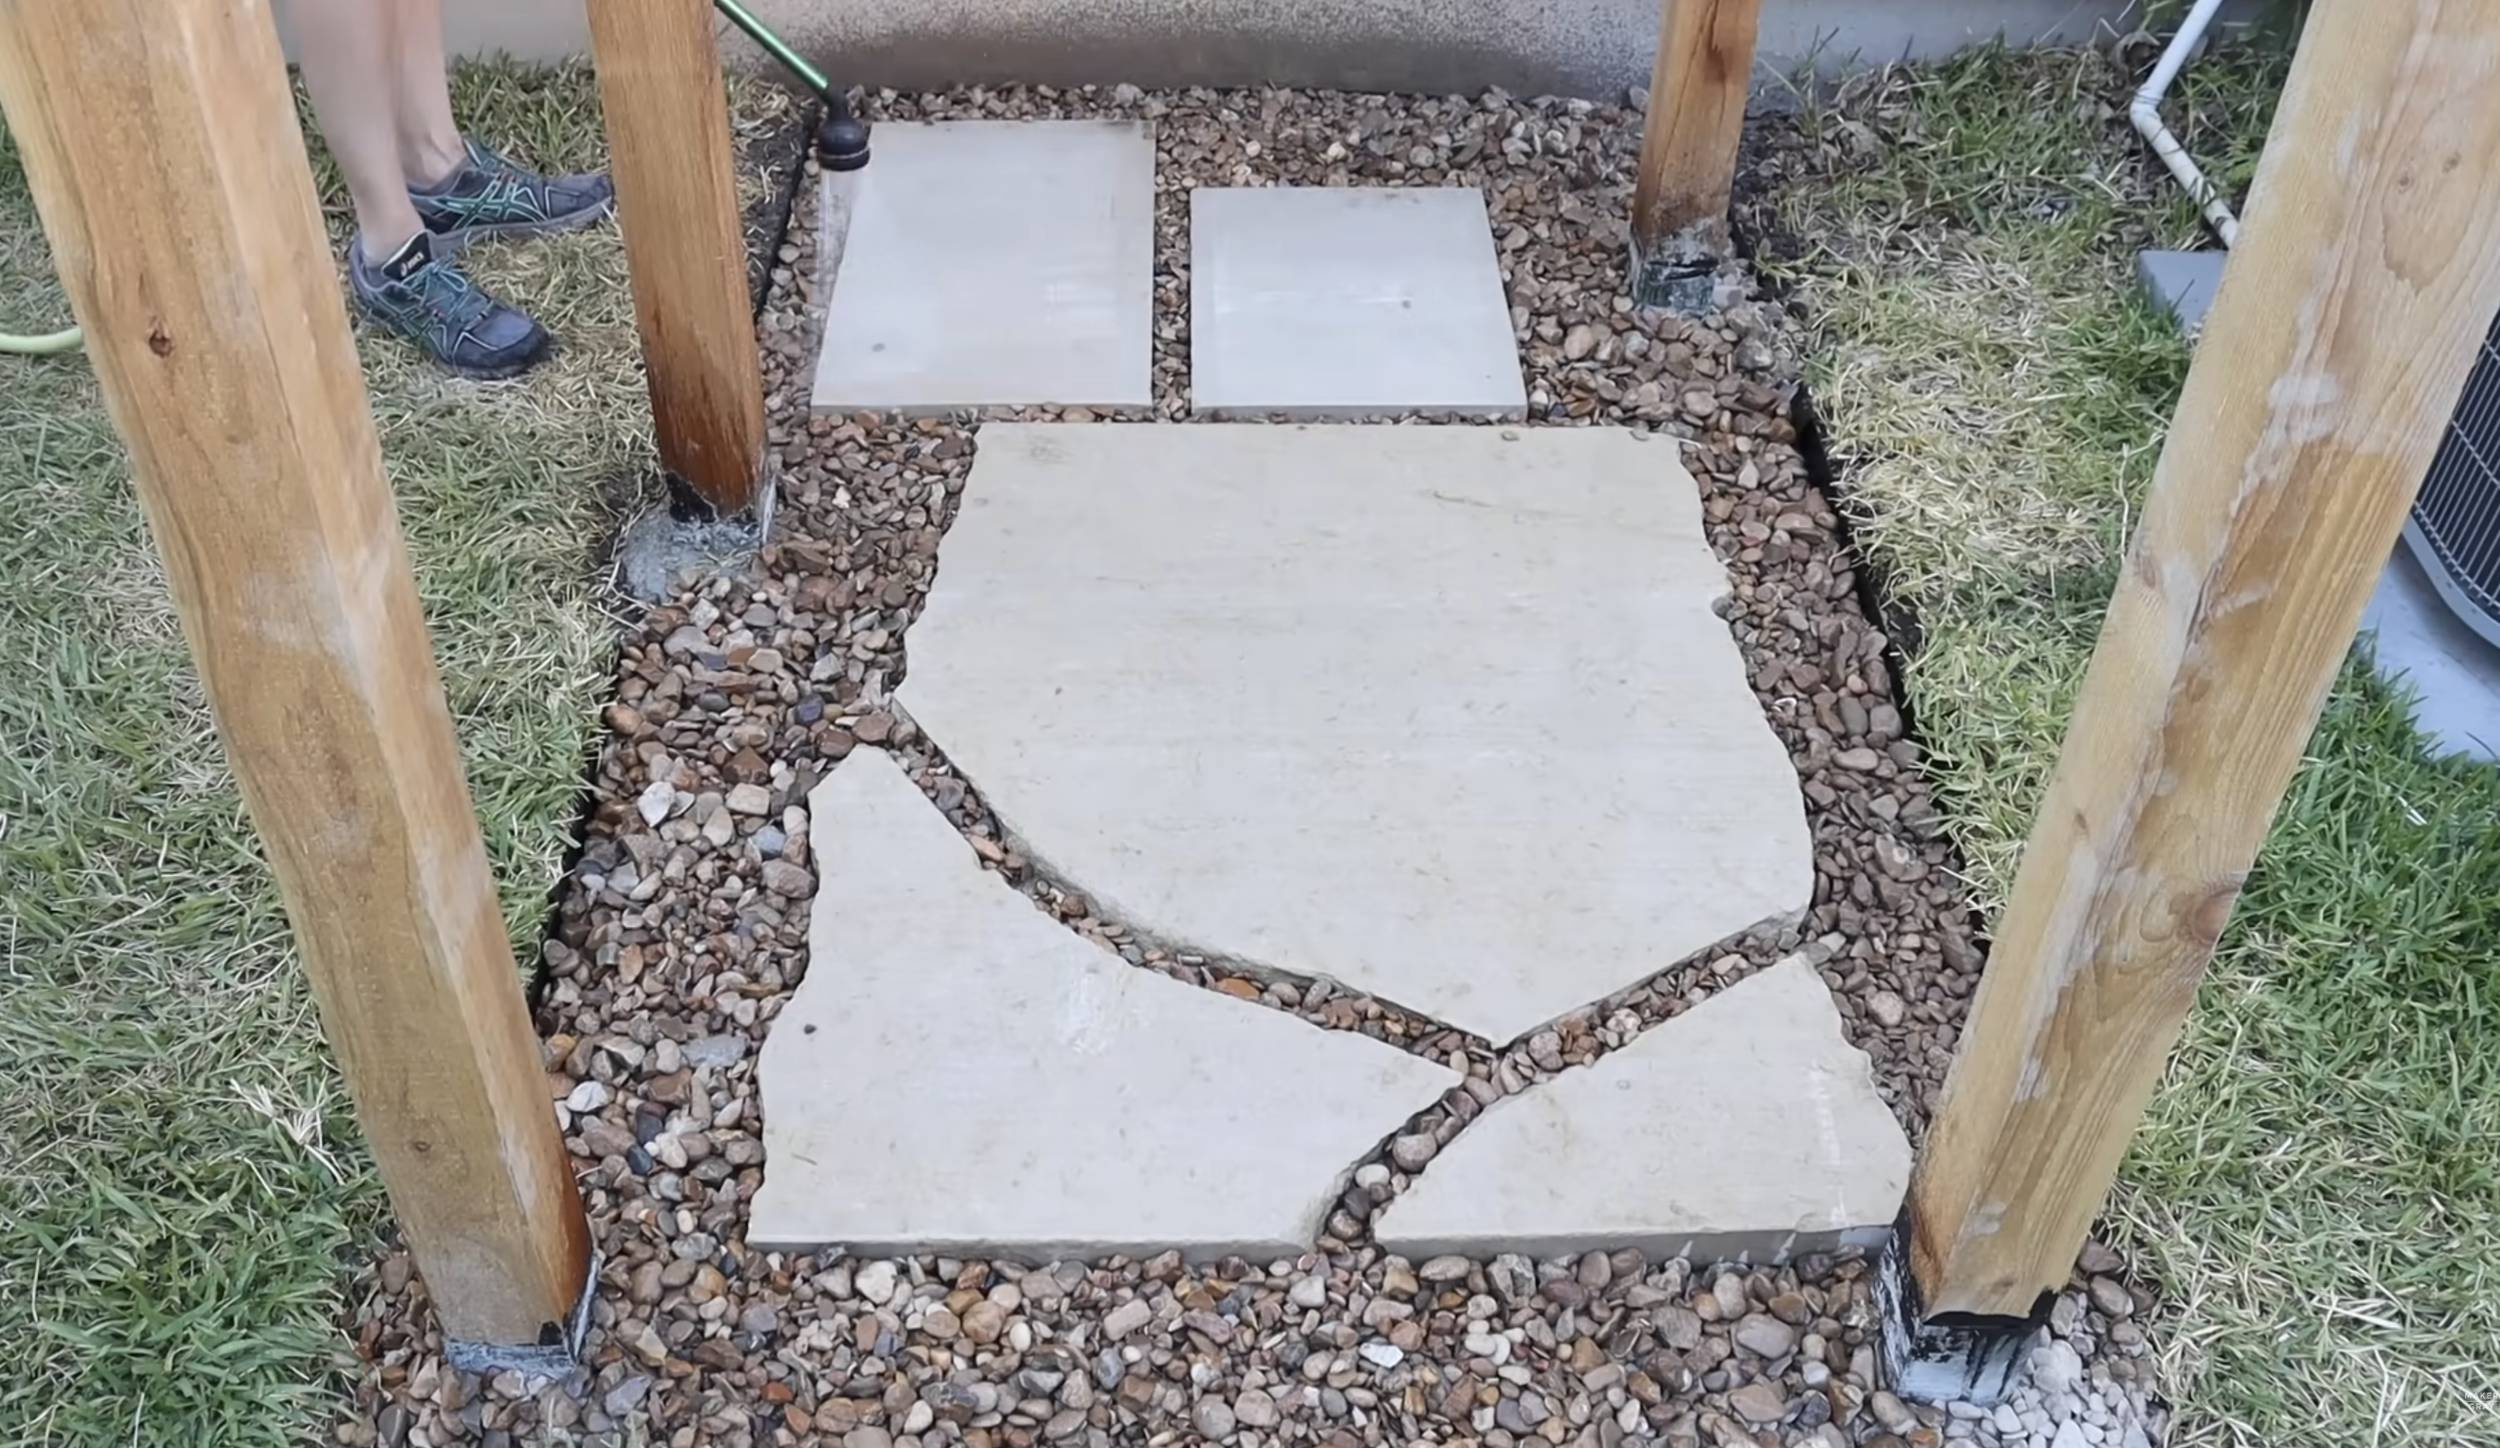
The limestone paver I bought cracked on the way home when I hit a bump. Honestly it ended up looking more organic and natural than it would have intact and we love the cracks. Happy accident!
I filled in the gaps and surrounding areas with river rock — big enough that it's not uncomfortable on bare feet, small enough to fill the spaces nicely. I love this detail.
Step 4: Frame the Walls
All framing and wall material is cedar. If you’ve been around here you know I love cedar for outdoor projects. It looks beautiful, it's naturally rot and bug resistant, and it takes a finish incredibly well.
I started by cutting 2x4s with pocket holes on each end to tie the posts together and create a built-in shelf inside the wall. Then came the horizontal cedar slat walls, cut from fence pickets. Start your first board level at the bottom — this sets the tone for every board above it. Work your way up, pre-drilling near edges to prevent splitting, and secure with trim head screws for a clean minimal appearance.


Once the walls are up, trim the post tops flush and add cap boards around the top with 45° mitered corners. Finish the edges with 1x4 trim boards.
Reminder that the full cut list, dimensions, and assembly sequence are in the build plans — and the color-coded diagrams make this step much easier to follow than any written description could.


Step 5: Finish the Cedar
Left unfinished, cedar will gray out over time. I love keeping the warm original color so I usually add a finish.
In the video I used a two-step Total Boat process of wood sealer and Halcyon varnish. Both are great products and the cedar looks incredible with them.
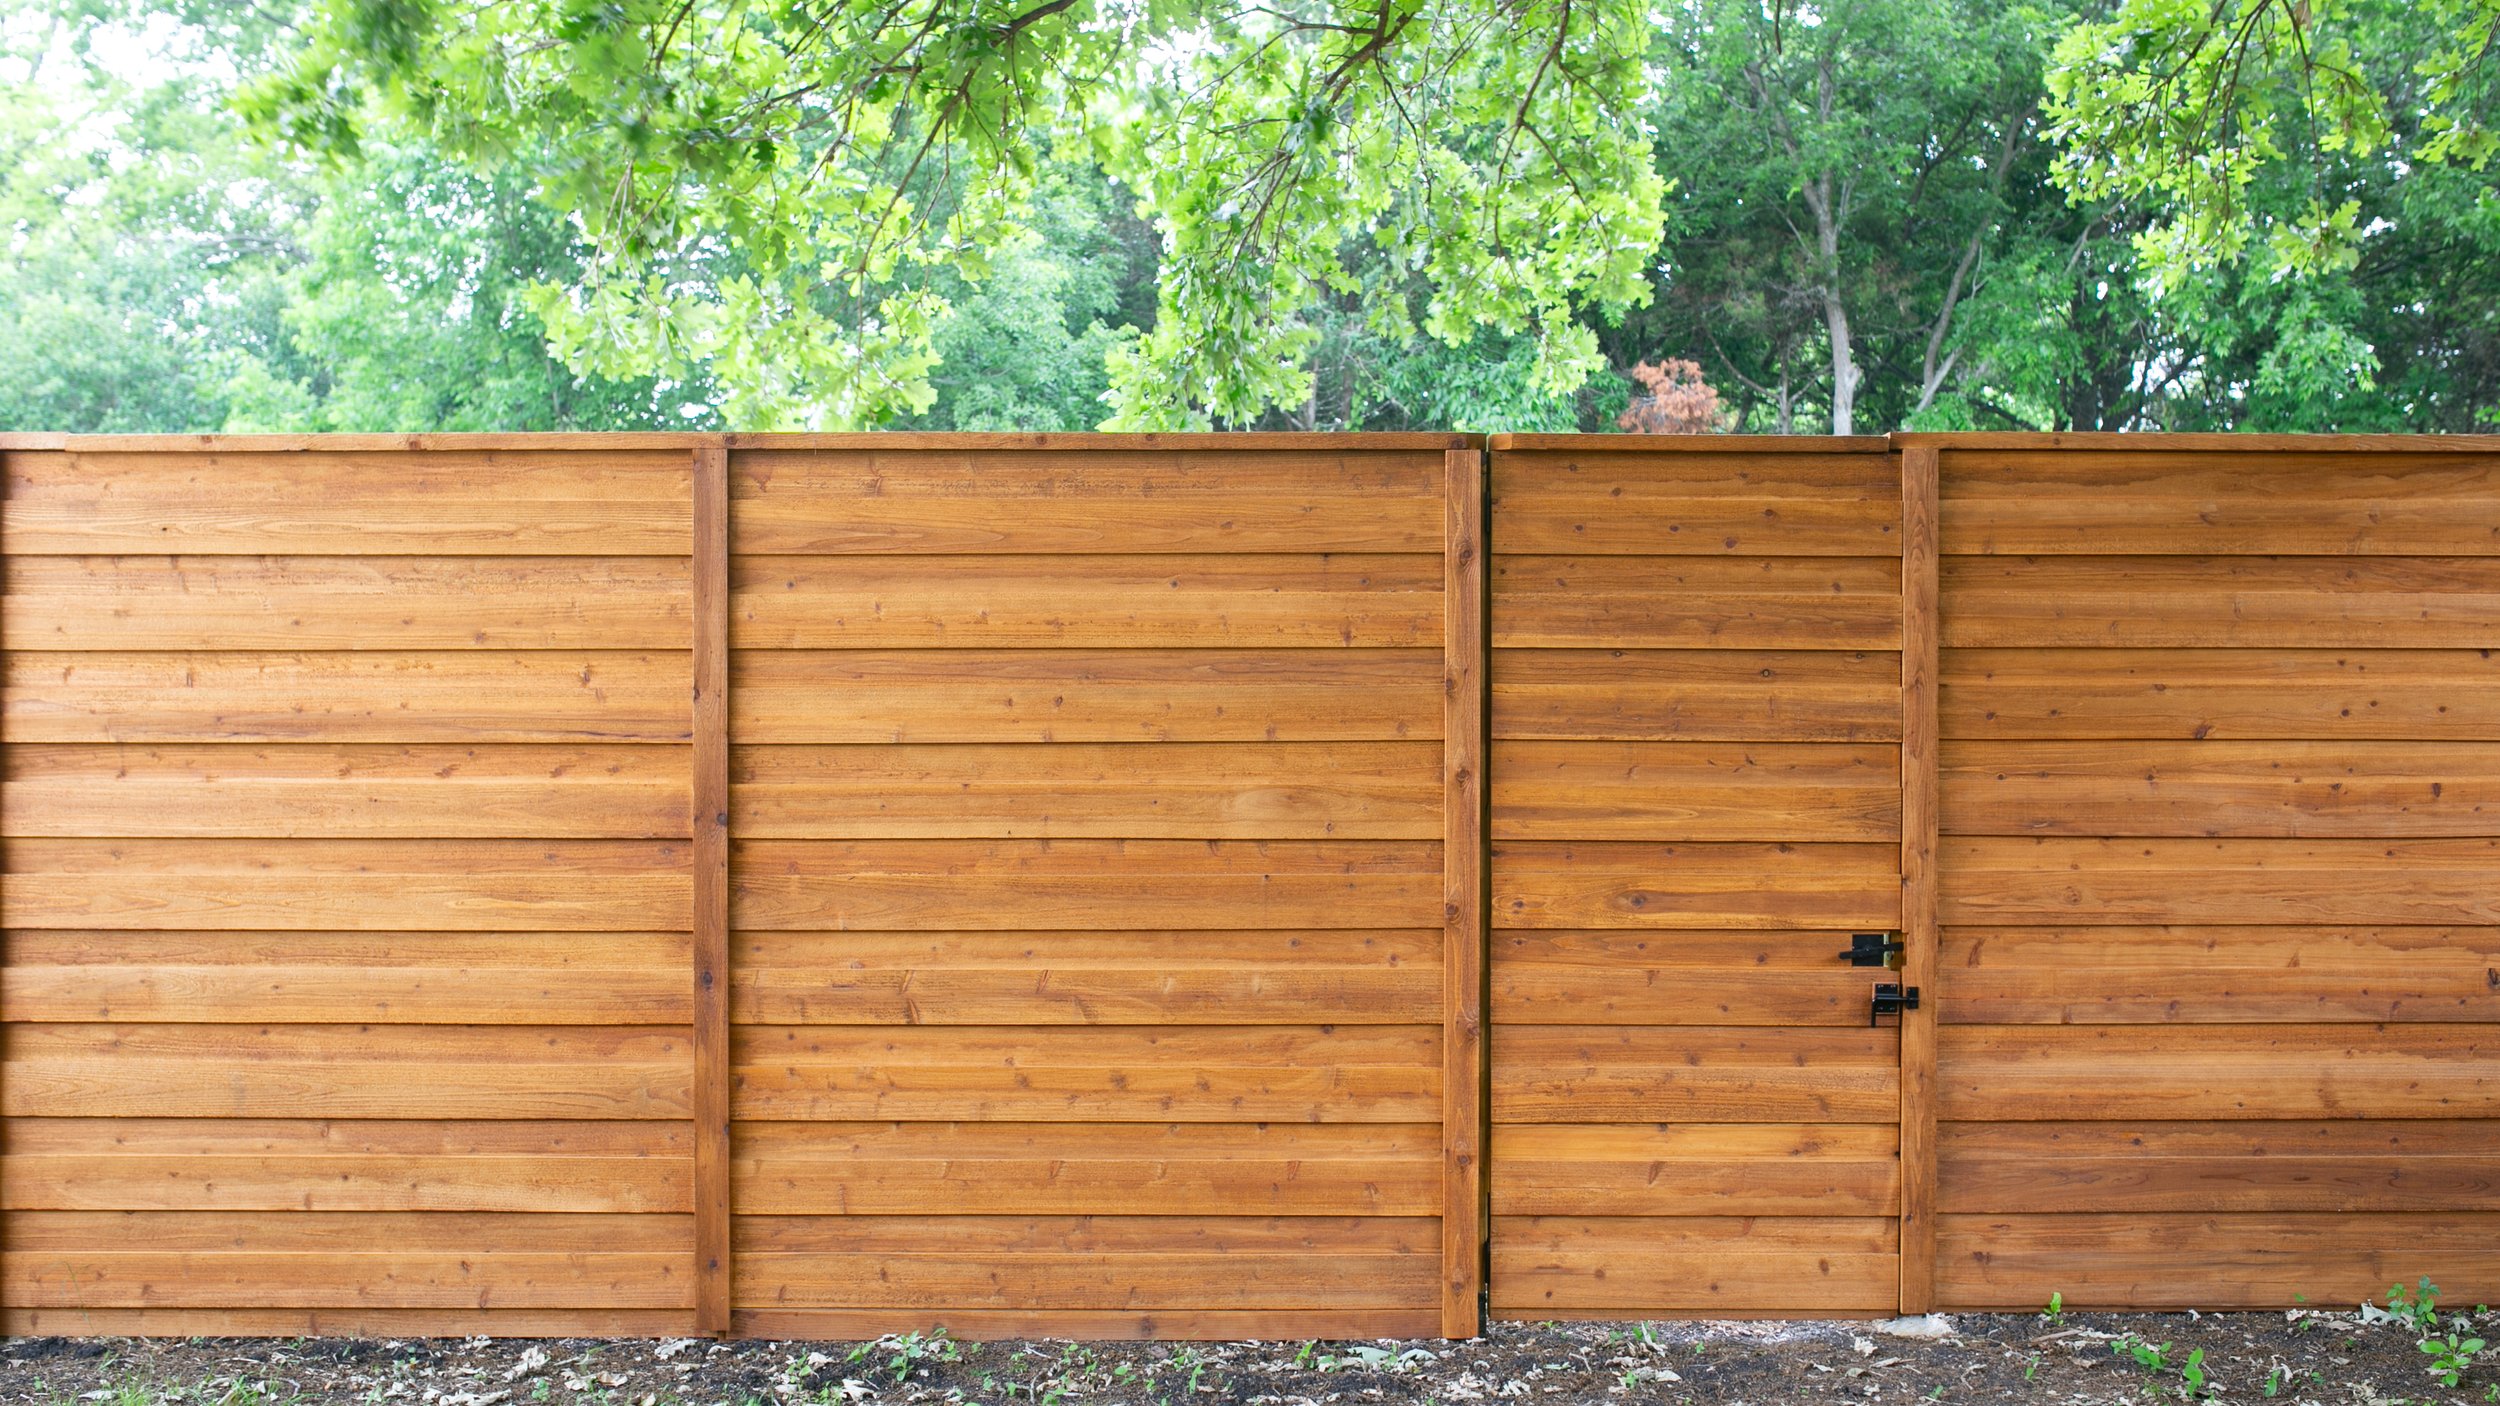
That said — if I were building this shower today, I'd use the Cabot stain in Honey Teak that I used on my cedar fence project. It enhances the natural cedar color without masking it, looks warm and natural, and it's a simpler one-step application. The varnish eventually peels and the stain doesn’t have that problem. I love it so much on the fence that it's become my go-to for cedar projects.
Below, the varnish is on the shower on the left, stain on my fence on the right.

Step 6: Plumbing
This is simpler than it sounds. This is a cold water shower — Texas summer tap water is the perfect temperature. No hot water hookup needed for the original build. (I added hot water later for the cooler months with a tankless propane heater — see that update here.)
I used a metal Y-connector at the outdoor spigot to split off a dedicated line for the shower. Connected a water hose and ran it along the foundation, secured with landscape pins — the grass and rocks cover it and it disappears.
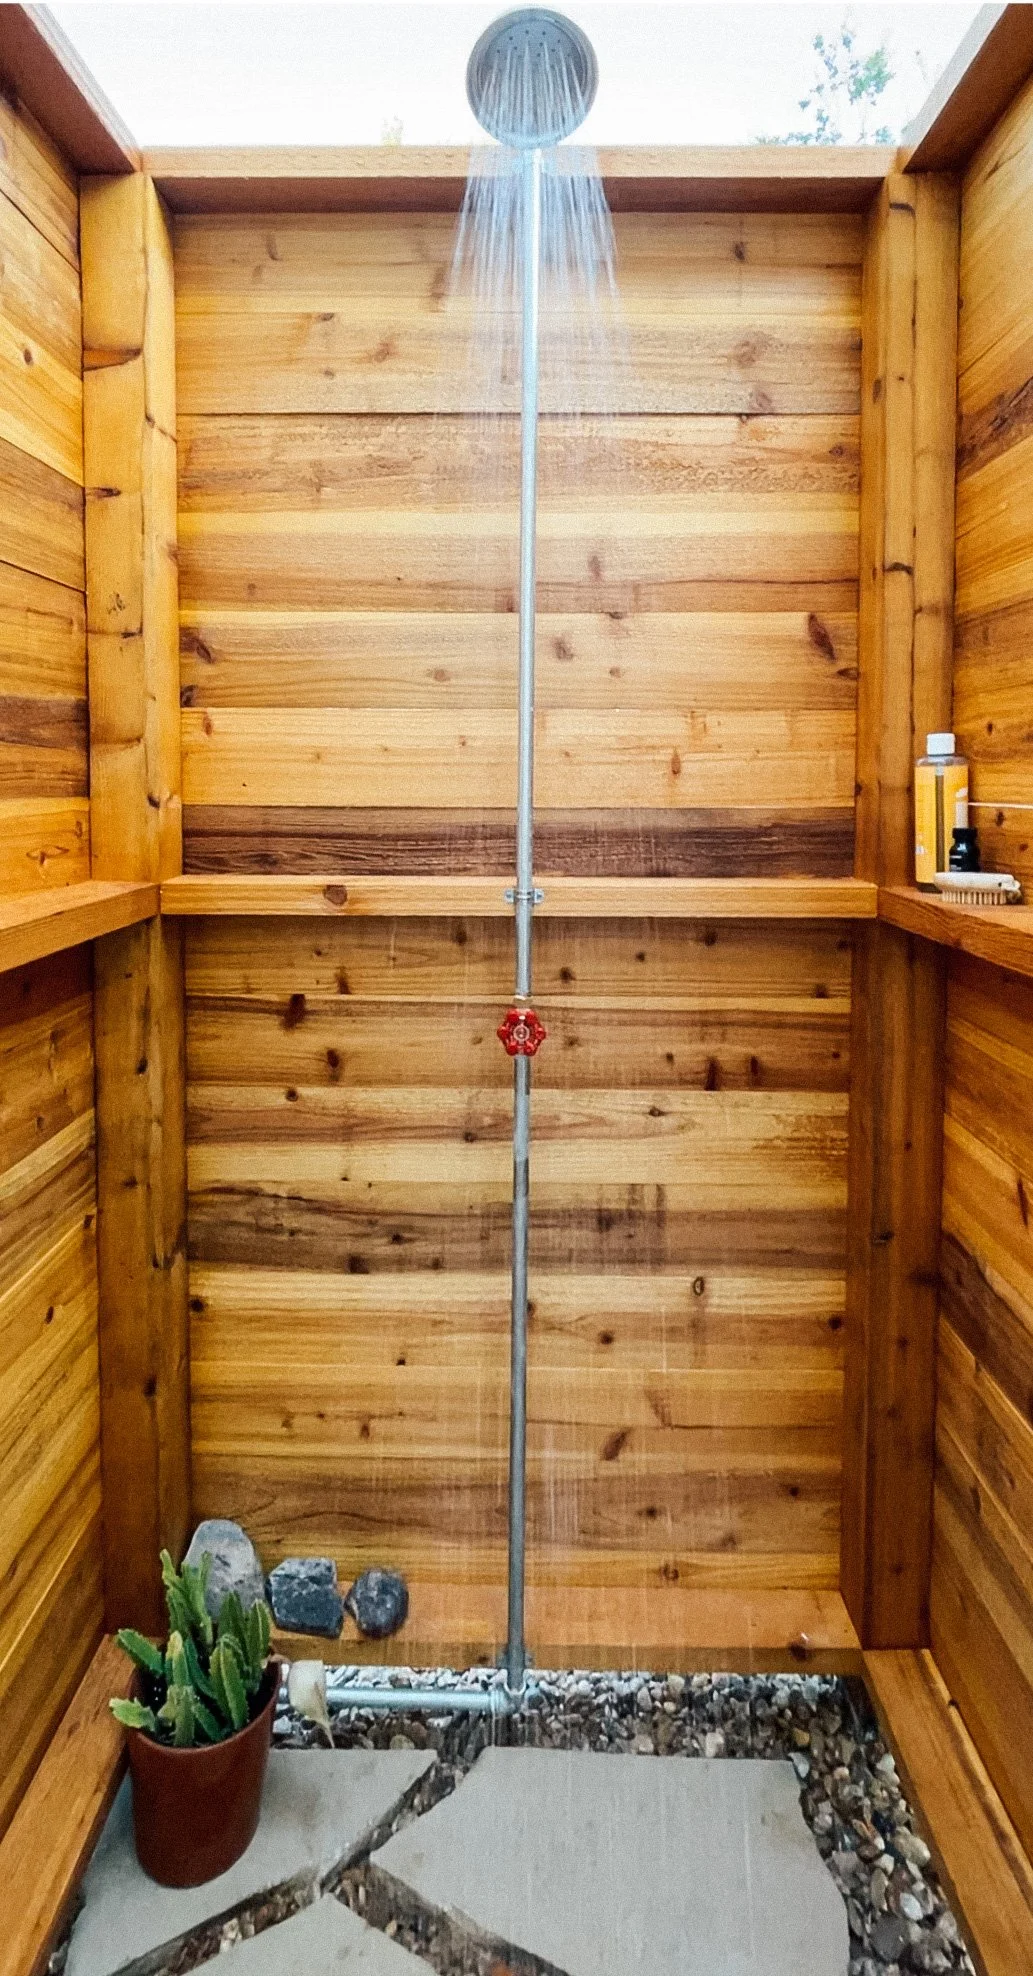
Inside the shower, I used galvanized steel pipes for the plumbing. I cut an entry point through the bottom wall slat for the hose connection, then built the pipe run up to the shower head, wrapping plumber's tape at every threaded joint to prevent leaks. Added a shutoff valve partway up so you can turn the water on and off from inside the shower. Secured everything to the structure with galvanized pipe straps and stainless steel screws.
At the top: a shower arm and shower head. Done.

The exact pipe lengths, fitting specs, and full plumbing parts list are in the build plans — the plumbing section is detailed and color-coded, which makes it much easy to follow.
The assembly sequence is also much easier to follow visually in the build video.
The Result


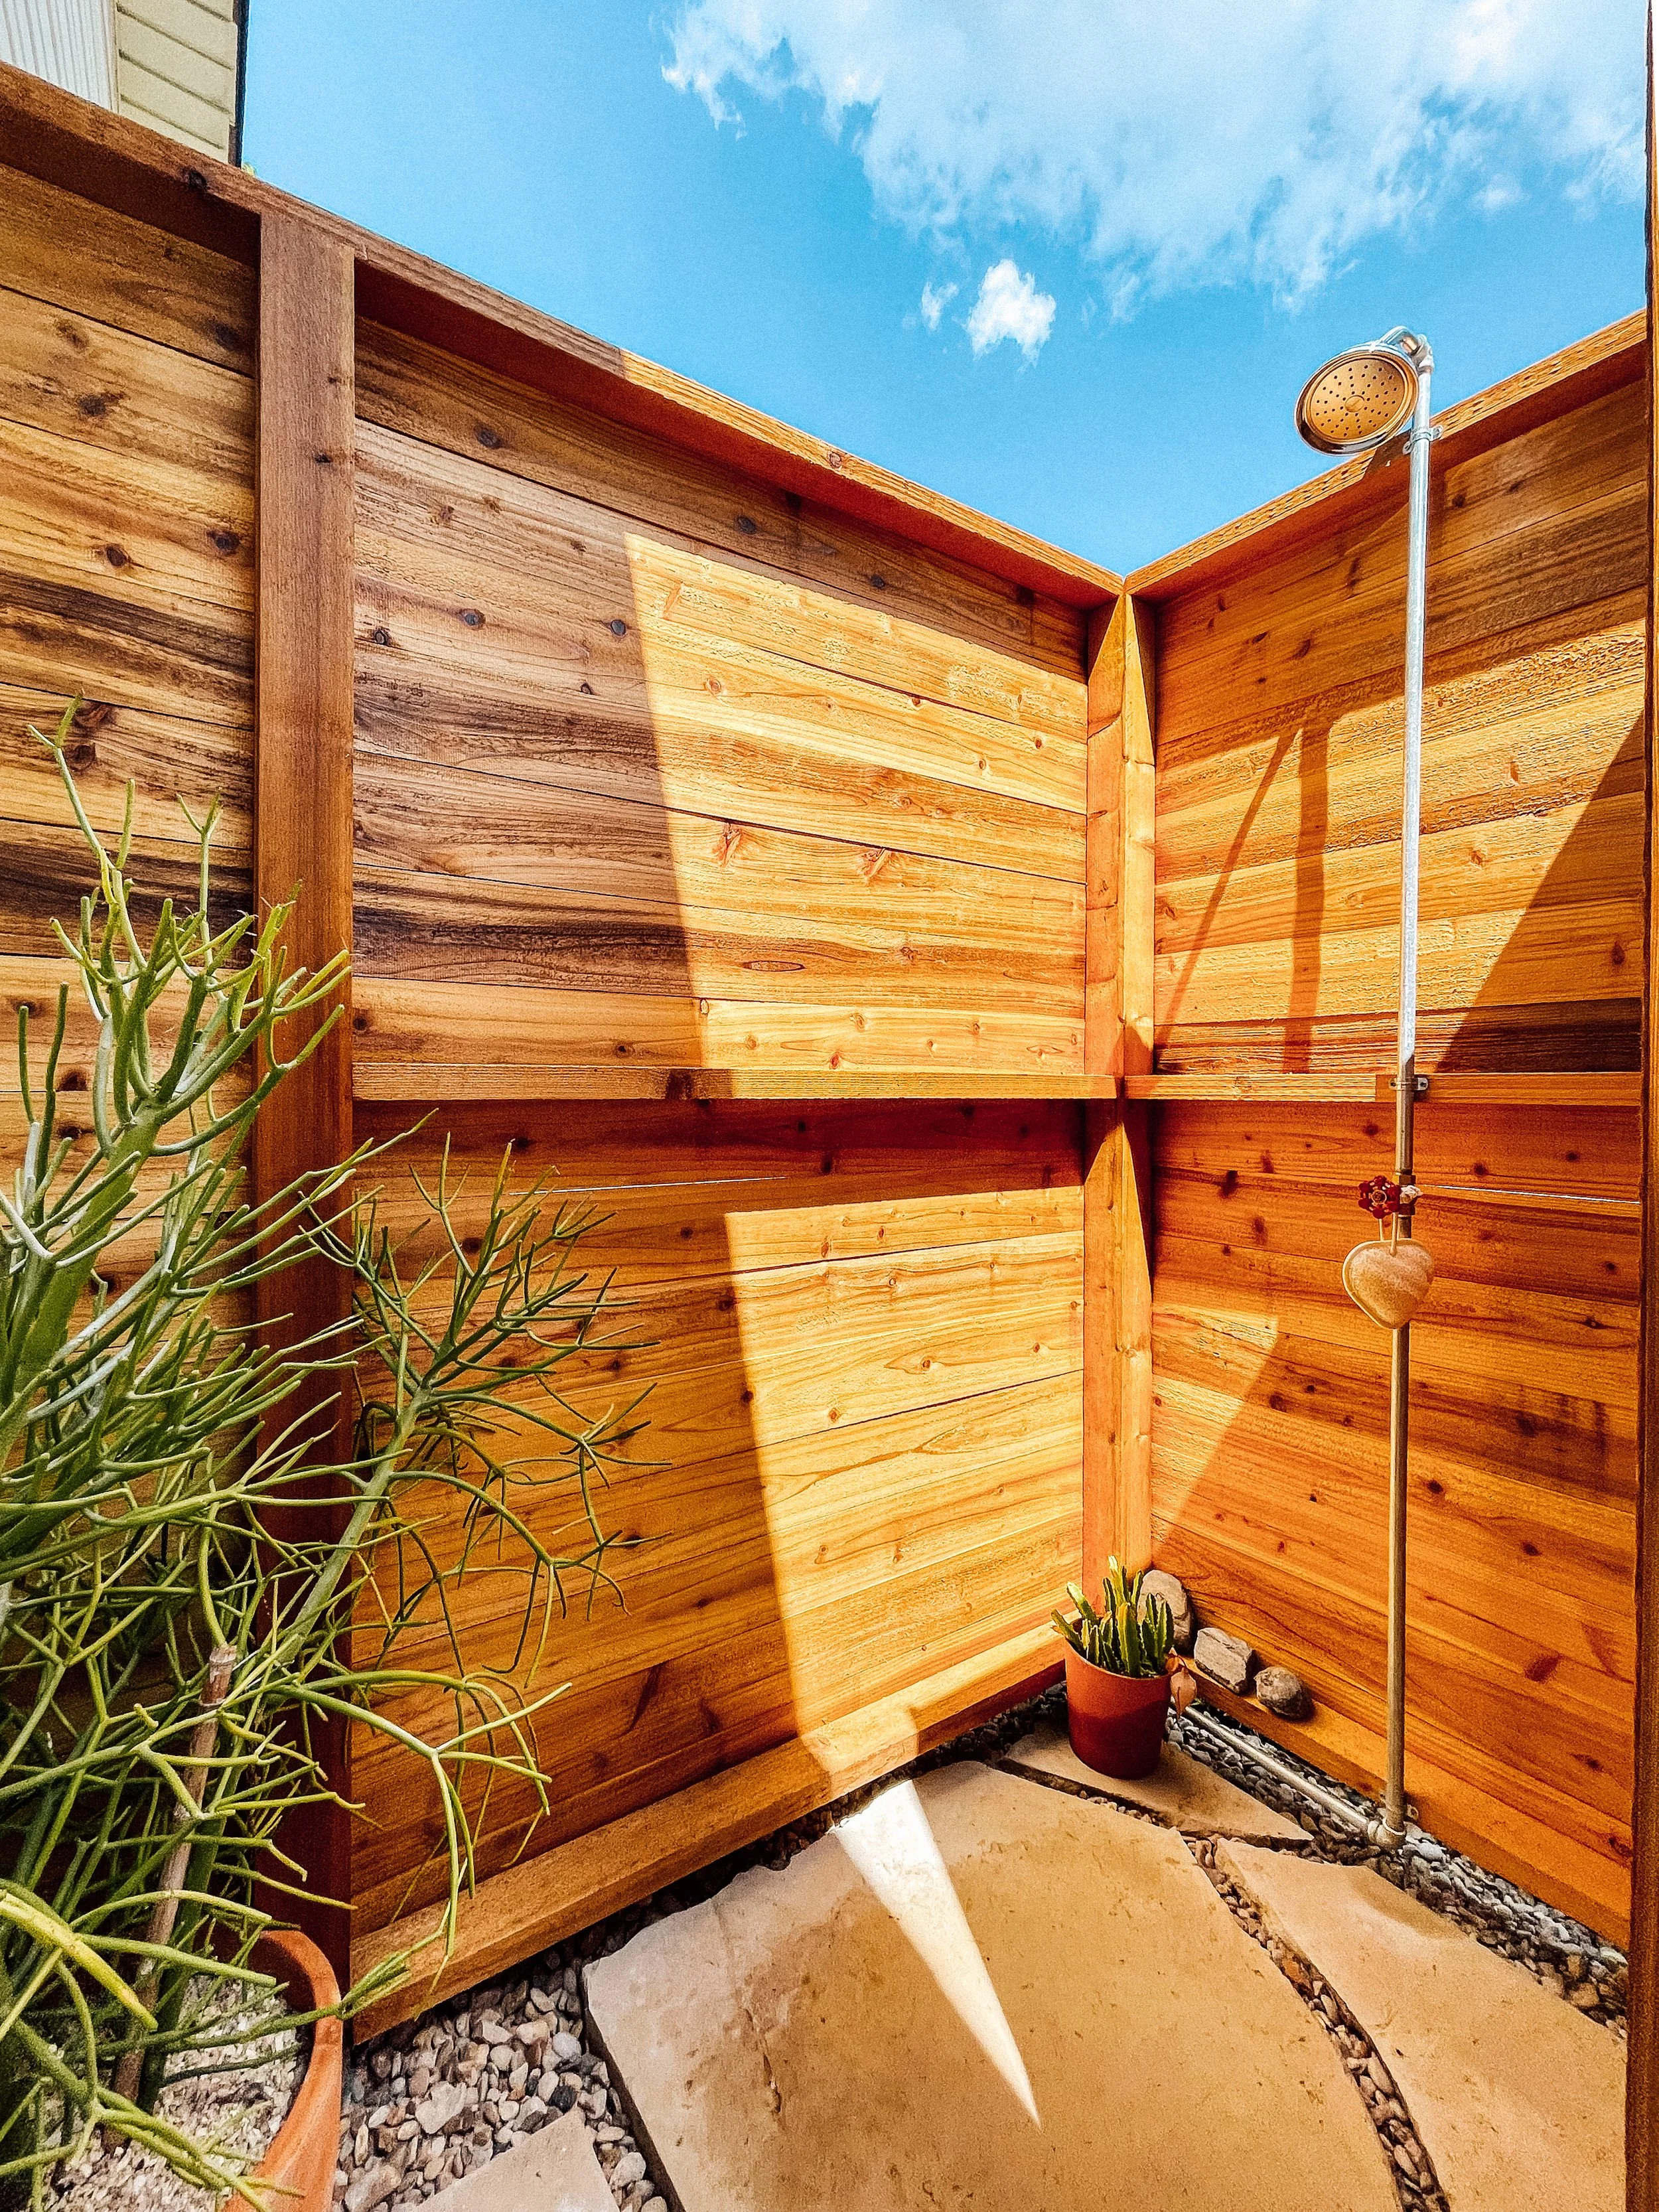
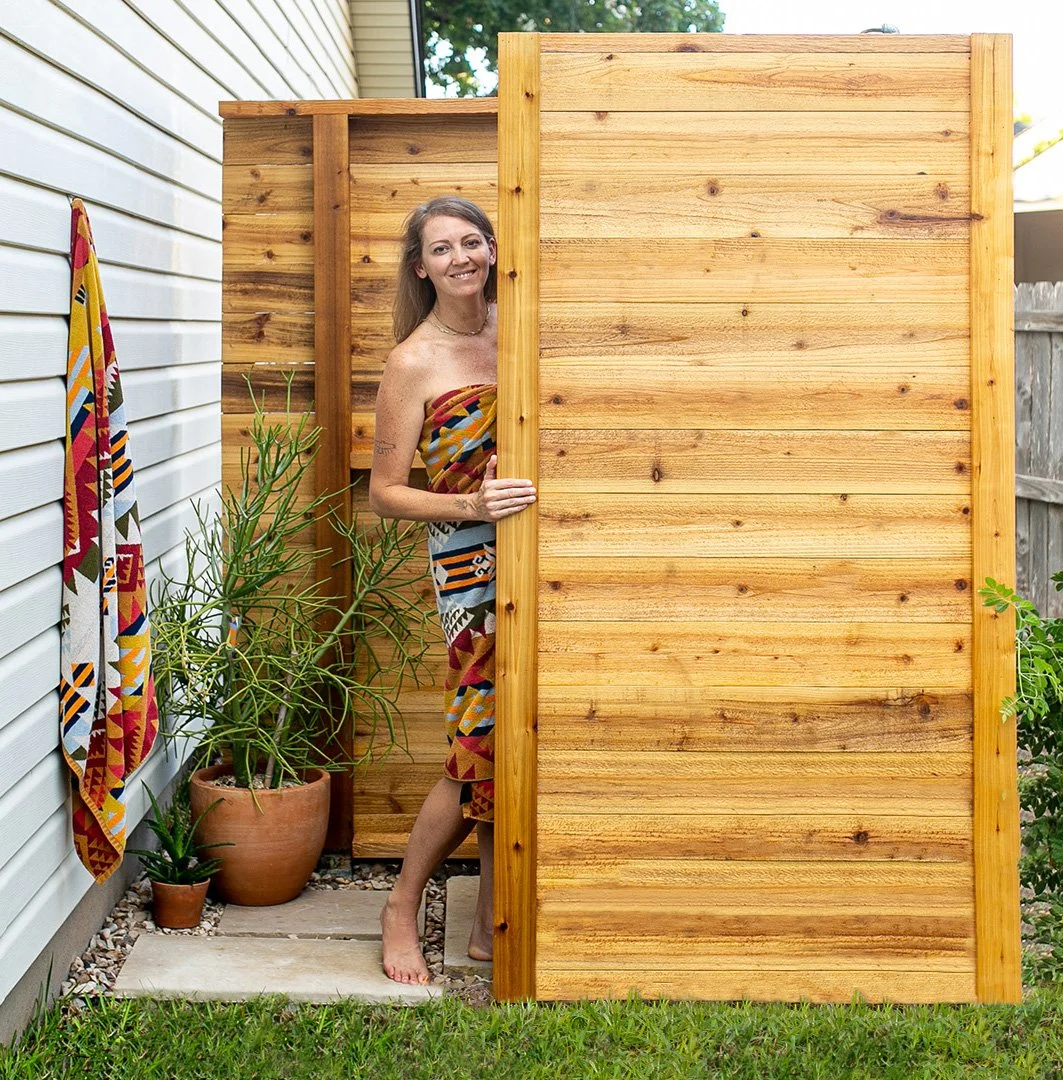
I'm obsessed with this shower. There's something genuinely wonderful about showering outside in the open air. Especially in the evenings. It gives you those resort vibes without leaving your backyard. The cedar is gorgeous, the stone floor feels incredible underfoot, and it completely transformed an eyesore side yard into somewhere we actually want to be.
It also turned out to be a great changing area for guests after they use the pool! Didn't plan that, just a nice bonus.
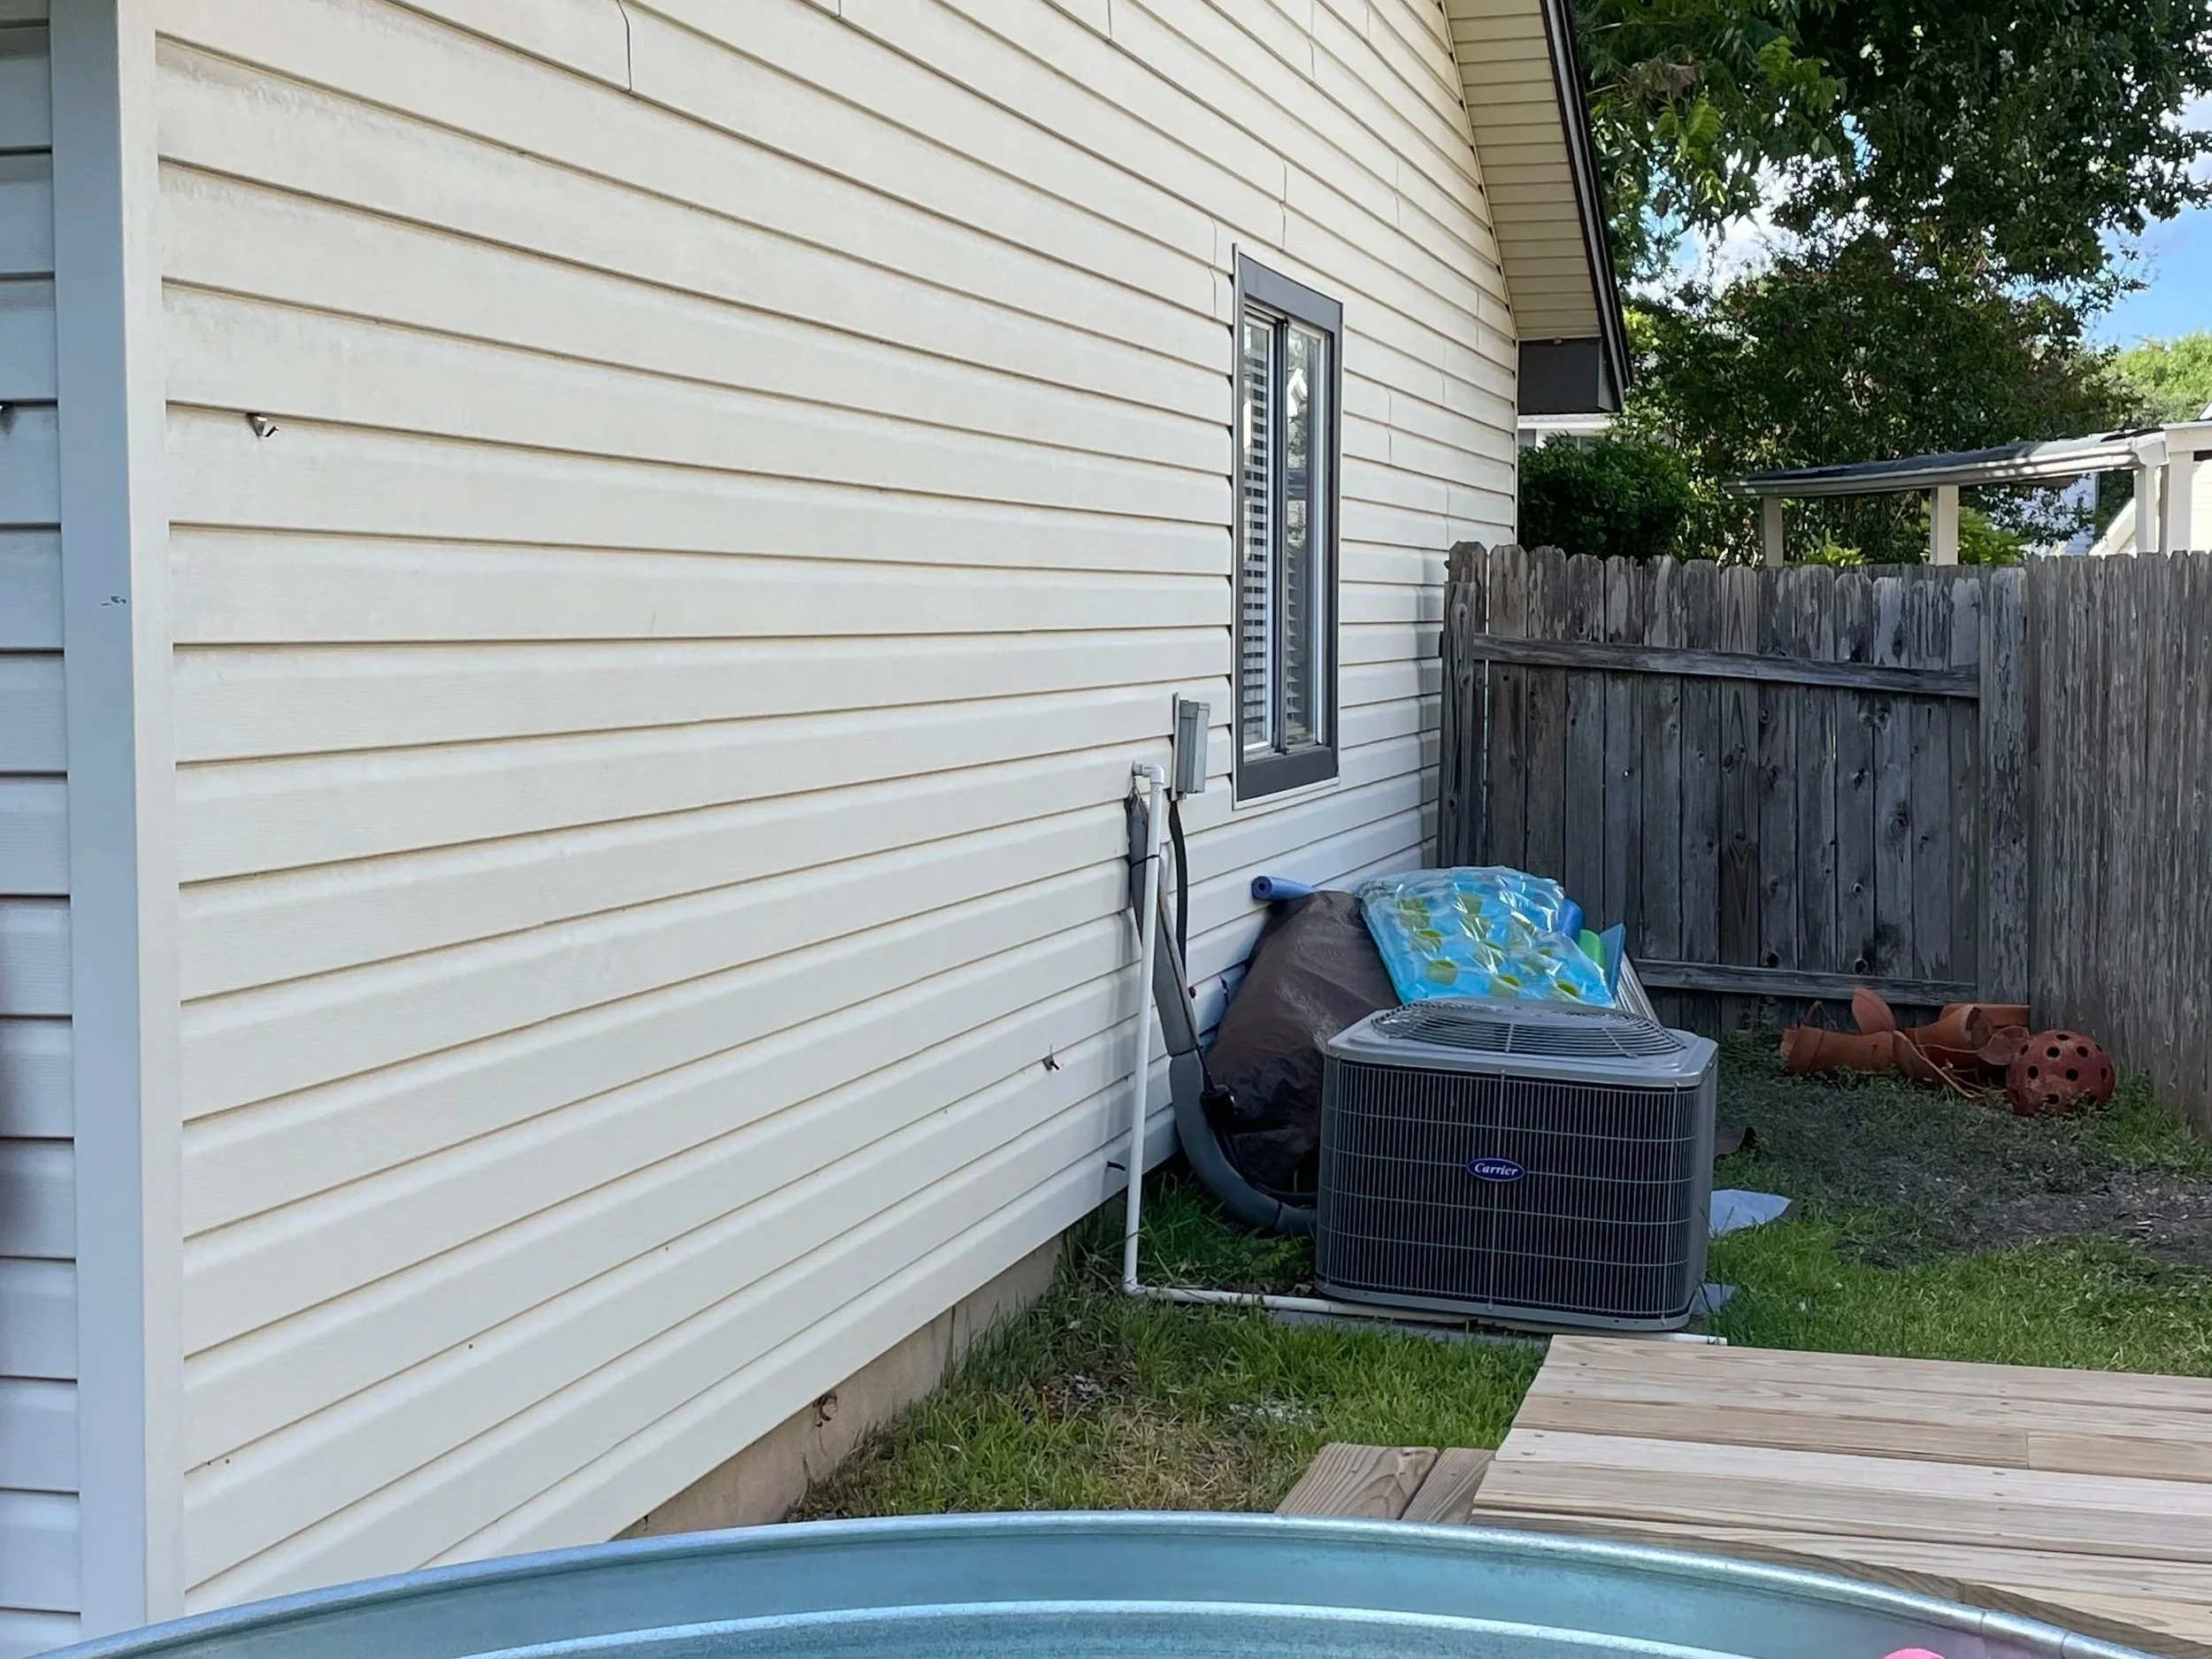
Here’s the before and after of the side yard:

Take It Further
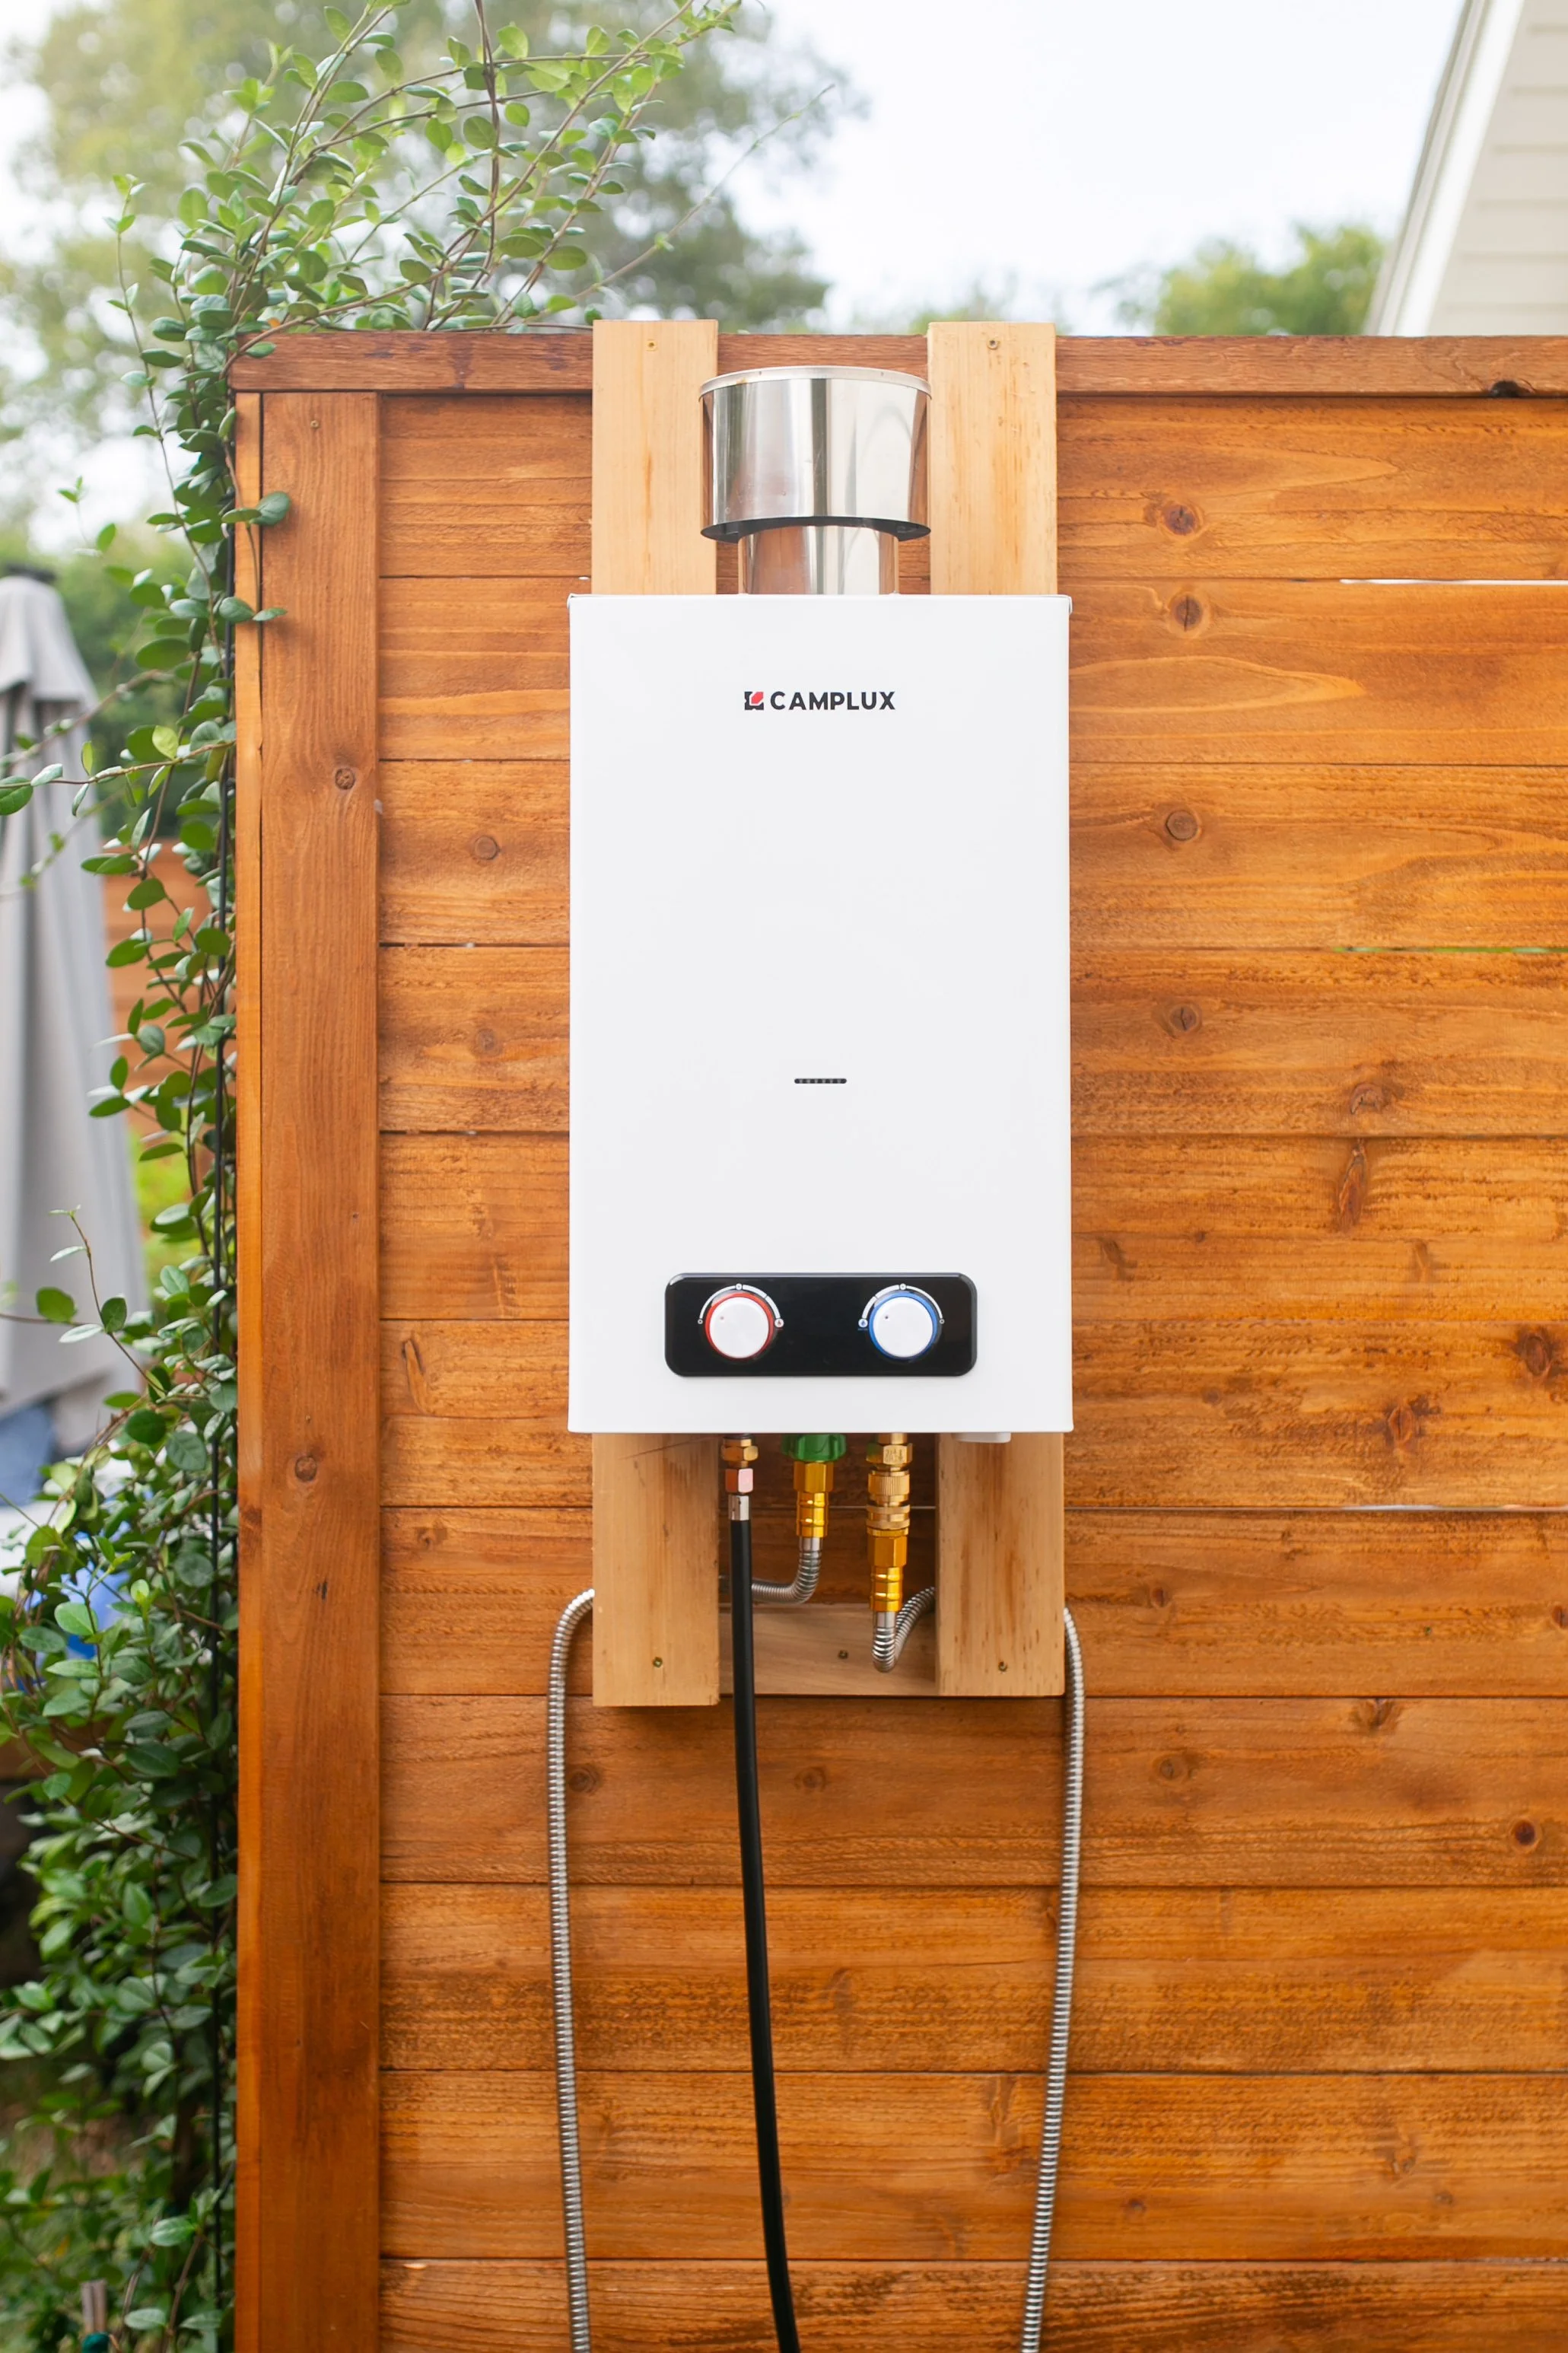
Add hot water
I added a tankless propane heater to this shower and it took the whole thing to another level — no traditional plumbing required. We can use it well into the cooler months now. 🔥 See the hot water update →
Ready to Build?
The build plans have everything you need — cut list, material list, and step-by-step assembly instructions.
→ Get the Outdoor Shower Build Plans HERE


Happy to answer any questions below, or in the comment section of the video. See you on the next project!
Follow Maker Gray:
Instagram @MakerGray https://www.instagram.com/makergray/
Facebook https://www.facebook.com/MakerGray/
TikTok: https://bit.ly/3lXgdHh
If you liked this project and want to stay up to date with what I’m building, then be sure to sign up for my emailed newsletter and you’ll get an email when I post something new.
(Most of the links listed above are affiliate links. As an Amazon Associate I earn from qualifying purchases. Thank you for supporting me in this way.)