
Drill vs. Impact Driver — What’s the Difference?

When you’re building your beginner‑tool toolkit, one of the first questions you’ll face is: Do I need a drill, an impact driver, or both?
These tools may look similar, but they have distinct purposes and strengths. This guide will teach you what each tool is, how they differ, when to choose each one — and how to get the right fit for your next DIY project.
Quick Snapshot:
Drill/Driver – A versatile tool used to drill holes and drive screws. It has adjustable speed settings and a clutch to control the speed and force. Great for general-purpose DIY tasks, especially when precision matters.
Impact Driver – A compact powerhouse designed specifically to drive screws and fasteners, especially into dense material. It uses quick, high-torque bursts to handle tougher jobs with less strain on your wrist — but it’s not ideal for drilling holes.
Let’s dive in….
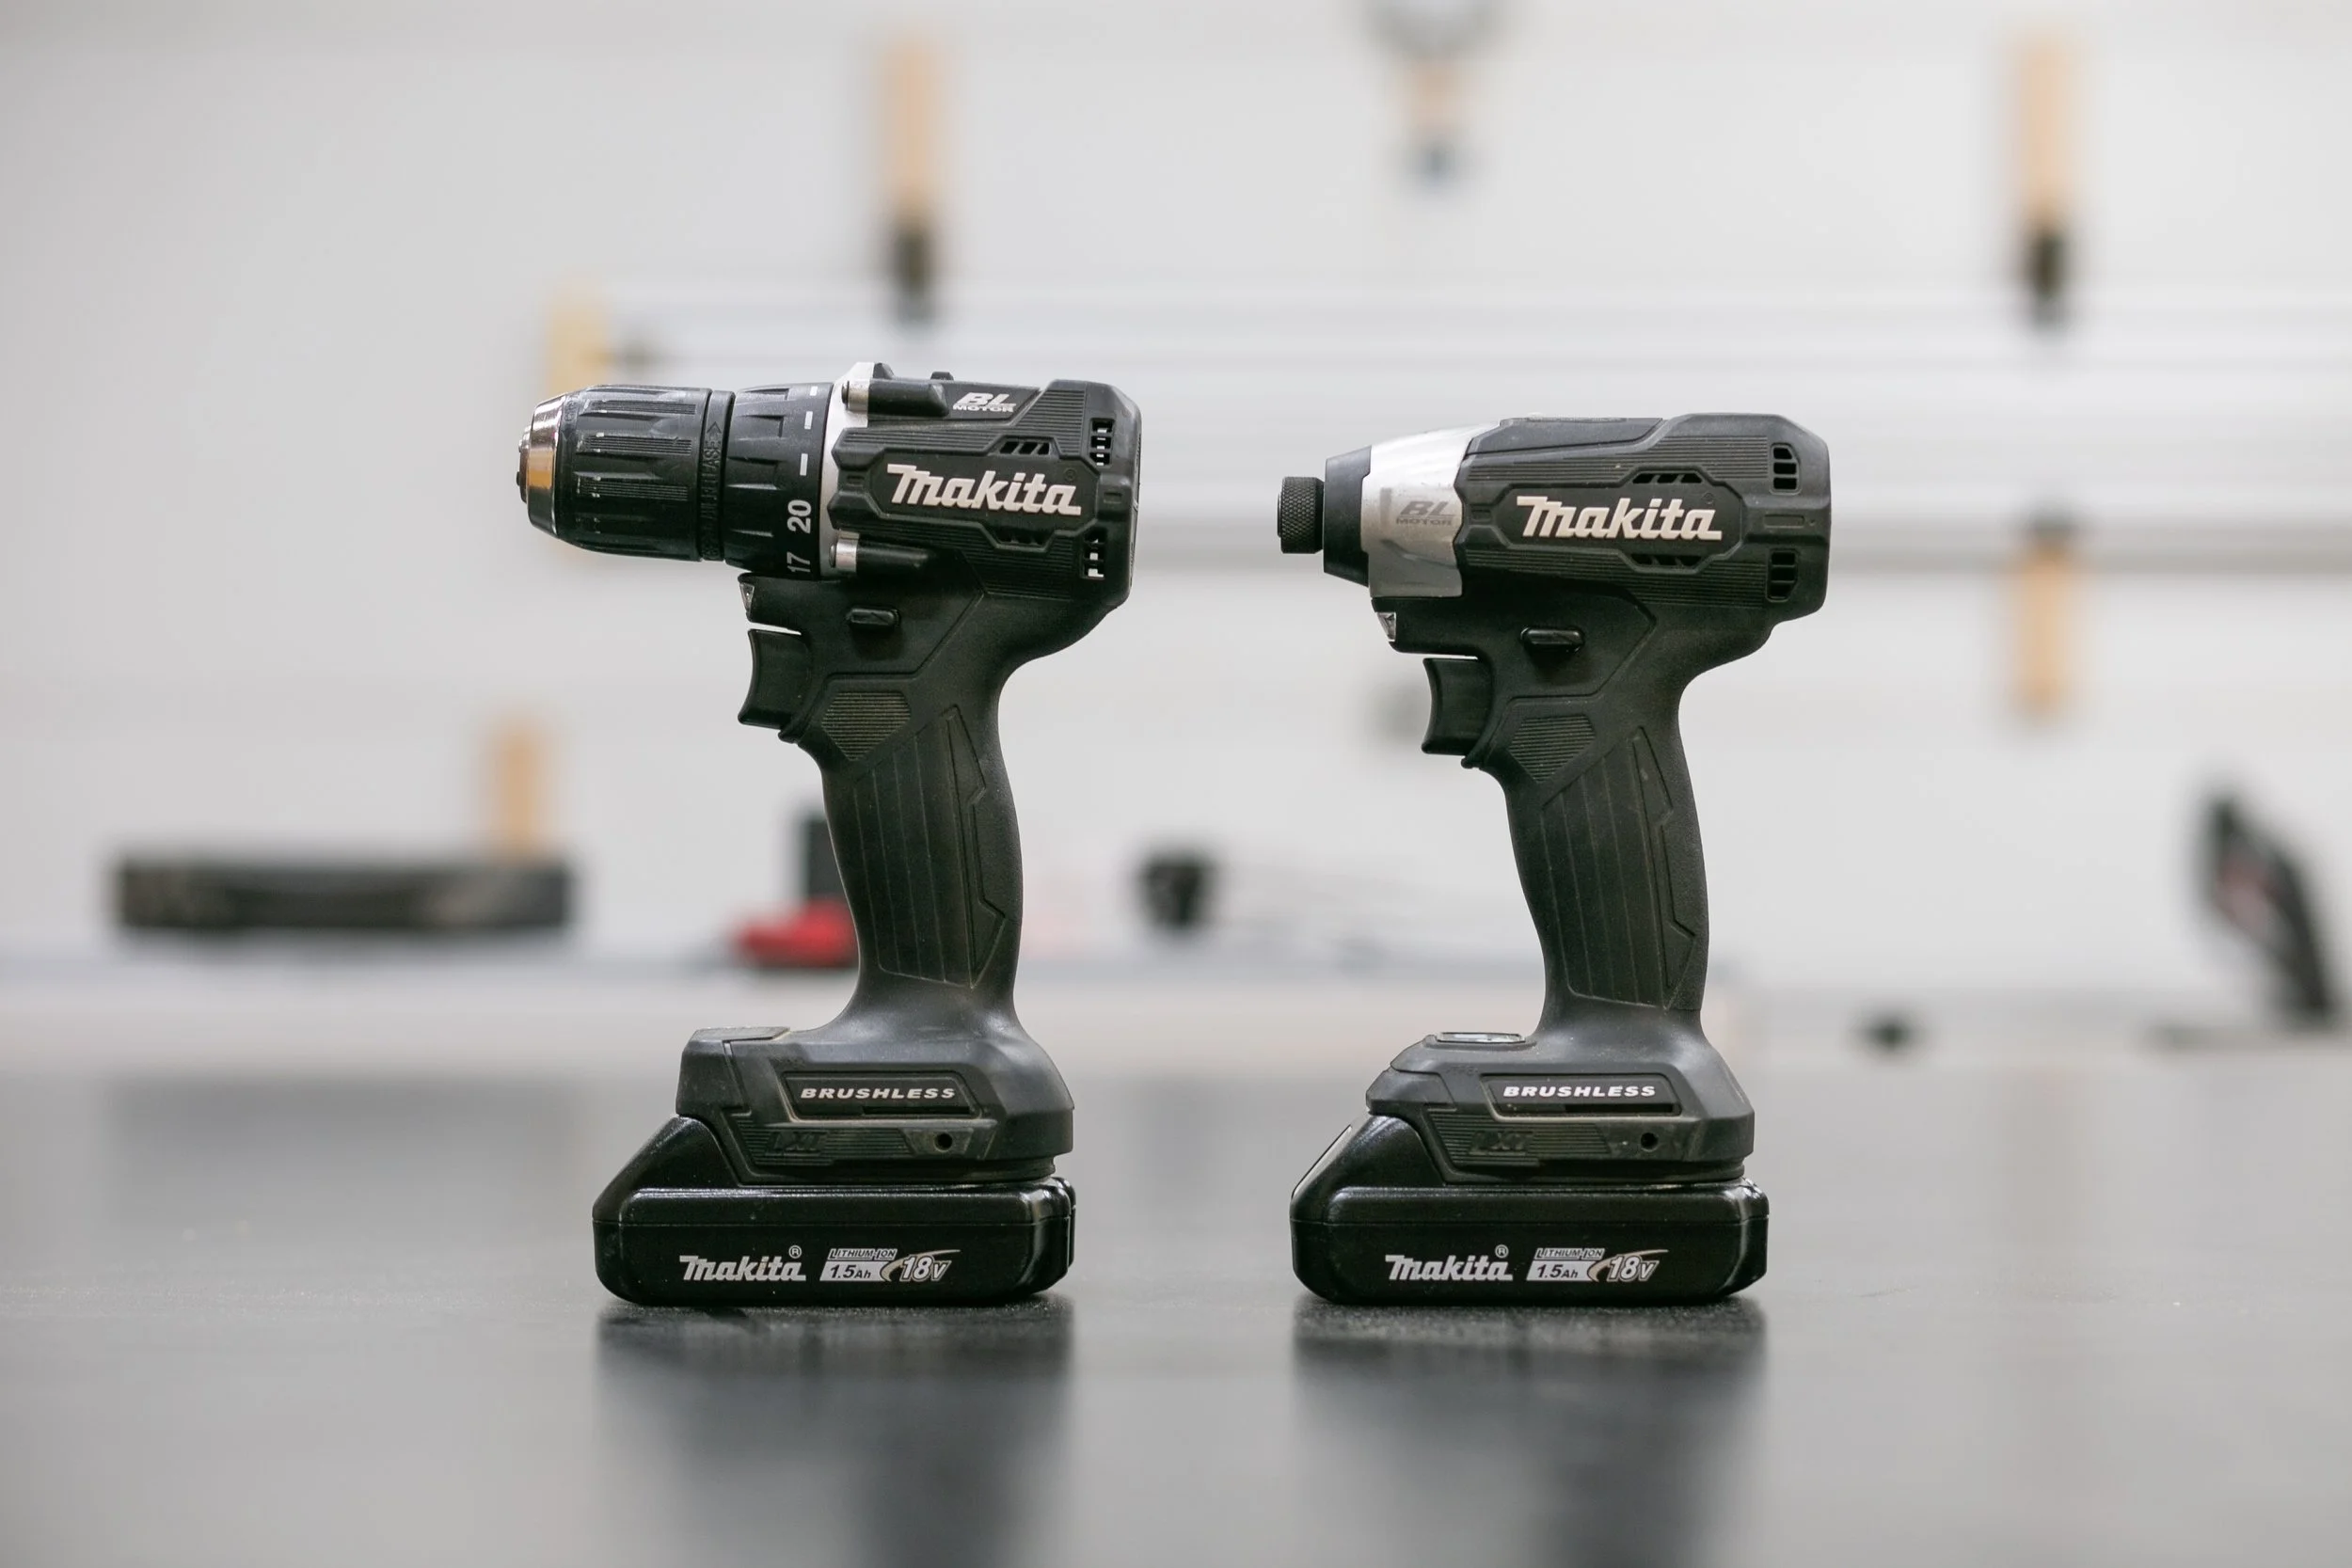
What is a Drill?
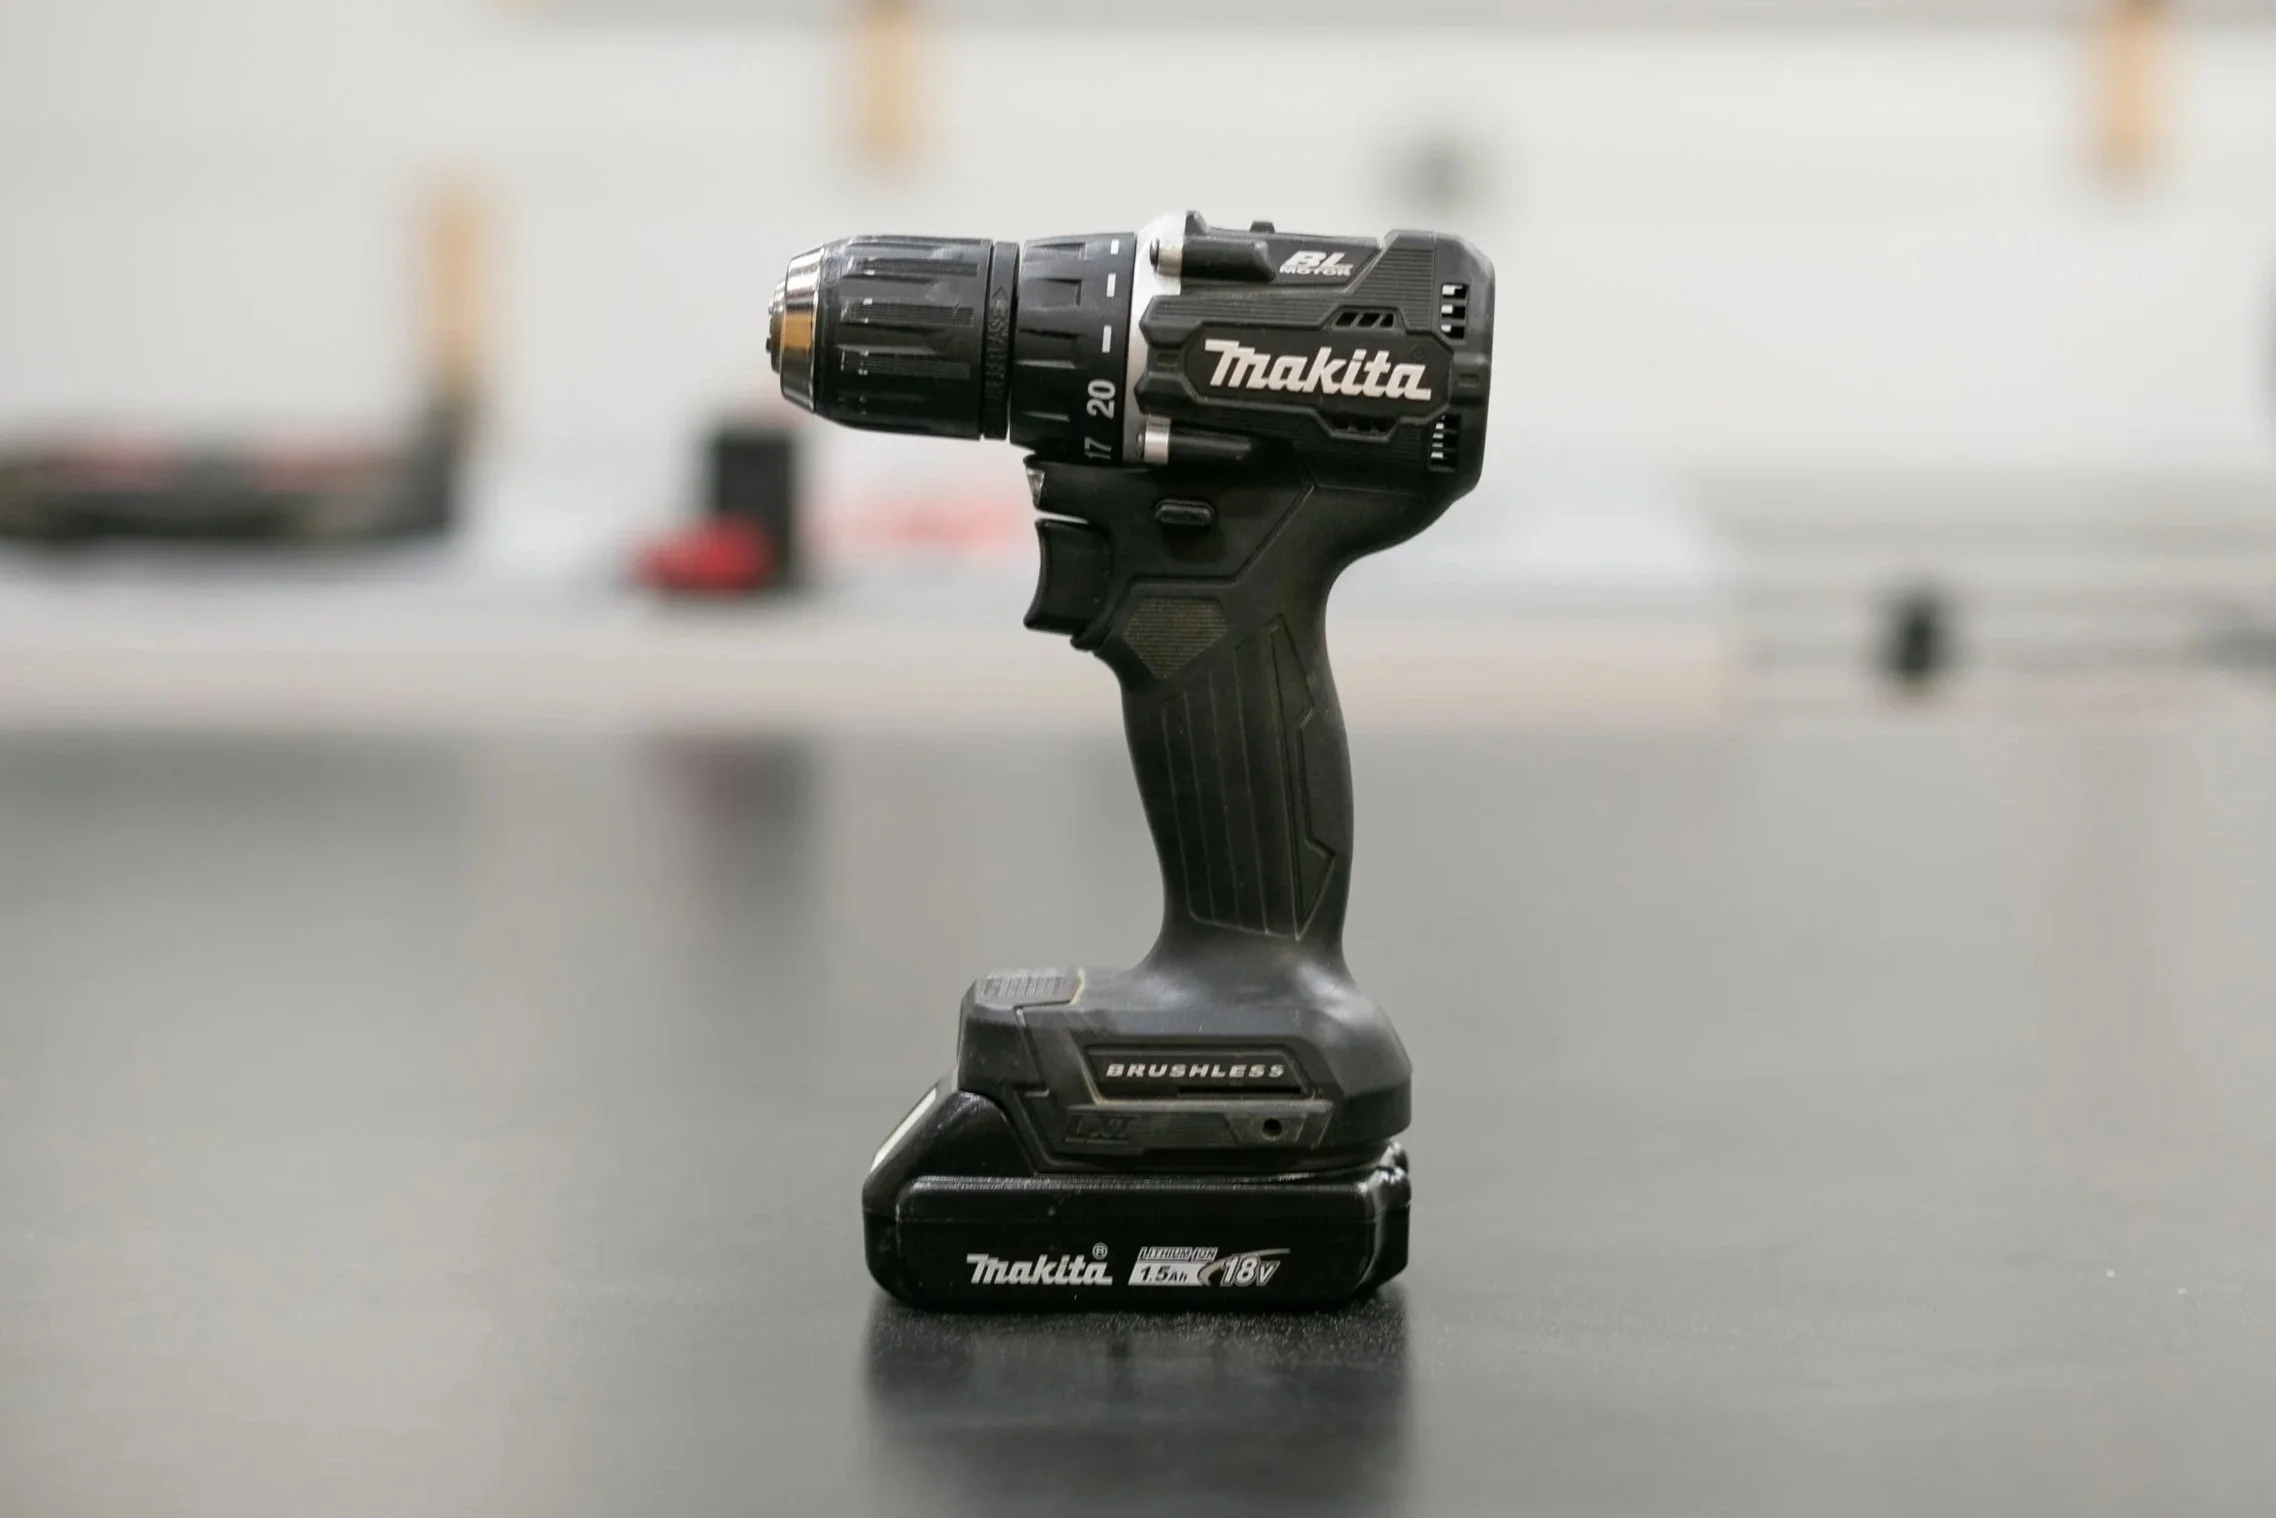
A drill (or drill/driver) is a staple for most DIYers. It’s a handheld tool with a rotating interchangeable drill bit to drill holes and drive screws.
Most cordless drills include:
A keyless chuck (the part that holds the bit — you can tighten or loosen it by hand without needing a separate tool (a chuck key) that accepts a wide range of round or hex-shank bits
Adjustable speed settings for control
A clutch (the numbered dial near the chuck that lets you control how much turning force the drill applies before it stops turning)
to control torque so you don’t overdrive screws
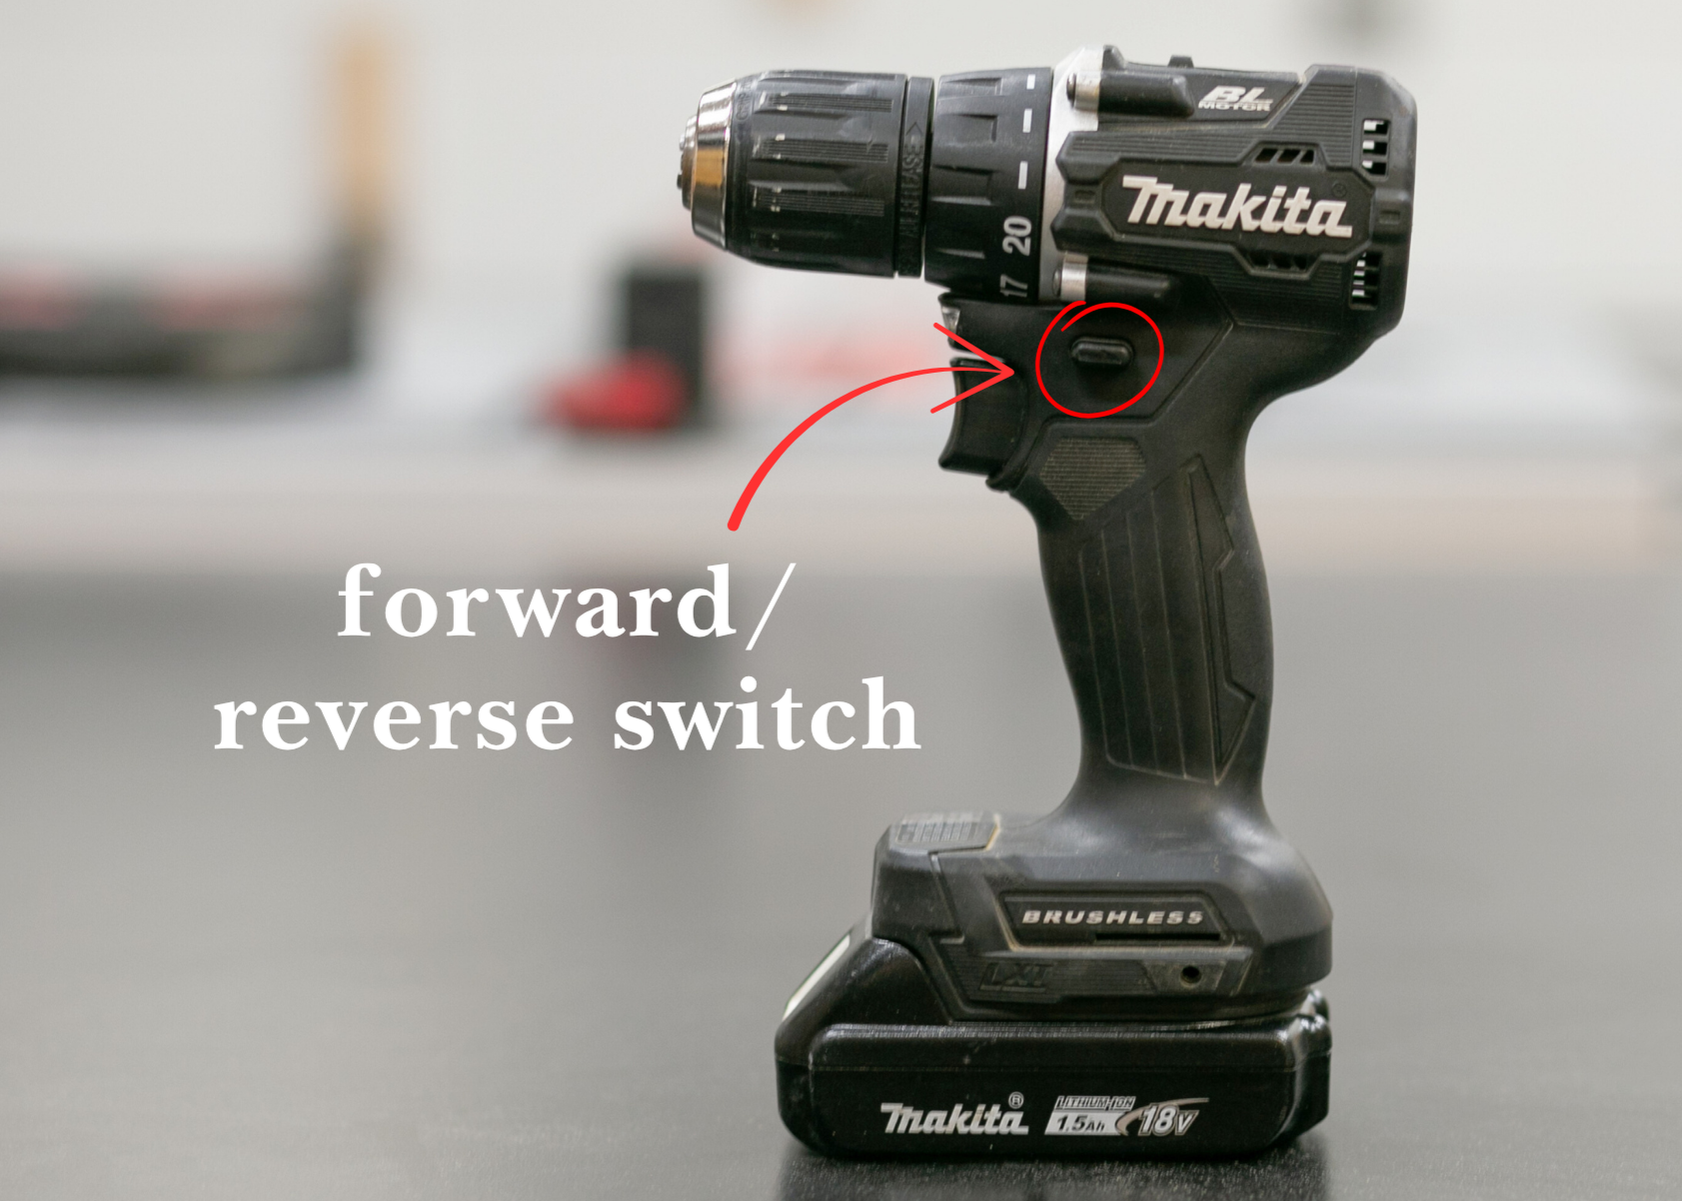
The ability to reverse direction when removing fasteners


Drills are ideal for:
Drilling holes in wood, plastic, or metal
Driving smaller screws or fasteners
Projects that require finesse or depth control
A drill is the better choice for tasks where precision matters. You’ll use it for everything from hanging shelves to installing cabinet hardware to pre-drilling holes for screws.

drilling holes for shelf pins in my bathroom storage cabinet build

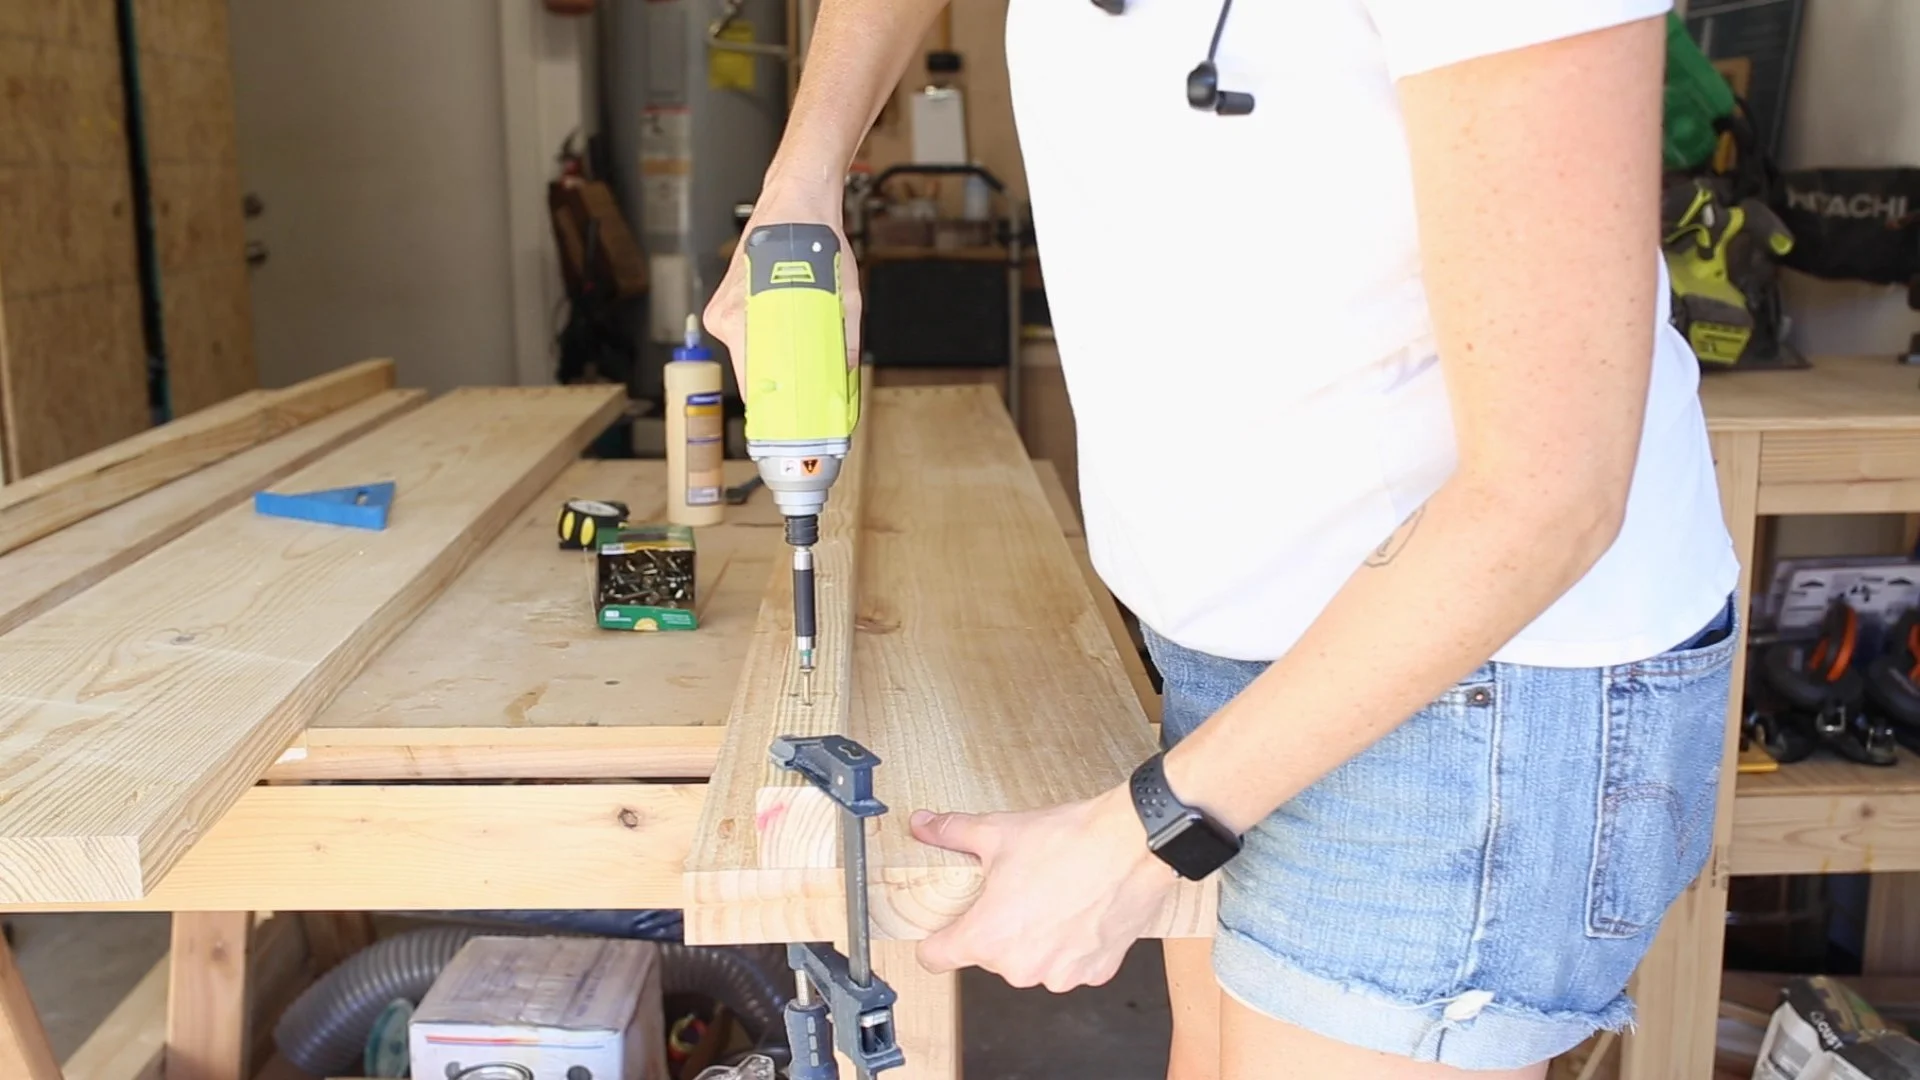
For installing pocket hole screws, I prefer using a drill. It delivers smoother, more precise control than an impact driver.
What Is an Impact Driver?
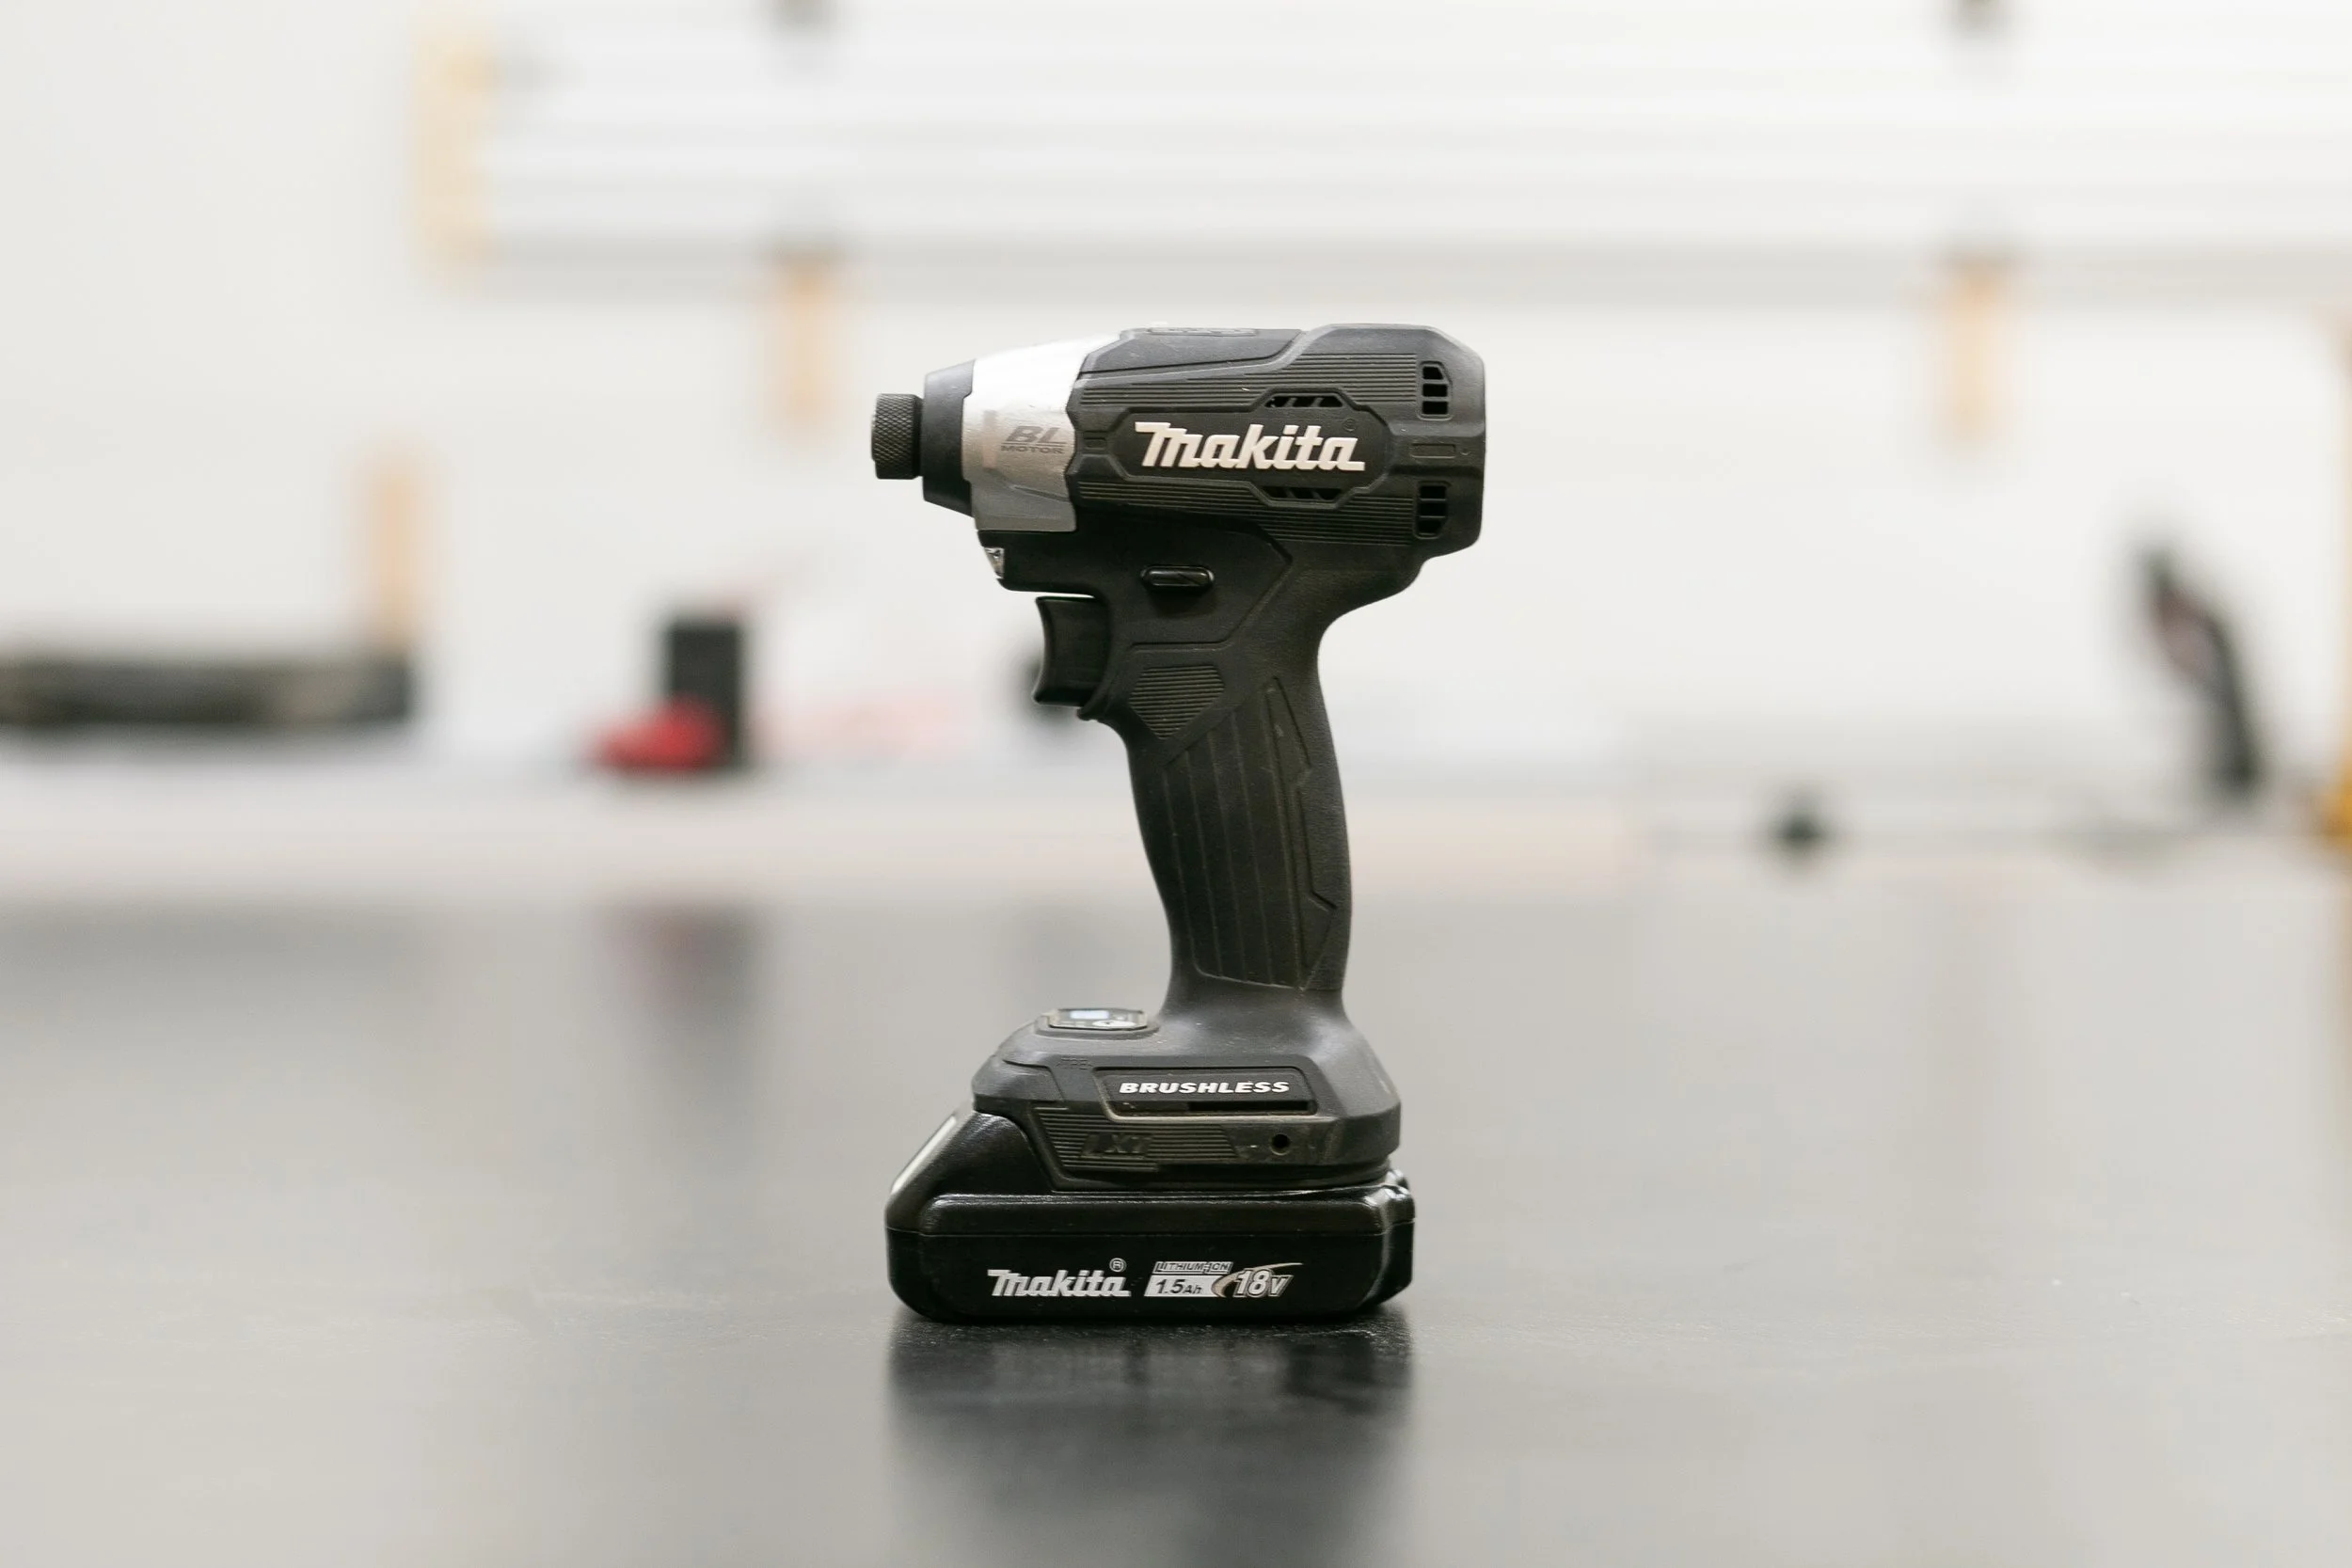
An impact driver is designed to do one thing really well: drive fasteners with high torque.
Instead of spinning smoothly like a drill, an impact driver delivers short, powerful bursts of rotational force (impacts) when it encounters resistance. These bursts help drive screws faster and with less effort — especially into dense or knotty material.
Key features of an impact driver:
Uses a ¼″ hex collet (or quick change chuck) instead of a standard chuck, so it requires hex-shank bits
Delivers more turning force than a drill, which helps prevent stripped screws
More compact and lightweight, making it easier to use overhead or in tight spaces


Impact drivers are best for:
Driving long screws or lag bolts
Working with hardwoods or treated lumber
Projects that involve driving lots of fasteners, like framing, decking, or fencing
What they’re not great at: drilling holes. While you can drill with an impact driver using the right bits, the results aren’t always clean or precise — and it’s not their intended purpose.

Using an impact driver on screws in treated lumber during my modern mailbox build
Driving in screws during my bed platform build
When to Use Each Tool
Use a Drill When:
You’re drilling holes in wood, plastic, or metal
You need control or delicacy (e.g. installing hardware or furniture screws)
You’re driving screws into softwood or doing light-duty work
You want one tool that does both drilling and screw-driving
Use an Impact Driver When:
You’re driving long screws or lag bolts (example: my pool deck build)
You’re working in hardwood or pressure-treated lumber
You’re doing repetitive driving and want to reduce fatigue
You don’t need to drill holes

impact driver for the multiple screws into hardwood in my slat wall build

This impact driver was so helpful during my pool deck build
Why Having Both Makes a Huge Difference:
I personally love having both on hand — especially when I’m pre-drilling holes. I’ll use my drill with a drill bit to make the pilot hole, set it down, and immediately grab my impact driver to drive the screw. No bit swapping — just fast, efficient workflow. It saves time and makes every project go smoother.
Which One Should You Buy First?
If you’re only getting one tool to start with, here’s the general rule of thumb:
Start with a drill if you’re doing general DIY tasks like assembling furniture, hanging items, or drilling holes.
Add an impact driver when you start tackling builds that involve lots of screws, dense material, or outdoor projects like decks or fences.
That said, many tool brands now sell combo kits with both tools included — which is ideal if you’re serious about building your DIY skills. This Makita subcompact combo is my absolute favorite — it’s smaller and lighter than standard models, but still packs all the power I need. If you’re looking for a little more budget friendly, this combo makes an excellent starter set.
Common Beginner Questions
Can I use a drill to drive long screws?
Yes, but it may bog down or struggle in dense material. That’s where an impact driver shines.
Can I drill holes with an impact driver?
Technically yes — with the right hex-shank drill bit — but it won’t be as clean or accurate, and the tool isn’t designed for it.
Why does an impact driver feel “jerky”?
That’s the impact action — it’s delivering short bursts of force to help drive the screw more efficiently. It’s worth it.
Do I need special bits?
Drills accept a wide range of bits. Impact drivers need impact-rated, hex-shank bits to handle the extra torque. They’re super easily found.
Final Thoughts
Both tools have their place, and over time, you’ll probably want both in your DIY arsenal. Start with a drill for versatility, and bring in an impact driver when you’re ready for more speed and power on your builds.
Knowing when (and why) to use each tool will make your projects easier, faster, and more enjoyable.
Projects to Try with Your Drill & Impact Driver
Ready to put your tools to use? Here are a few beginner-friendly builds to try next:
DIY Raised Garden Bed – Great outdoor starter project that uses basic cuts and screws.
Modern Wood Bed Platform – Simple, sturdy design that’s all about clean lines and easy joinery.
Floating Bathroom Cabinet – Drill, drive, and level your way to extra storage.
Easy 2x4 Firewood Rack – A simple project to organize your firewood fast.
Follow Maker Gray:
Instagram @MakerGray https://www.instagram.com/makergray/
Facebook https://www.facebook.com/MakerGray/
TikTok: https://bit.ly/3lXgdHh
If you liked this project and want to stay up to date with what I’m building, be sure to sign up for my newsletter and you’ll get an email sharing new DIY projects!
This post includes affiliate links. As an Amazon Associate, I earn from qualifying purchases. If you choose to shop through one of my links, it helps support Maker Gray — and I truly appreciate that!