
Build a Table Saw Lathe: Turn Dowels Without a Lathe
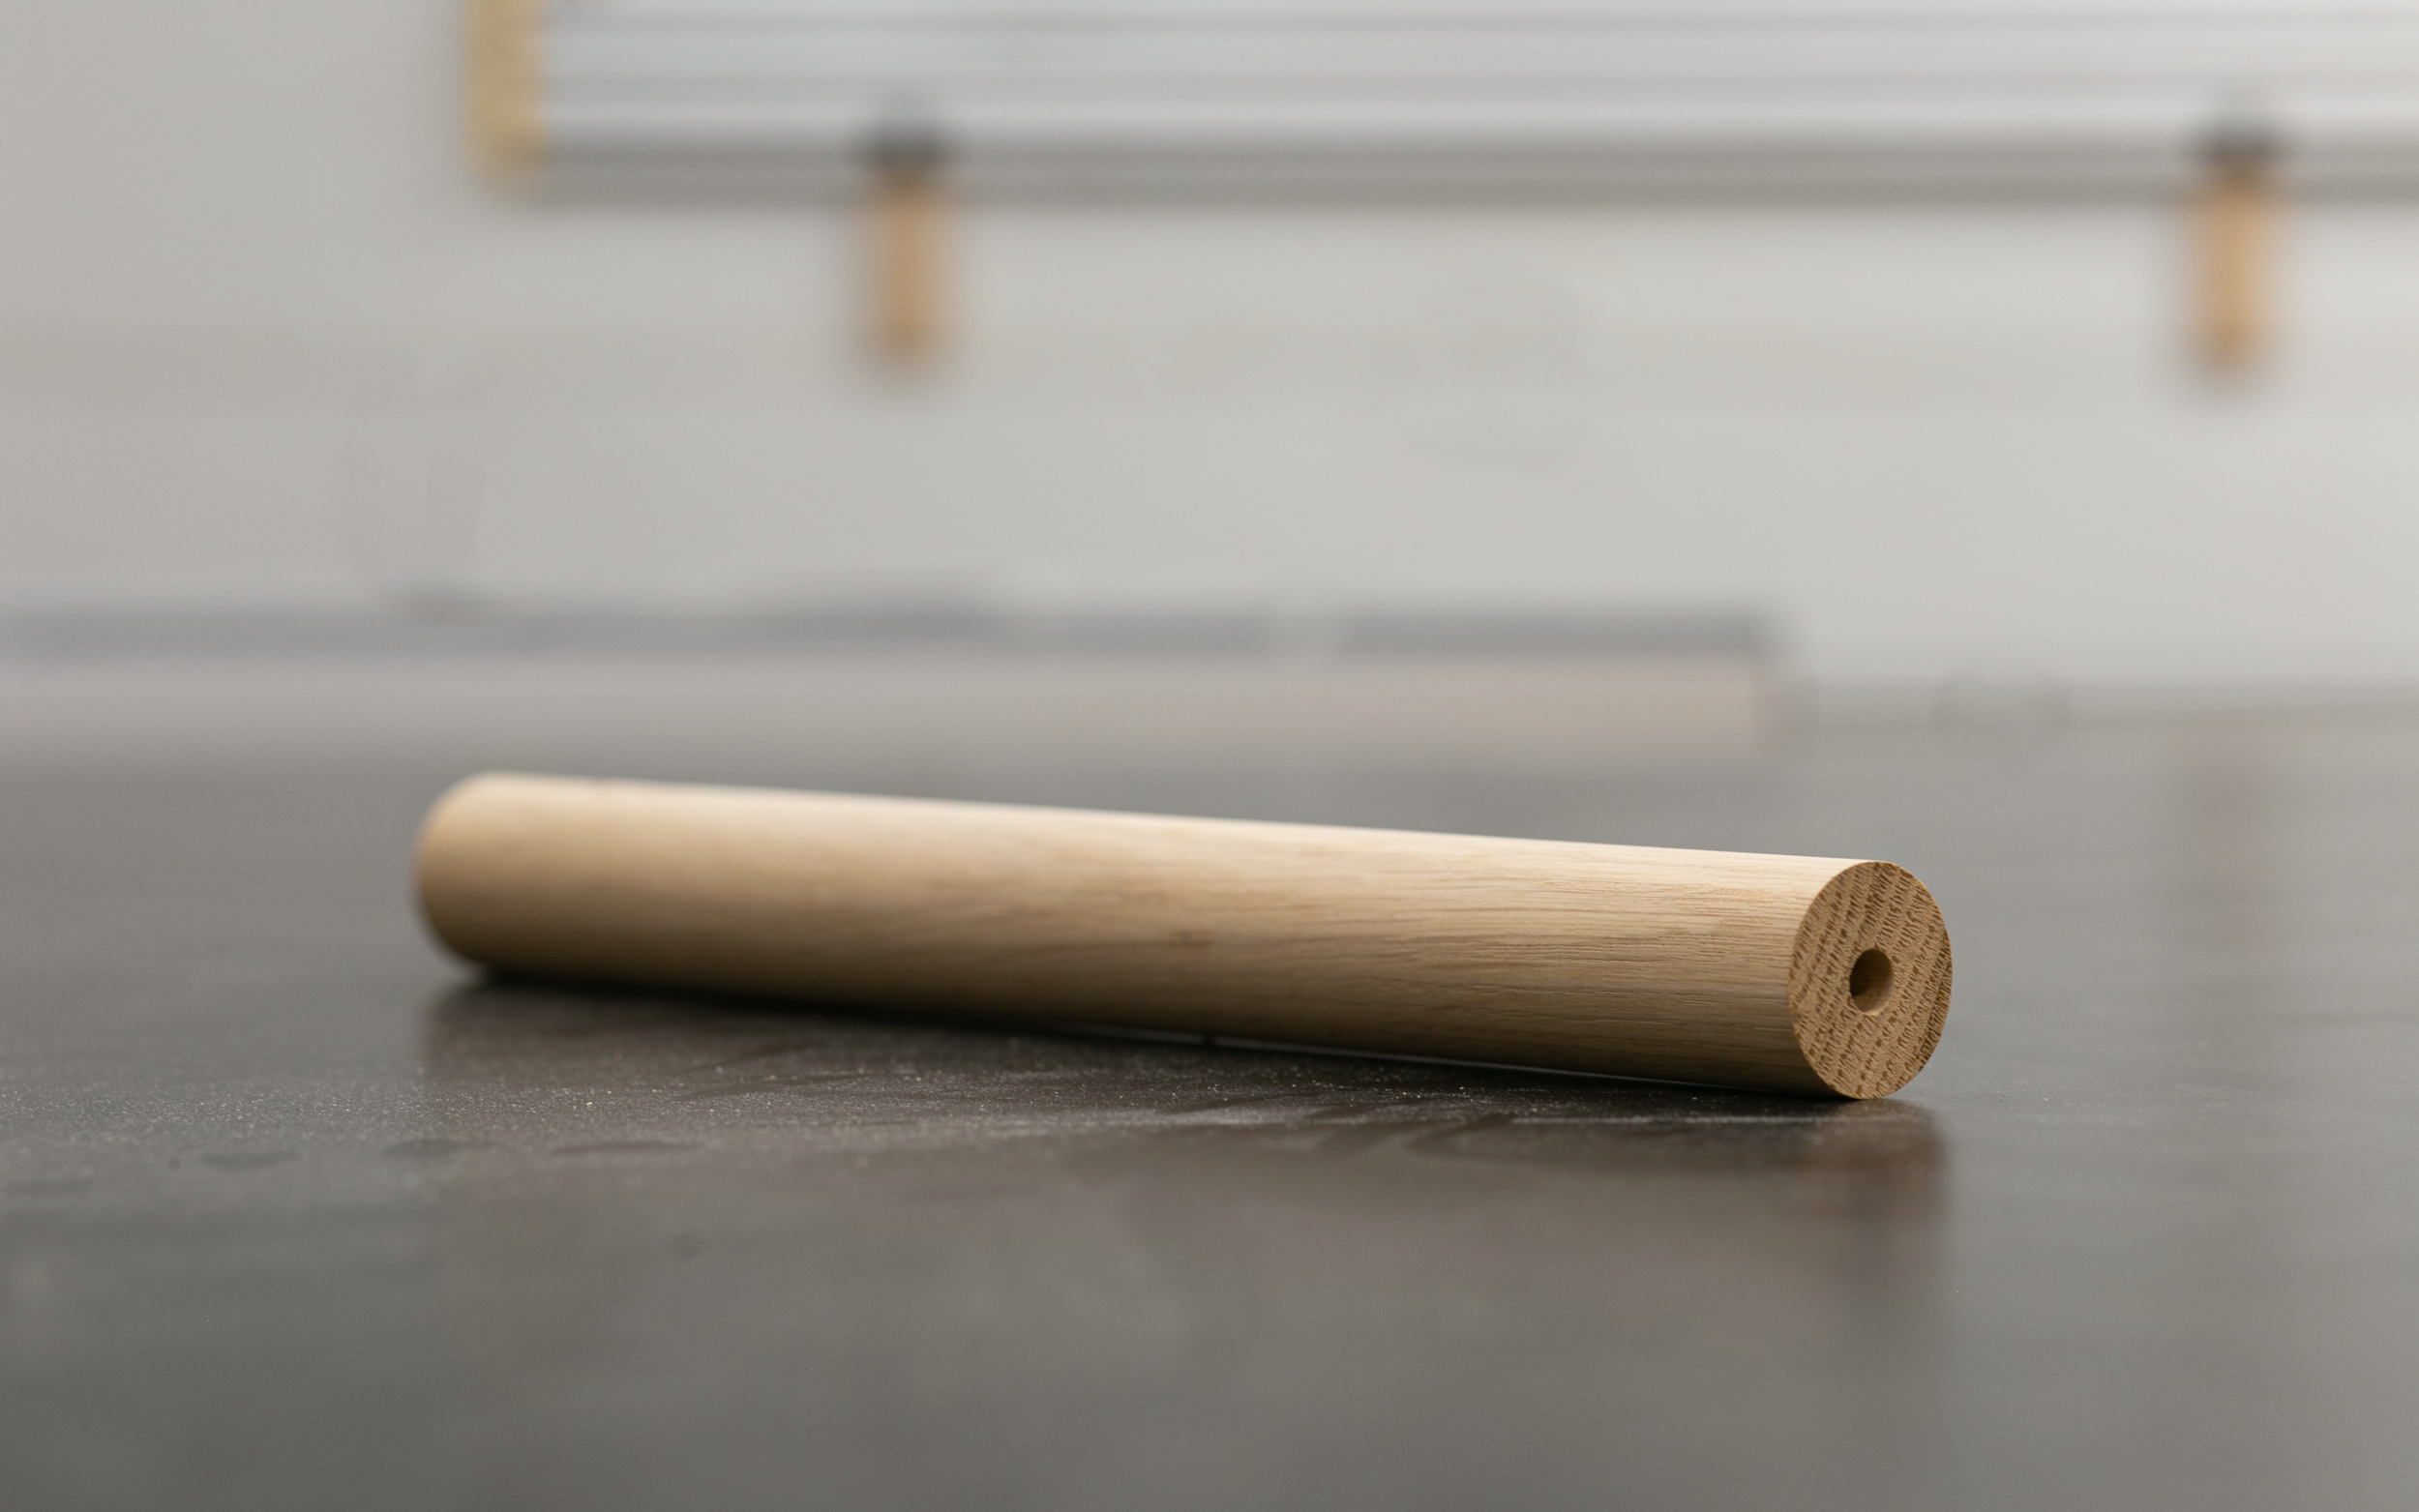
I’ve been needing some chunky wooden dowels for an upcoming project—but I don’t have a lathe. And it turns out, super chunky white oak dowels are hard to purchase. So I built a jig that uses a cordless drill and a set of bearings to turn square stock into perfect cylinders on my table saw.
This project was fun, precise, and surprisingly easy. If you’ve got a table saw, you can make this too—no lathe required.
I put together a full build video showing each step of the process and how the jig works in action. If you want to build one for your own shop, I’ve also made detailed downloadable build plans that include all the measurements, materials, and diagrams to make it.

Materials and Planning
Tools/Materials I used for this project:
Step 1: Cut All the Wood to Size
I cut all the parts using scrap wood I had in the shop—this is a great project to use up scrap plywood. All of the cut dimensions and layouts are included in the downloadable build plans, so you can follow along easily.


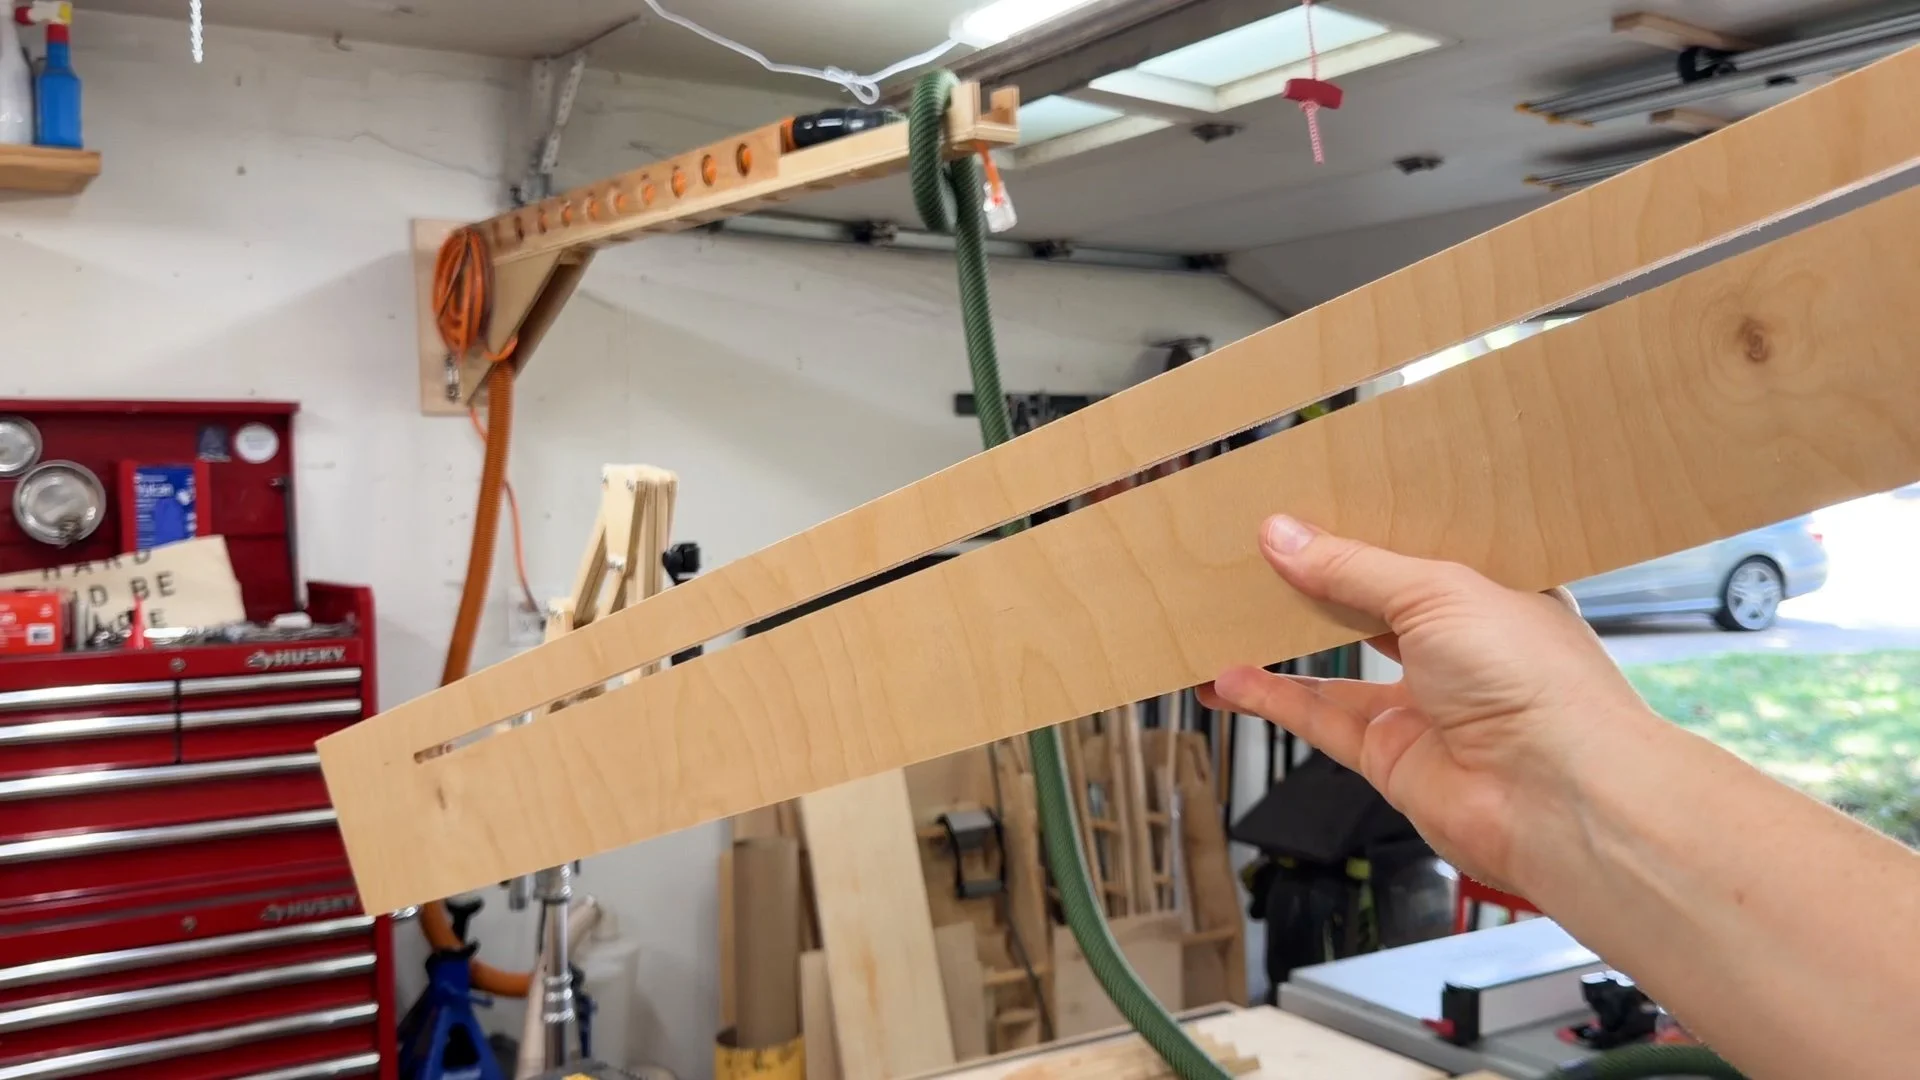
Step 2: Add Grooves to the Side Boards
The two side boards get grooves cut into them to allow the center bearing block to slide forward and back. I used a handheld router (with the added plunge base) and a 1/4” straight bit to cut the grooves. This gives the jig its adjustable length feature and allows you to accommodate different-sized workpieces. The grooves face inward when mounted, forming a clean sliding track.


Step 3: Attach the Rails
I then attached plywood rails along the inside edge of each side piece. These act as guides for the block that adjusts to accommodate different length workpieces.
The rails get glued into place, running the full length of the groove. Once installed, they form a clean channel that keeps the sliding block secure but still movable.

Keep in mind that there is much more info and visuals in the build video.


Step 5: Bearing Blocks
Now let’s create the bearing blocks that allow for the wood to spin over the blade. I started by gluing up four small plywood pieces into two thicker blocks.


I then used a Forstner bit to drill recessed holes into both sides of both blocks to accept the bearings. These holes are in the center of the block and in line with each other.
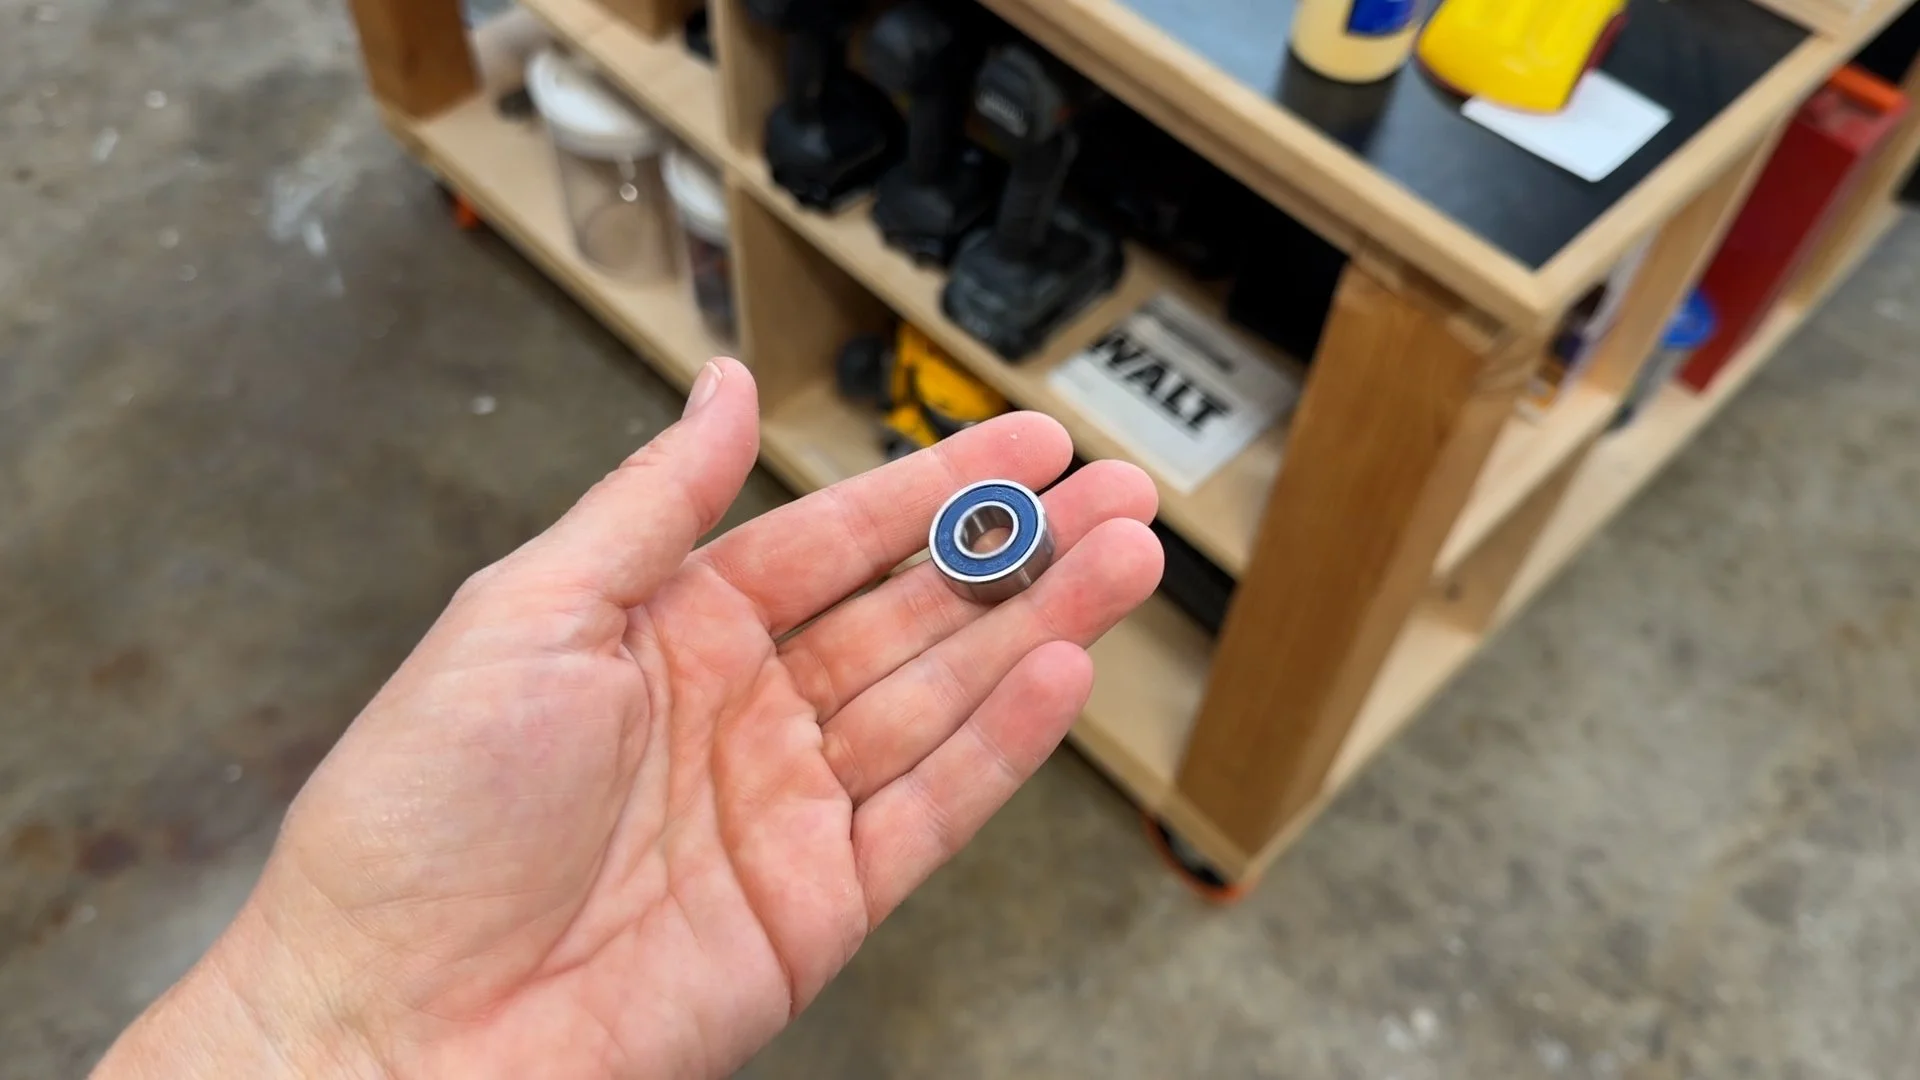

The bearing sits right into the shallow recess, flush with the outside.


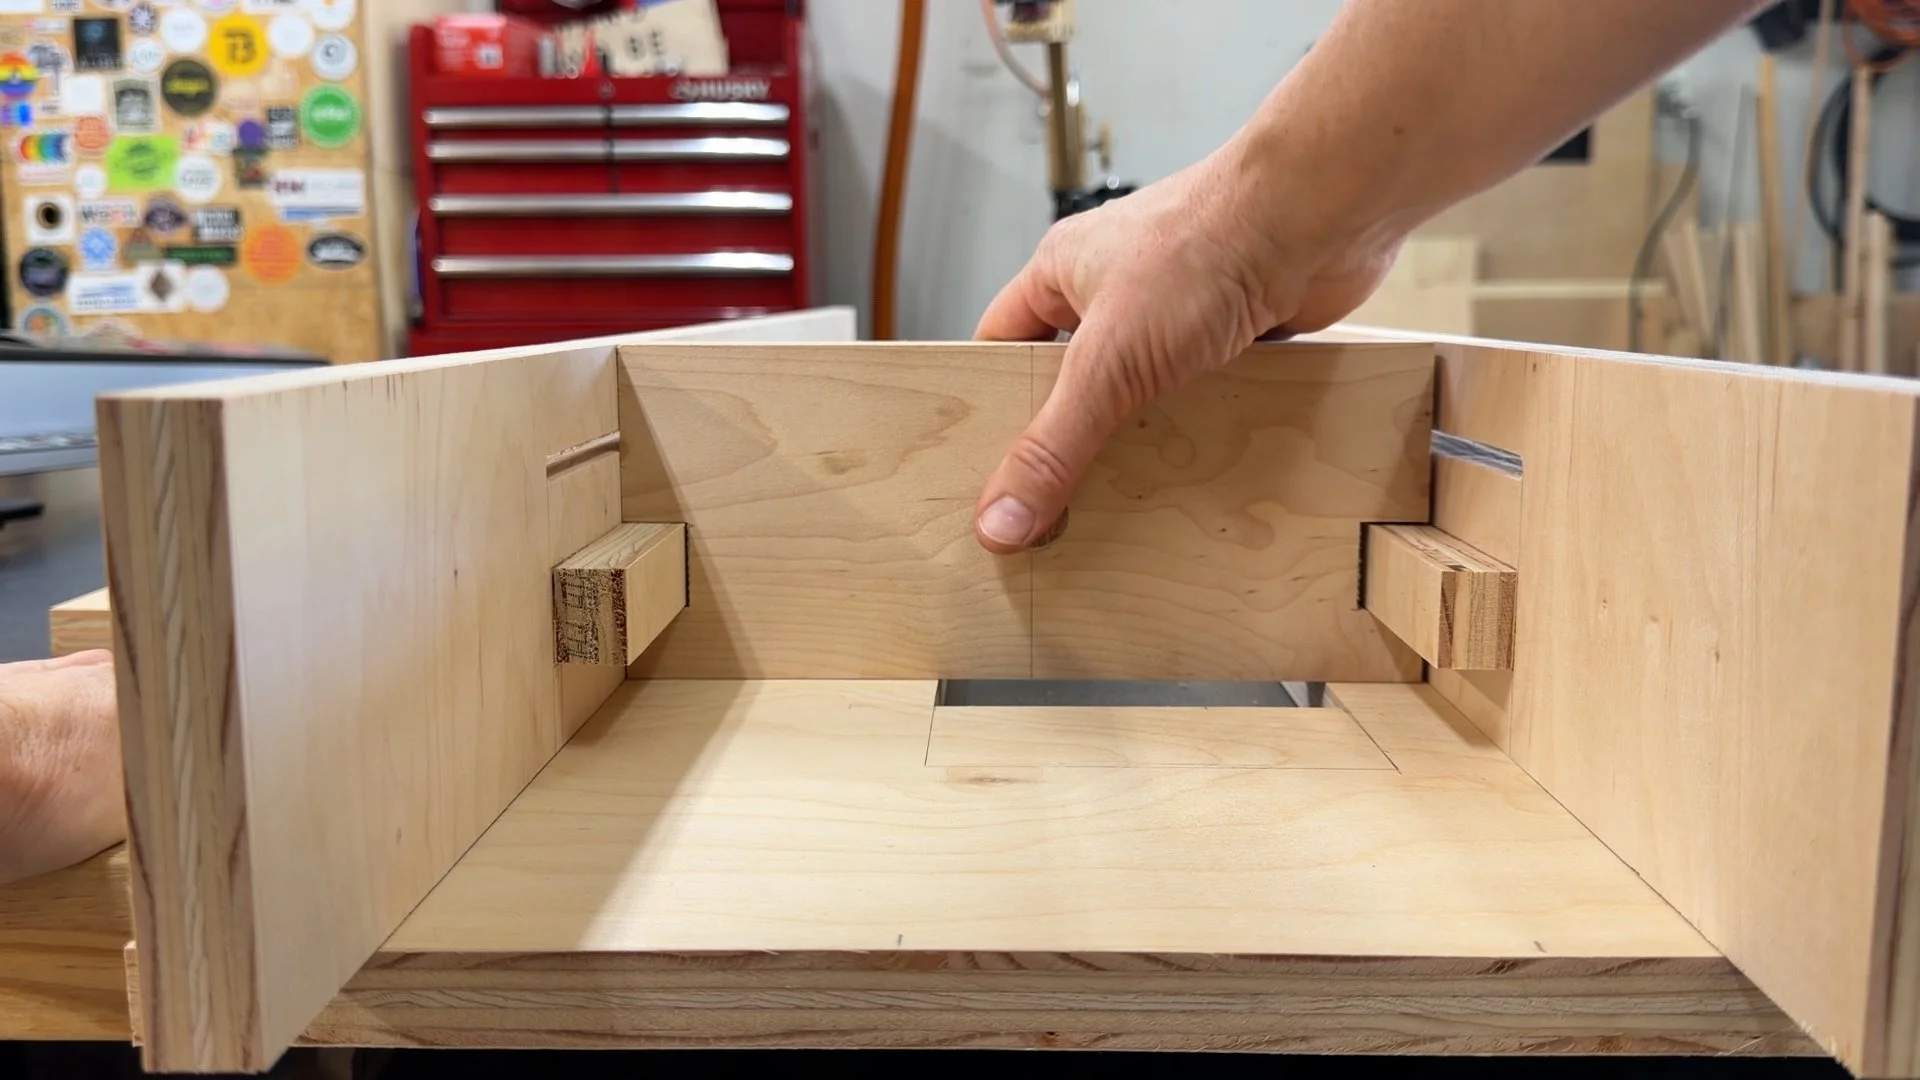
For the center bearing block, I added grooves along each side that align with the plywood rails on the side assemblies, helping the block stay square and tracked as it slides. For these cuts I used a cross-cut sled on my table saw and made several passes to carve out the grooves.


Testing the fit here - this block will ride along these two side rails like this.
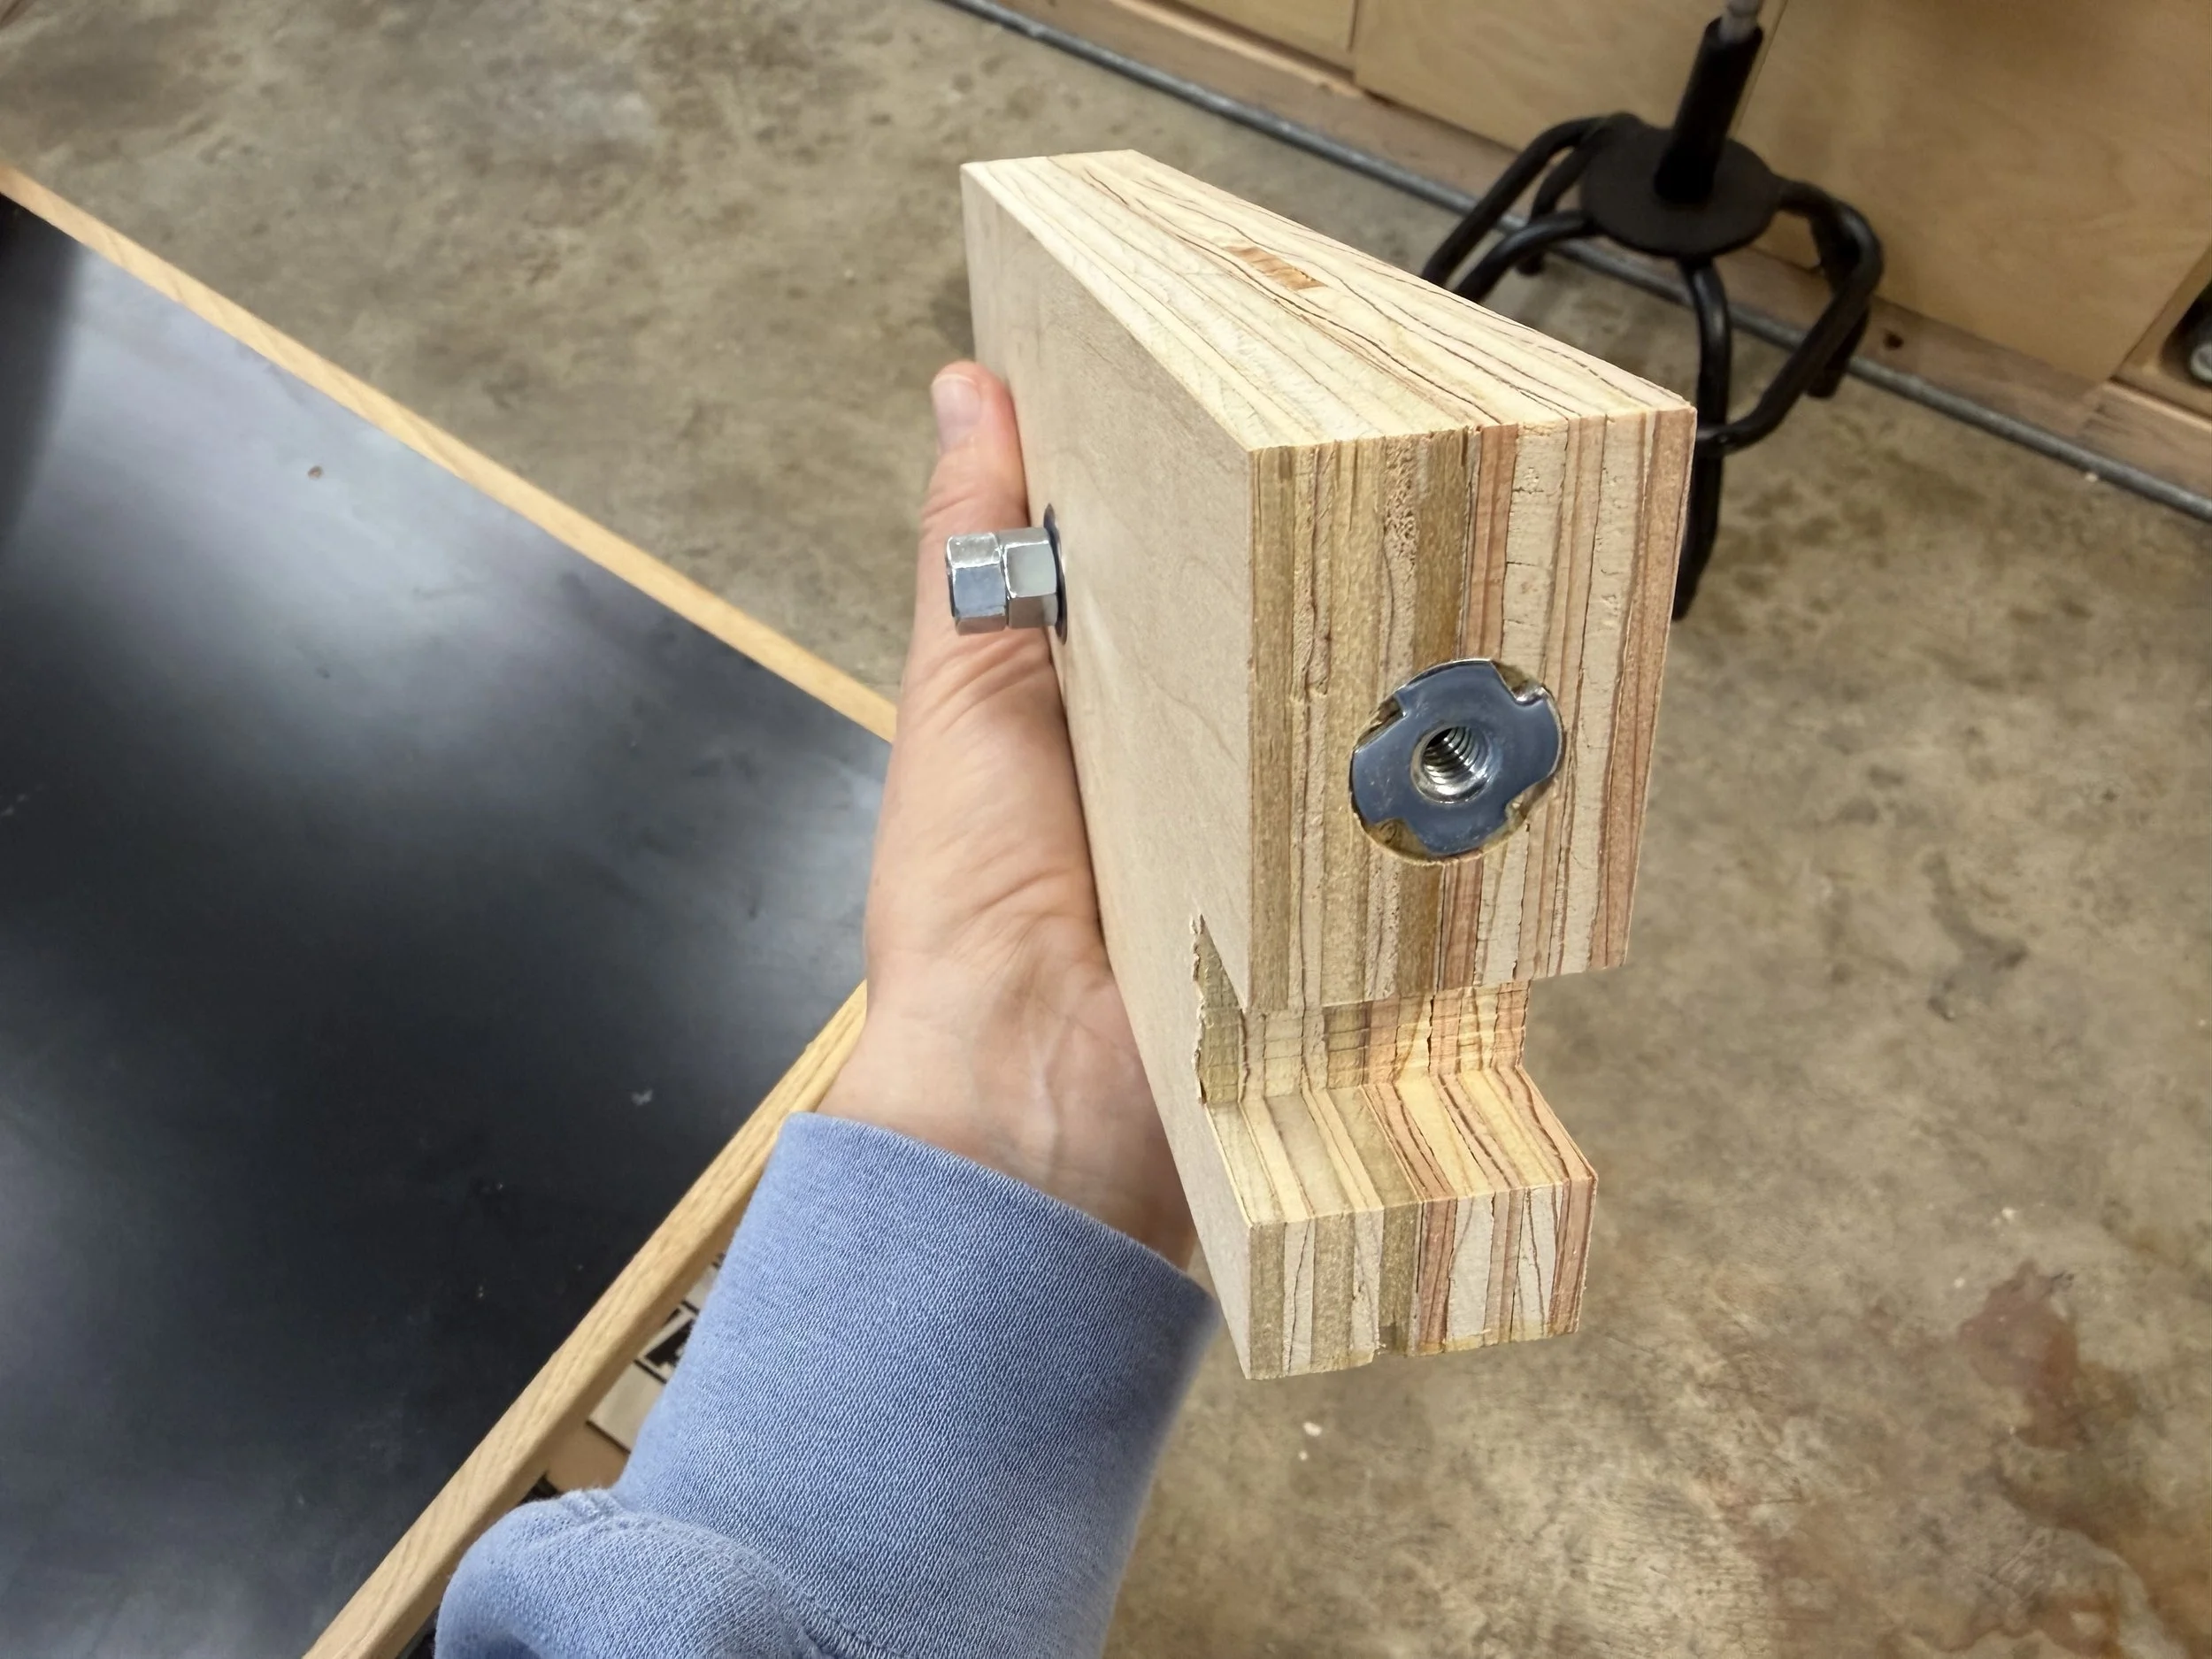
Now let’s assemble the hardware. I set a bearing into the drilled recesses on both sides of each block.

I slid the threaded rod through both bearings, securing it with two jam nuts on one side and one lock nut on the opposite side to keep the rod firmly in place. The end of the rod that sticks out from the fixed block will get chucked into the wood blank.


To allow the center bearing block to be secured at any position along the track, I installed tee-nuts on both sides of the block. These get tapped into pre-drilled holes and allow you to thread lock knobs through the outer side pieces and into the block.
Step 6: Assembly
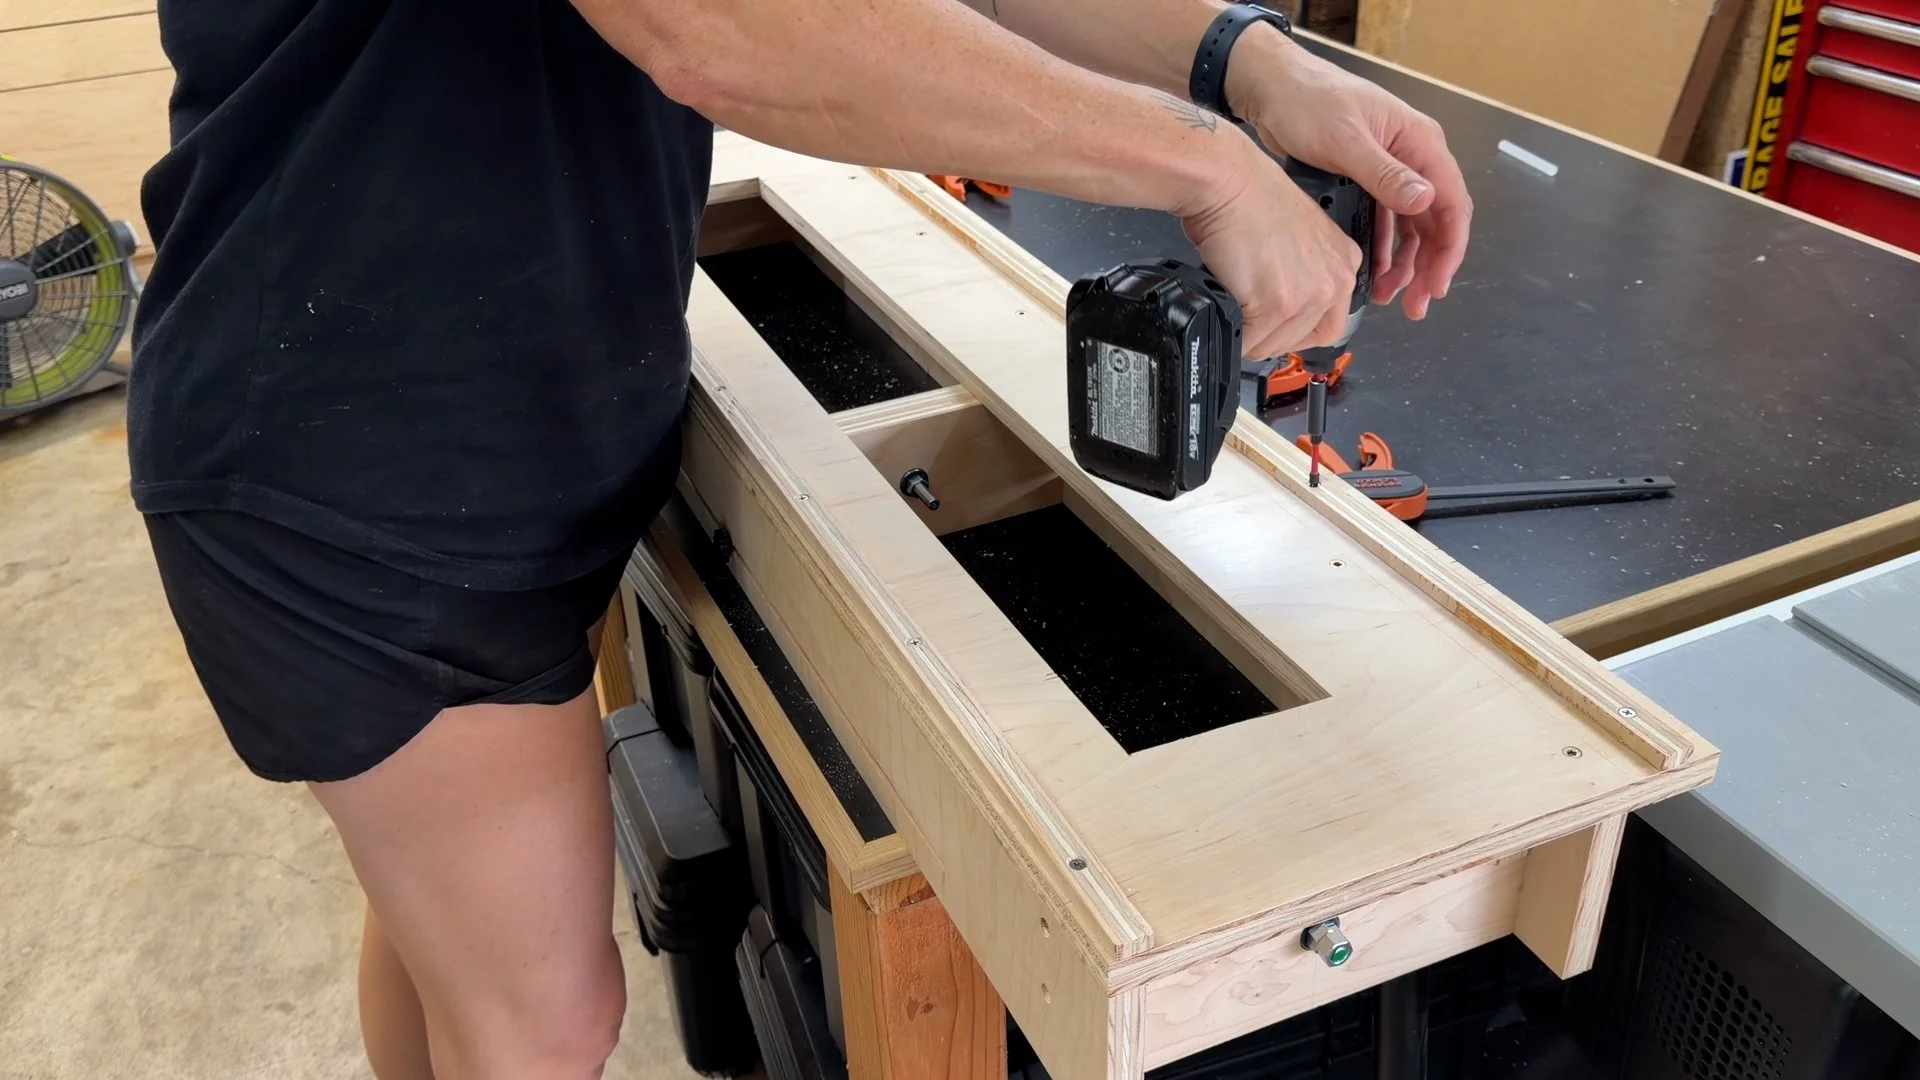
To start assembling the sled, I positioned one of the side pieces onto the sled base and secured it from the bottom using countersunk screws. I drilled pilot holes up through the bottom of the base and into the side piece, making sure the screws sat flush so they wouldn’t interfere with the sled’s movement.

I then installed the fixed bearing block to the front of the sled. This is the block that holds one end of the threaded rod and stays permanently in place.

I applied wood glue and set the block against the inside face of the attached side piece, aligning it square and flush with the base and side. Then I drove in screws from the side to hold the block in place.
Next, I installed the back support piece across the rear edge of the sled, securing it the same way as the front block. This piece adds rigidity to the sled and gives structure to the back end.

I placed the center bearing block in place, then set the second side piece in place, and then flipped the assembly over, and secured the side from the bottom using countersunk screws, just like the first side.


The lock knobs can now be threaded through the grooves and into the tee-nuts in the center bearing block. When tightened, they hold the block firmly in place.


Step 7: Sled Runners
I dropped a few washers into the table saw’s miter slots to raise the plywood runners slightly proud of the surface, then set the runners in place. After adding wood glue and a few dabs of hot glue, I carefully lowered the sled onto them—making sure the dust collection hole was centered over the saw blade.
Once the hot glue set, I flipped the sled over and secured the runners with countersunk screws from underneath.


Step 8: Safety Lid
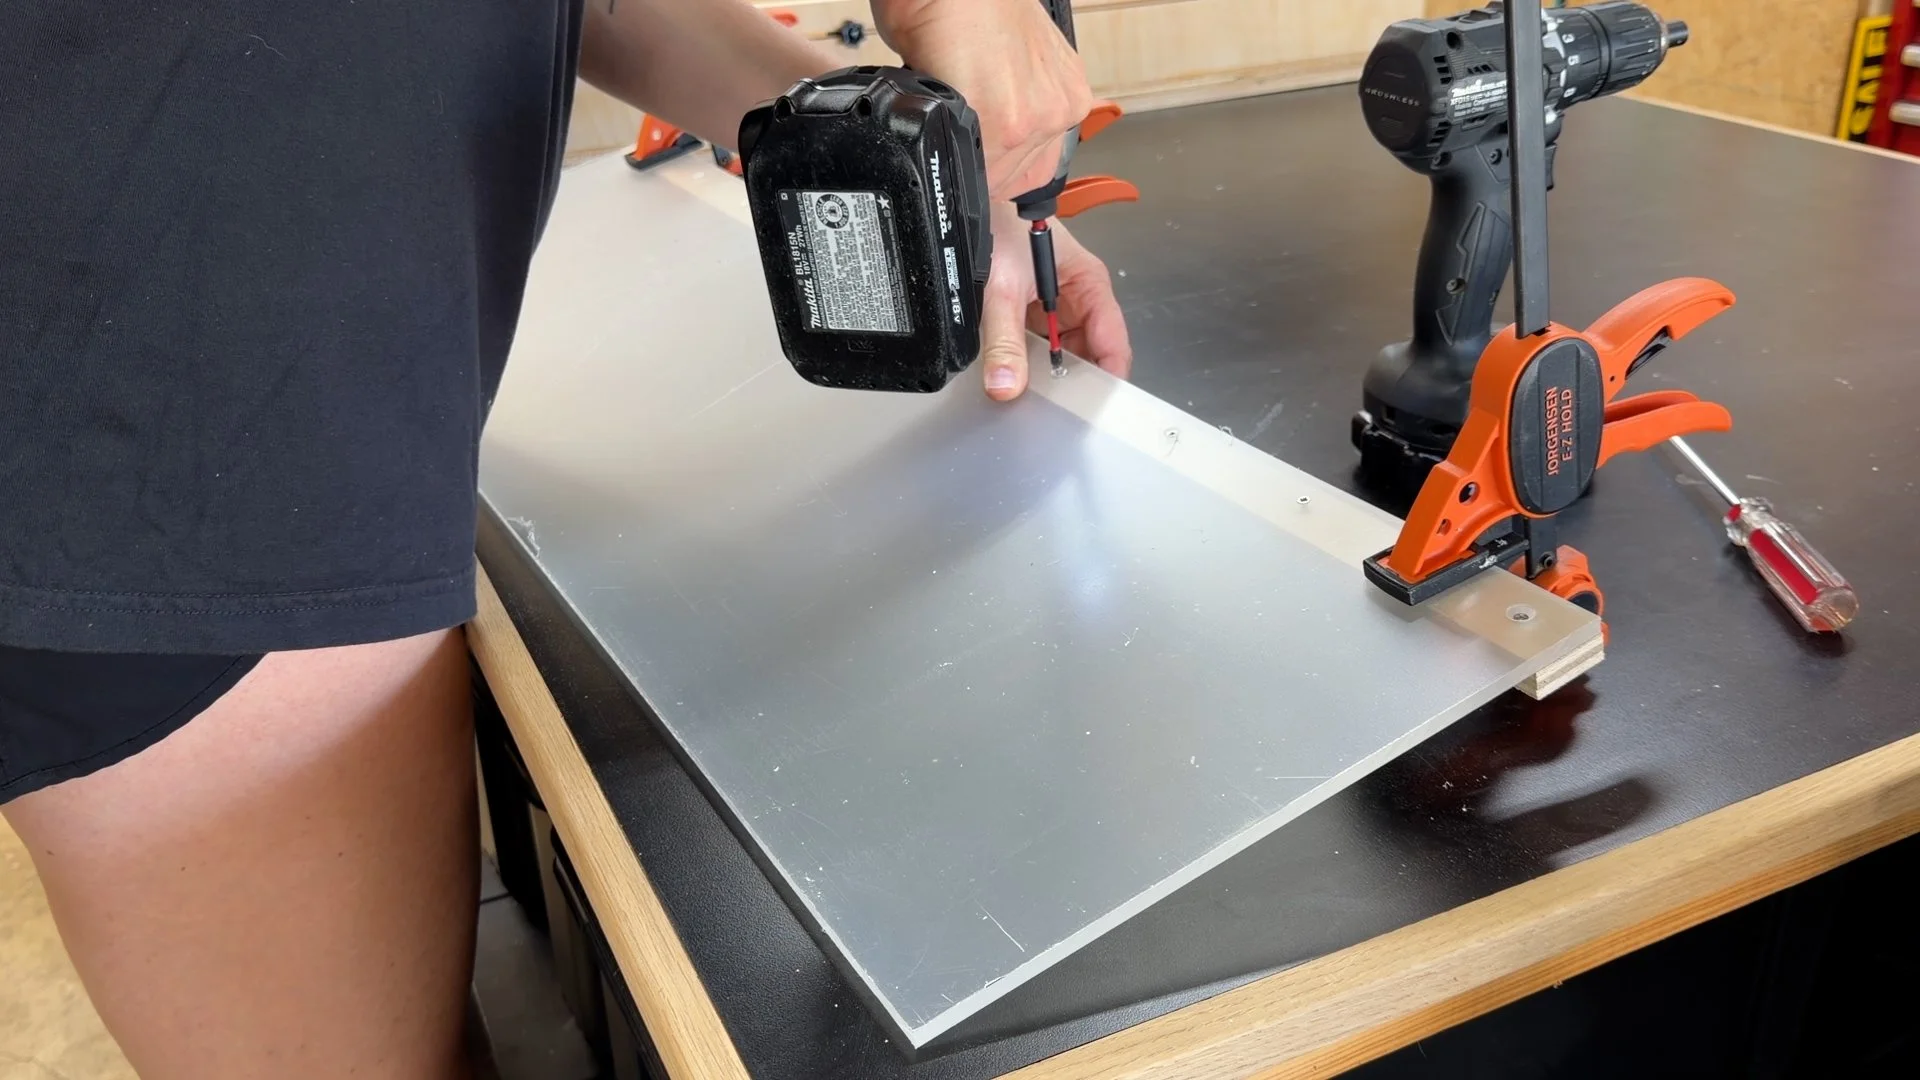
To improve safety and contain dust while cutting, I added a clear plexiglass lid over the blade area. This cover lets me see the workpiece while protecting my hands and keeping sawdust from kicking upward during use.
I cut a piece of clear plexiglass to size on my table saw.
Tip: a special blade for cutting plastic gave this cut a clean edge, with no chipping.

I screwed the plexiglass to a plywood strip using countersunk holes.
The lid is attached using a piano hinge along the top edge of the sled, allowing it to swing open easily when I need access to the center area.
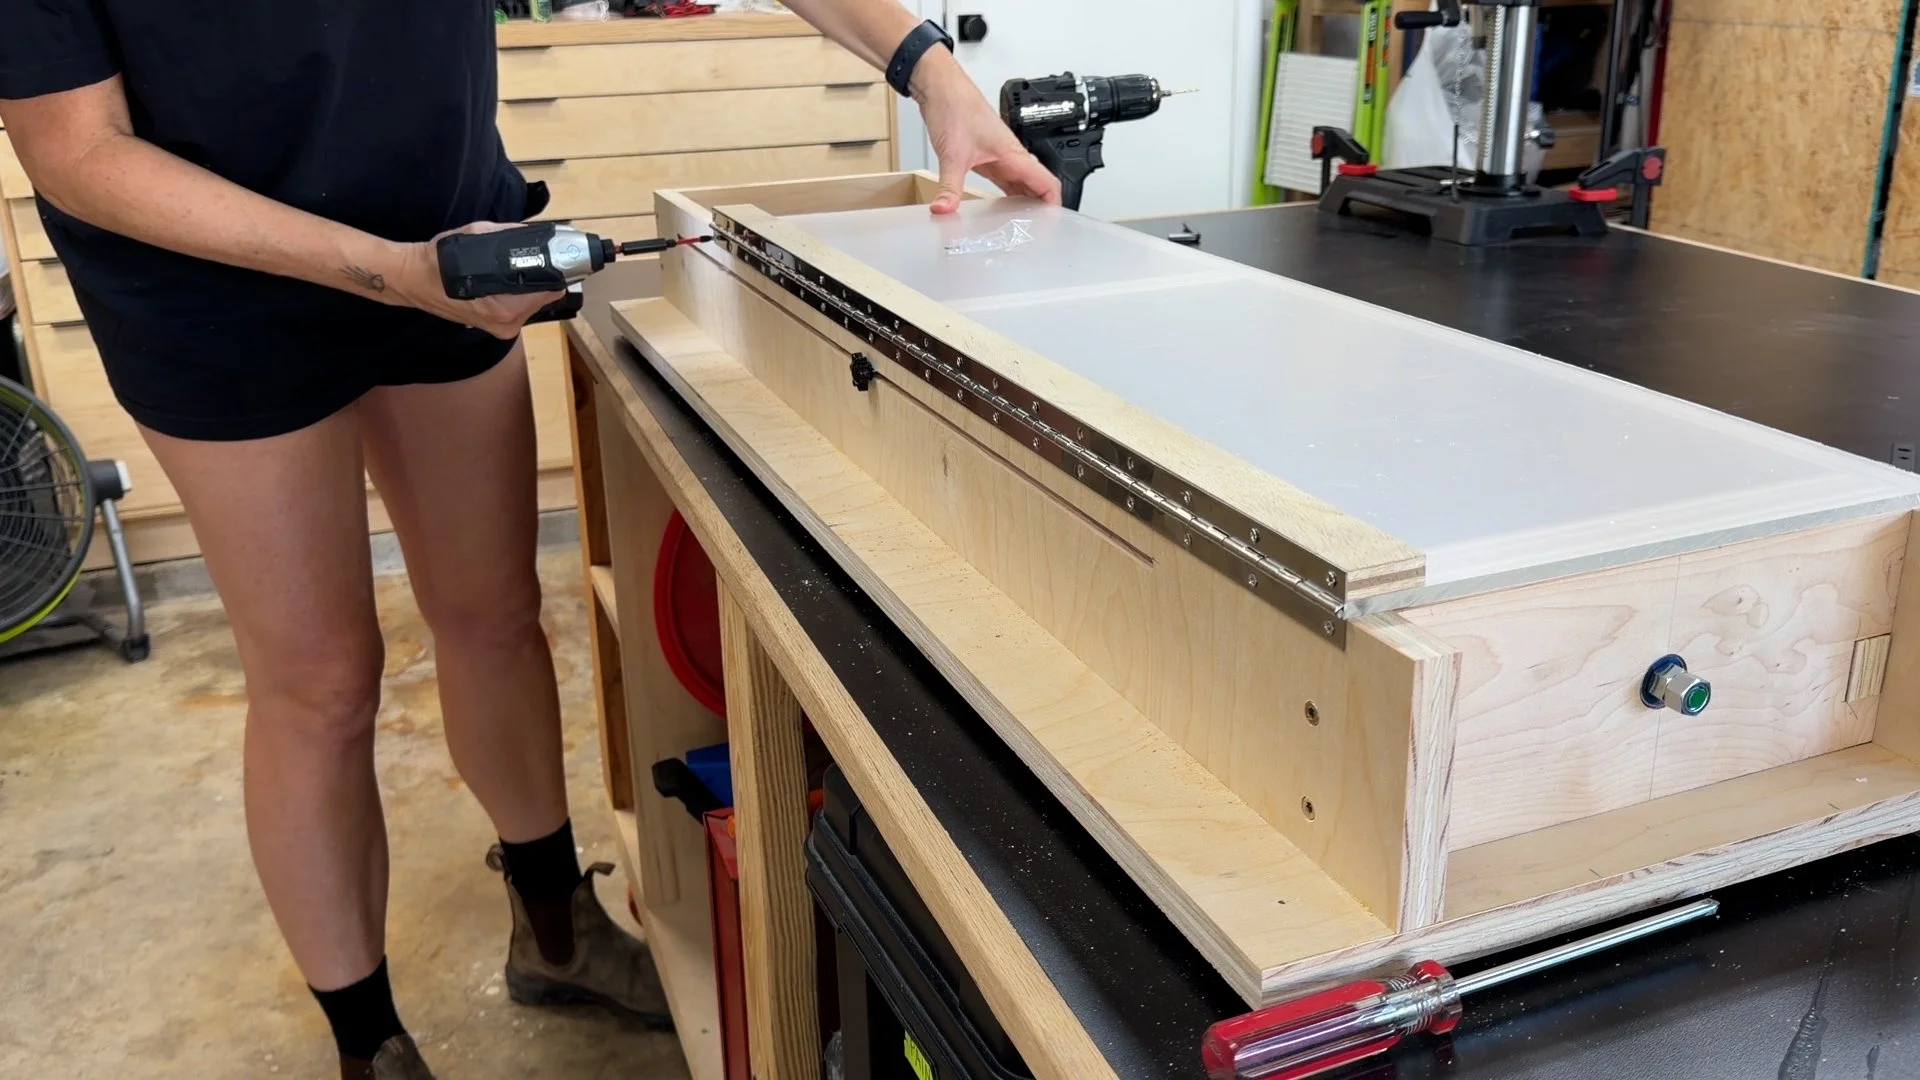
The hinged design makes the lid quick to open for adjustments, while still staying fully enclosed during use to keep chips contained.

Finished! Now let’s use it.
Before mounting the workpiece, I drilled a centered hole into each end of my wood blank to fit the threaded rods.
I found center by drawing diagonal lines corner to corner, then used a drill to make a straight hole at each end. The holes don’t need to be deep—just enough for the threaded rod to seat securely.


Probably not strictly necessary, but to help the lathe along, I went ahead and knocked off the corners with some bevel cuts on my table saw down the length of the blank.
I also swapped in a flat top blade on the table saw. From everything I watched, this style of blade seems to give the best results for table saw lathe cutting. I also removed the zero-clearance insert to maximize dust collection.
Ok, let’s cut! I thread the blank onto the rods of each bearing block. The center bearing block is locked into place with the locking knobs.


To power it, a drill is fitted with a nut driver onto the jam nuts on the front bearing block, closest to the operator.
I start with light passes, slowly raising the blade and checking for smooth, even rotation. As the corners come down, the piece starts taking shape into a cylinder. The cut feels surprisingly smooth and controlled, with very little vibration through the drill. The hinged lid makes a big difference too—it keeps dust and chips contained, which really helps with cleanup.

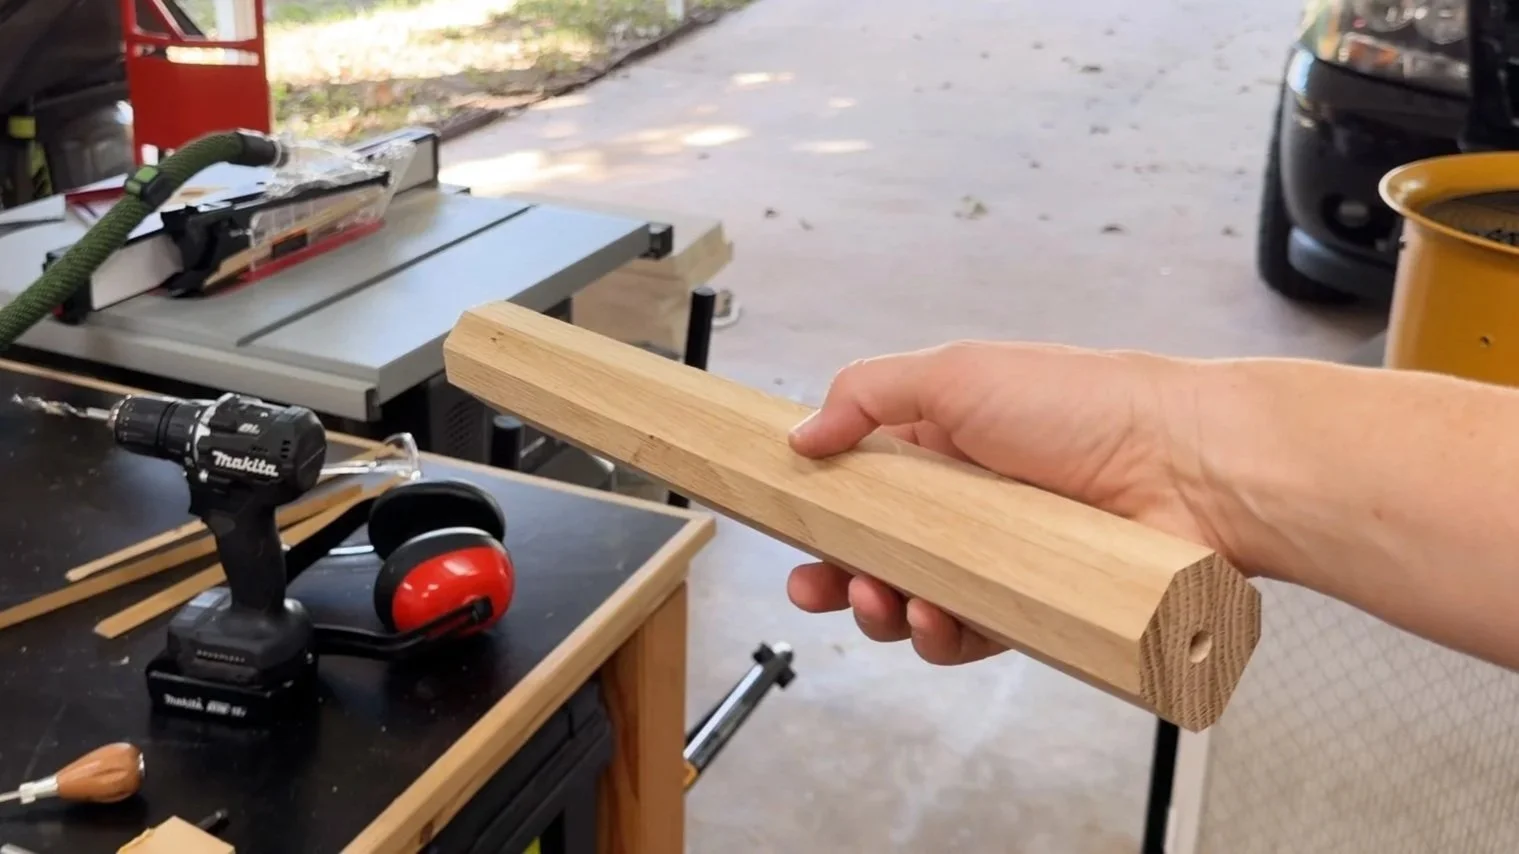
SO. COOL. It worked so well! I still can’t believe how easy that was. And how safe it felt.

Once the blank is fully rounded, I lower the blade away and let the drill spin the piece for finish sanding. Just hold sandpaper to the surface and you get a clean, even finish with barely any effort.

Want to see the full project video tutorial? Click below.
Final Thoughts
It’s awesome. This table saw lathe sled is going to be a really fun and useful addition to my shop. It’s simple to build, works surprisingly well, and opens up all kinds of possibilities for making my own dowels and furniture legs.
If you want to build one yourself, be sure to grab the downloadable plans and check out the full video tutorial to see it in action.
You Might Also Like These Projects!


Follow Maker Gray:
Instagram @MakerGray https://www.instagram.com/makergray/
Facebook https://www.facebook.com/MakerGray/
TikTok: https://bit.ly/3lXgdHh
If you liked this project and want to stay up to date with what I’m building, be sure to sign up for my newsletter and you’ll get an email sharing new DIY projects!