
The Miter Saw: Beginners Guide

If you're just getting into DIY, one of the best tools you can add to your setup is a miter saw. It may look intimidating at first, but it’s actually one of the easiest and most precise cutting tools to use — and it’ll show up in tons of your future projects.
In this guide, I’ll walk you through the basics of how a miter saw works, how to use it safely, and what types of cuts it can make — plus, I’ll share a few beginner-friendly projects you can tackle right away.
Quick Overview: What Is a Miter Saw?
A miter saw is a stationary power saw that makes accurate crosscuts and angle cuts. It’s perfect for framing lumber, furniture parts, decking, and trim work.
There are three main types of miter saws:
Basic miter saw – Makes 90° and angled cuts.
Compound miter saw – Tilts to make bevel cuts (angled cuts), great for trim and crown molding.
Sliding compound miter saw – Adds a sliding rail so you can cut wider boards.
If you're not sure which one to get, a sliding compound miter saw gives you the most flexibility. It's what I use in almost every project. However, for many years I very happily used a regular compound miter saw.
Parts of a Miter Saw

Here are the main parts you'll interact with:
Blade – Does the cutting; usually 10" or 12" in diameter.
Fence – The vertical surface your board rests against.
Table/Base – The flat platform that supports your material.
Miter Gauge – Lets you swivel the saw to cut angles.
Bevel Adjustment – Tilts the blade for angled edge cuts.
Handle & Trigger – What you hold to bring the blade down and start cutting.
Dust Port – Connects to a vacuum or bag to collect sawdust.
Safety First
Before you make a single cut, let’s talk safety:
Always wear eye and ear protection.
Keep your hands at least 6 inches away from the blade (check out the hold down safety stick)
Let the blade come to a full stop before lifting it back up.
Always rest your board firmly against the fence.
Watch out for loose clothing, hair, or jewelry.
Clamp smaller pieces so they don’t move during the cut.
Check your material for nails or screws before cutting.

How to Use a Miter Saw: Step-by-Step
Measure and mark your cut line on the board.
Place the board flat on the base, pressed tightly against the fence.
Adjust the miter angle (and bevel, if needed).
Pull the blade down (with the saw off) to align it with your mark. Then raise the blade.
Hold the board securely, with hands far away from the blade — or clamp it.
Pull the trigger and lower the blade slowly through the board.
Release the trigger and wait for the blade to stop spinning.
Lift the blade and remove your cut piece.
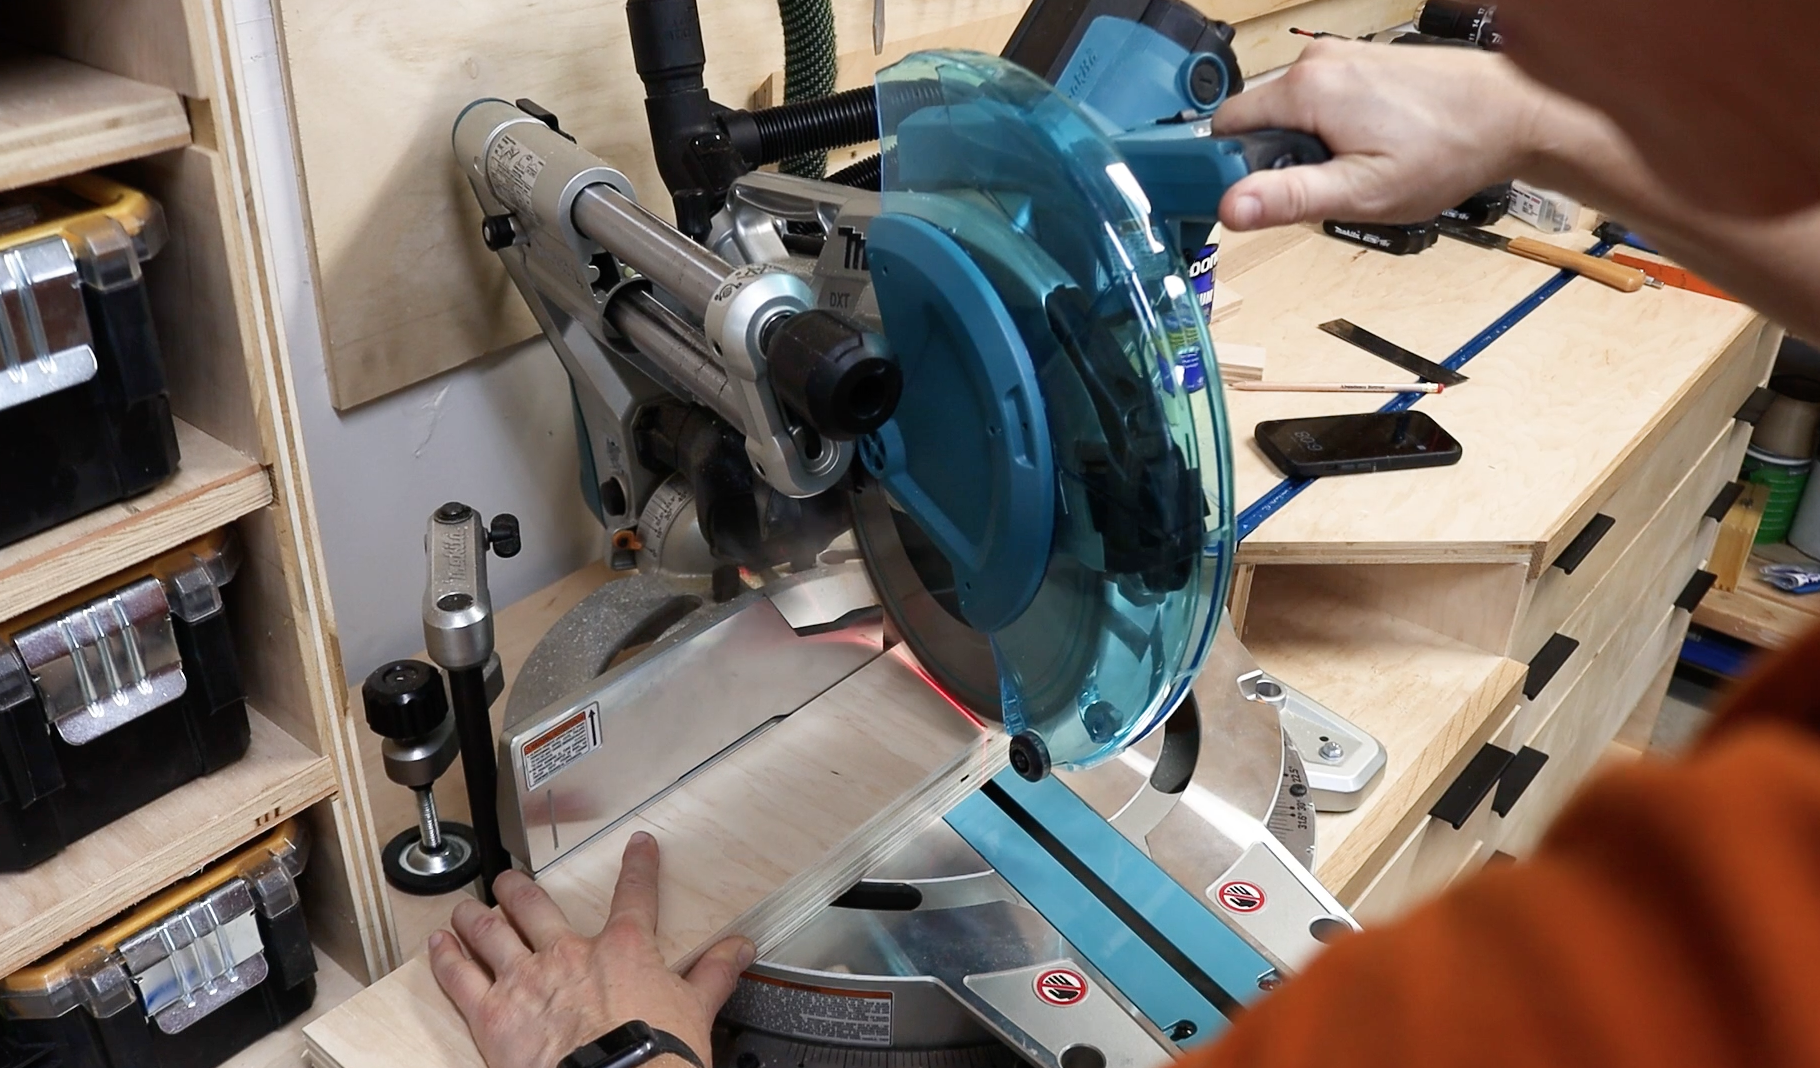
Using my sliding miter saw in my workshop organization project
Pro Tips for Better Cuts
Use a fine-tooth blade for smoother cuts (especially on trim).
Cut on the waste side of your pencil line.
Use a stop block when cutting multiple pieces the same length.
Let the blade do the work — don’t force it.
Practice on scrap wood if you’re new.
Beginner Projects
These Maker Gray builds are great places to start with your new miter saw:
DIY Raised Garden Bed – All crosscuts. Perfect outdoor starter project.
Modern Bed Platform – Clean lines and repeatable cuts.
2x4 Firewood Rack – Simple framing-style cuts using just a miter saw and drill.
Easy House Number Sign – Small rewarding project with only a few cuts.
Wooden Sofa Sleeve – Simple, functional, and a great way to practice straight cuts.


Common Miter Saw Mistakes
(& How to Avoid Them)
Lifting the blade too soon — always wait until it fully stops.
Forgetting to square the fence/blade before starting a project.
Hands too close to the blade — your fingers will thank you.
Ignoring dust — hook up a vacuum or use a dust bag.
What to Look for in a Miter Saw (Buying Tips)
Blade size: 10" is great for most projects; 12" offers extra capacity.
Sliding feature: lets you cut wider boards (recommended).
Beveling: single bevel (one angled direction) or dual bevel (both directions).
Laser guide: optional, but helpful for alignment.
Portability: consider weight if you’ll move it often.
Corded vs. cordless: corded offers more power; cordless = convenience.
My pick: For a beginner saw I love this compound miter saw. A bonus is how wonderful it is for portability. I have since upgraded to this Makita sliding compound miter saw and it’s been amazing — powerful and super accurate.


Final Thoughts
A miter saw is a tool you’ll reach for constantly once you get comfortable with it. Whether you’re trimming out a room, building furniture, or cutting deck boards, it makes fast, accurate work of repetitive cuts.
Start simple, always measure twice, and don’t be afraid to practice. Once you get the feel for it, you'll wonder how you ever lived without one.
Want to try it out? Check out one of the beginner-friendly builds above and put your new miter saw skills to the test.
Any questions? Let me know below!

My upgraded miter saw station build!
Follow Maker Gray:
Instagram @MakerGray https://www.instagram.com/makergray/
Facebook https://www.facebook.com/MakerGray/
TikTok: https://bit.ly/3lXgdHh
If you liked this project and want to stay up to date with what I’m building, be sure to sign up for my newsletter and you’ll get an email sharing new DIY projects!
This post includes affiliate links. As an Amazon Associate, I earn from qualifying purchases. If you choose to shop through one of my links, it helps support Maker Gray — and I truly appreciate that!