
Stock Tank Pool Hot Tub
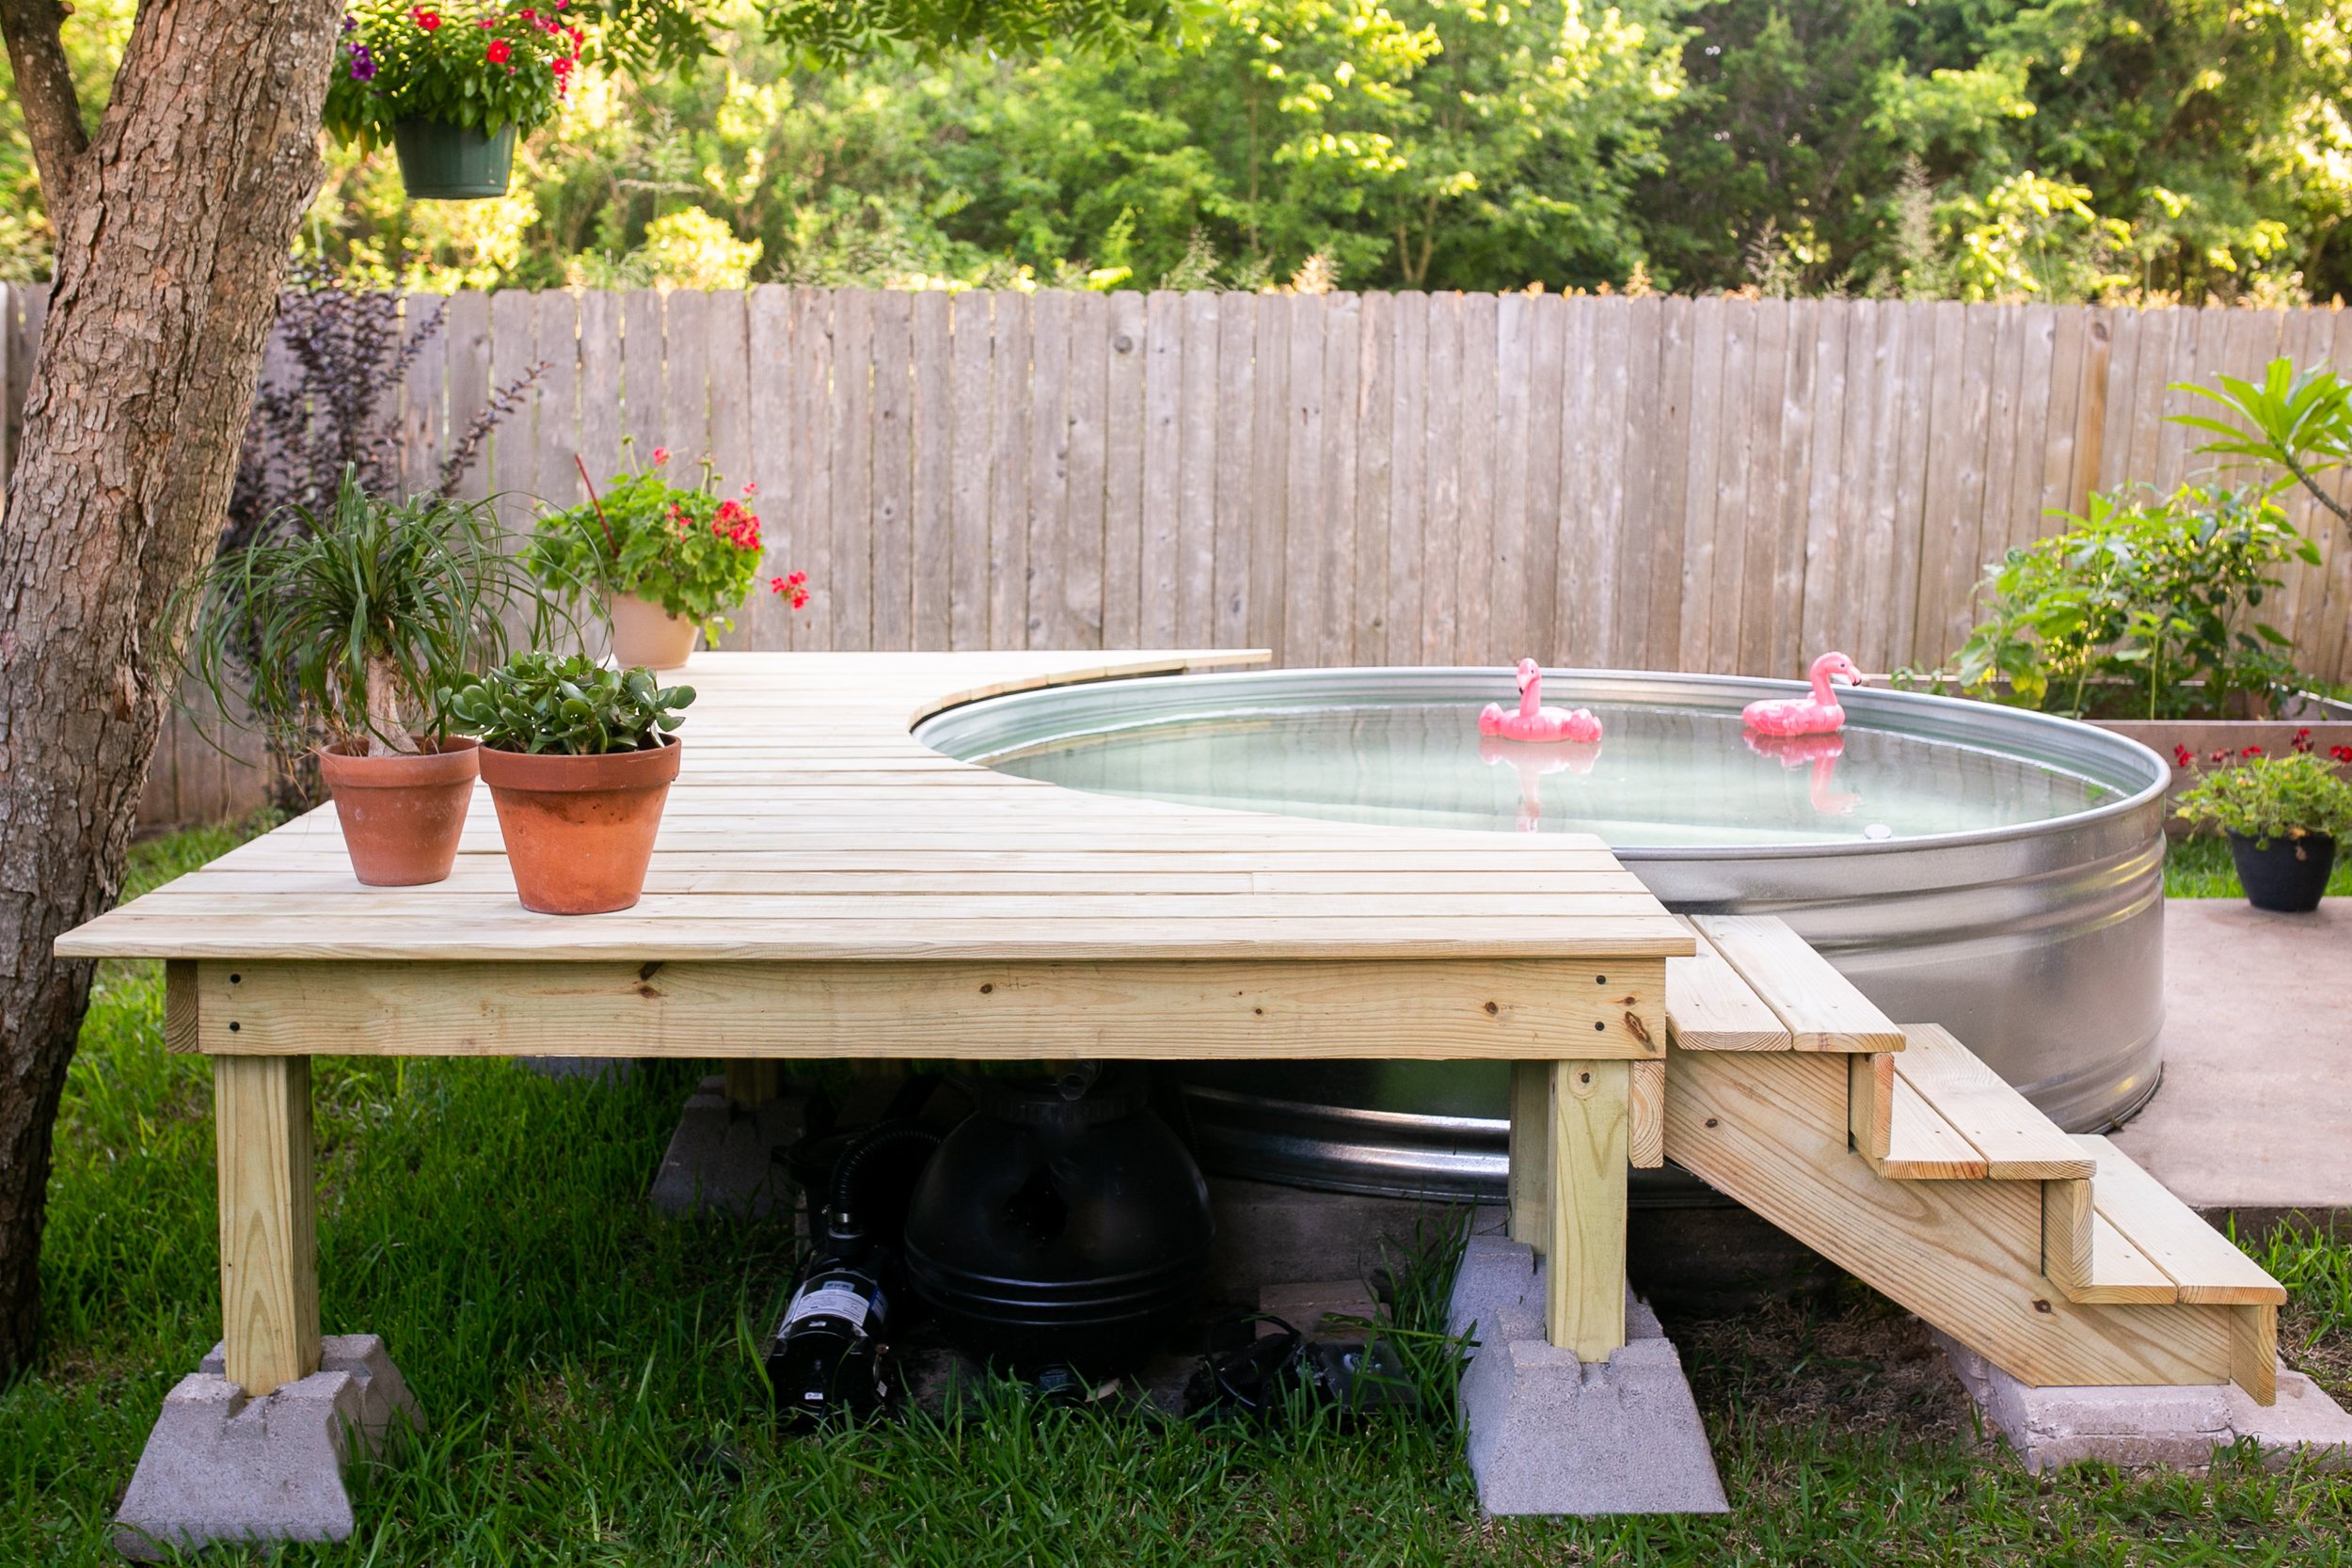
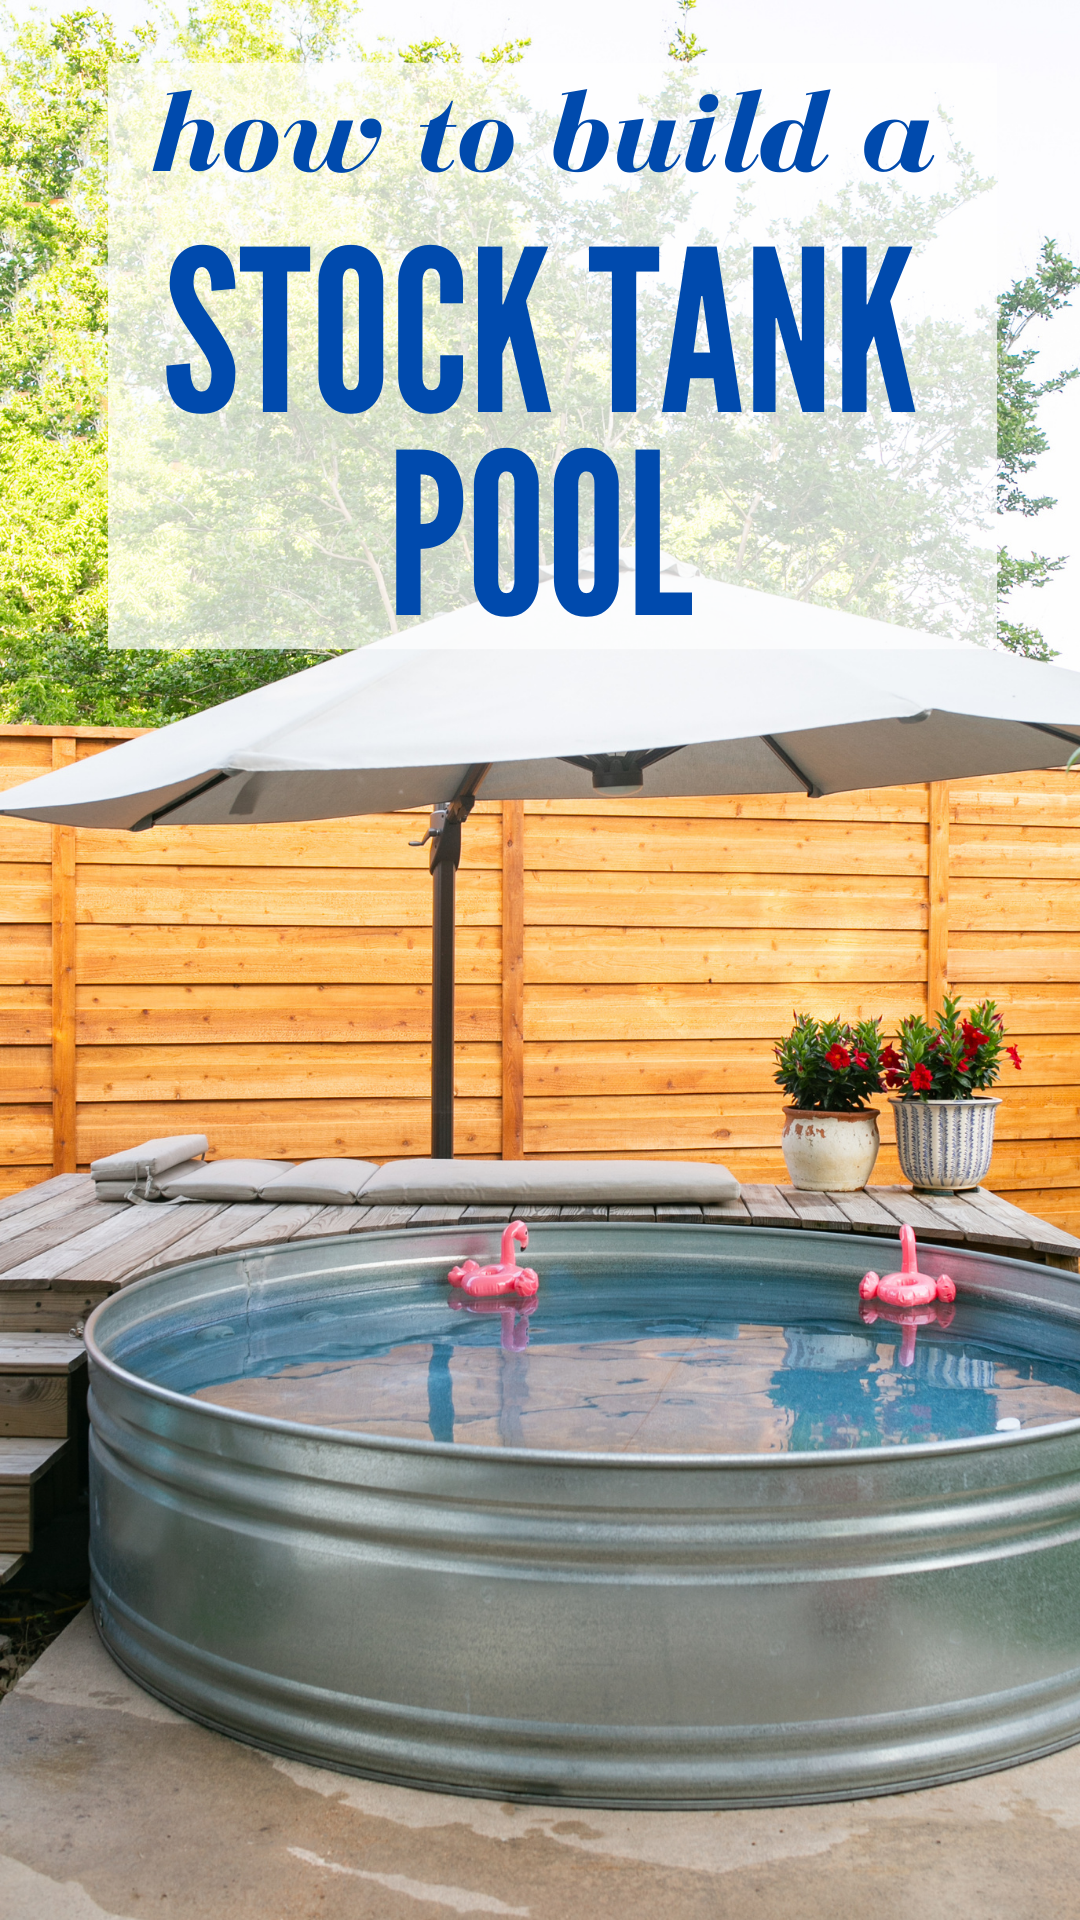
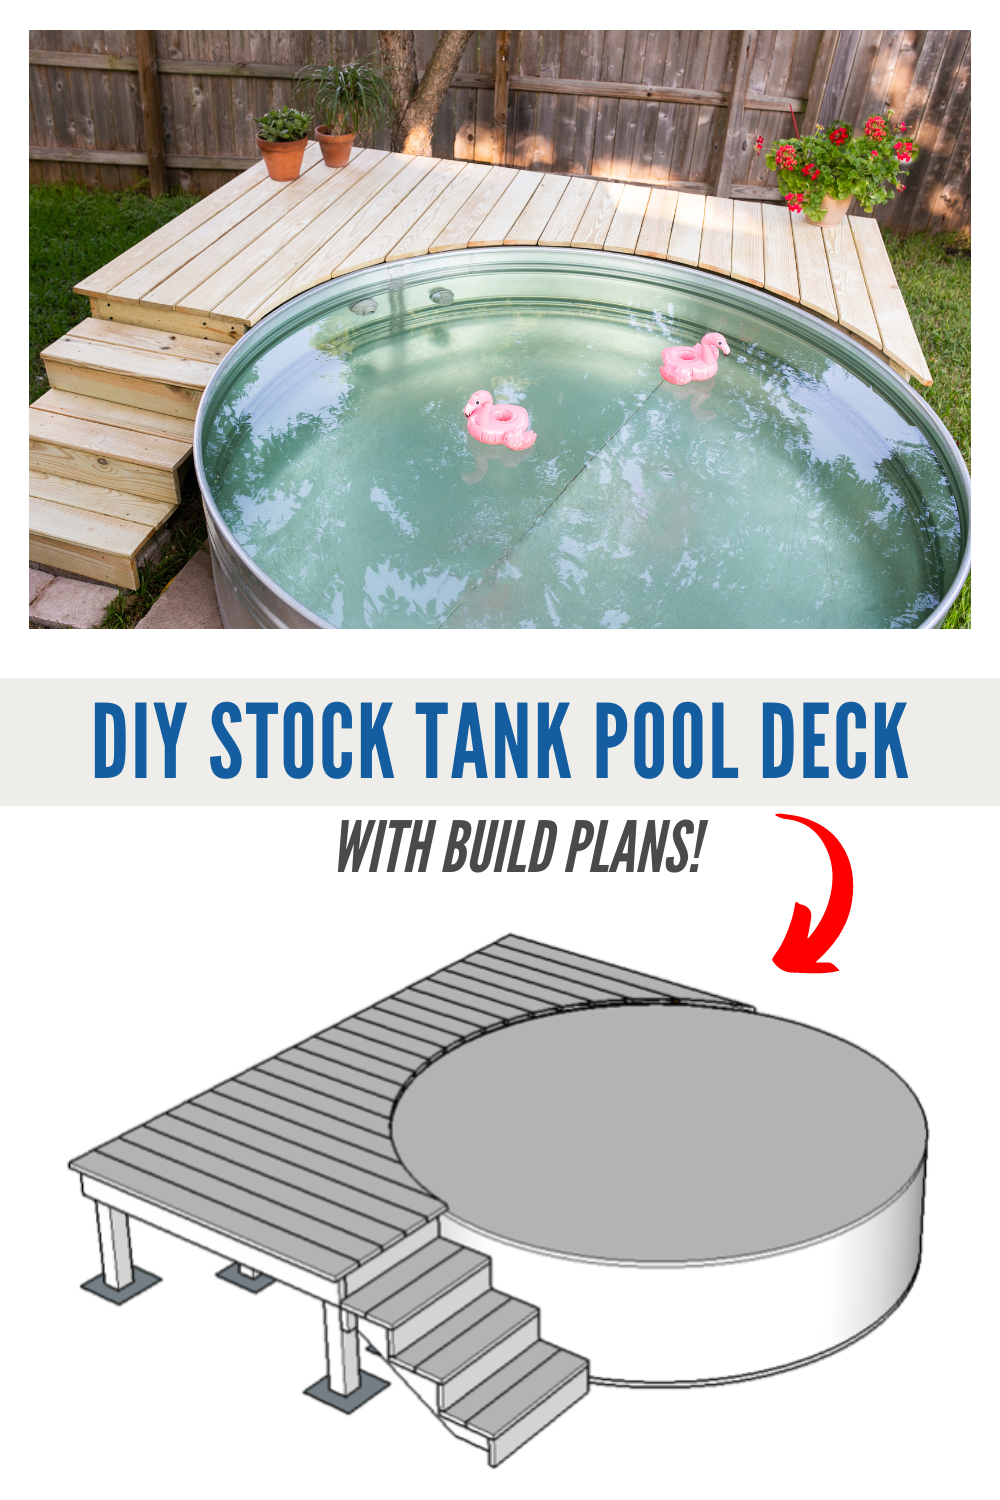
Six years ago I built a stock tank pool and it changed how we use our backyard entirely. Then I upgraded to an 8' tank and built a deck around it.
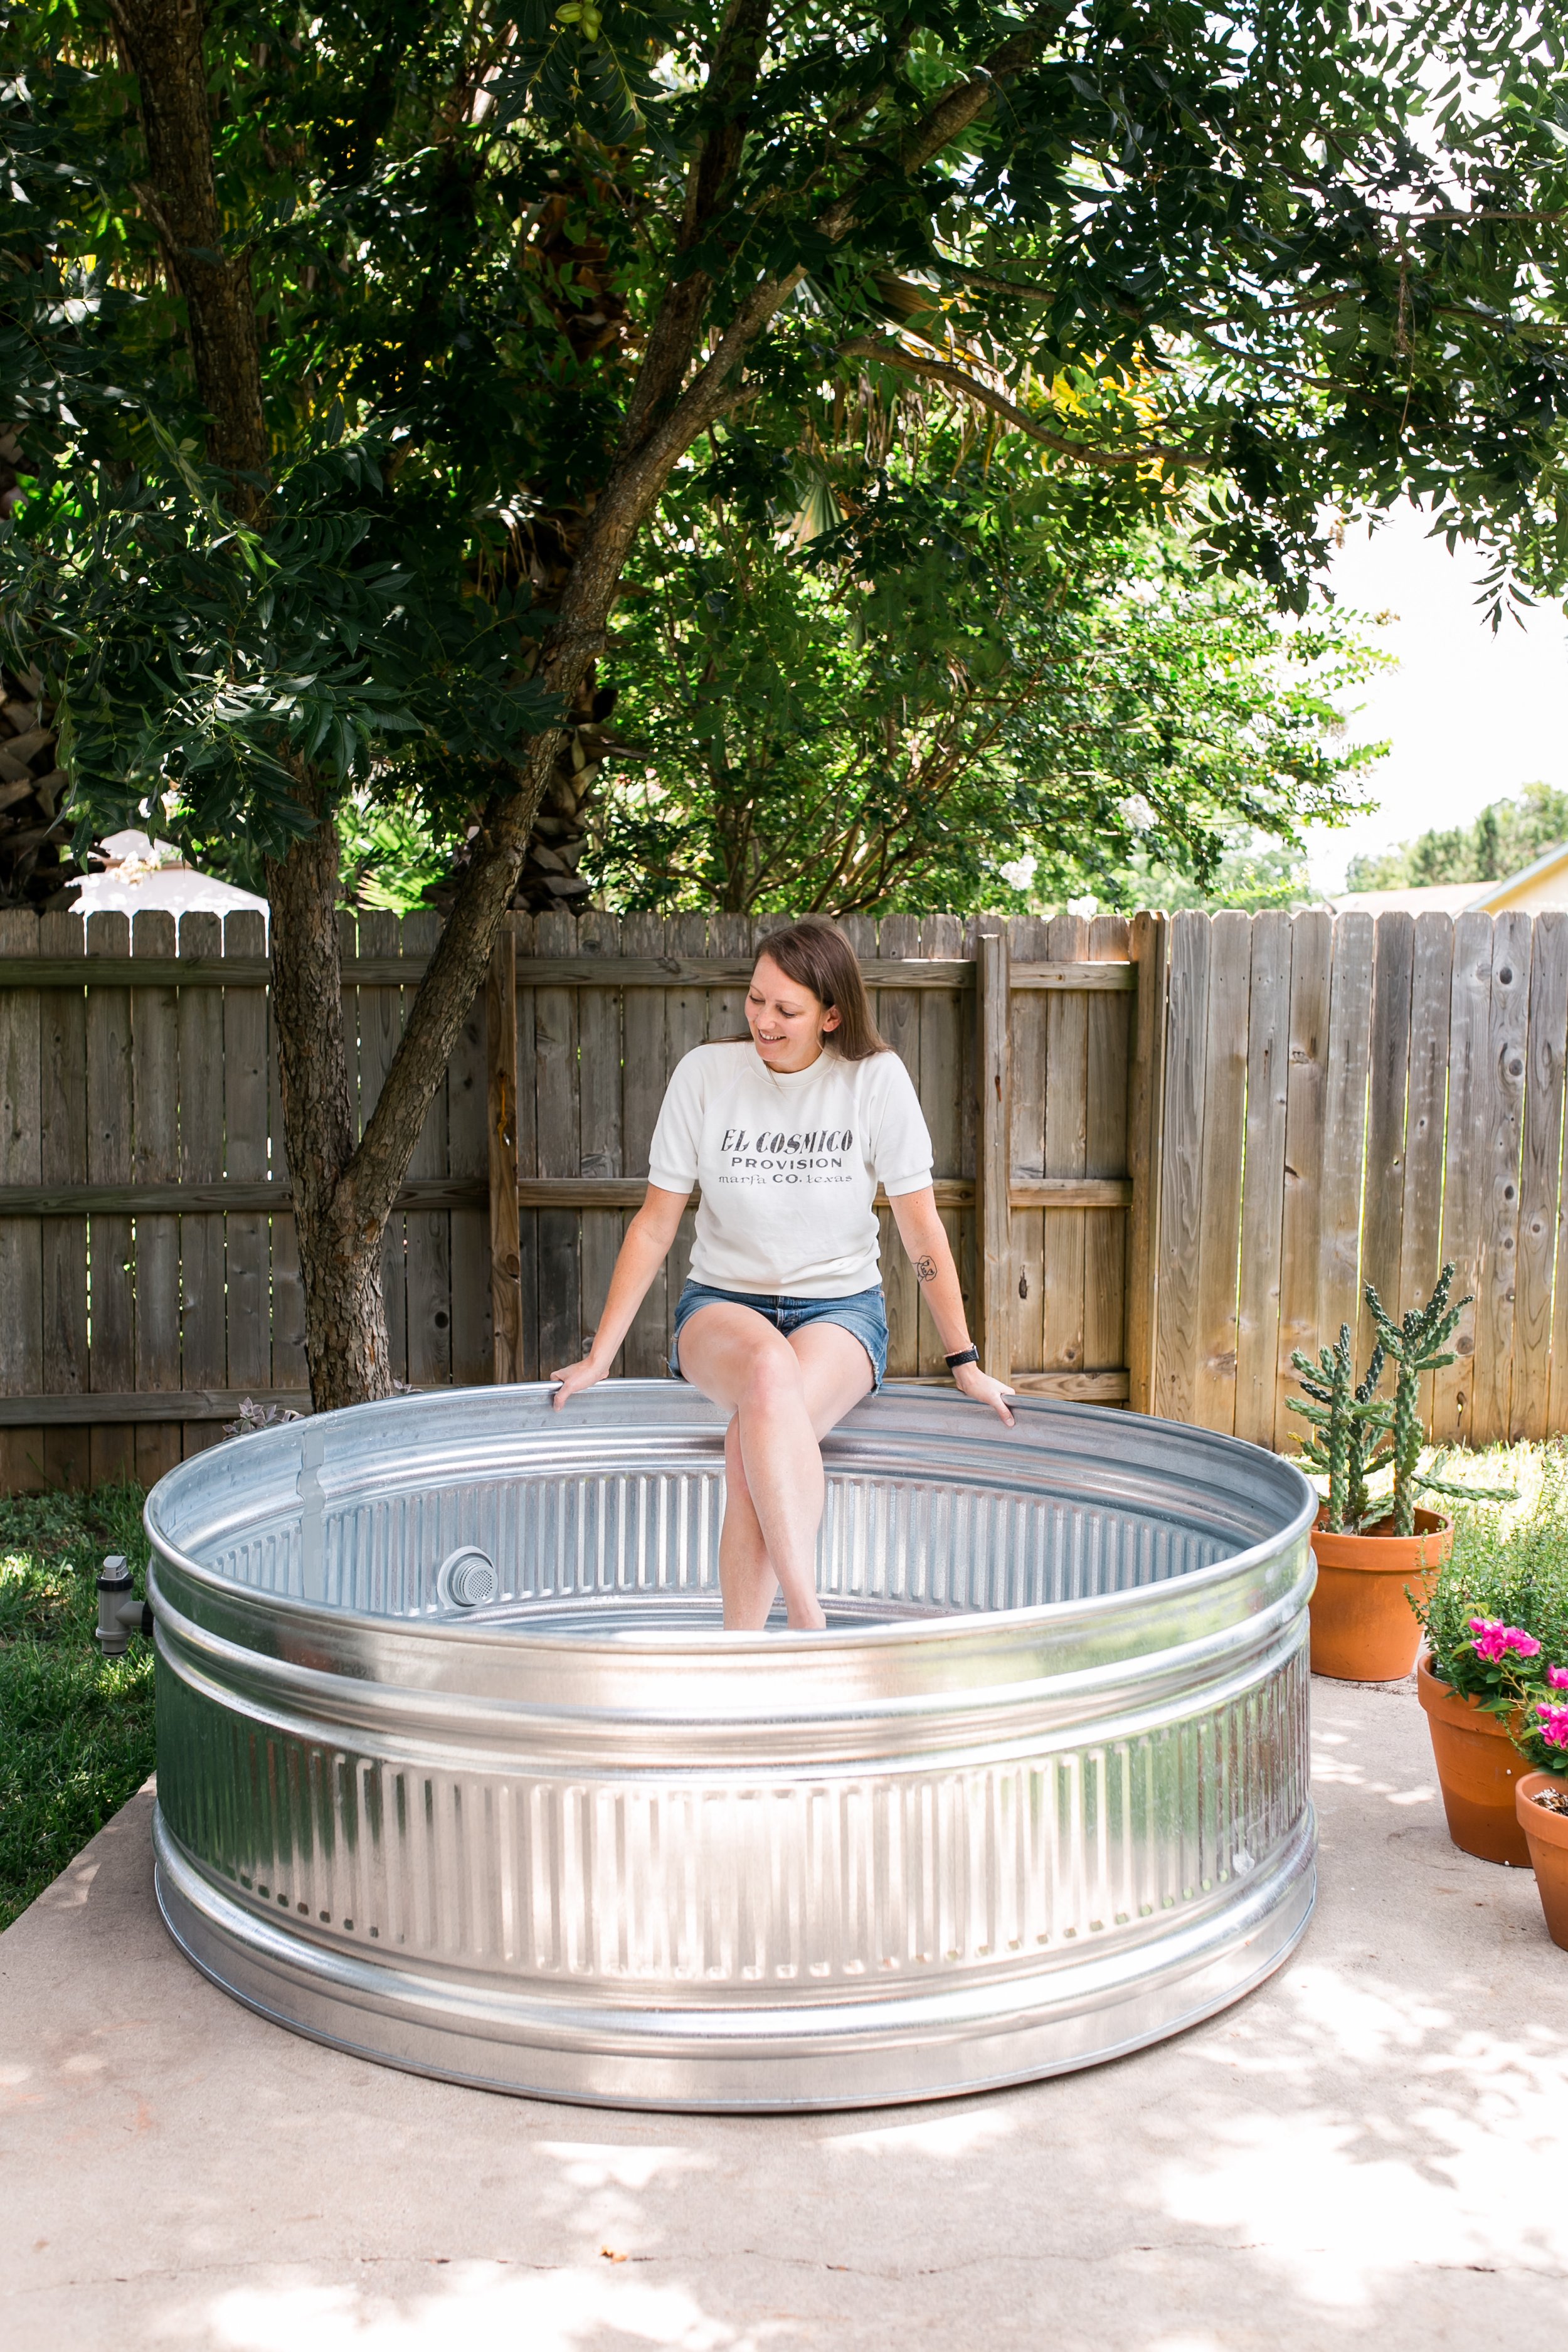
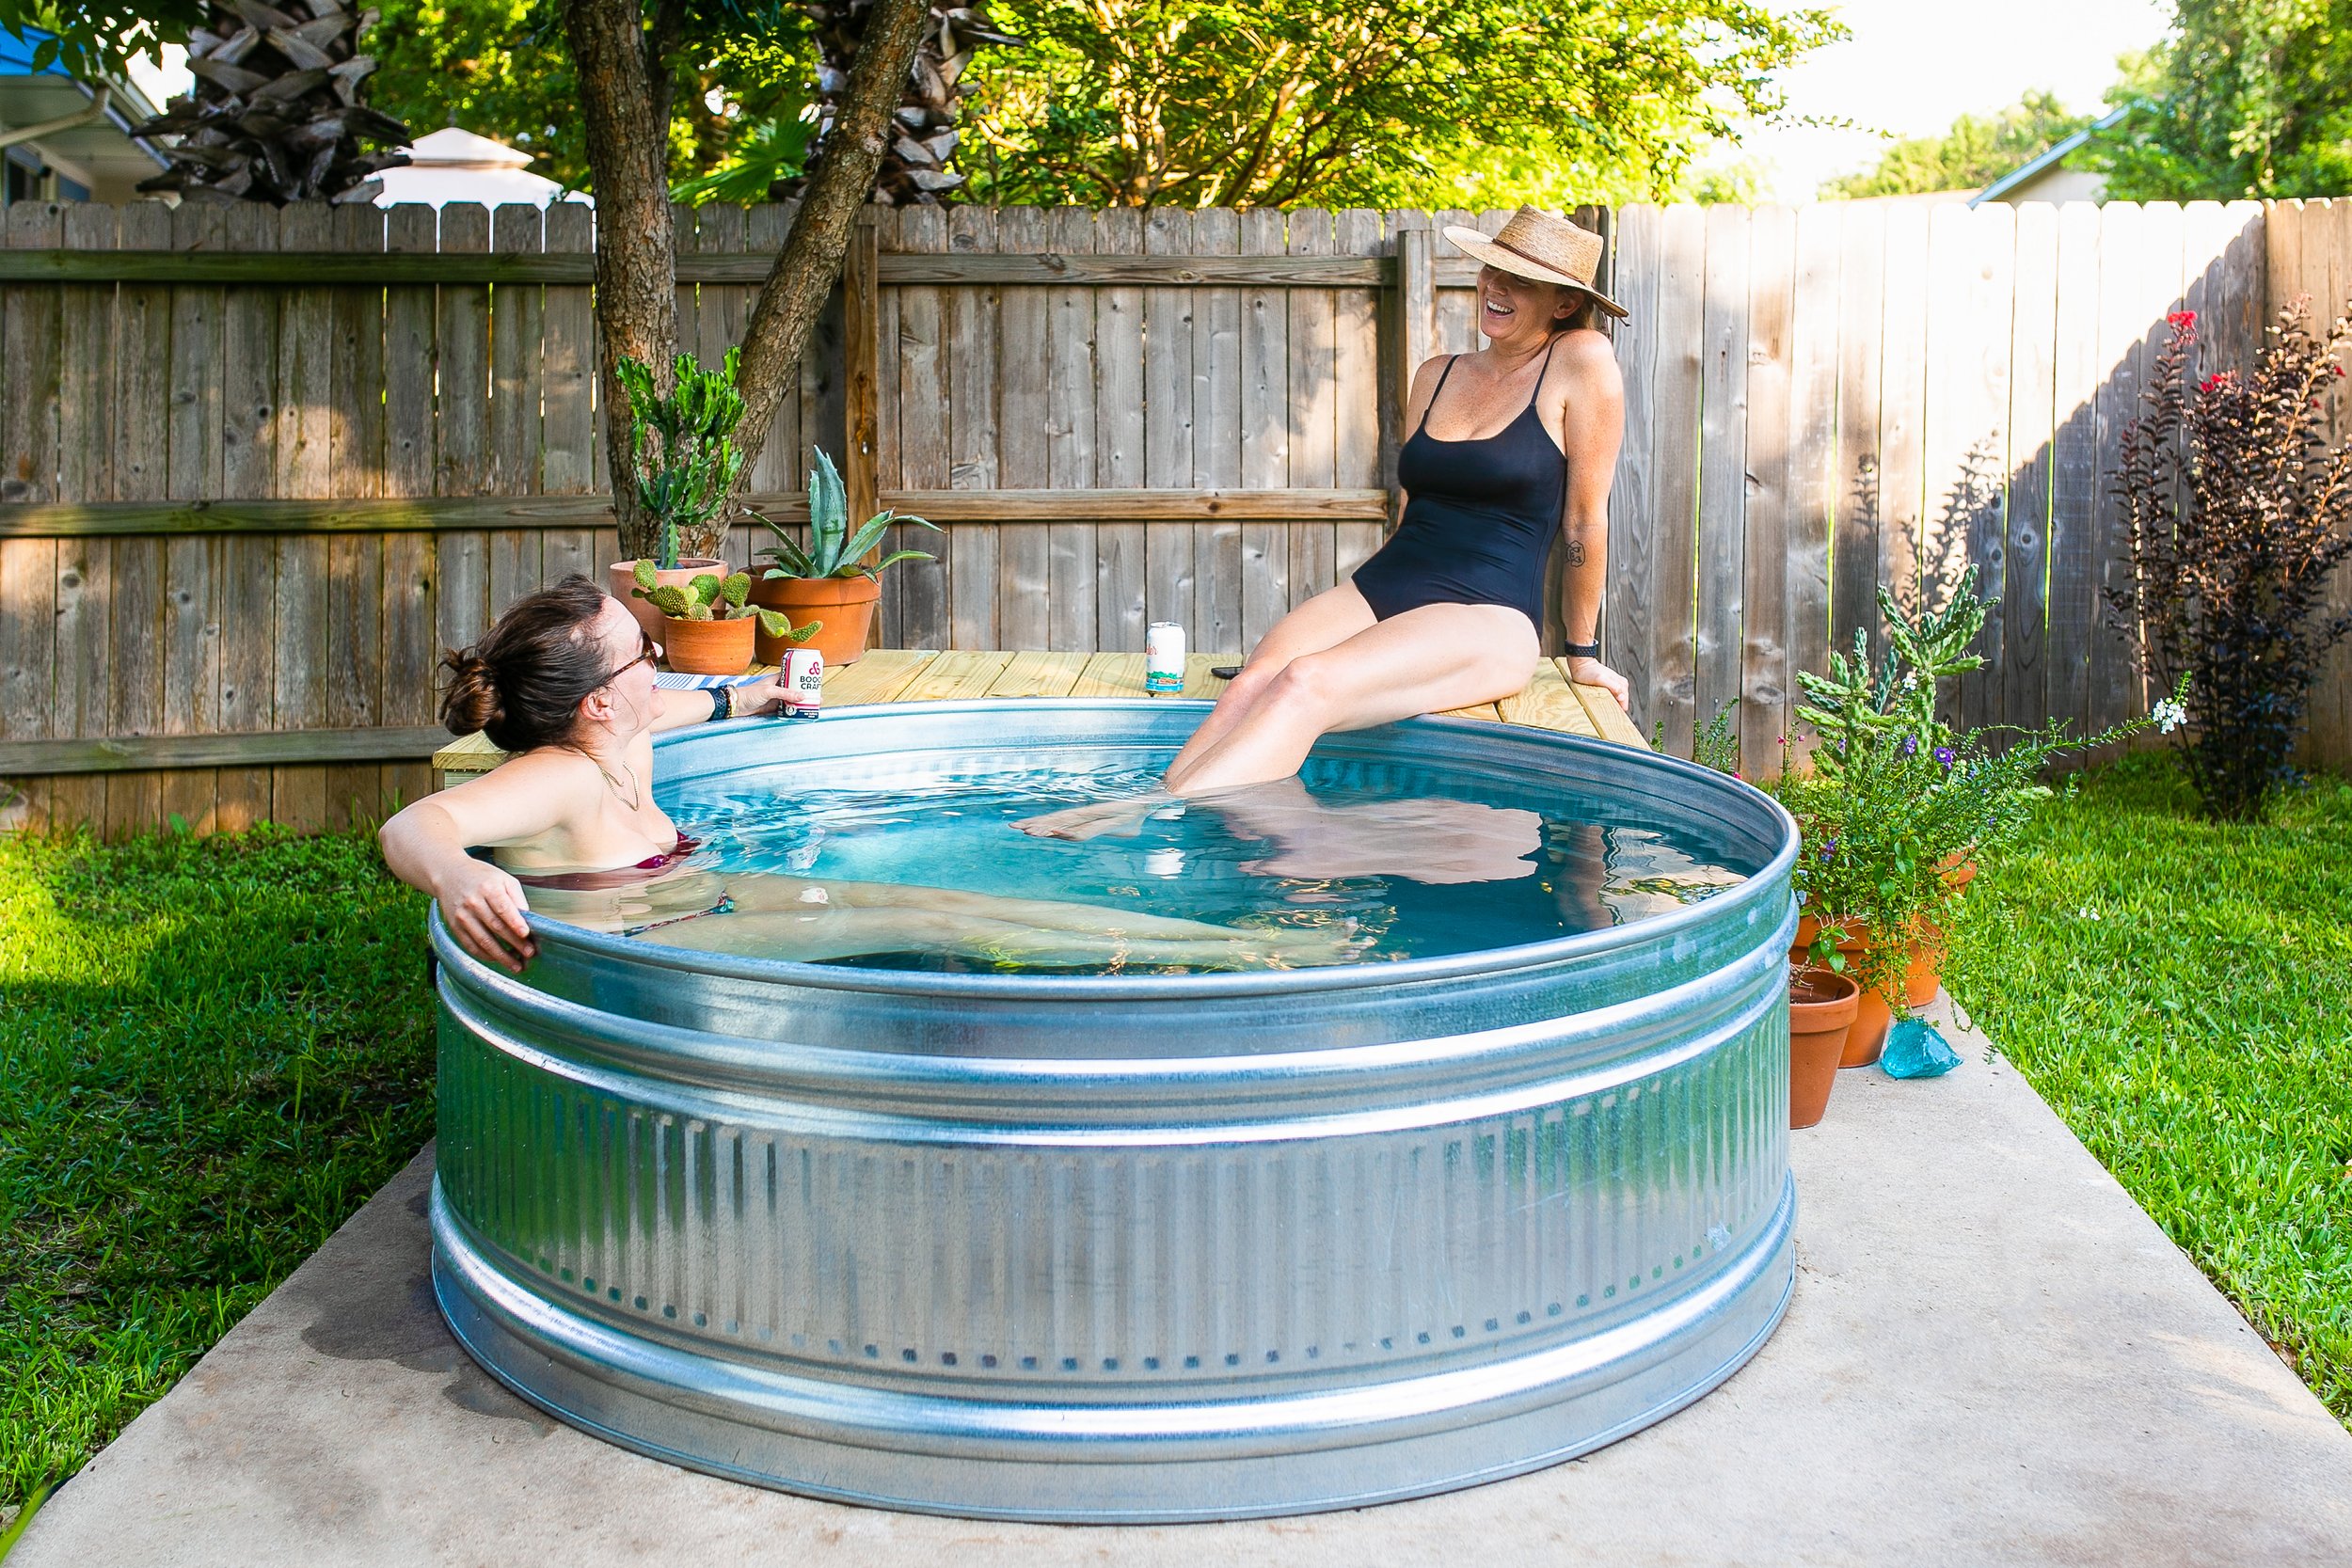
So I finally did it. And yes — it works.
This is a simple DIY setup using a propane tankless water heater that builds directly off your existing stock tank pool system. No major modifications, no new tank. Just a diverter valve, some PVC fittings, and a heater.
Here's everything you need to know before you build it.
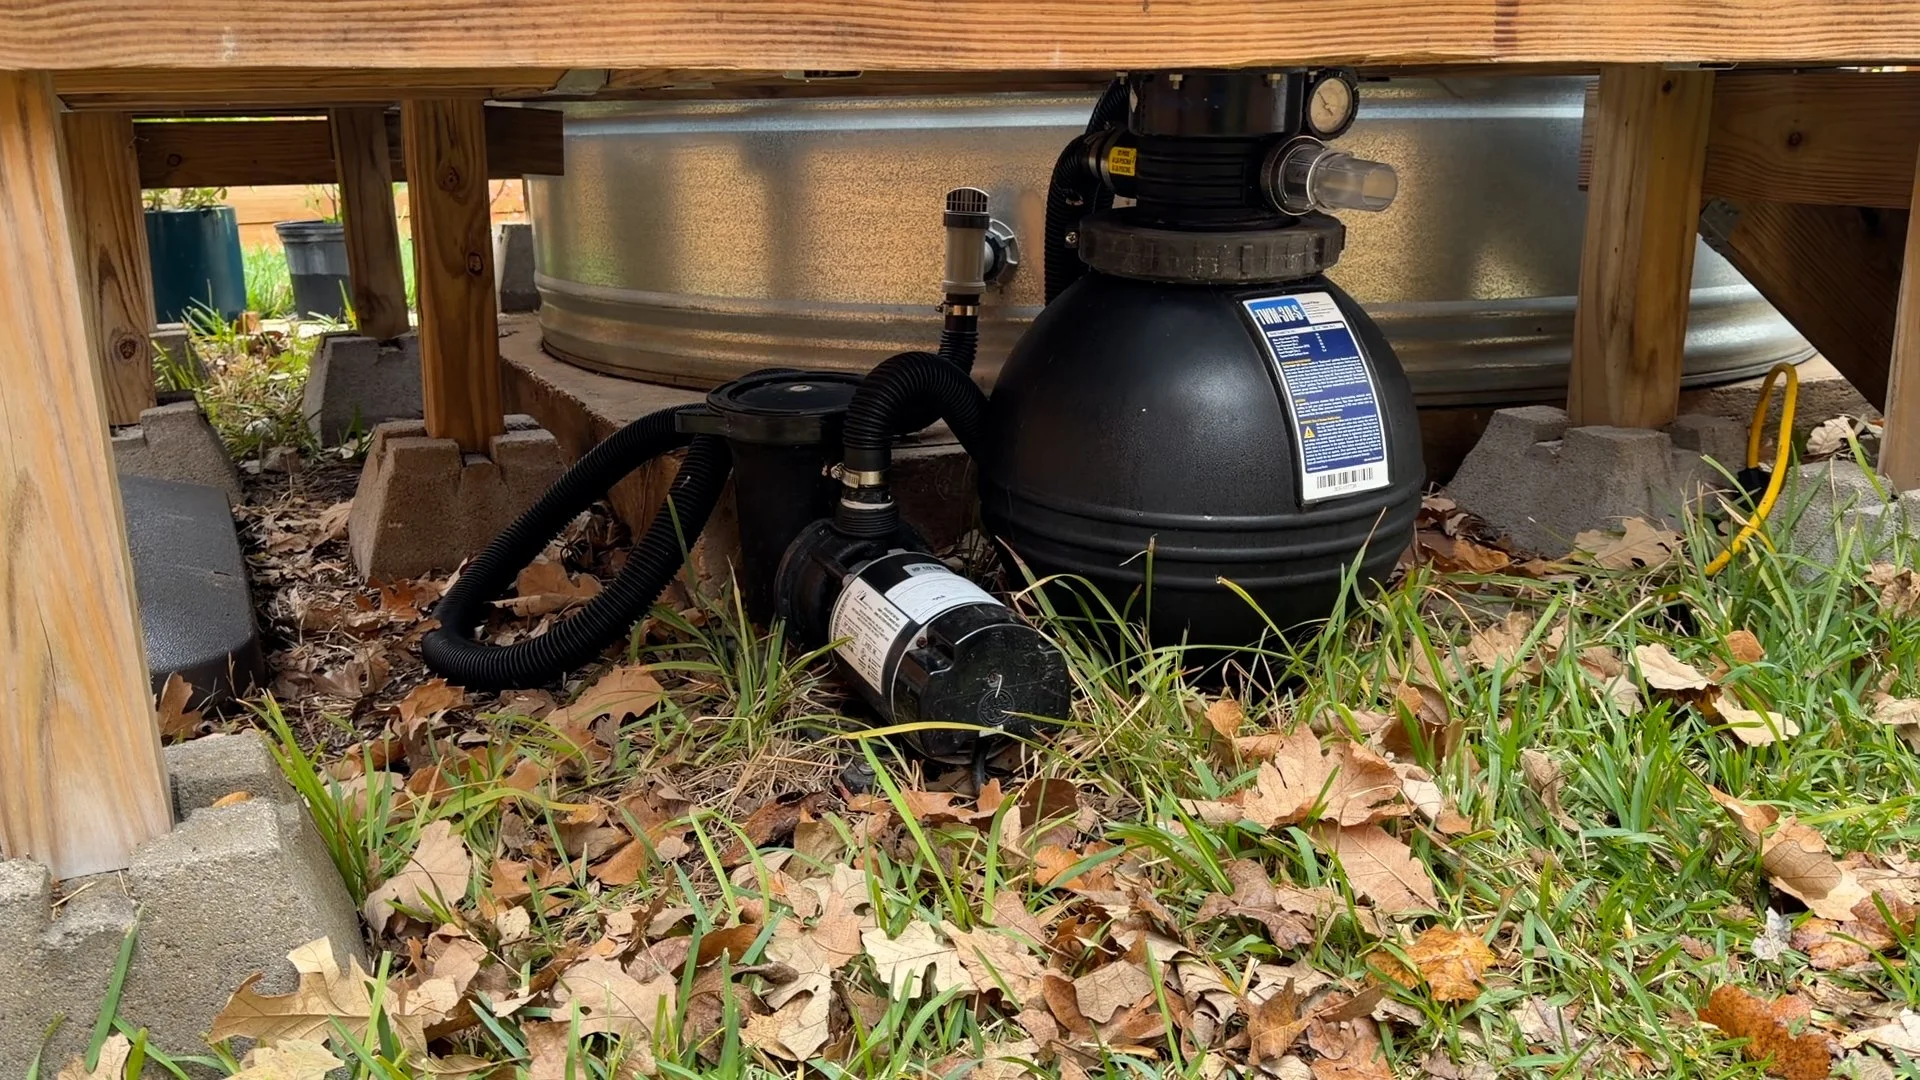
This setup builds off a standard stock tank pool system:
Water is pulled from the tank →
Runs through the pump →
Goes into the filter →
Then returns back to the tank
To add heat, I’m just redirecting the water after the filter. Instead of going straight back to the pool, I added a valve that lets me choose:
Regular pool mode
Or send the water through a propane heater first
Then it returns to the tank. That’s it.
The key to this whole system is a 3-way valve. No disconnecting hoses or reworking anything, just turn the valve. I can switch between pool mode and hot tub mode just by adjusting the valve.
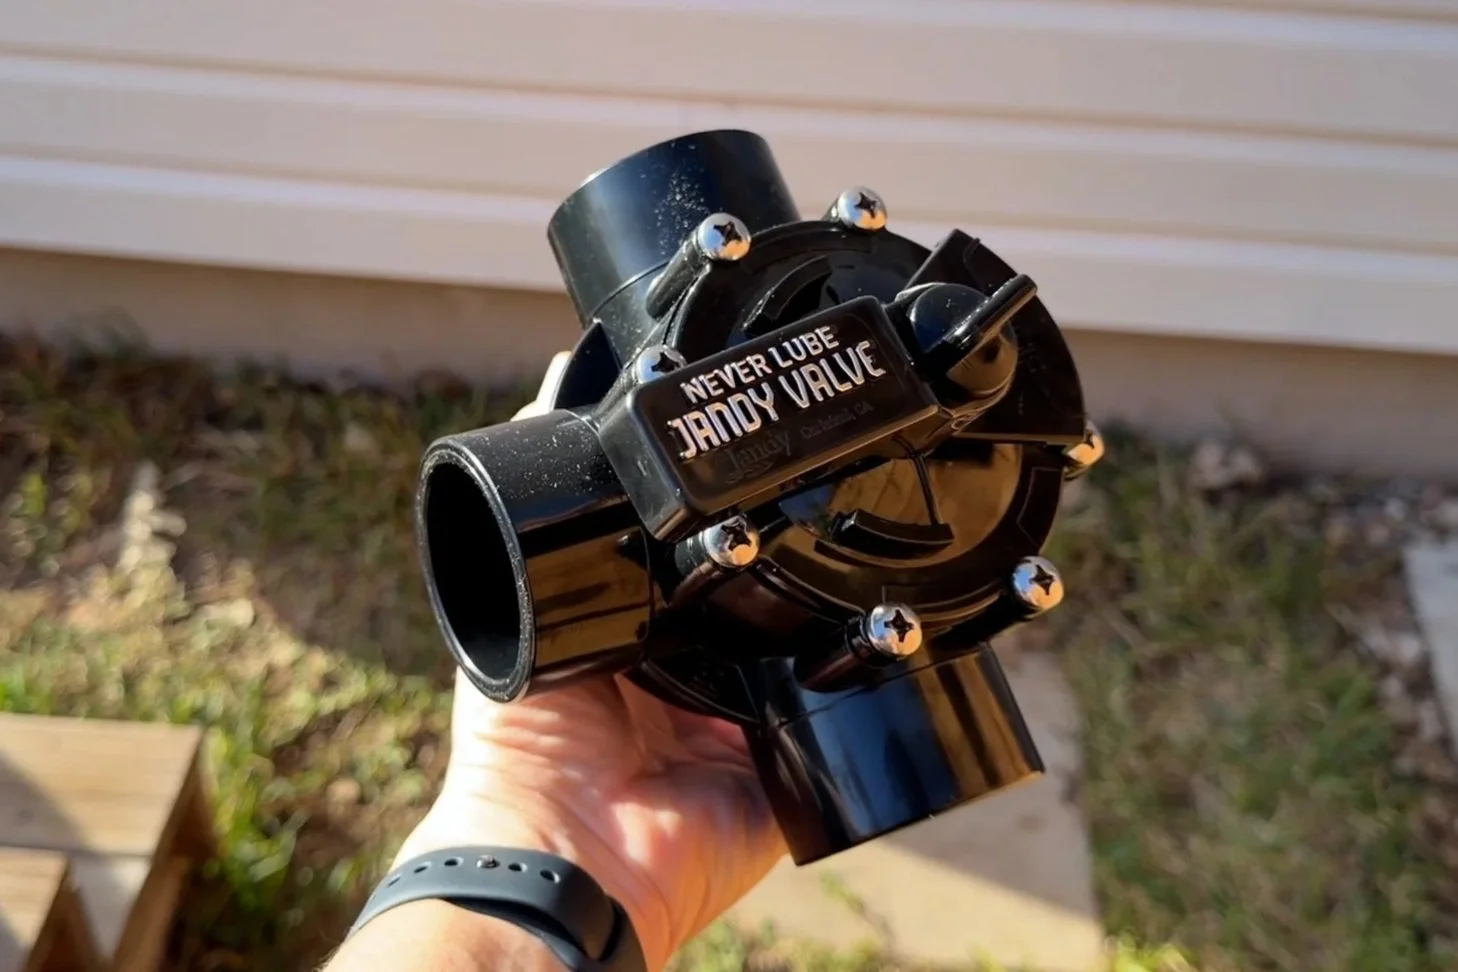
The Heater
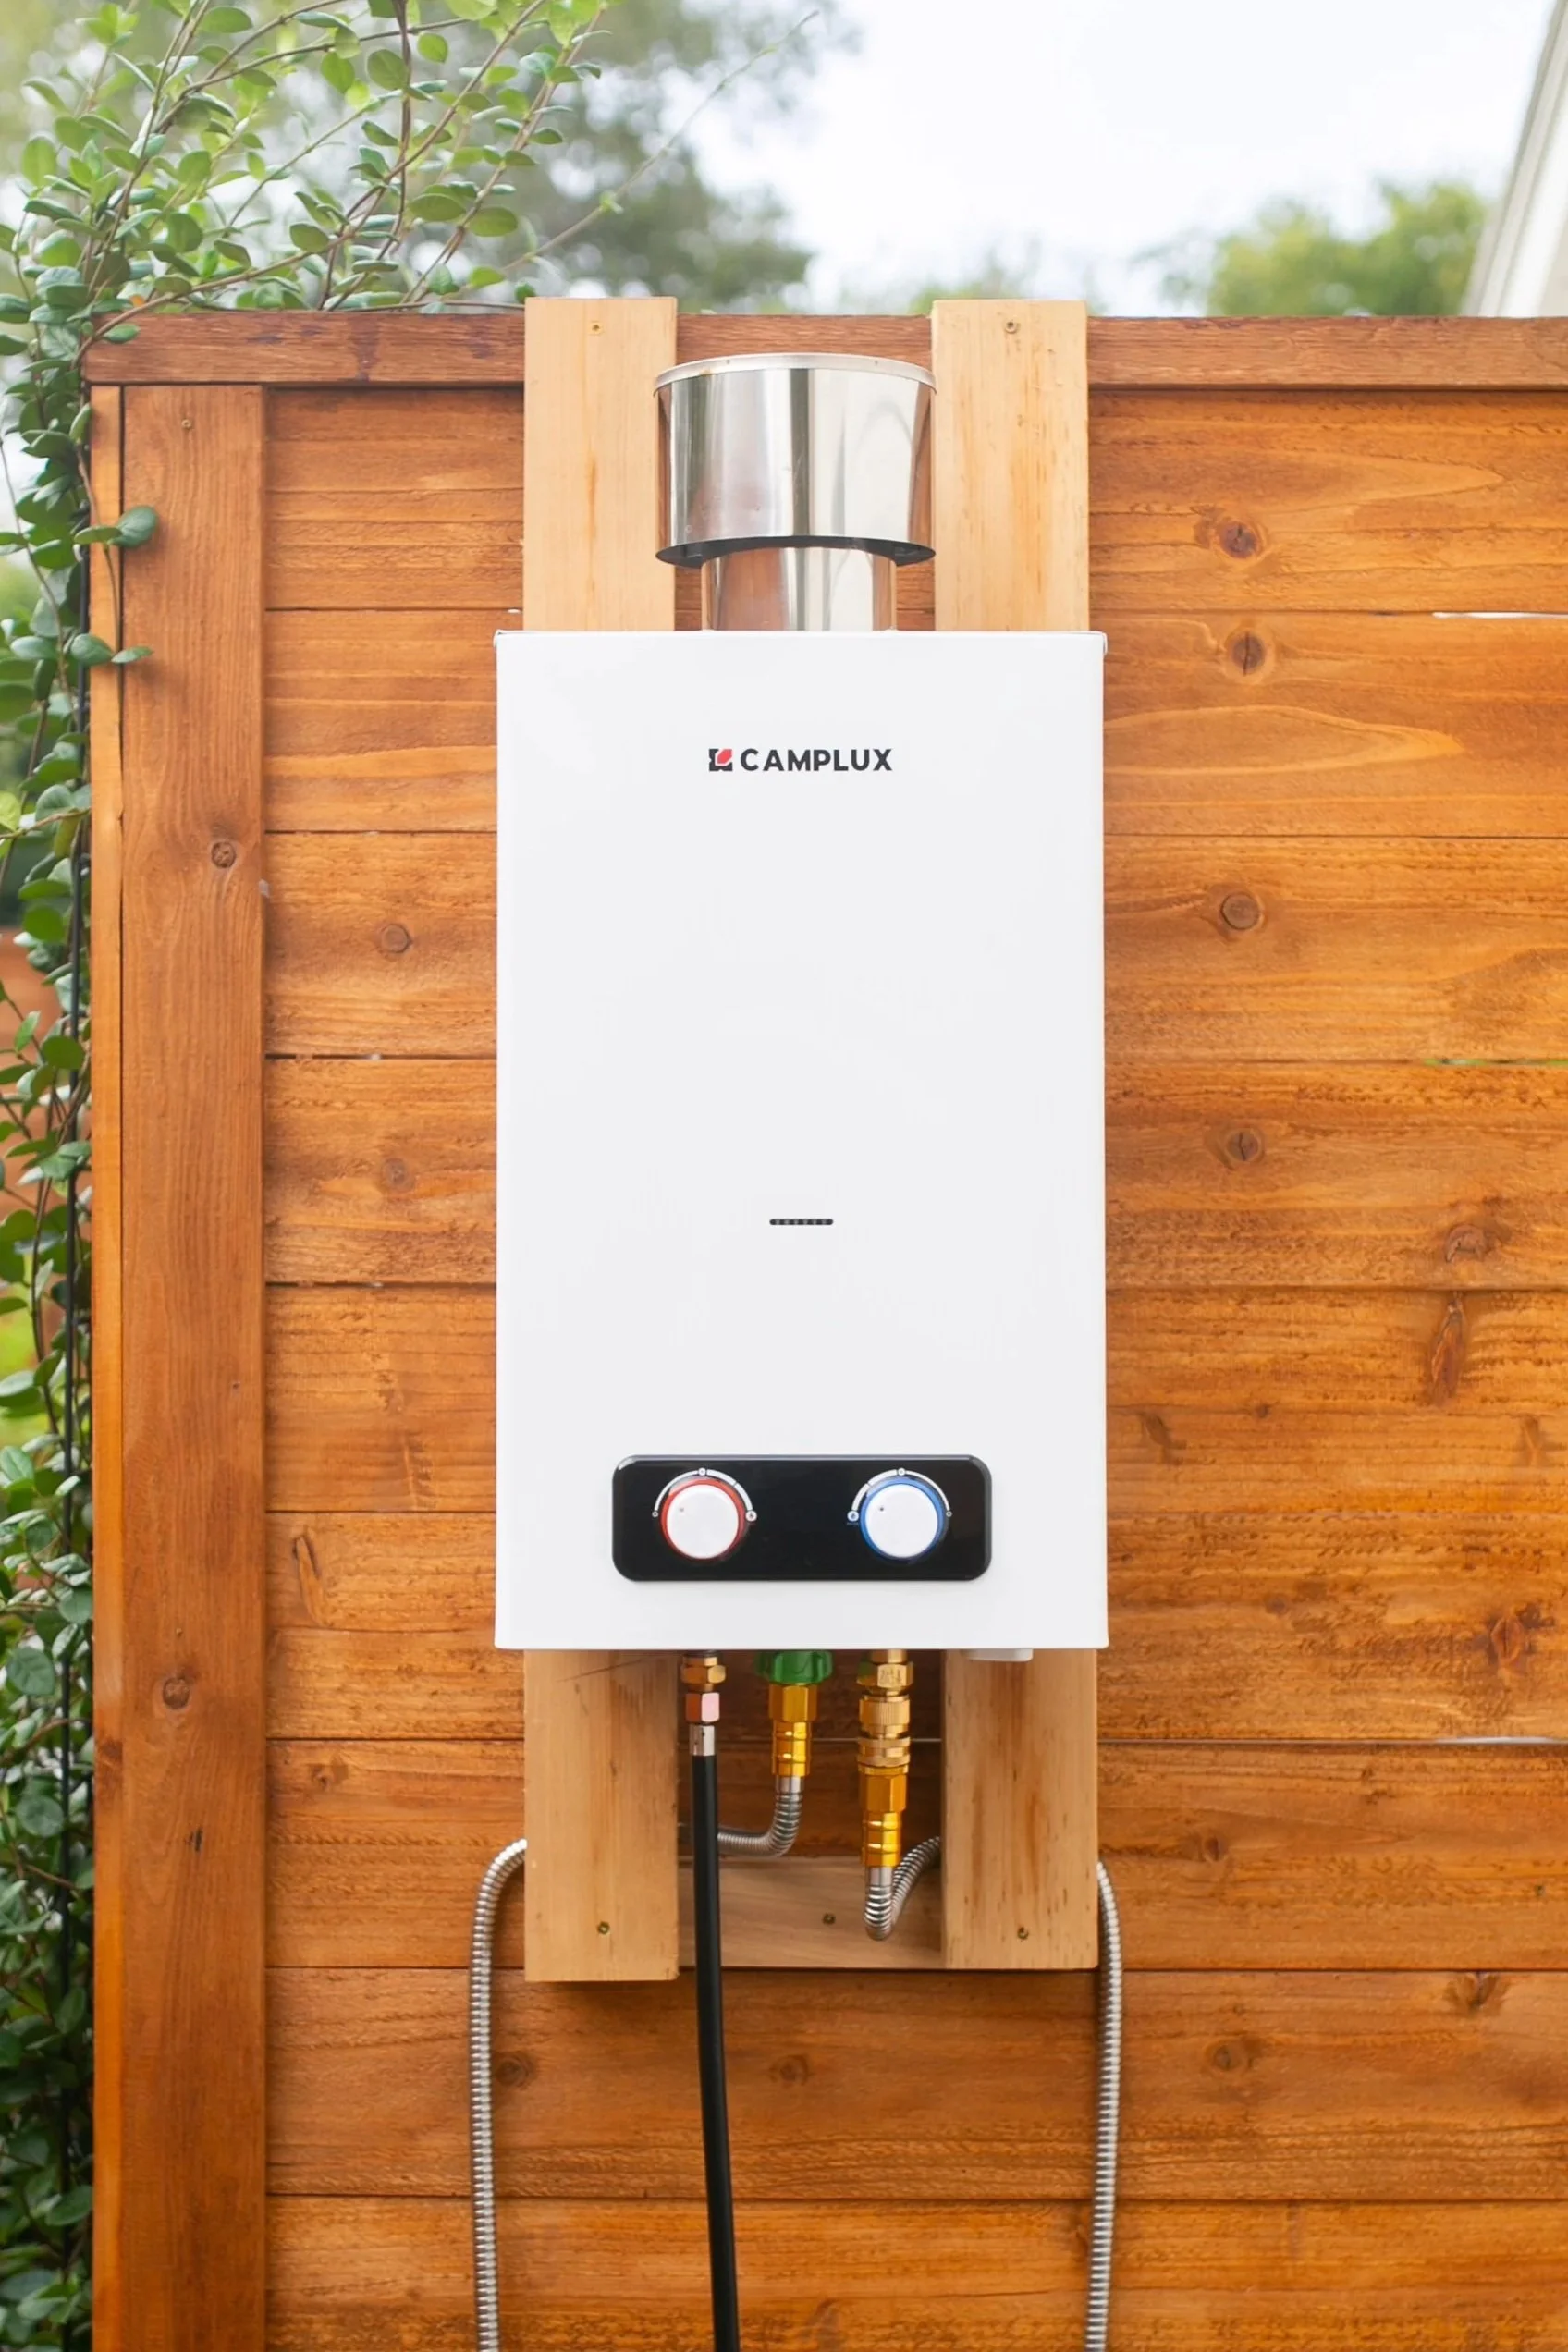
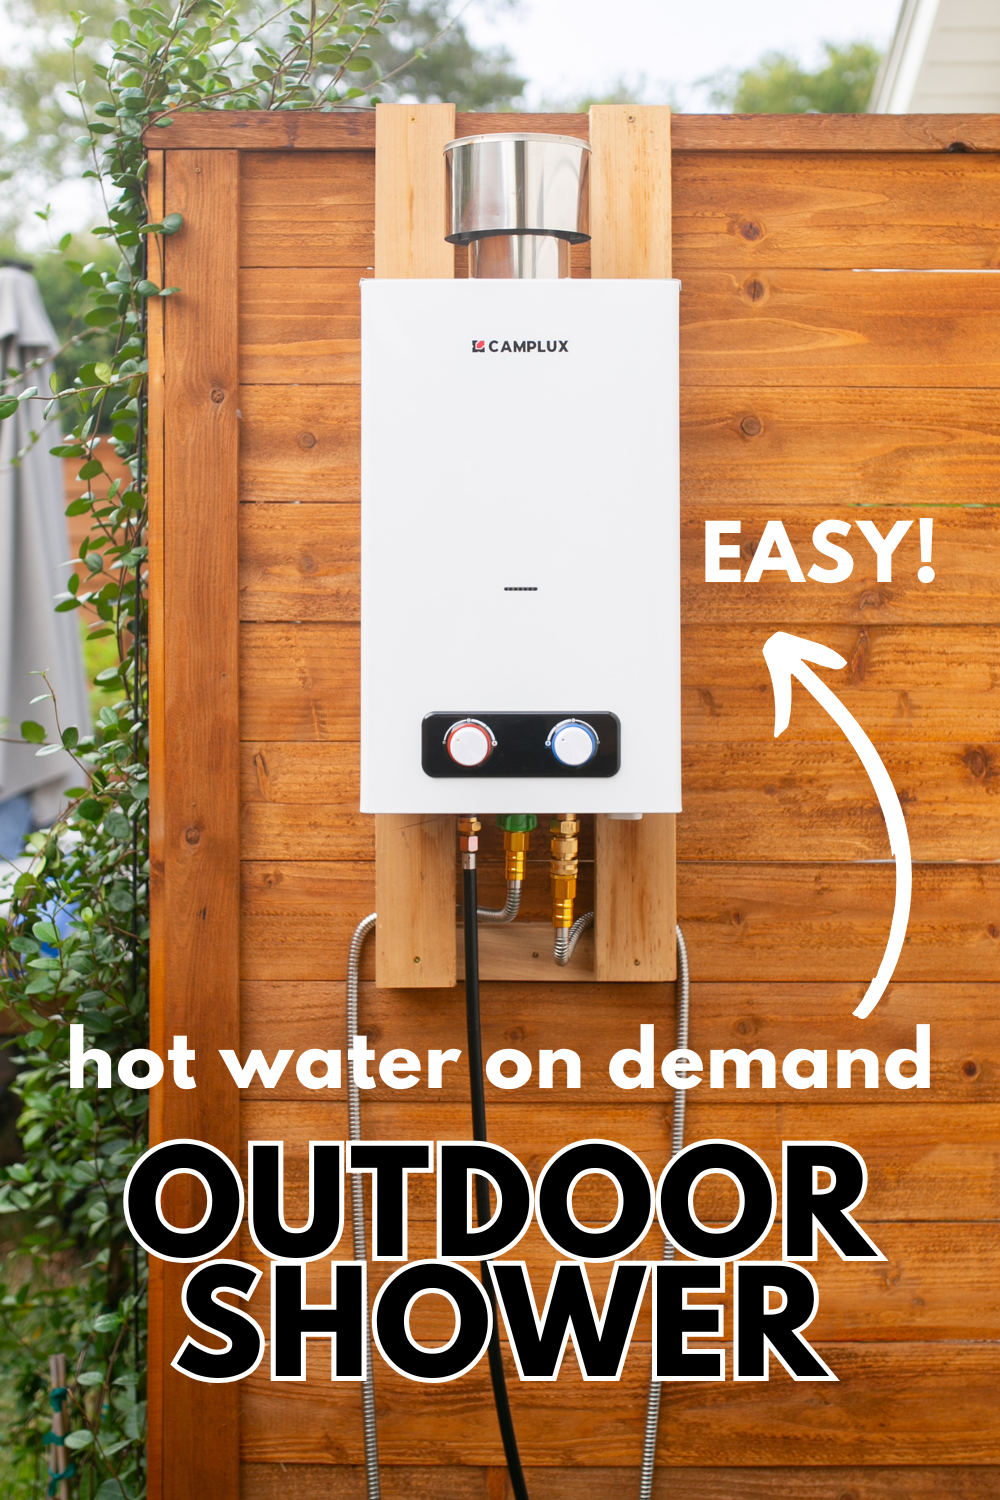
I used the same propane tankless water heater that we already have on our backyard outdoor shower. It’s inexpensive, portable, easy to hook up, and heats water quickly. If you already have one, there’s a good chance you can use it here too.
Tip: This setup works even better with a surrounding deck. I built a simple one for ours that makes using the pool so much easier, and I offer build plans to walk you through the entire build.
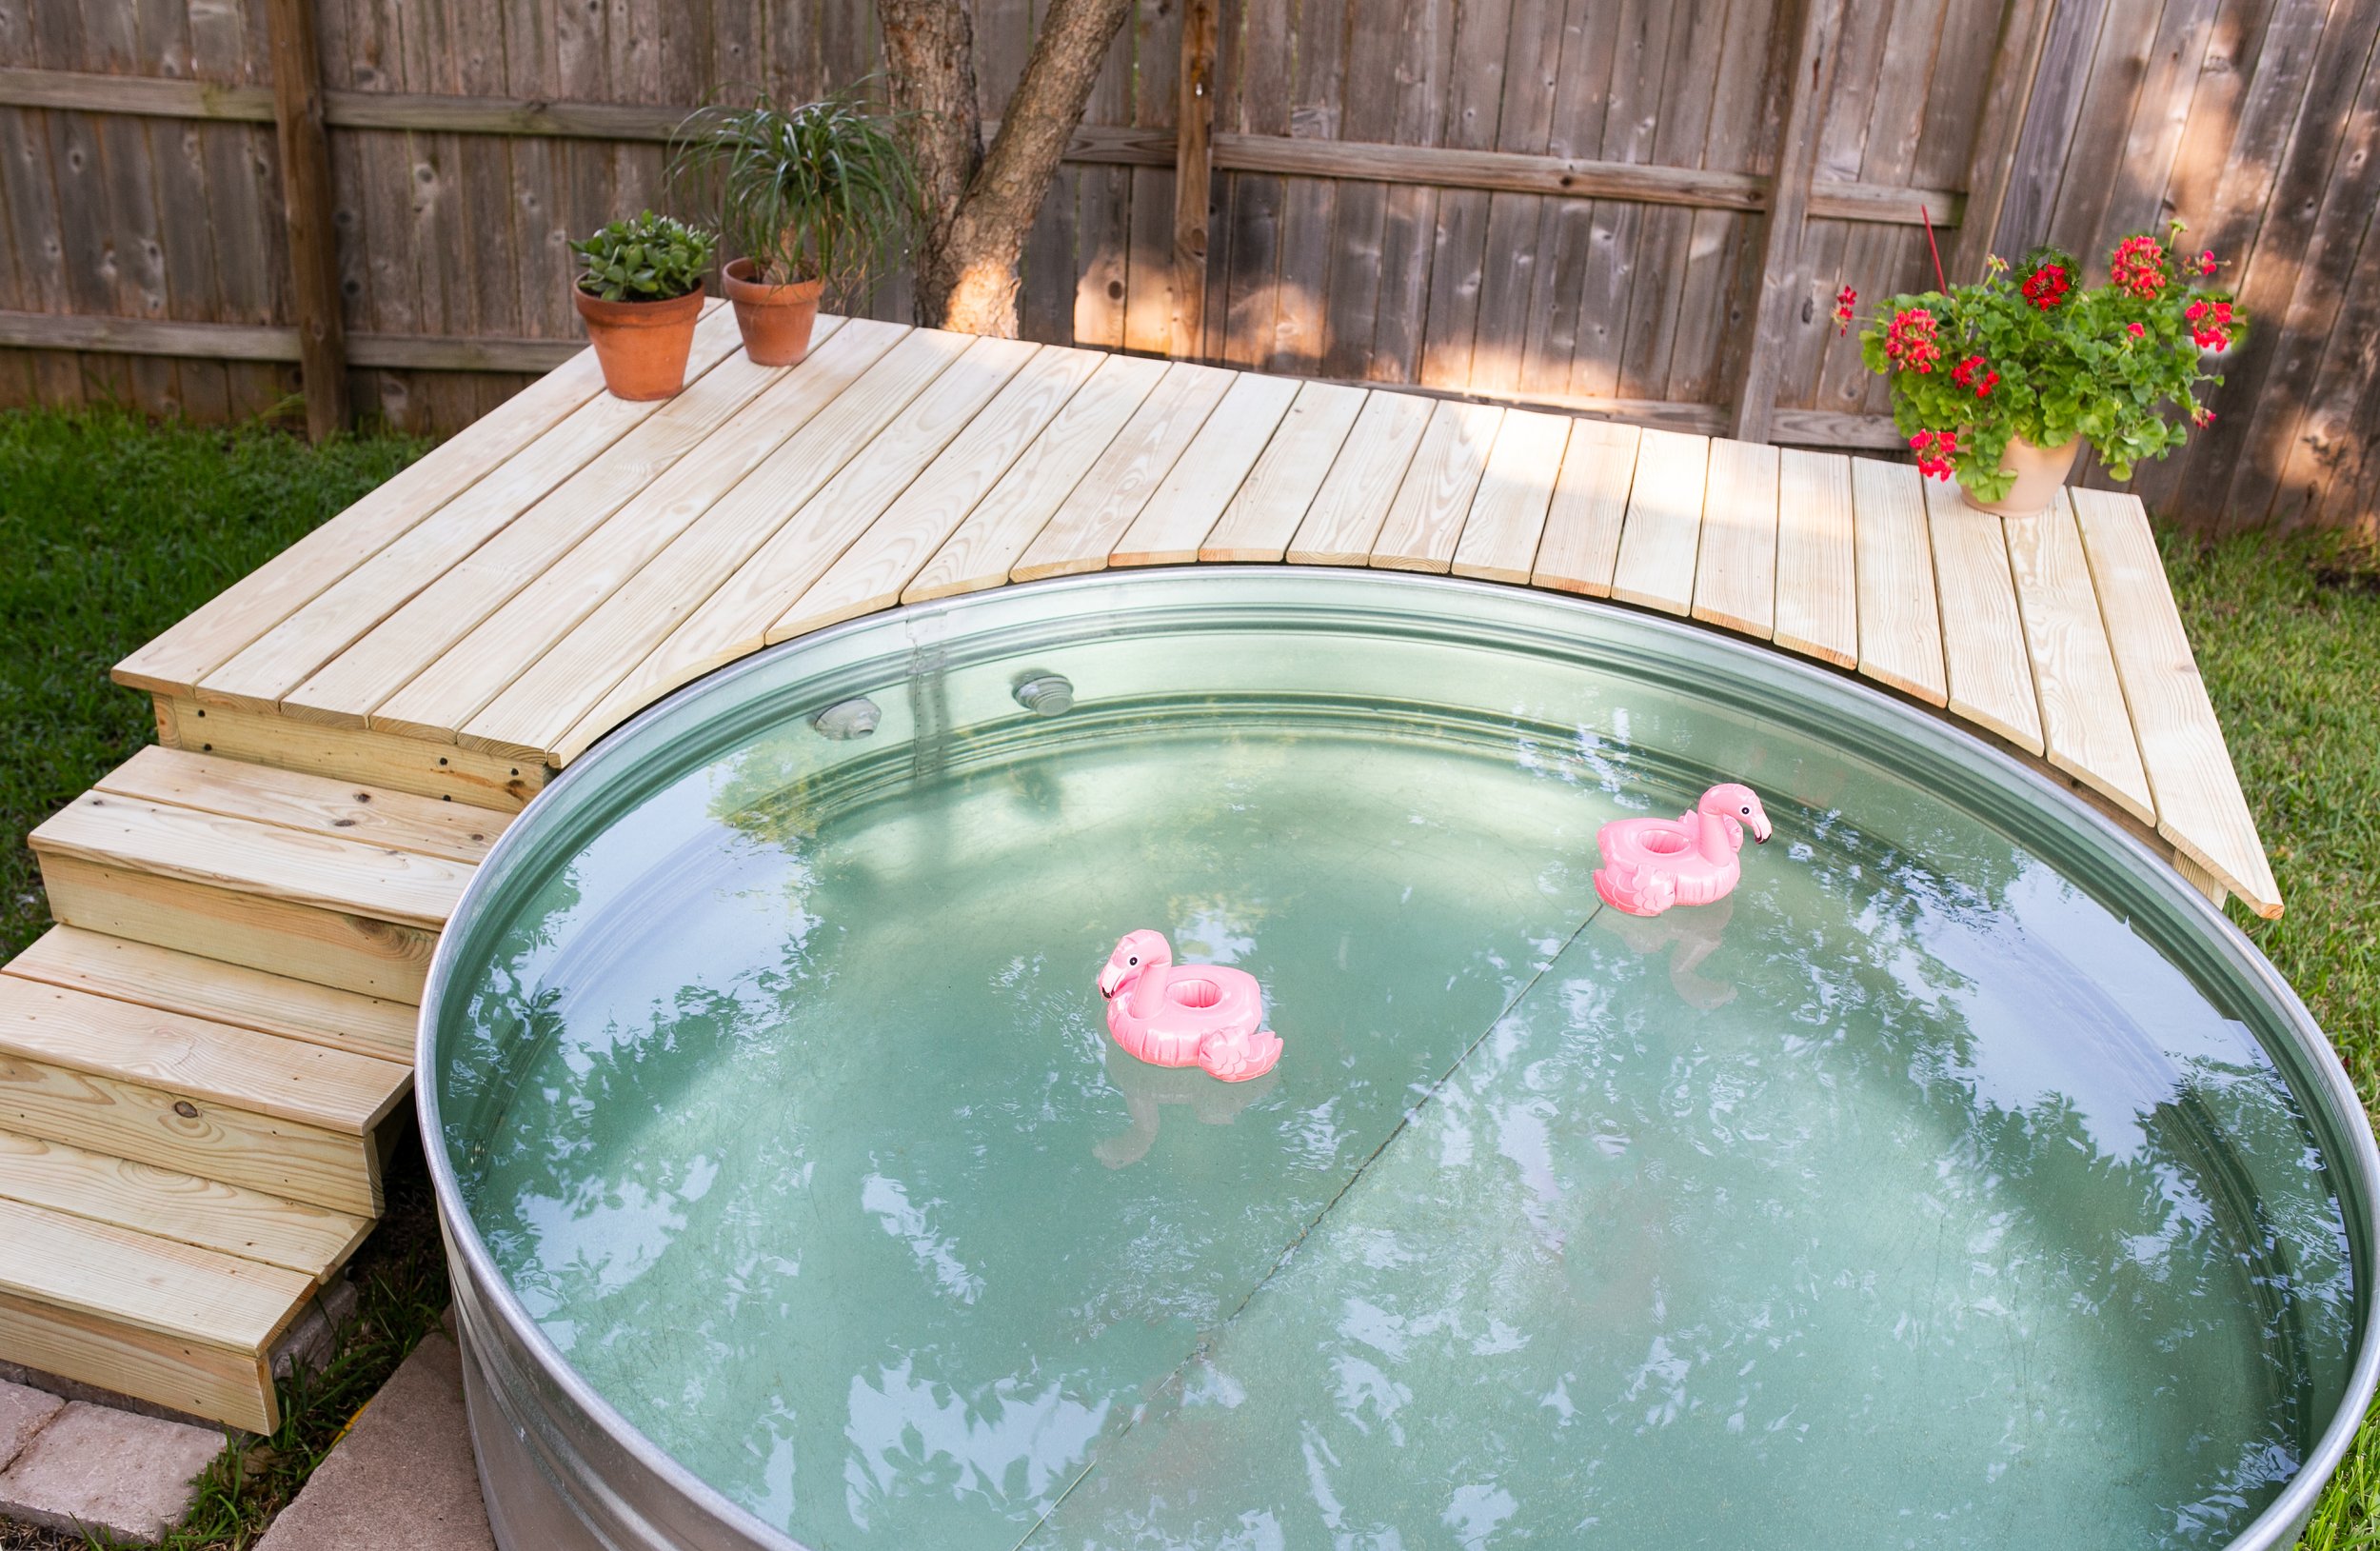
Materials and Planning
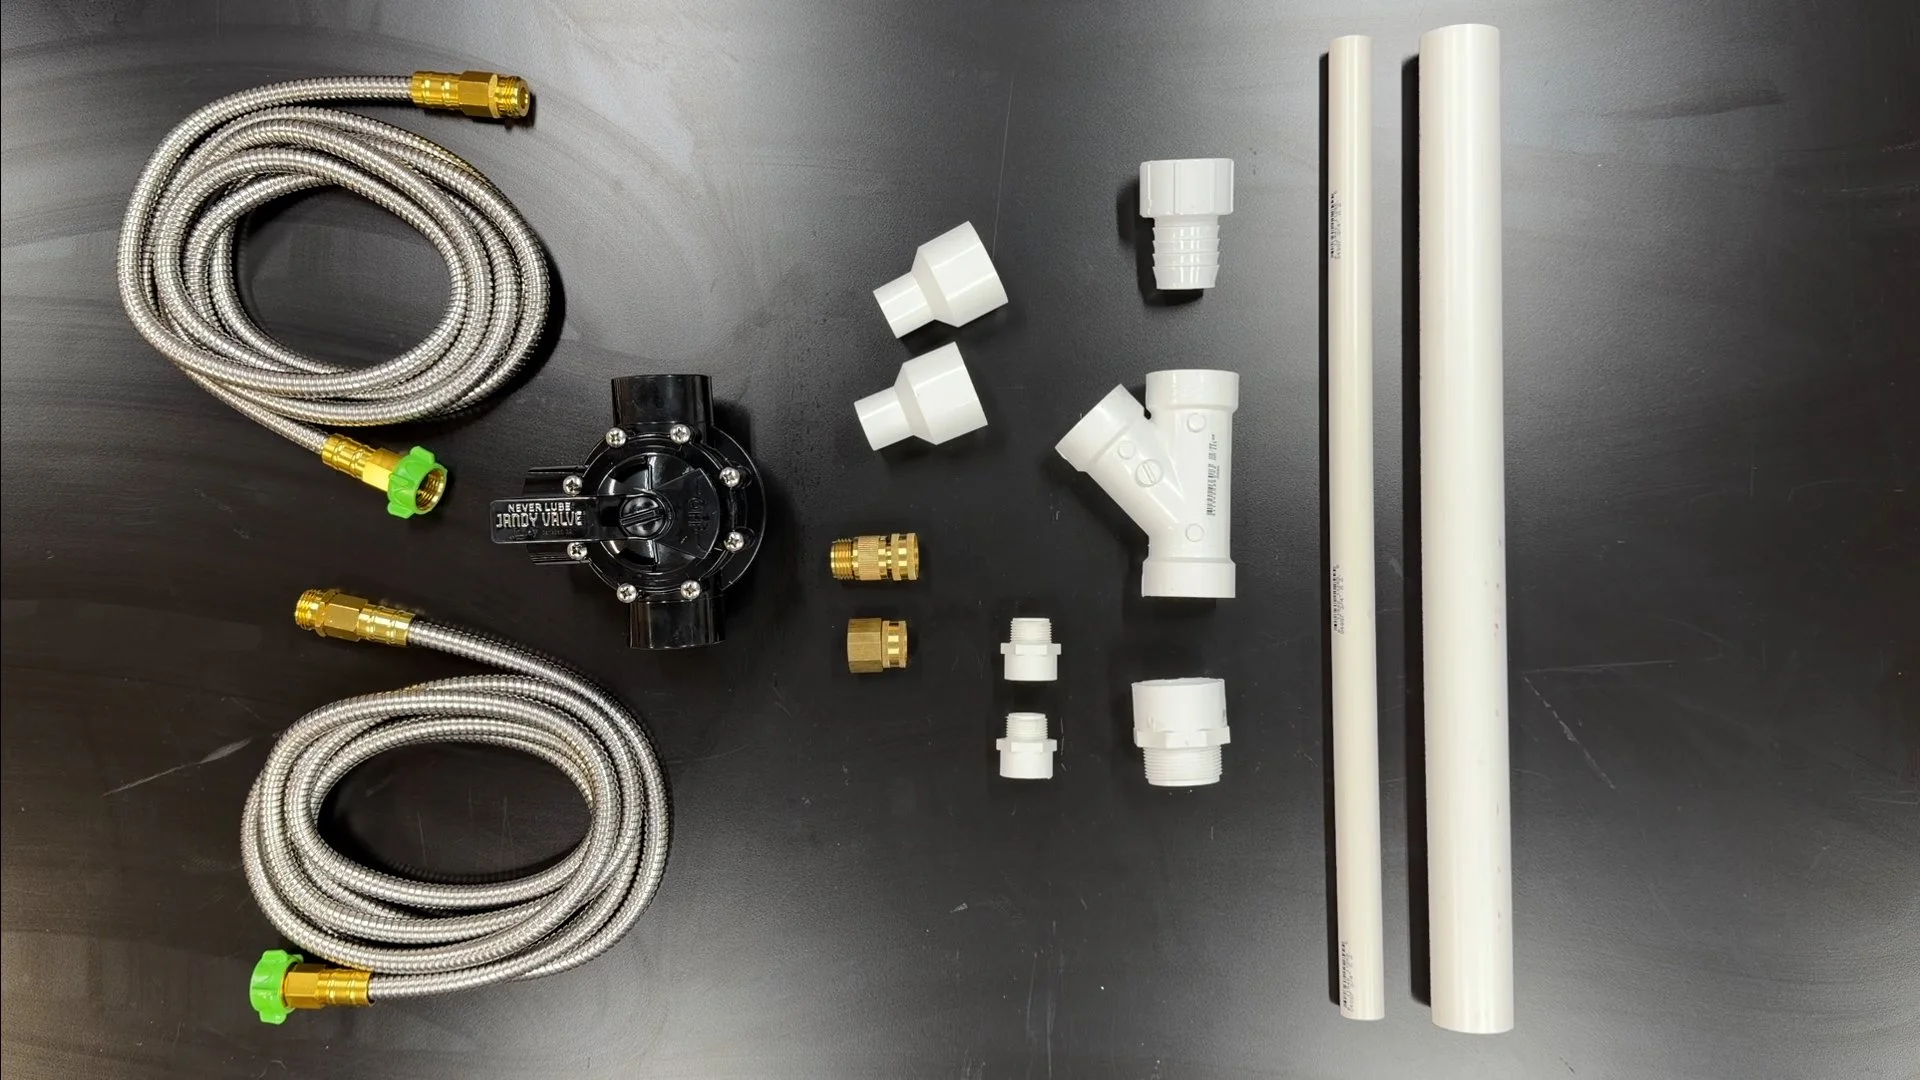
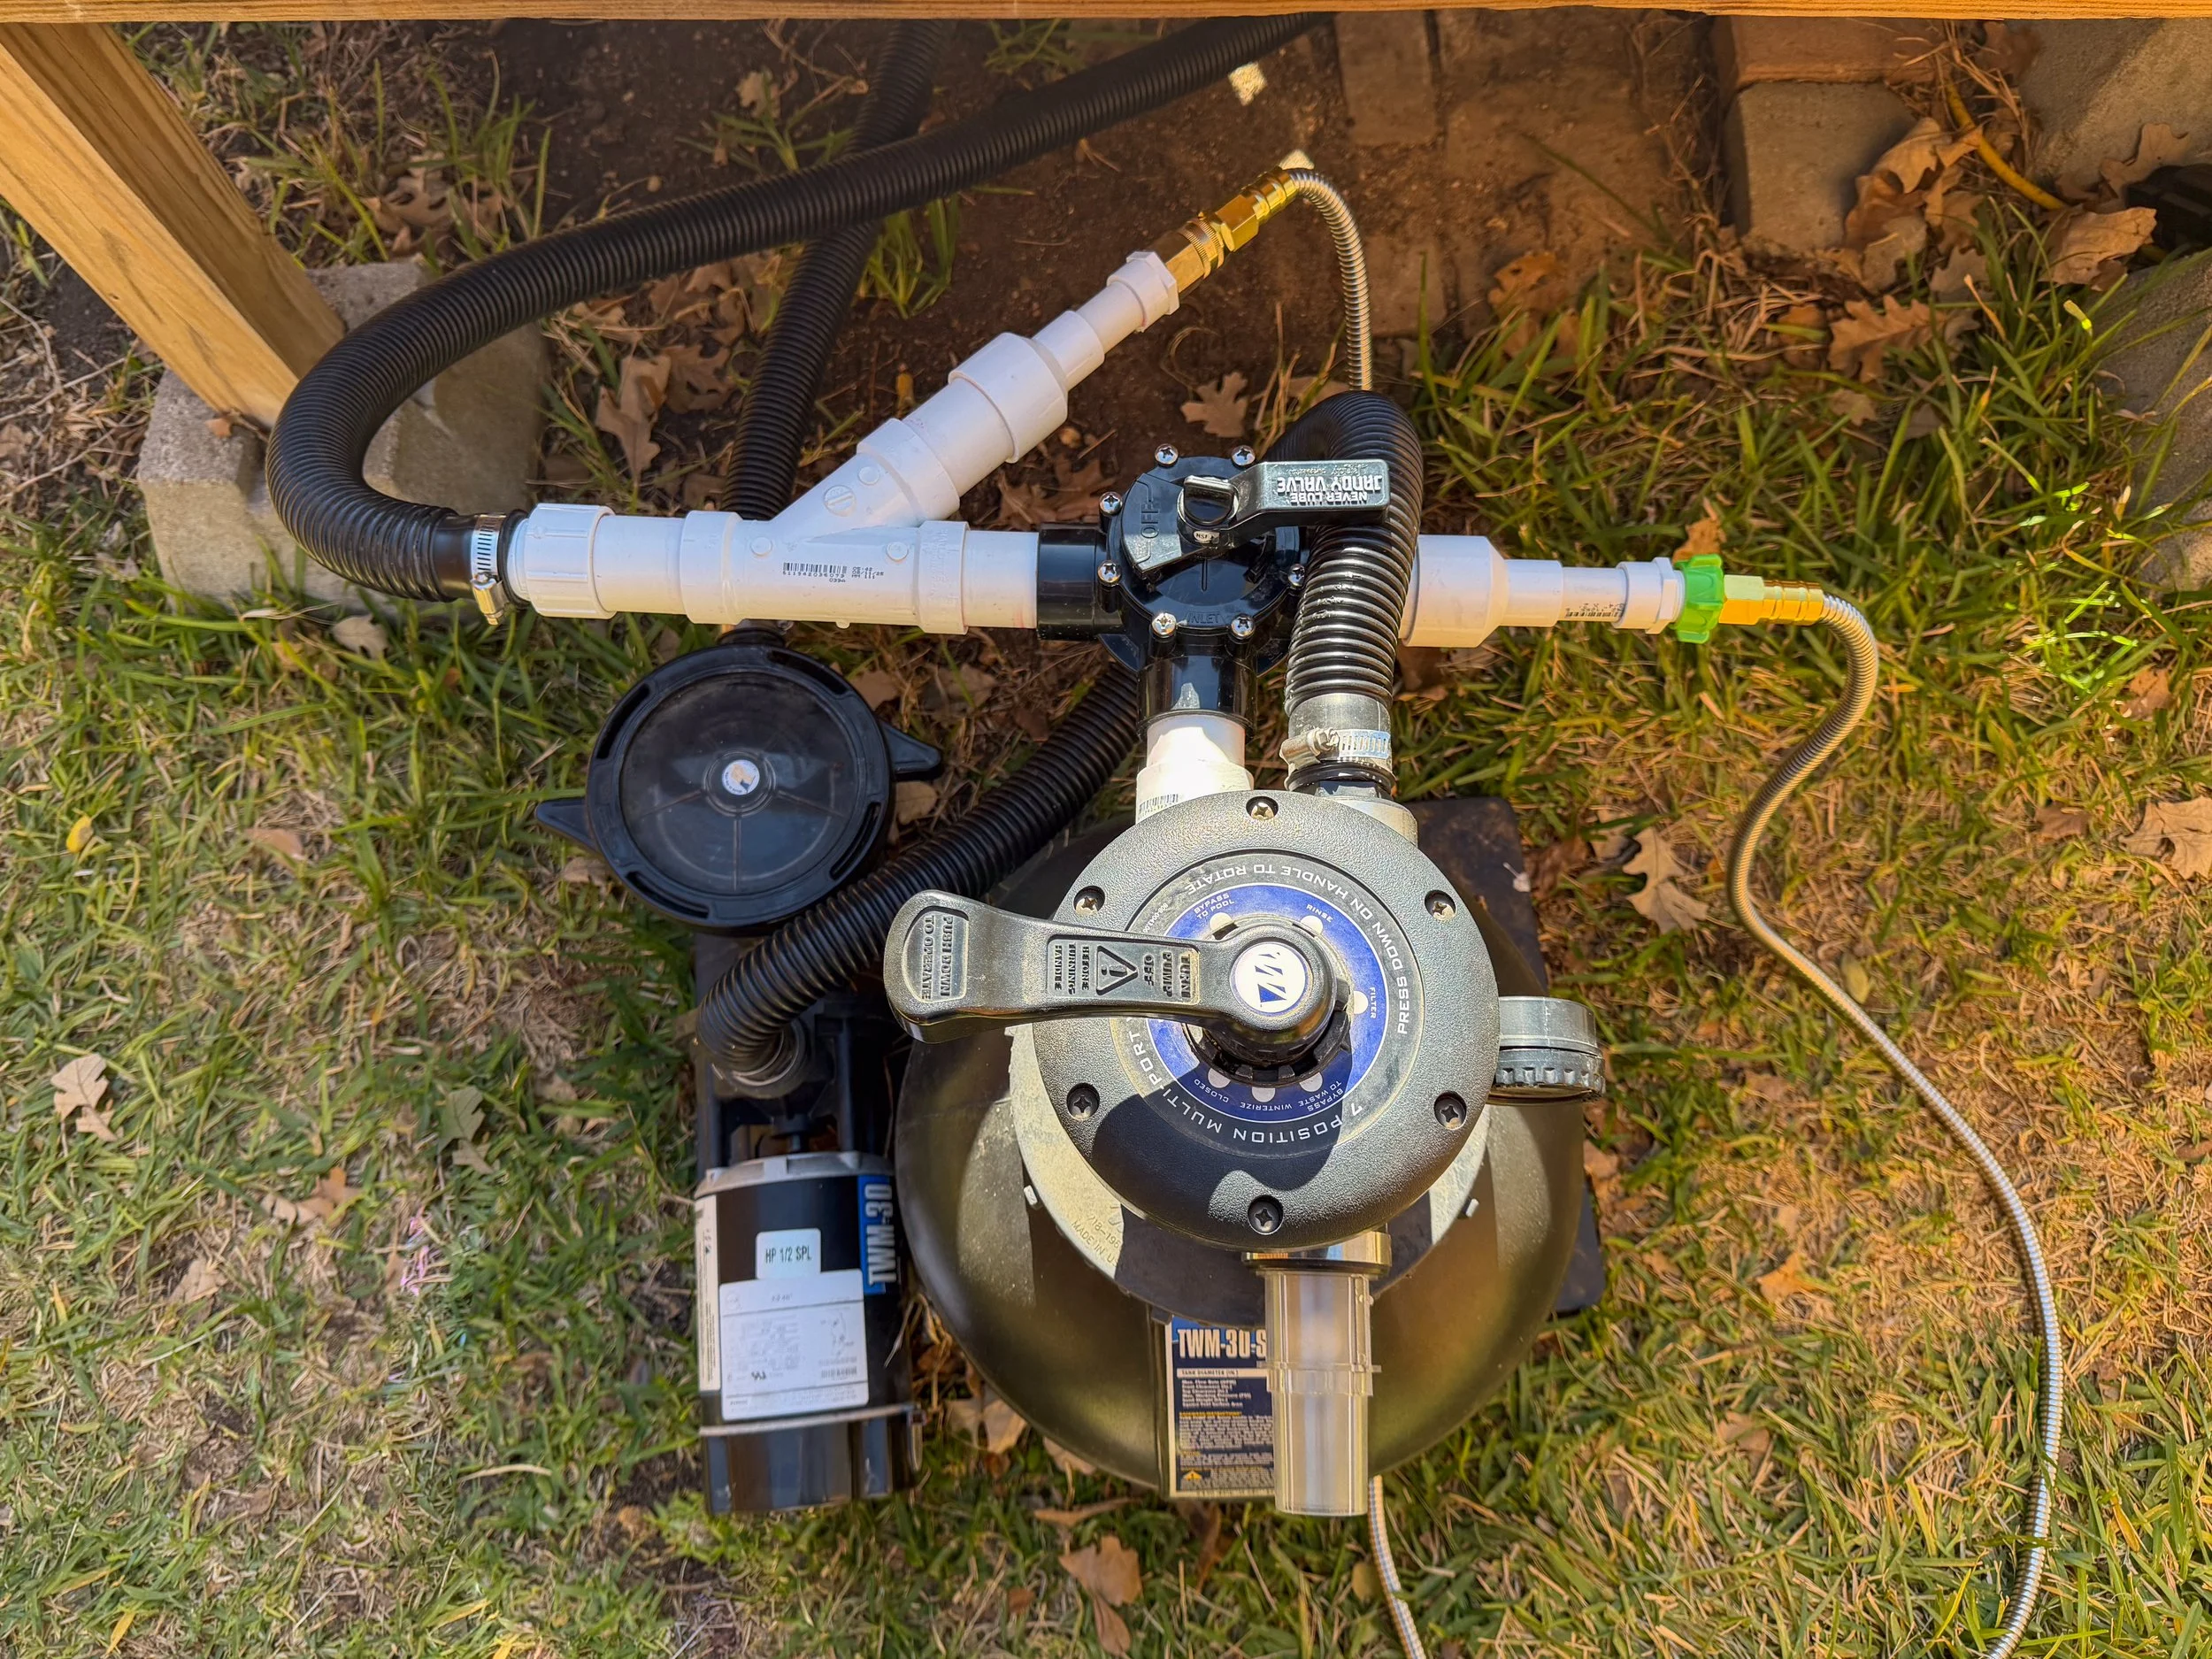
Tools/Materials I used for this project:
The build video walks you through exactly how everything connects, step by step, with great visuals. I’ve linked everything I used below to make it easy to source.
General Stock Tank Pool parts HERE
Main Line (1 1/2 inch PVC, schedule 40):
1-1/2″ PVC Pipe (cut into 3 inch sections)
1-1/2″ PVC MPT × Slip Adapter (threads into filter outlet)
1-1/2″ Slip × 1-1/2″ Hose Barb Adapter (connects back to plunge valve hose)
Heater Supply Line (3/4 inch):
3/4″ PVC Pipe (cut into 3 inch sections)
Garden Hose (Heater supply. Any hose is fine)
Heater Supplies (more detailed info here)
Heater Return Line:
This line runs from the heater back to the pool and includes a check valve to prevent reverse flow in pool mode.
Garden Hose (Heater return. Any hose is fine)
(2) GHT male → NPT male adapter (used to connect the hose to the check valve)
Check Valve (installed inline, arrow pointing toward the pool)
Installation order (heater return line): Garden hose → adapter → check valve → adapter → brass 3/4″ GHT Female × 3/4″ FPT adapter → PVC.
Flow Control:
Consumables:
Tank Insulation:
(3) Rug Pad (tank wrap insulation - long enough for the circumference of the tank)
⚠️ Important note: The build video does not include a check valve on the return line — this was an oversight that I caught after filming. A check valve is required to prevent reverse flow when the system is in pool mode. It's included in the materials list above and you'll see it called out in the return line instructions below. If you're building from the video, make sure to add this part.
Quick Note on Fittings
If you’re new to plumbing, the terms can sound intimidating — but they’re actually simple:
MPT = threads on the outside (Male Pipe Threads)
FPT = threads on the inside (Female Pipe Threads)
GHT = standard garden hose threads (seal with a rubber washer)
Slip fittings = glued connections
At the end of the day, it’s not at all as intimidating as it looks. You’re just simply connecting pieces to move water from point A to point B.
Insulating the Tank
If you’re going to do this, insulation makes a world of difference in both heating the tank faster and retaining the heat.
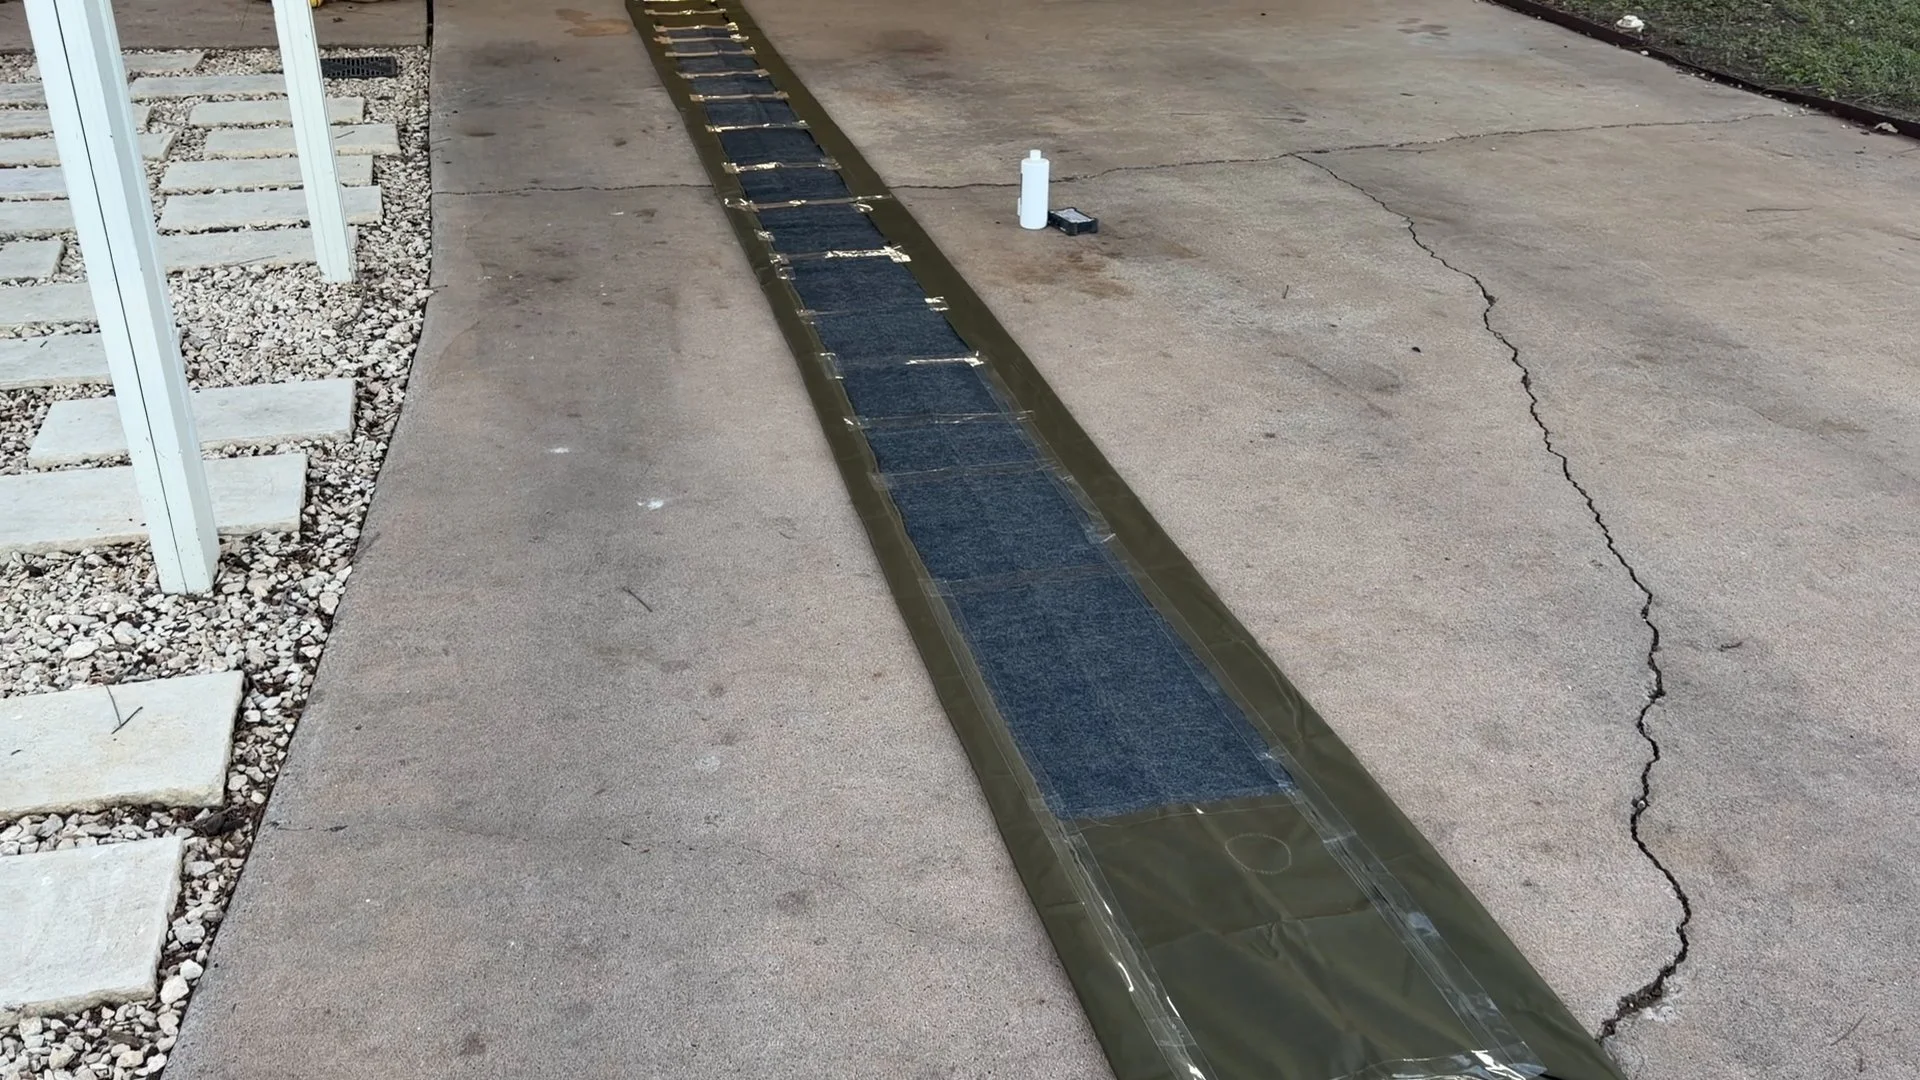
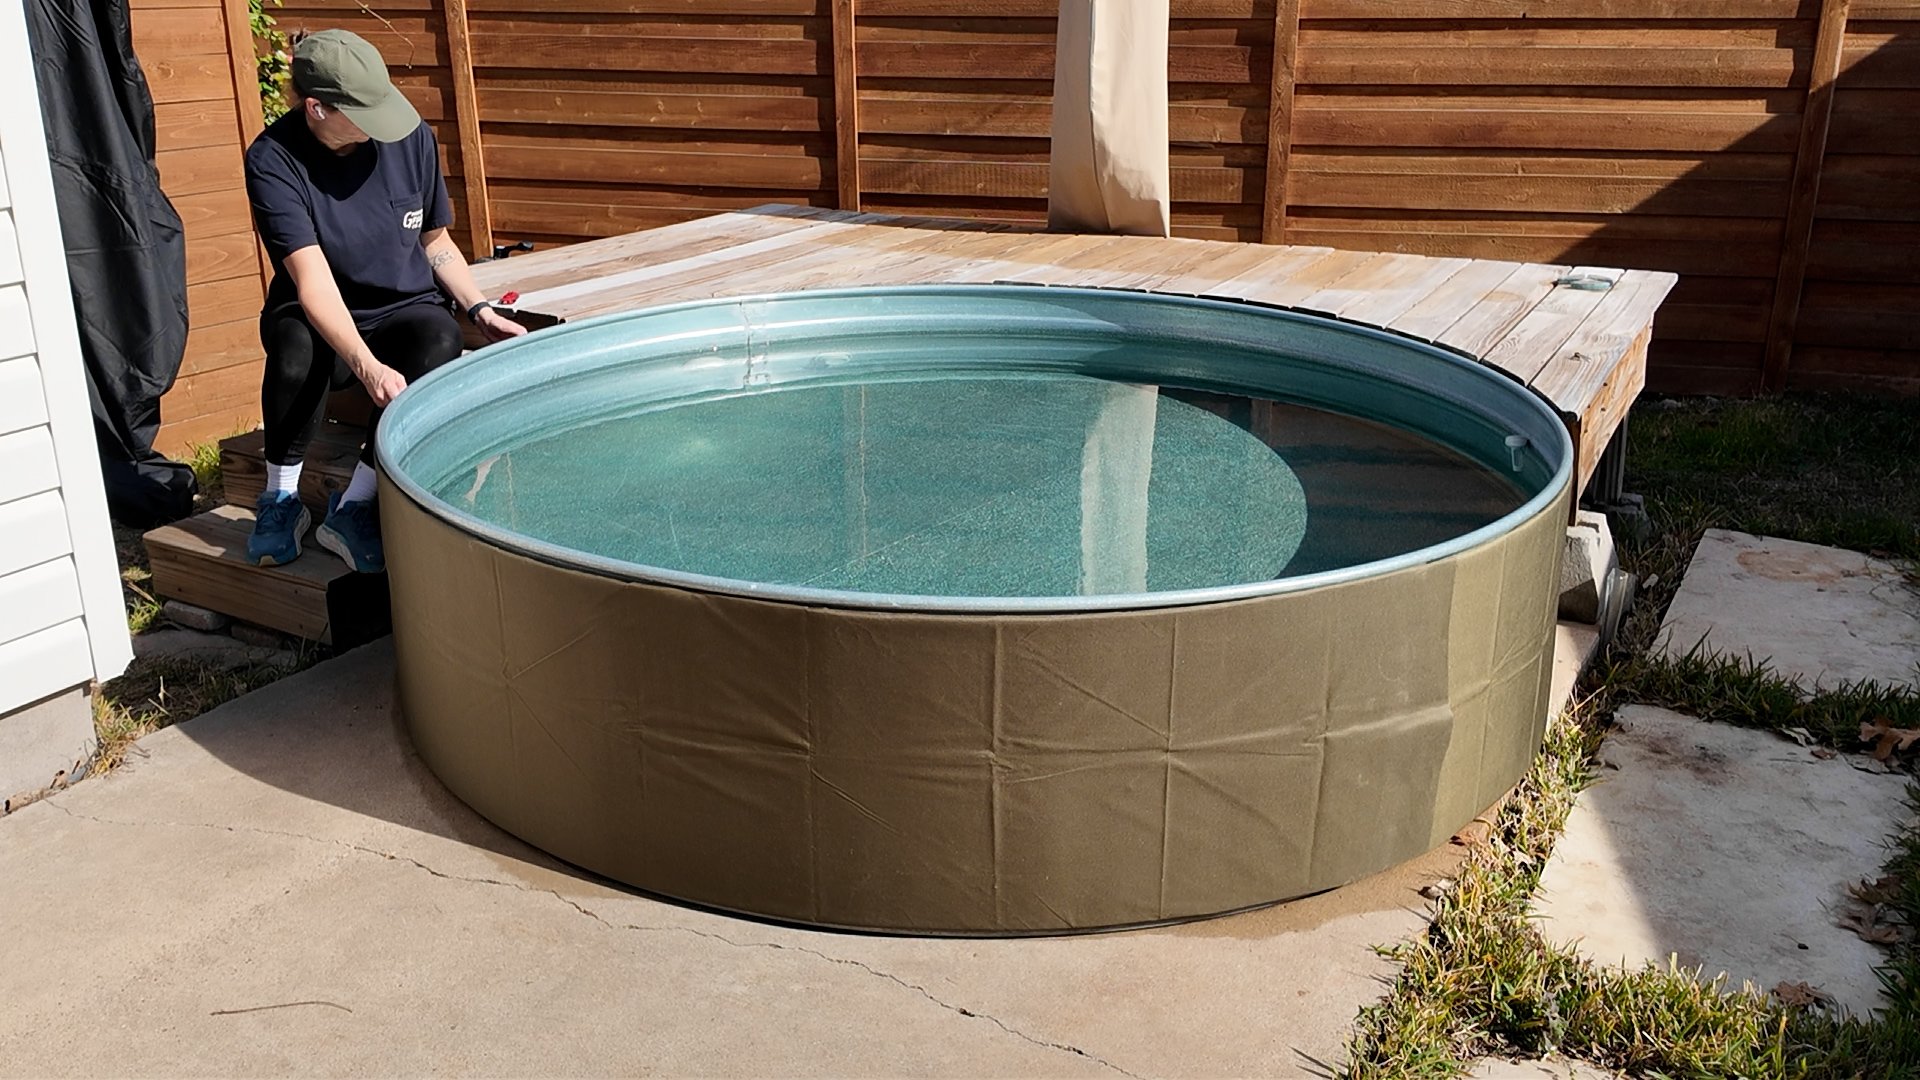
For the sides:
A wool or felt layer. I figured out that a 2 foot wide rug runner backing pad was perfect and easily accessible)
Paired with reflective insulation
Enclosed with waterproof outdoor fabric
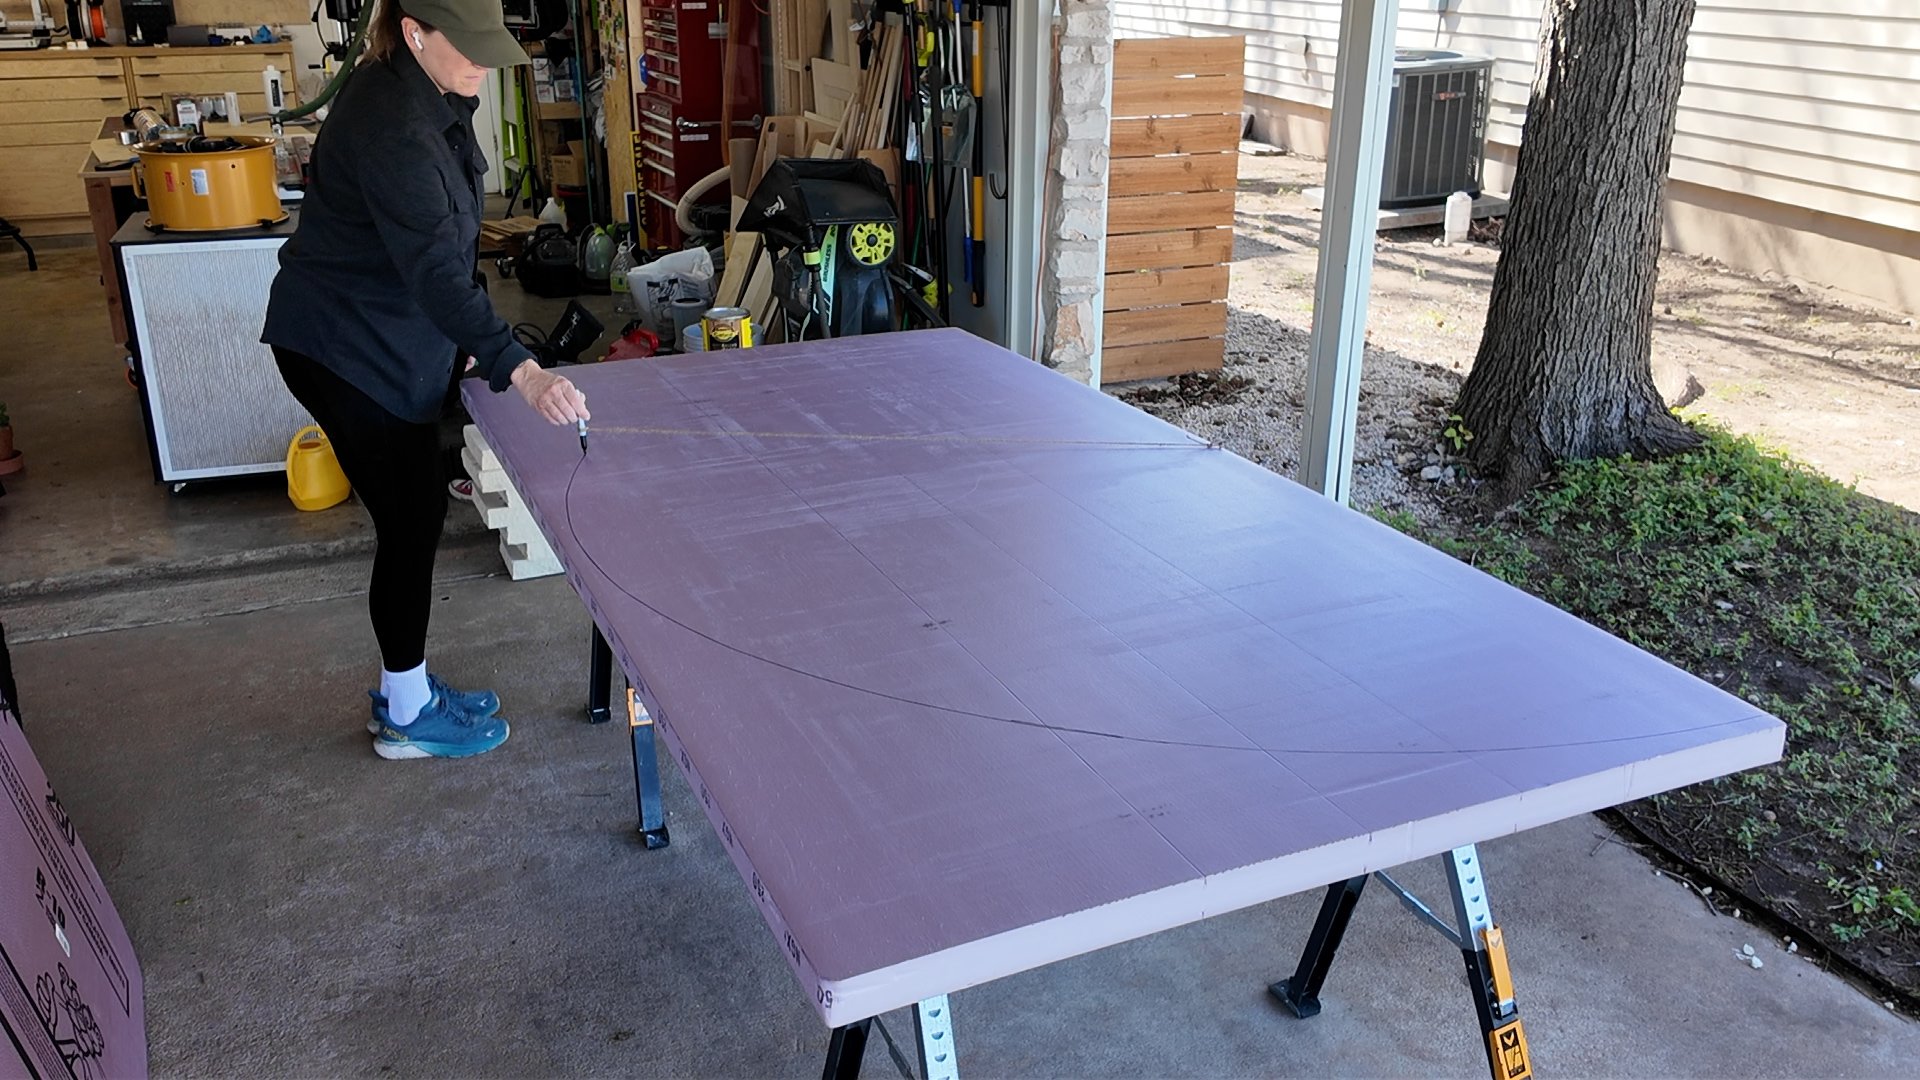
For the top:
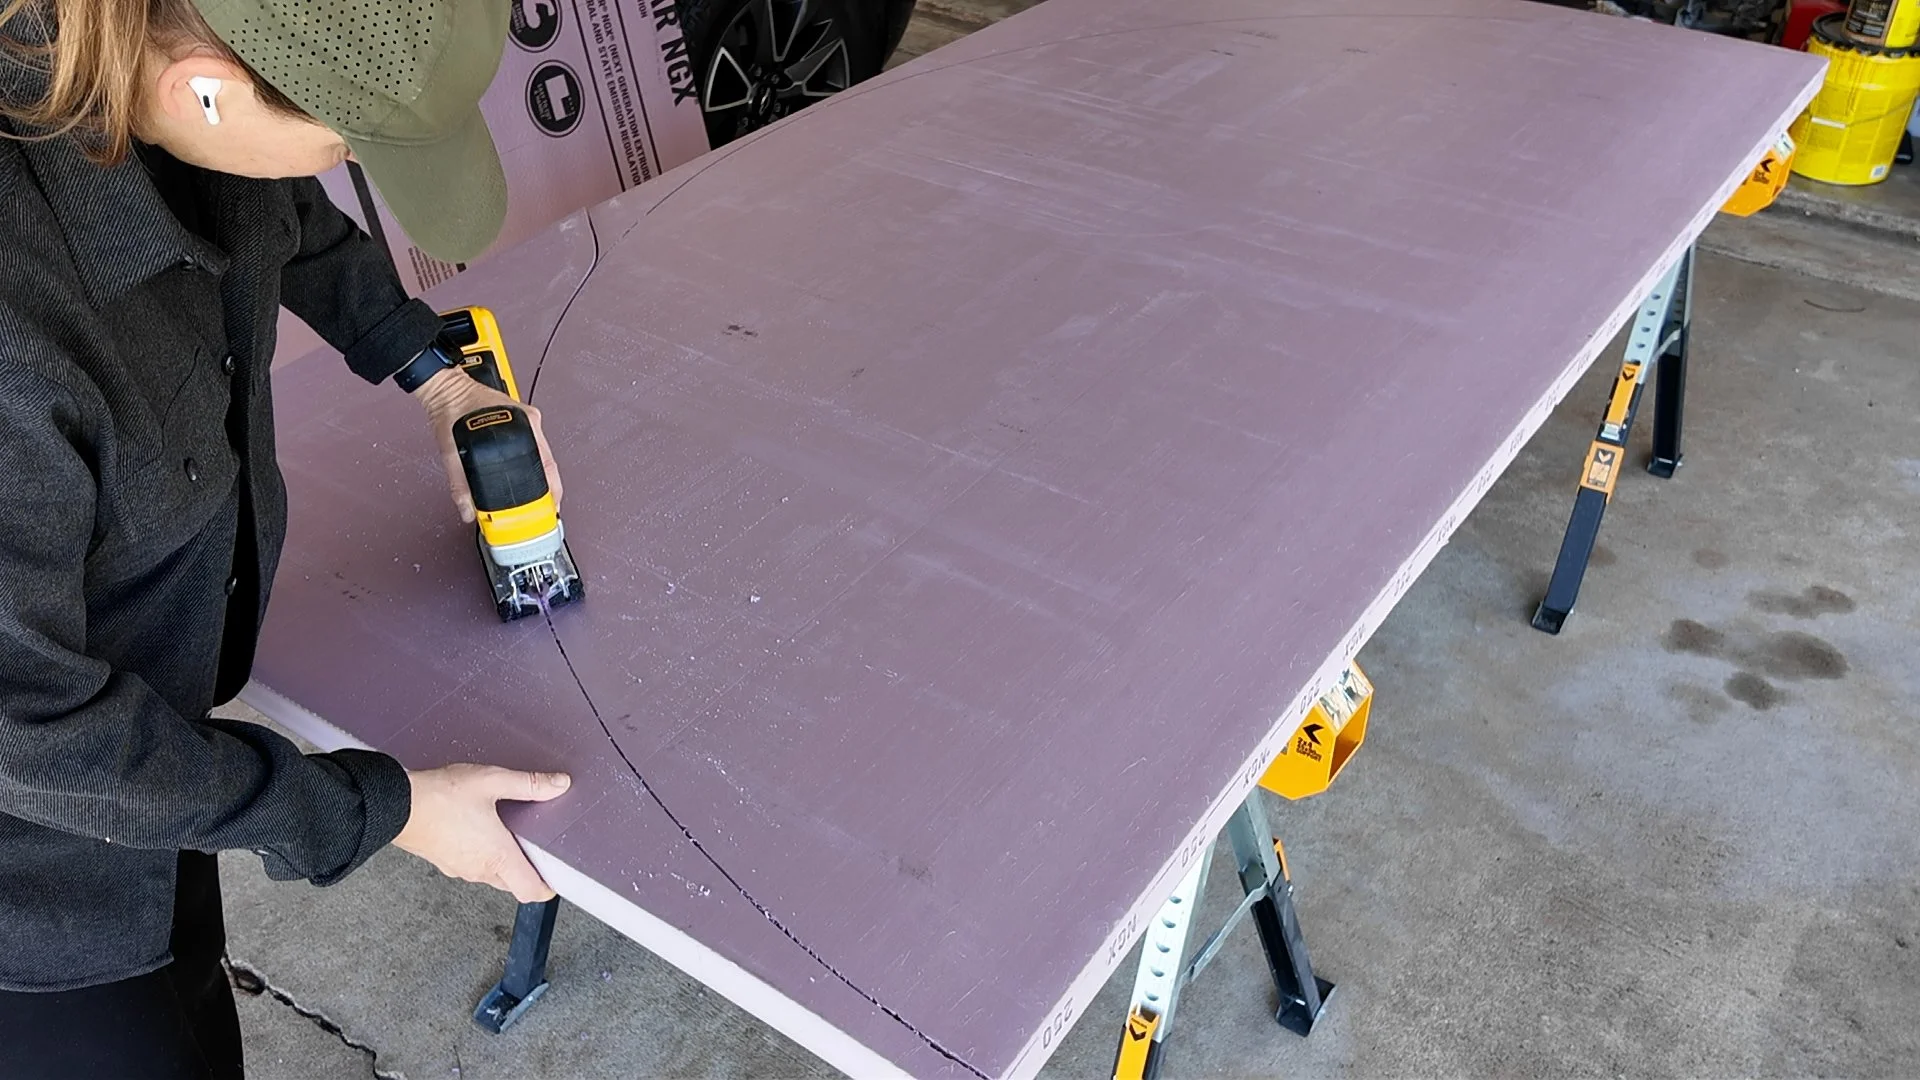
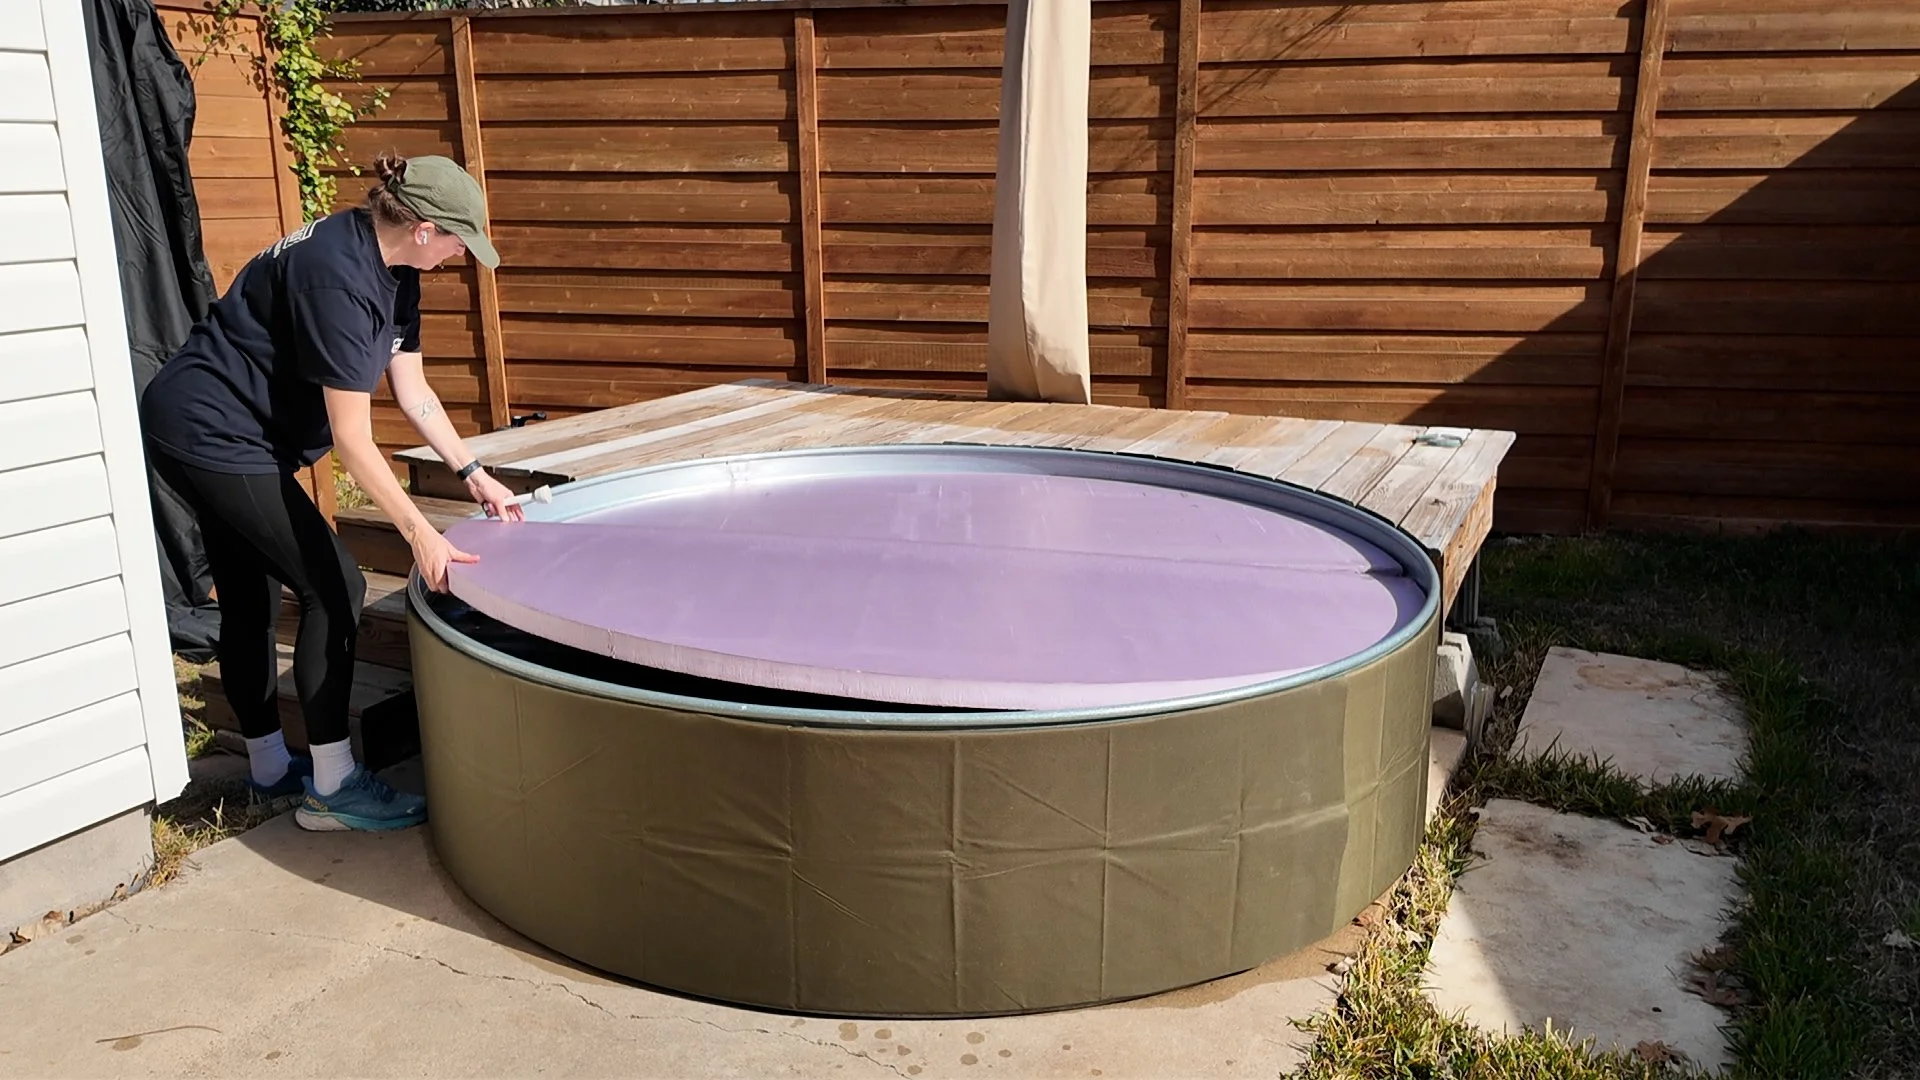
Rigid foam board (1–2” thick)
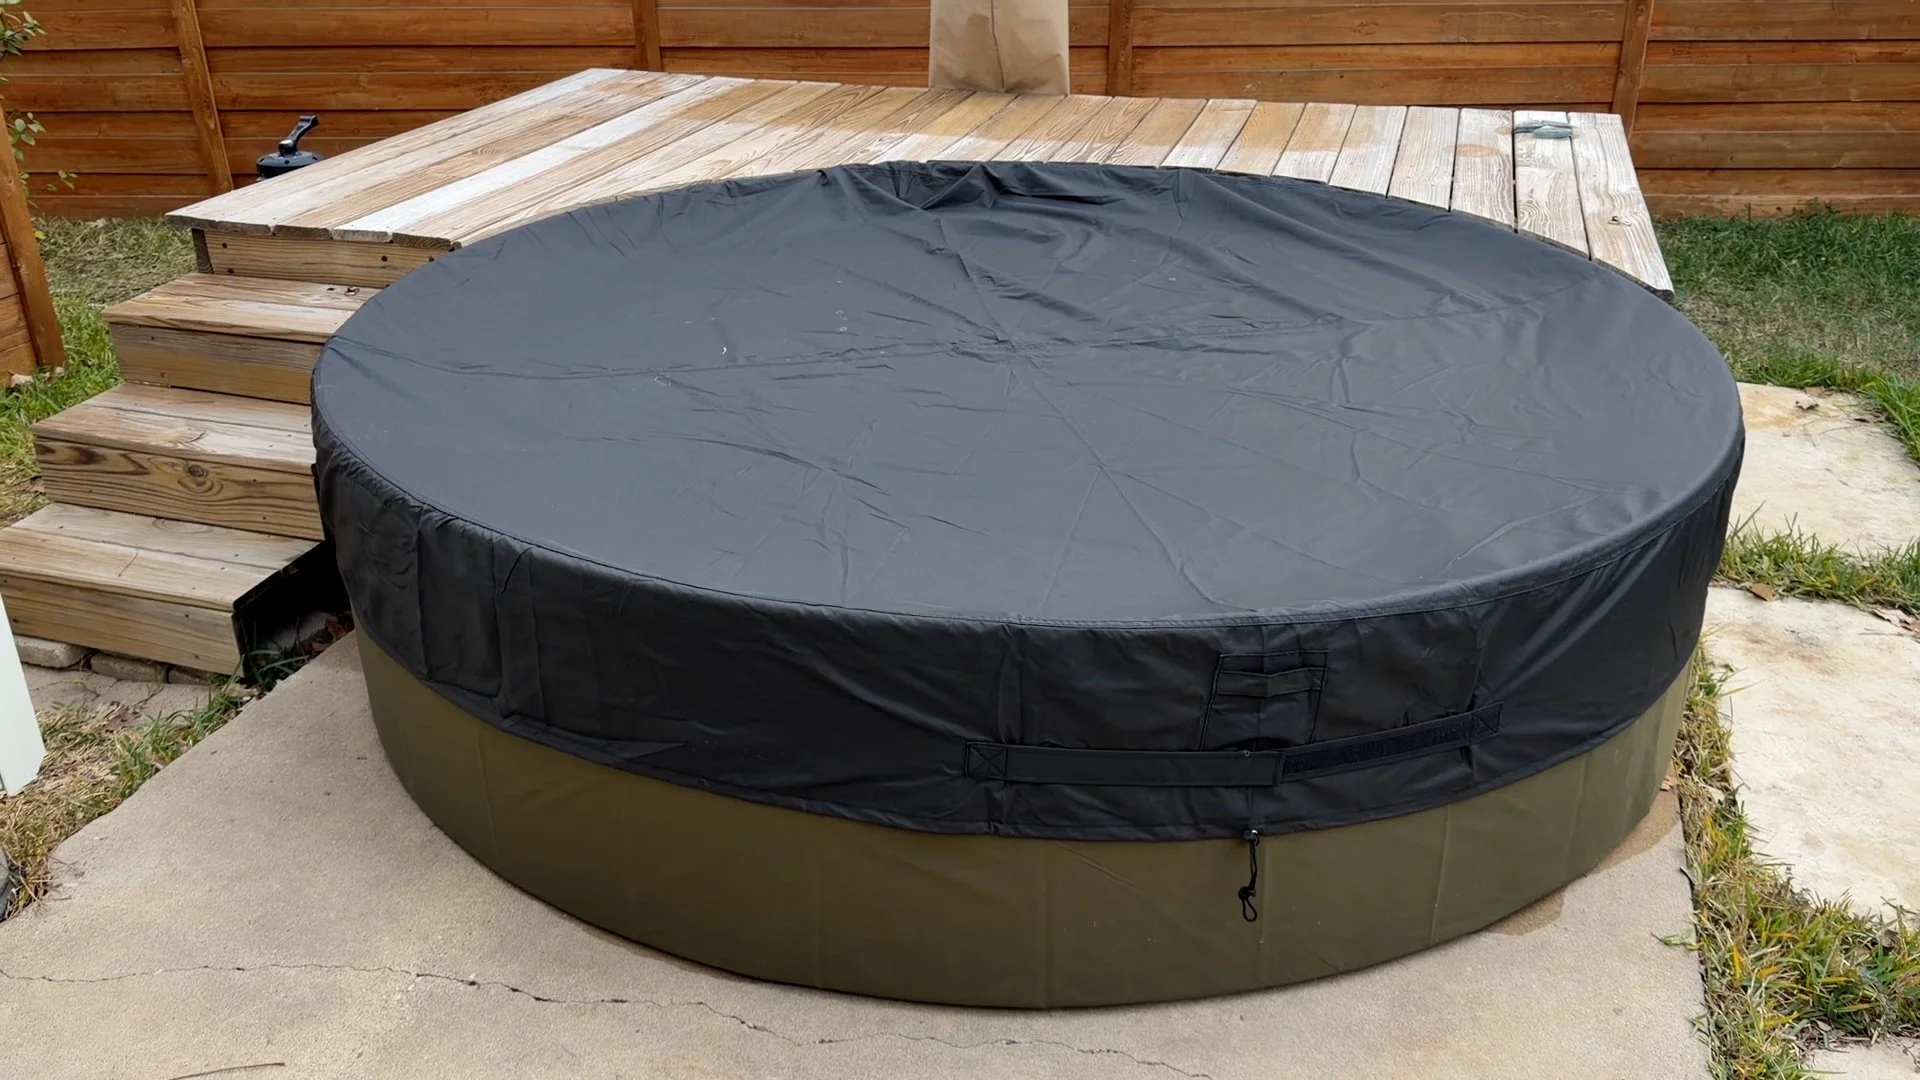
Covered with a good pool tank cover
How Much Propane Does It Use?
To heat my tank from 60°F to about 103°F I used about half of a standard 20lb propane tank. In my area, that’s about $10 per heat up. Of course this varies on outside temperature, starting warm up temp, insulation, etc.
What to Expect: Heating Performance
I want to be upfront about this because it's the question everyone has: how long does it actually take?
Starting from 60°F on a cool day with the insulation in place, here's what I experienced:
10 minutes in: already hitting 100°F at the outlet
3 hours in: sitting around 84°F overall tank temp
7 hours in: full hot tub temps
A few things that affect your heat-up time:
Starting water temperature — summer refills will be much faster than a cold start
Outside temperature — a cold day means more heat loss through the tank walls
Insulation — the side and top insulation made a meaningful difference; don't skip it
Mixing the water — I used a pool net to mix the hot water at the top with cooler water below during heating, which helped it heat more evenly
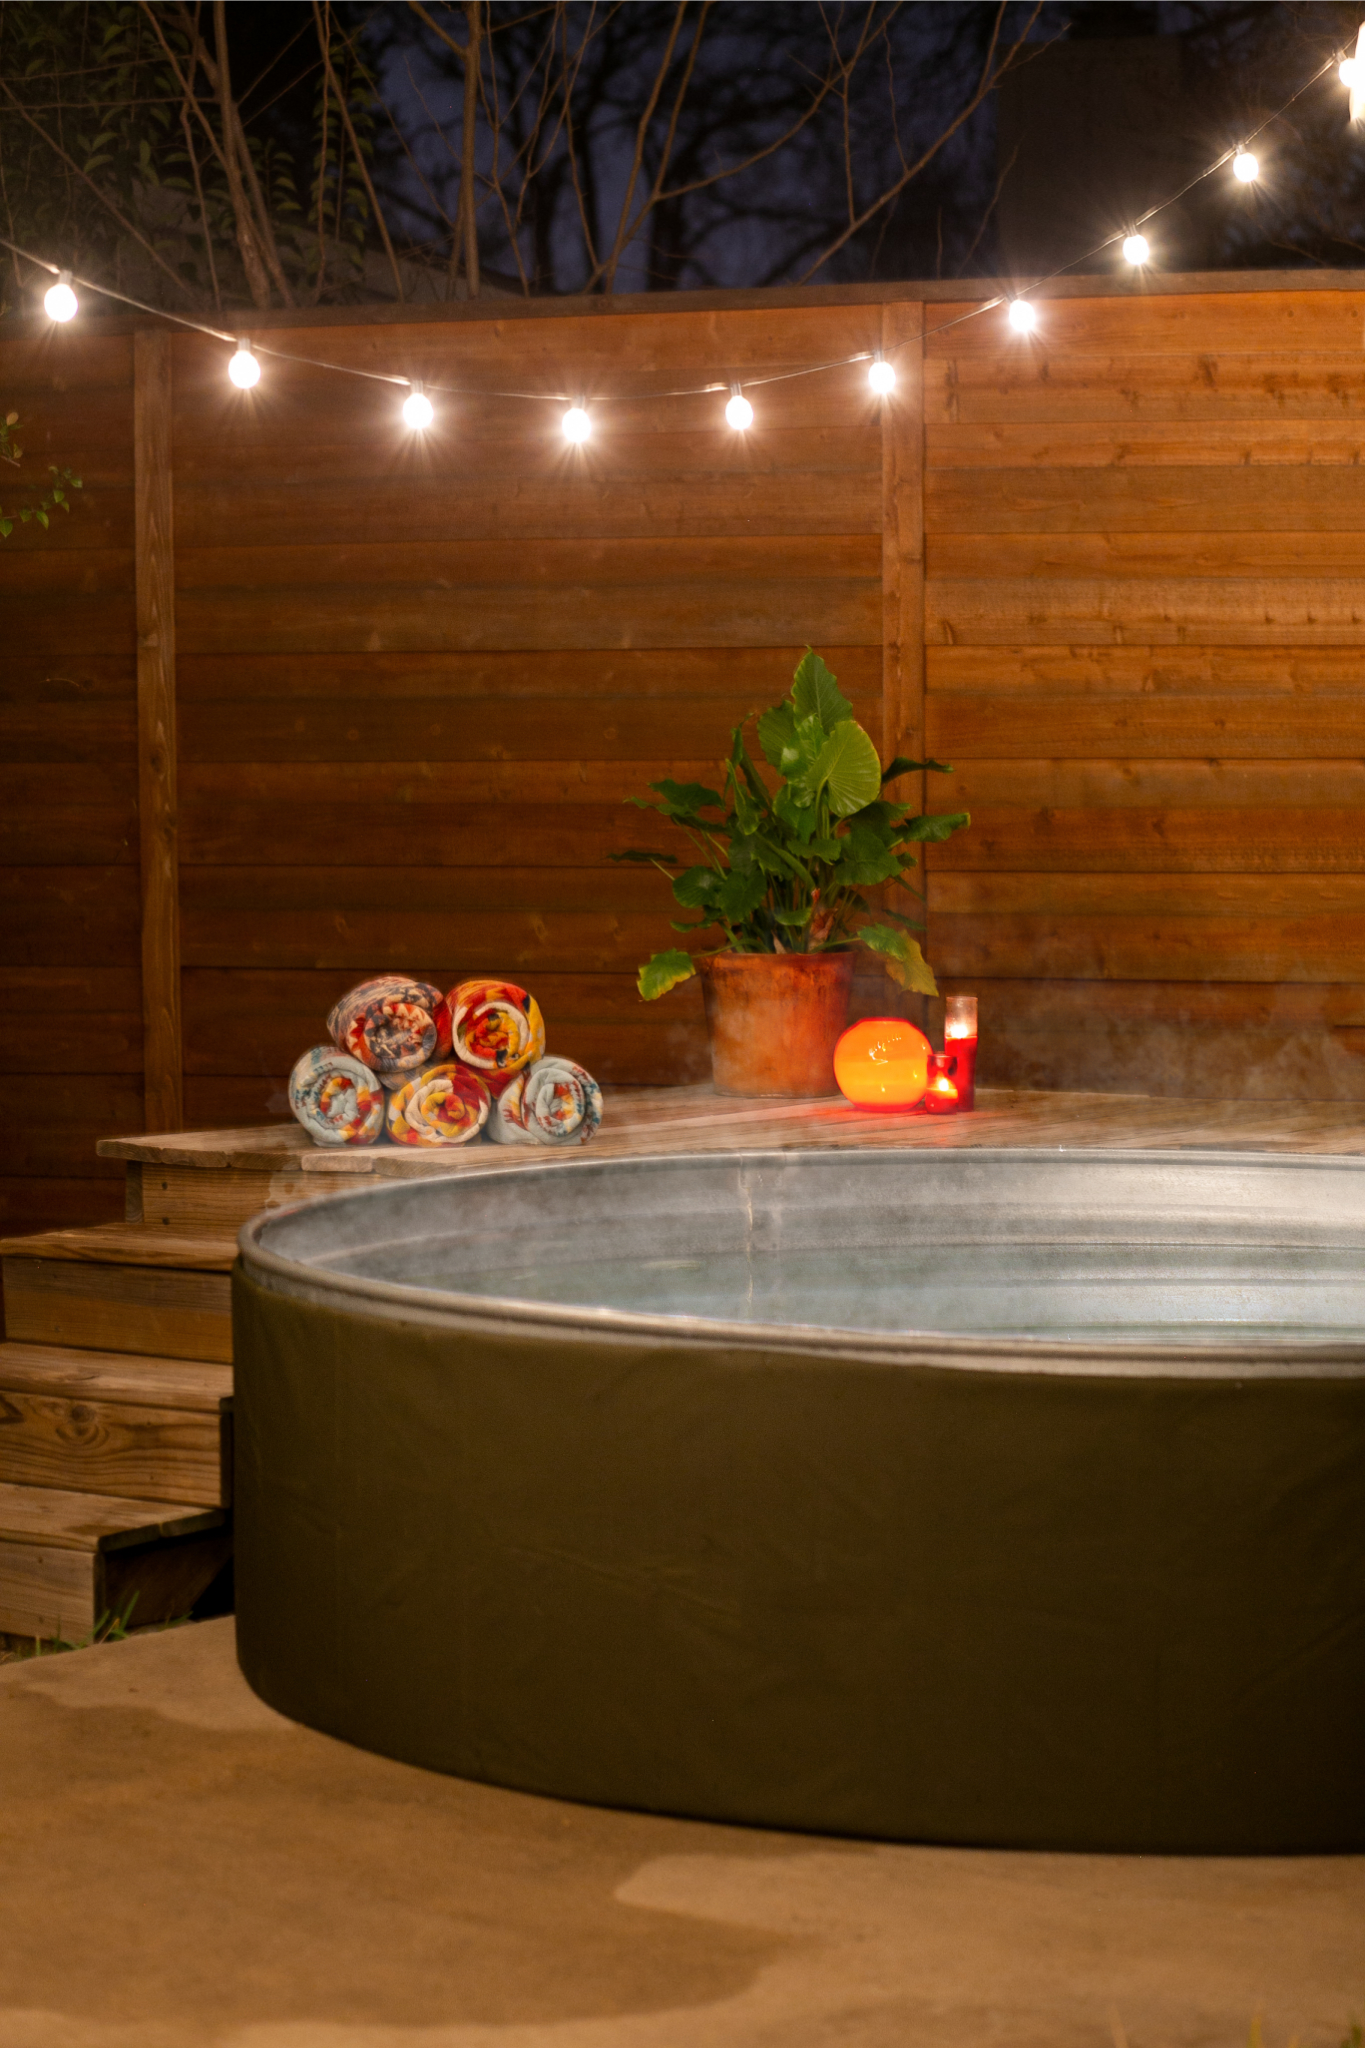
The honest take: this setup is best for planned use. Fire it up in the morning, use it in the evening. It's not a push-a-button-and-jump-in situation. But for occasional soaks, stretching your pool season, or relaxing cool-weather evenings, it completely changes how you use the space. Once I was in it, it was totally worth the wait.
Final Thoughts
This project turned out to be simpler than I expected and the result is genuinely great. It adds a whole new level of relaxation to a setup you already have — and it makes the stock tank usable way more of the year.
A few honest notes before you build:
Plan for several hours of heat-up time, especially on cold days
Insulation is not optional if you want this to be efficient — do the sides and the top
The check valve on the return line is required — it's in the parts list and the build instructions even though it's not in the video
If you already have a propane heater for an outdoor shower, you can share it between both setups by just swapping the hoses over
All of the plumbing sits neatly under the deck, which keeps everything tidy. If you haven't built a deck for your pool yet, it makes this whole setup feel a lot more finished.
🪵 Pool Deck Build Plans — designed specifically for an 8' stock tank pool.
You Might Also Like These Projects!
Follow Maker Gray:
Instagram @MakerGray https://www.instagram.com/makergray/
Facebook https://www.facebook.com/MakerGray/
TikTok: https://bit.ly/3lXgdHh
If you liked this project and want to stay up to date with what I’m building, be sure to sign up for my newsletter and you’ll get an email sharing new DIY projects!
Some of the links above are affiliate links, which means I earn a small commission if you make a purchase at no extra cost to you. As an Amazon Associate, I earn from qualifying purchases. Thanks for supporting Maker Gray!