
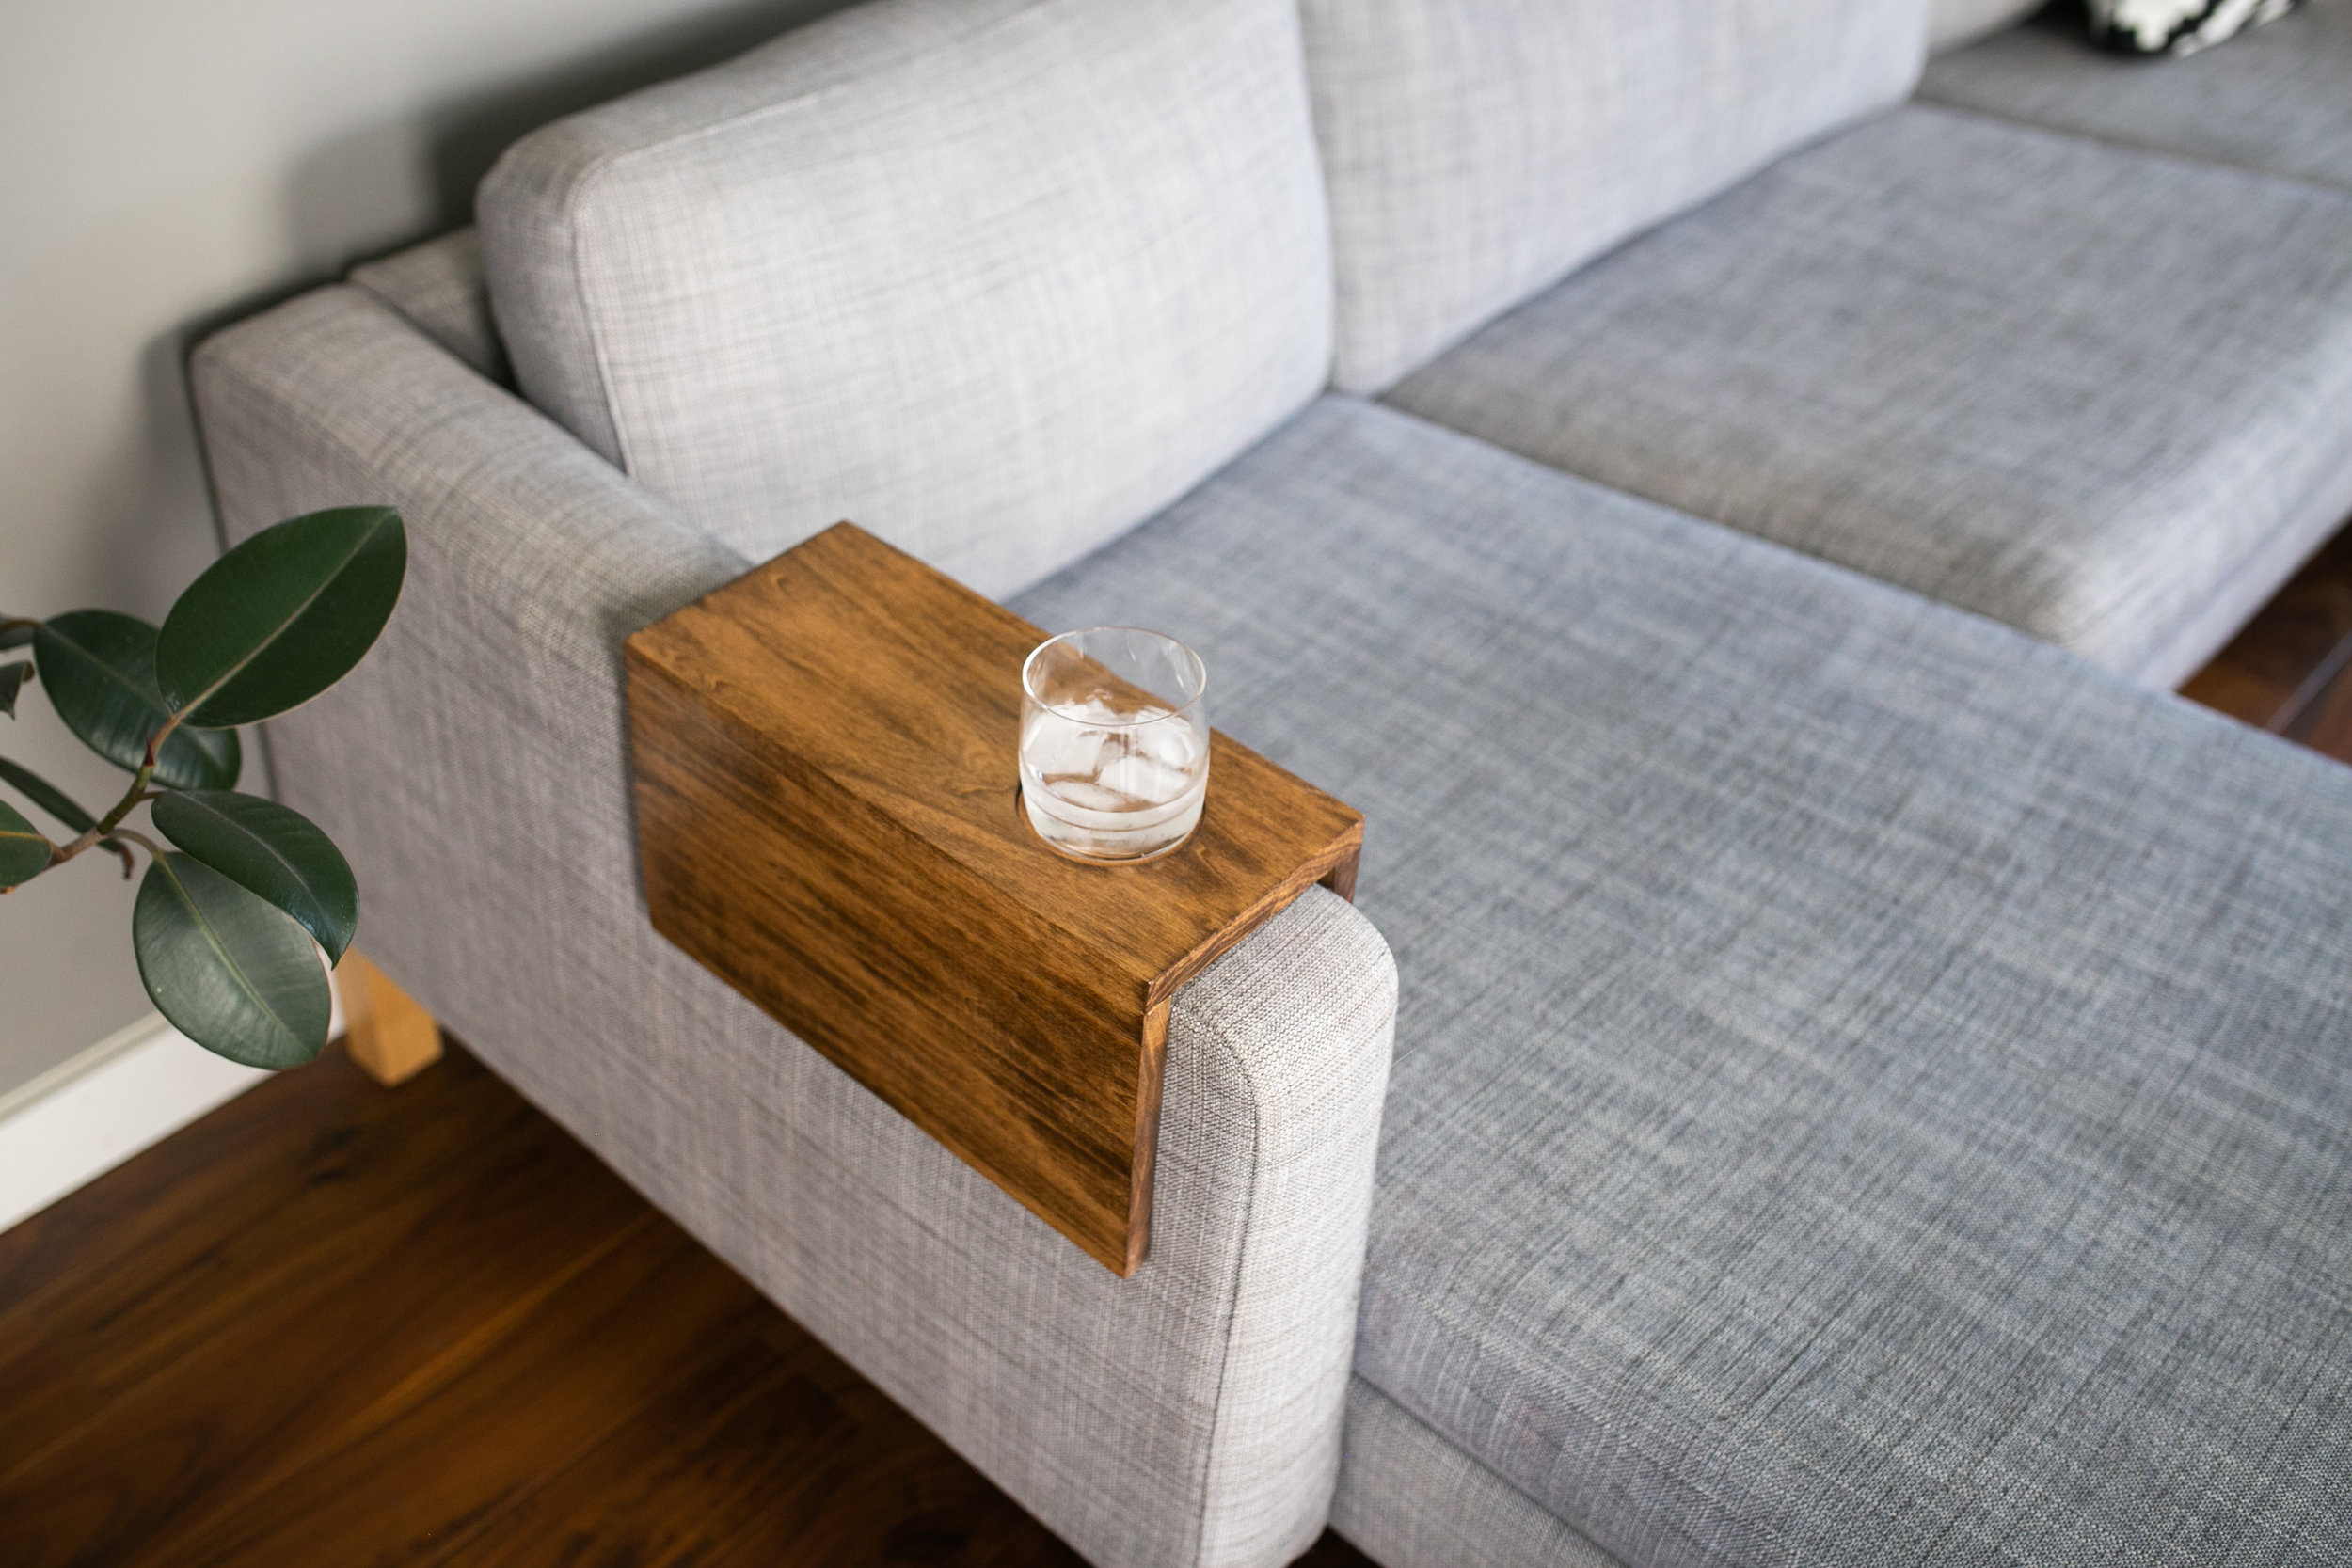
Easy DIY Wooden Couch Sofa Sleeve
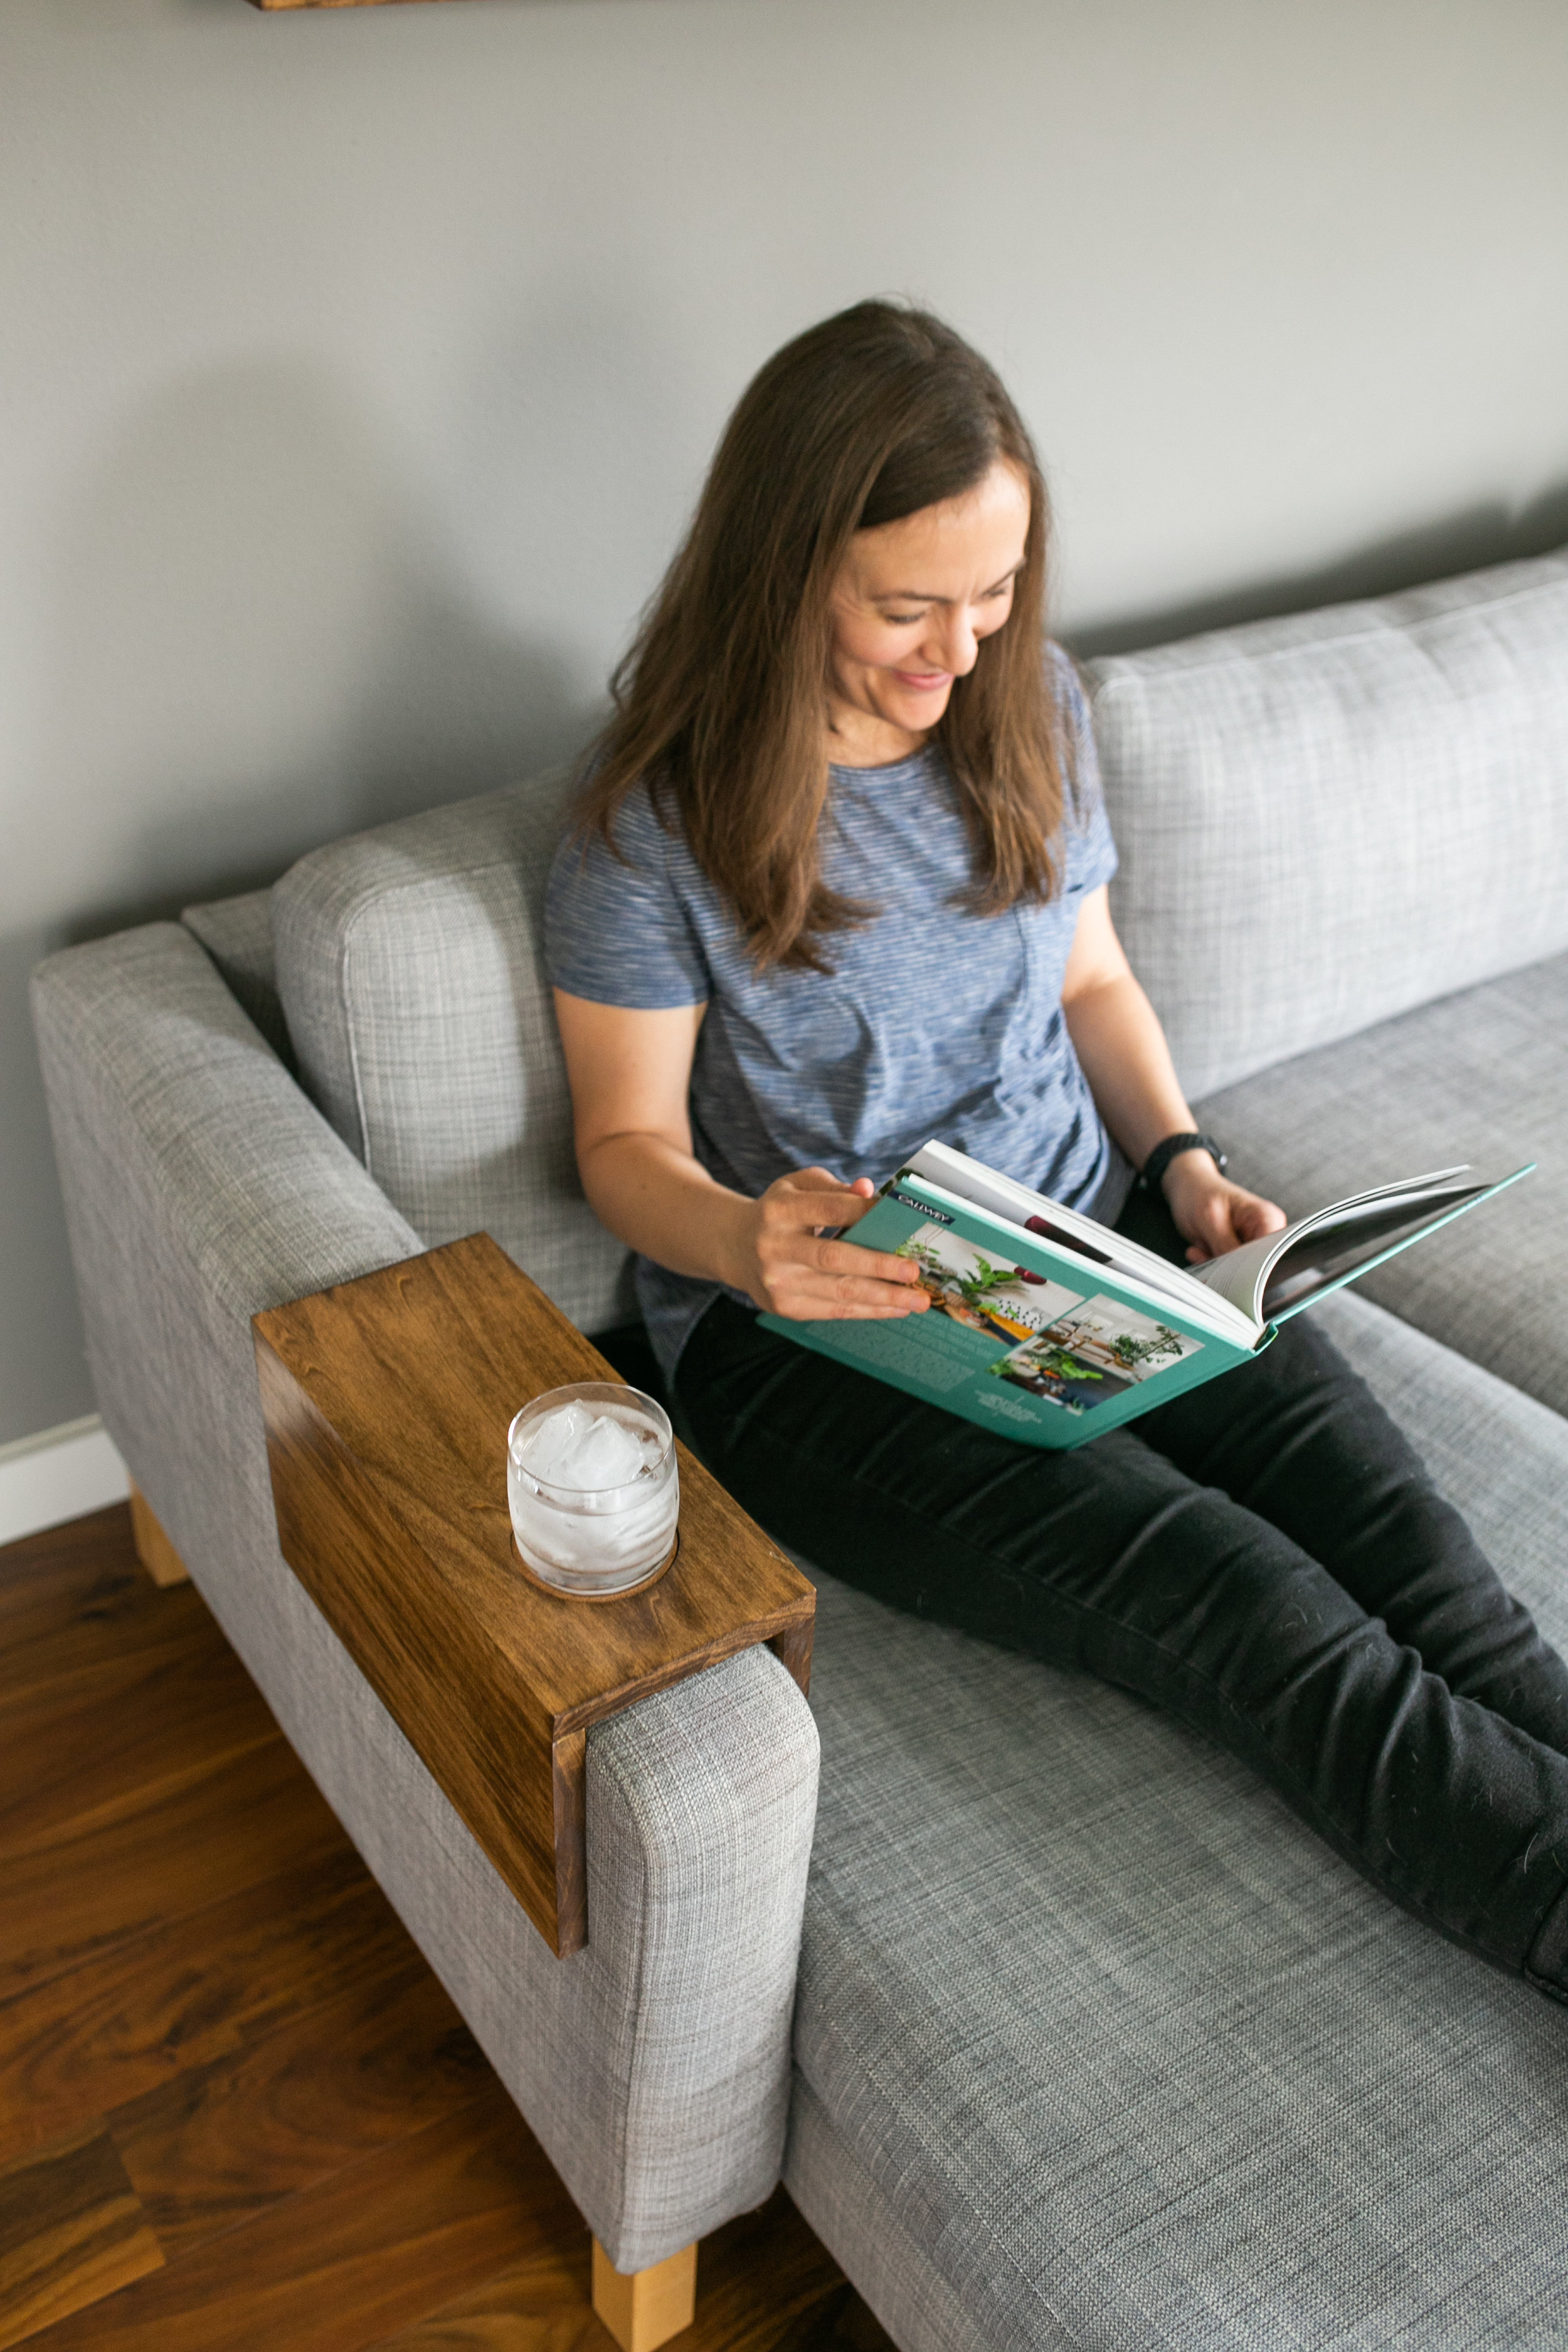
Need a no-fuss solution to hold your drink on the couch — no side table required? This easy DIY sofa sleeve fits right over your couch armrest and makes the perfect beginner woodworking project. It’s quick to build, modern in design, and only takes a few pieces of wood.
My specific measurements will work for an Ikea Karlstad couch or chair. But you can very easily modify the measurements to work for whatever dimensions you need.
Find FREE build plans for this project here!

Materials and Tools I Used:
1x8 board
One thin piece of plywood (I used a scrap piece)
Miter Saw → (check out my beginners guide to a miter saw)
Circular Saw → (check out my beginners guide to a circular saw)
Polyurethane
New to tools? Check out all of my beginner friendly DIY 101 guides HERE.
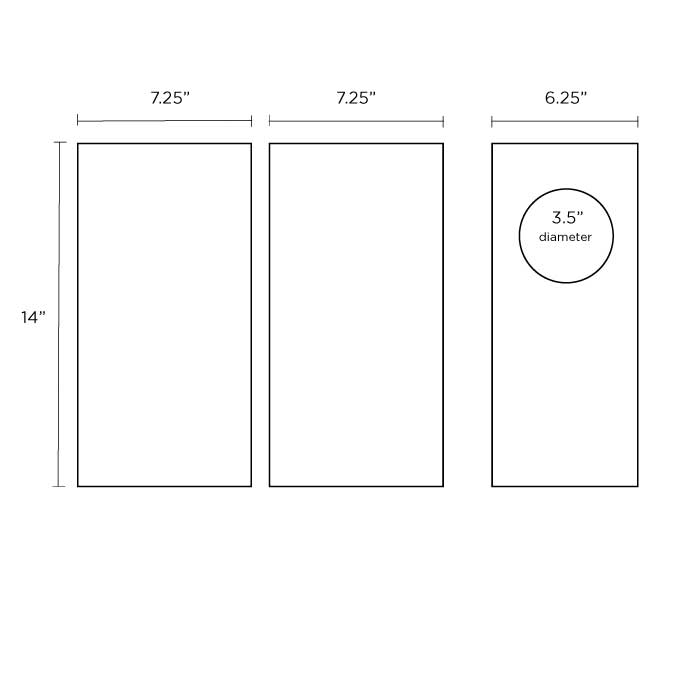

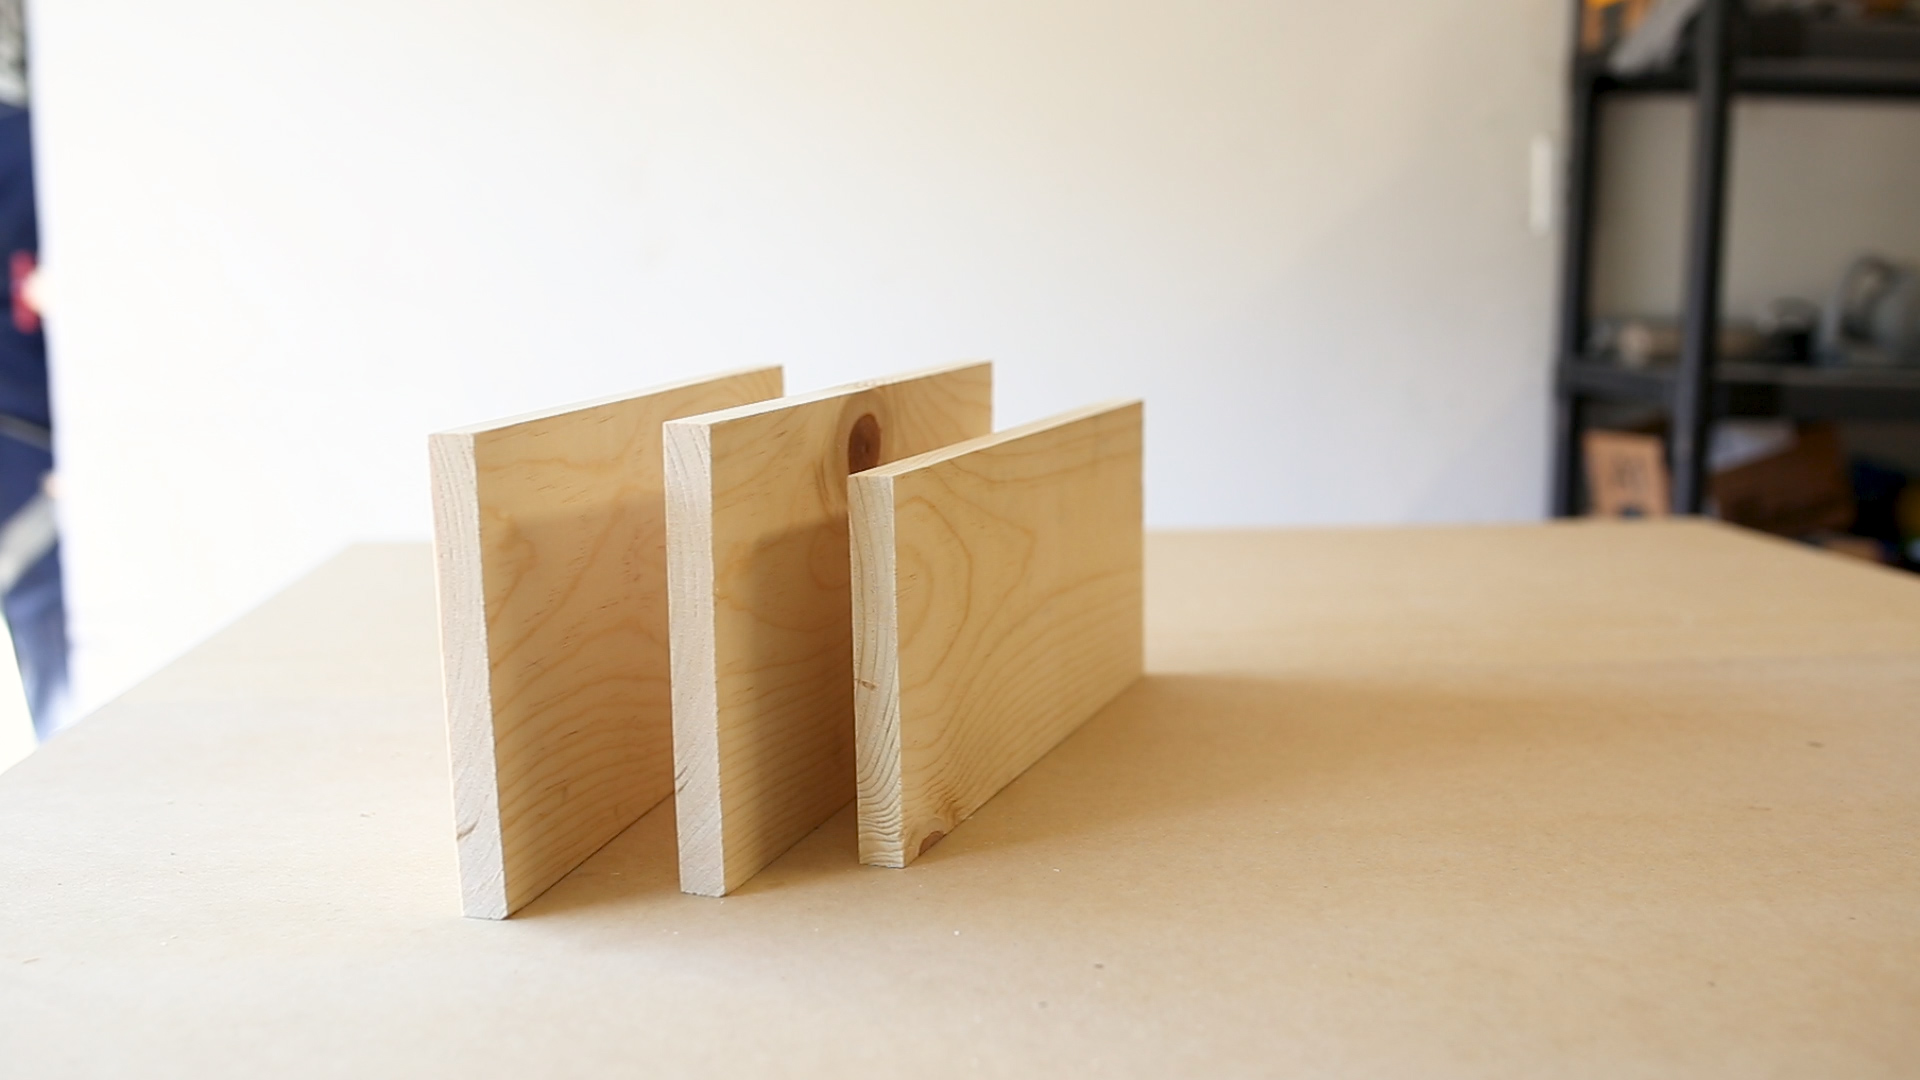
I started the project by picking up one 1x8 at Home Depot. I then measured for my three cuts

I then cut three 14" long pieces with my miter saw. I also could have used a circular saw.
Tip: New to power tools? Check out my friendly beginner guides to get started with confidence. You’ve got this.
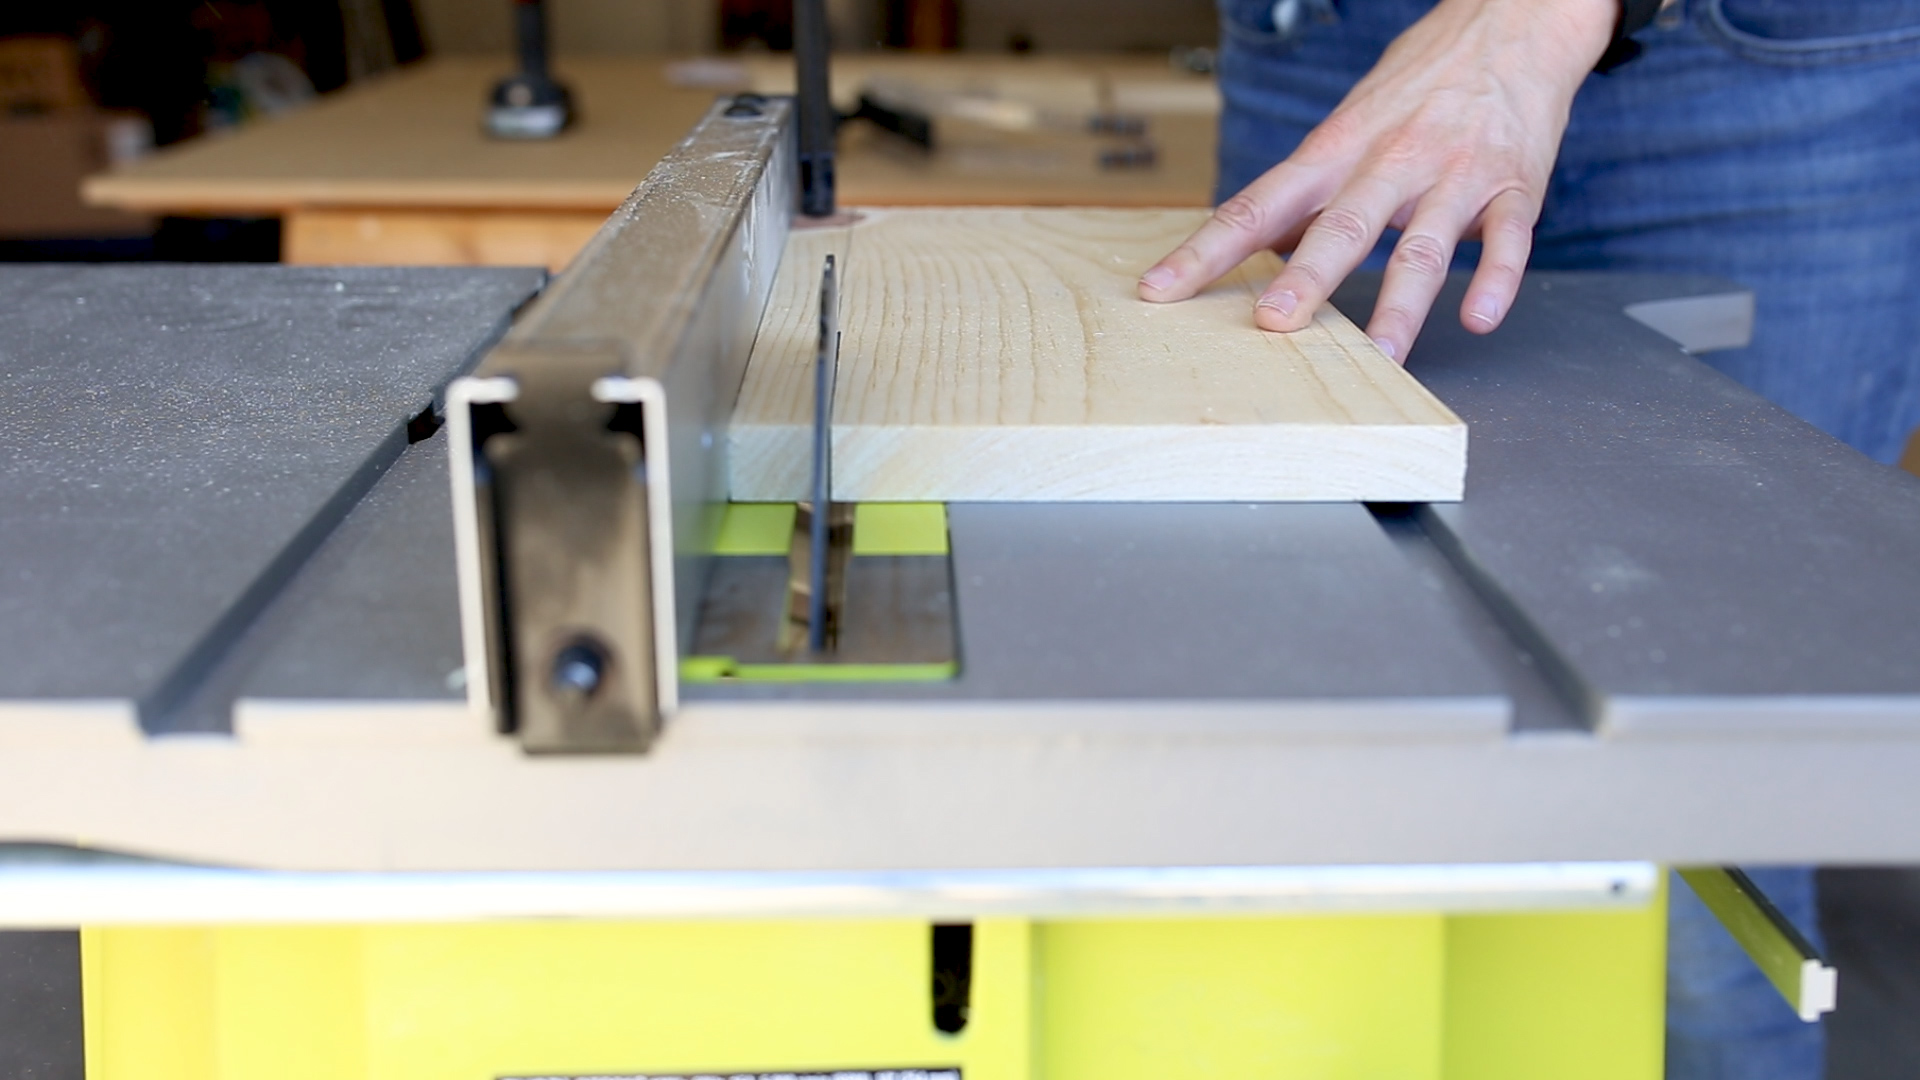
Next I took one of the 14" pieces and cut down an inch to 6.25" wide on my table saw. If you don’t have a table saw, a circular saw could absolutely make this cut instead. This narrower board will be the top.
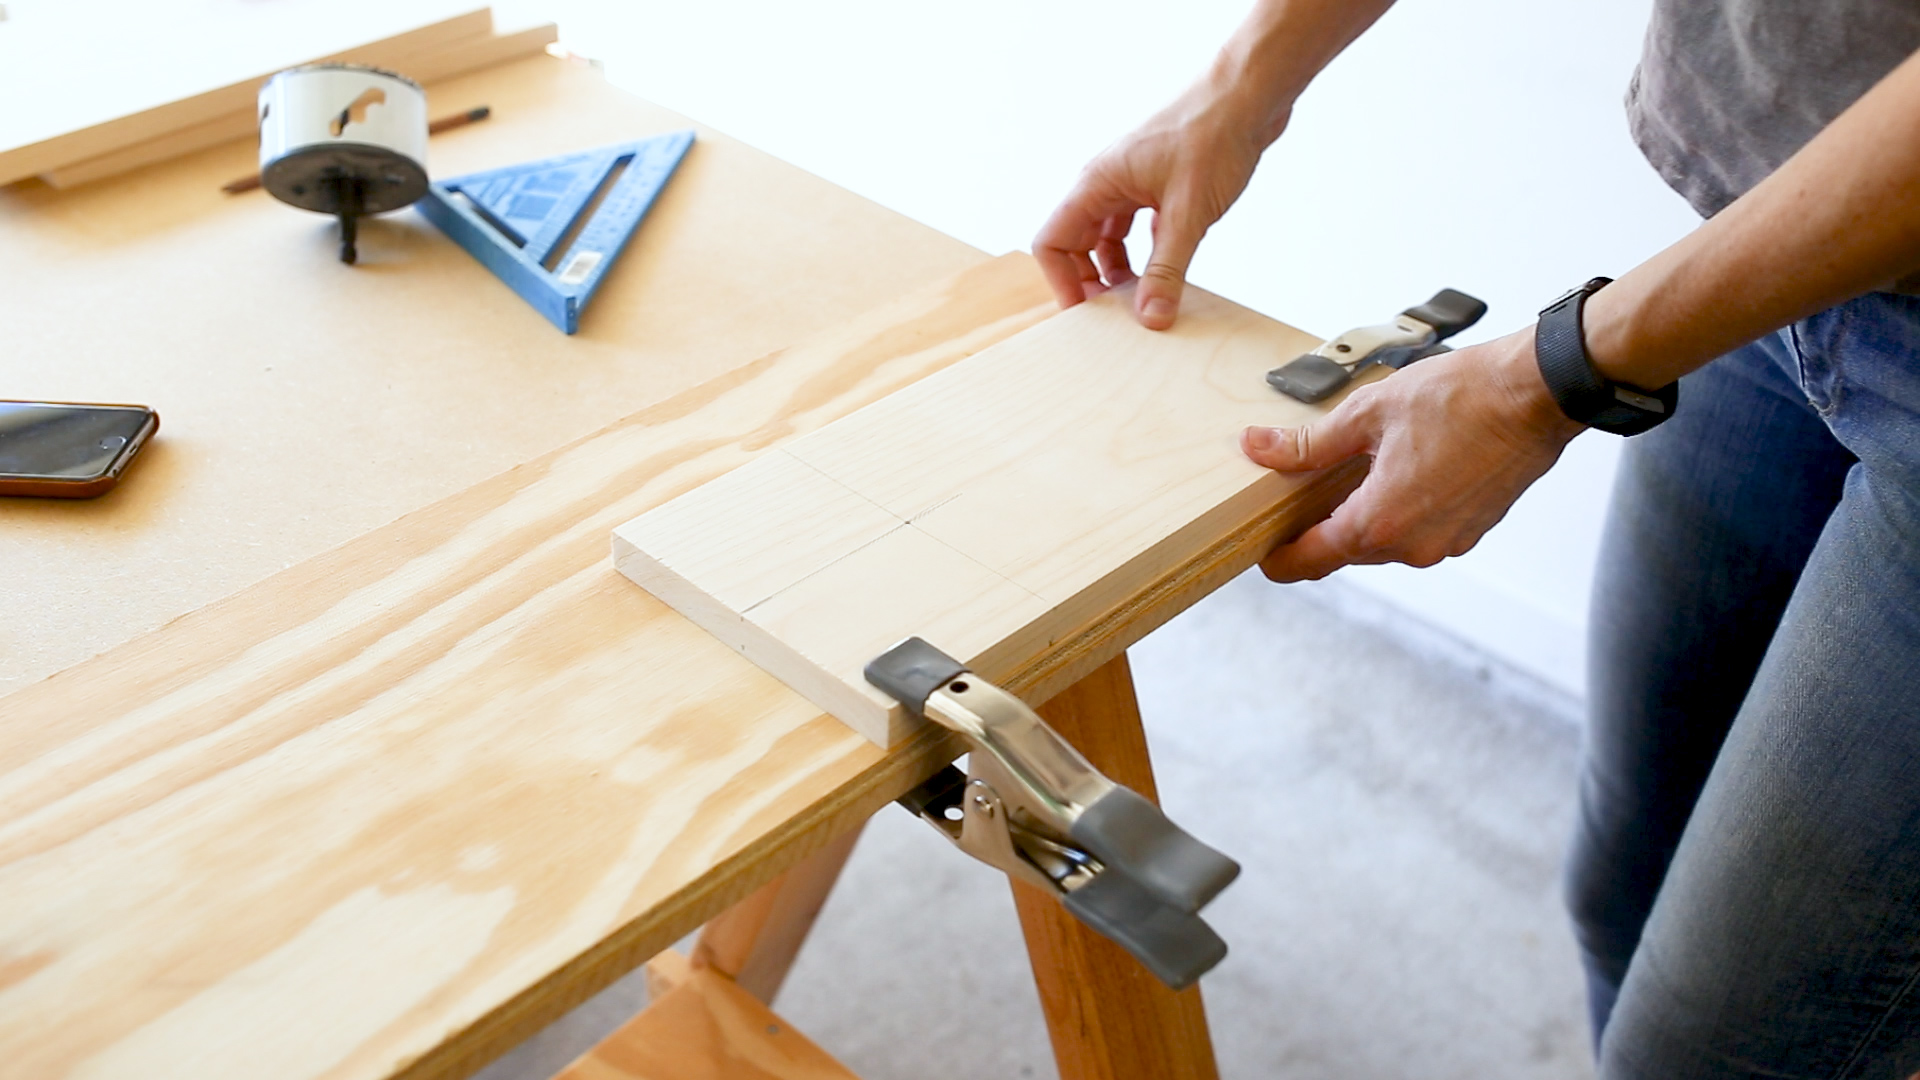
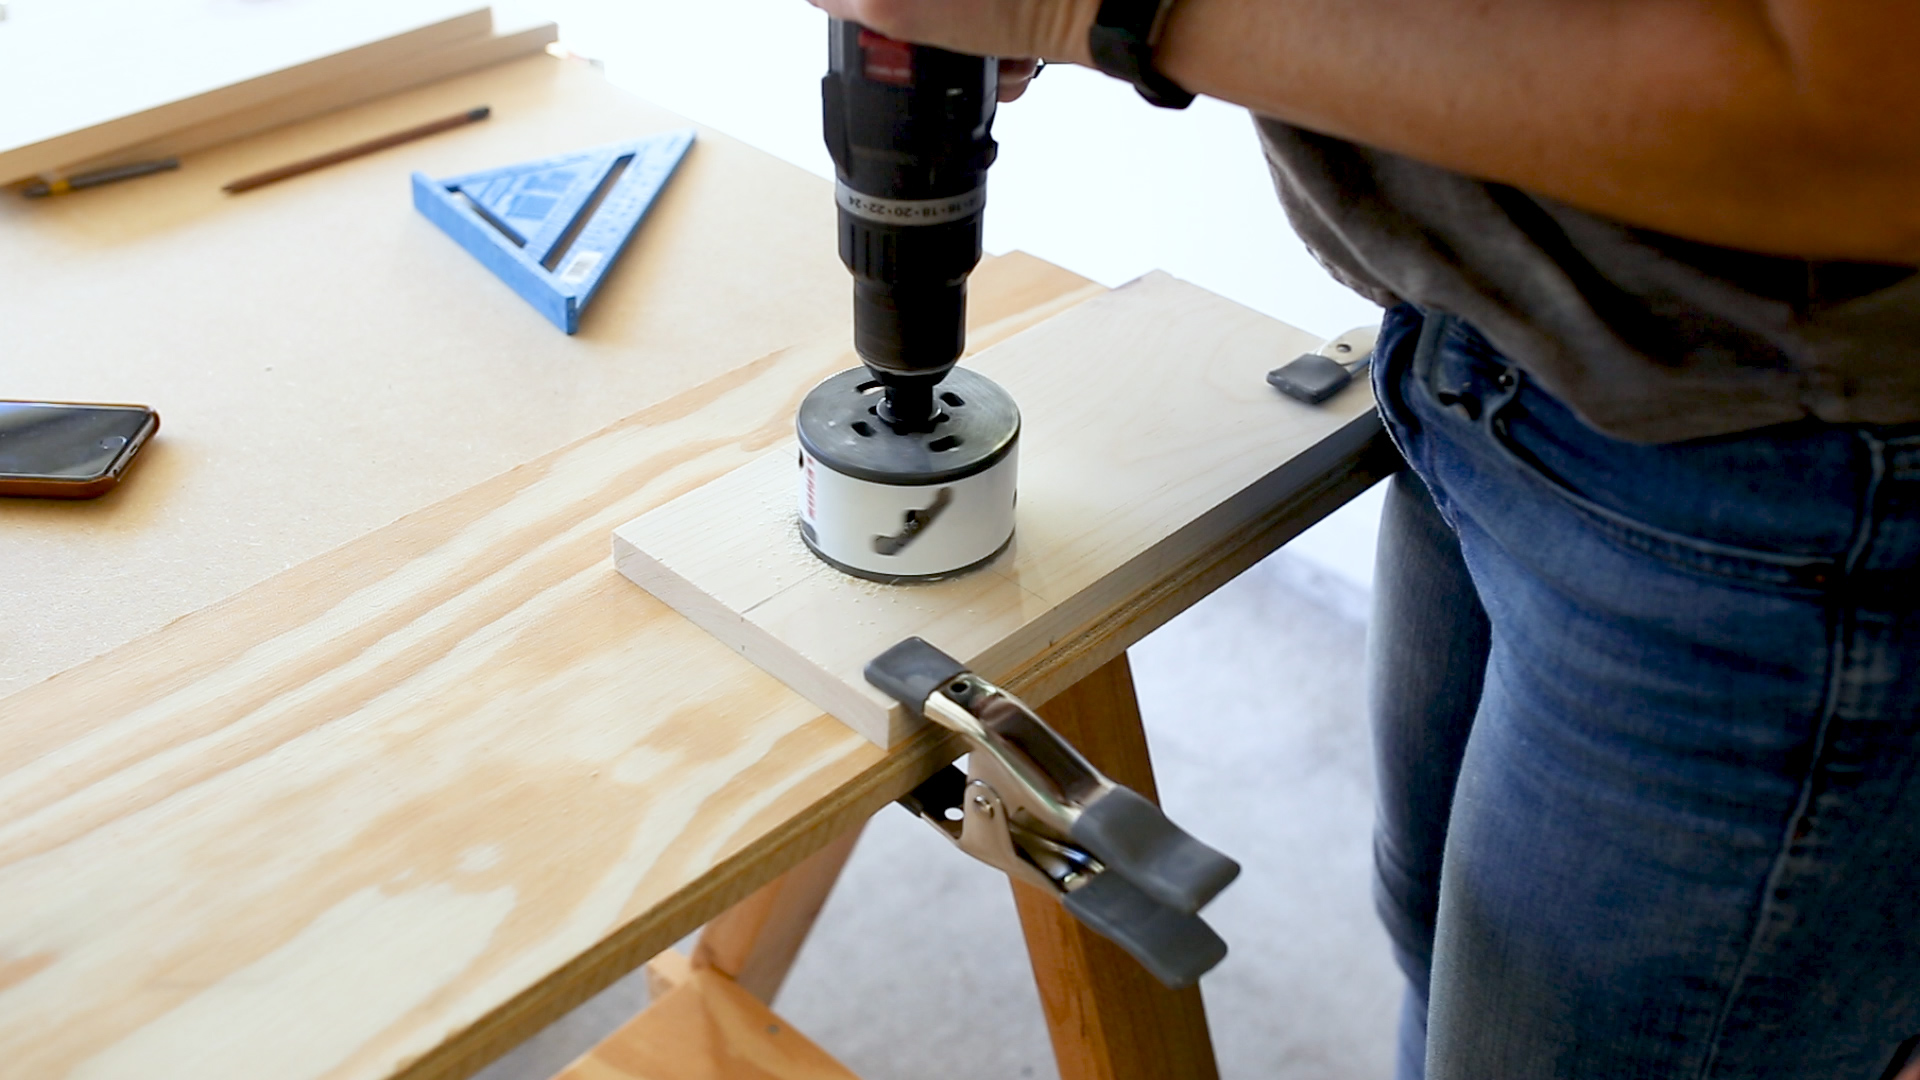
I clamped down the top board (the narrower one) and measured out where I wanted to cut my cupholder hole. I used a 3.5" hole saw on the end of my drill to make the cut. If you have a drill press, you could use that instead. AND, if you have neither, this couch sleeve doesn't at all have to have the cupholder hole. It’s just an added perk.
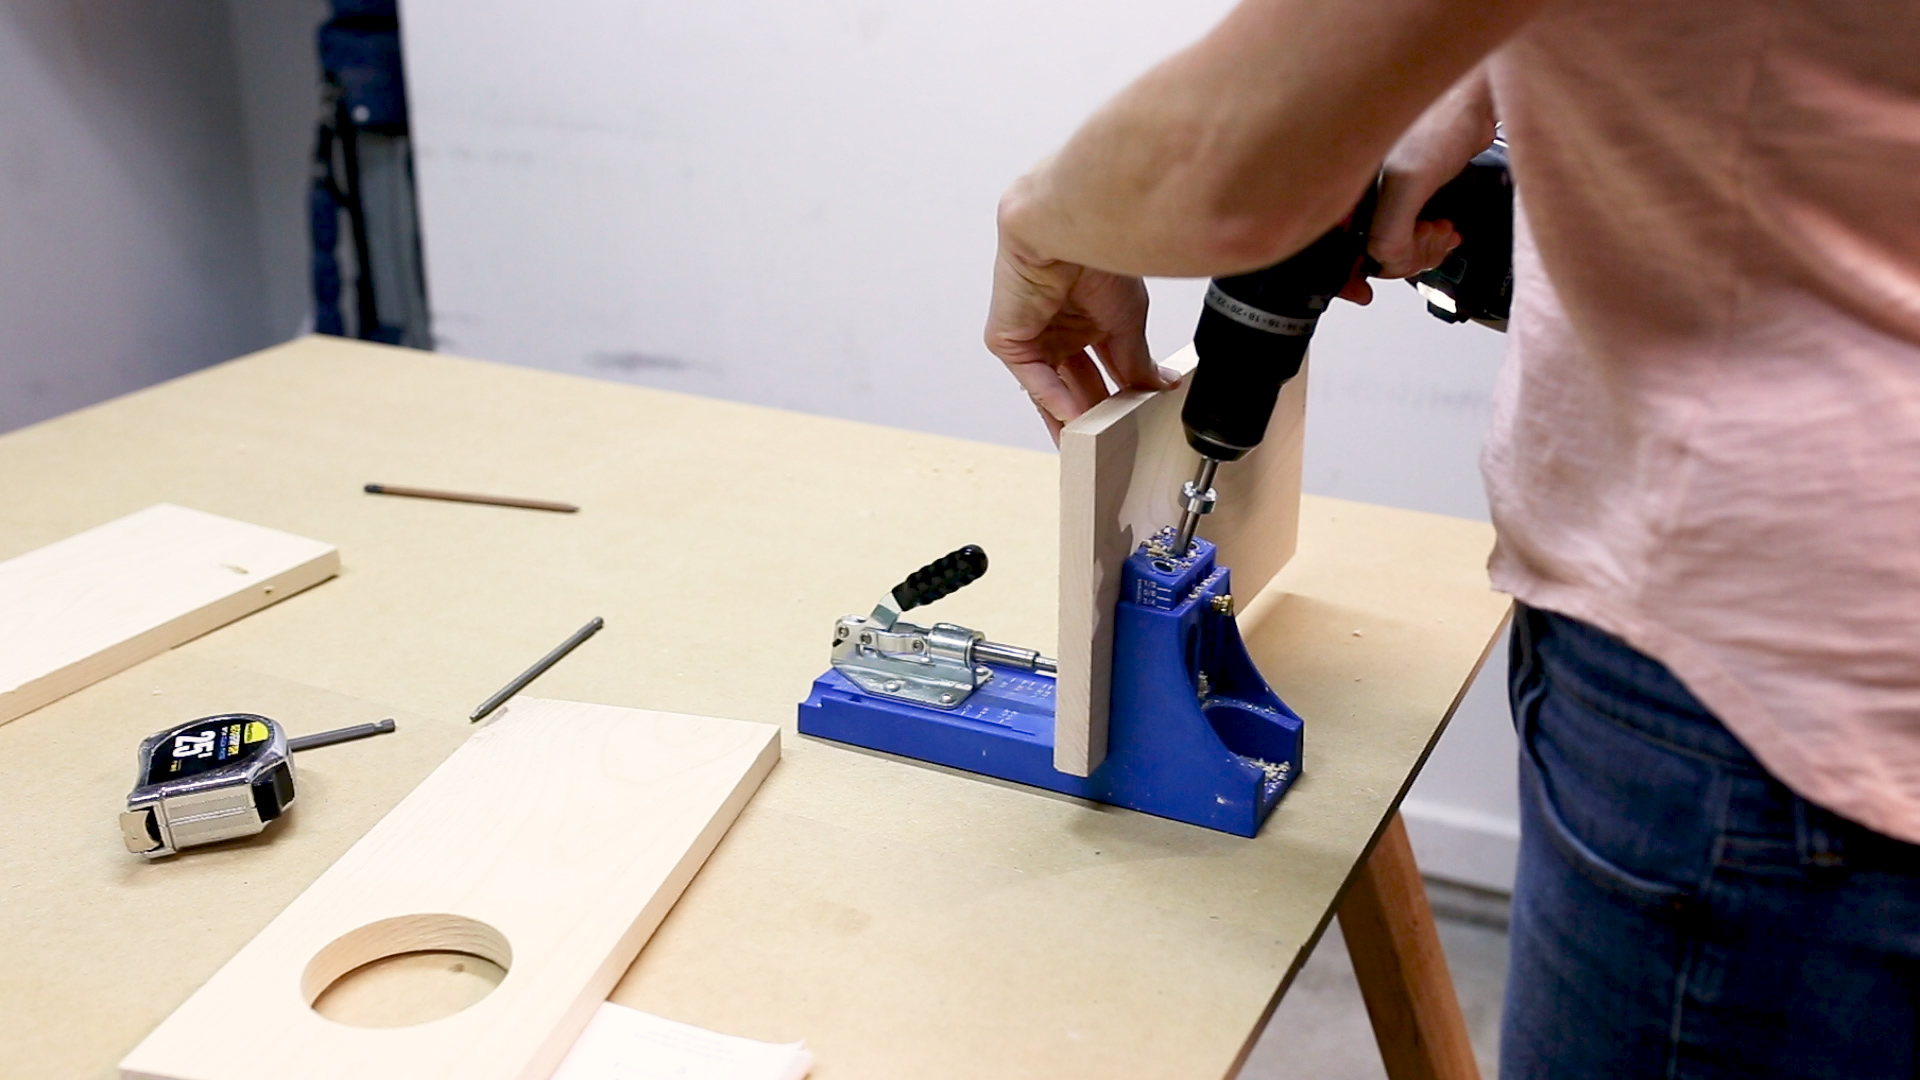
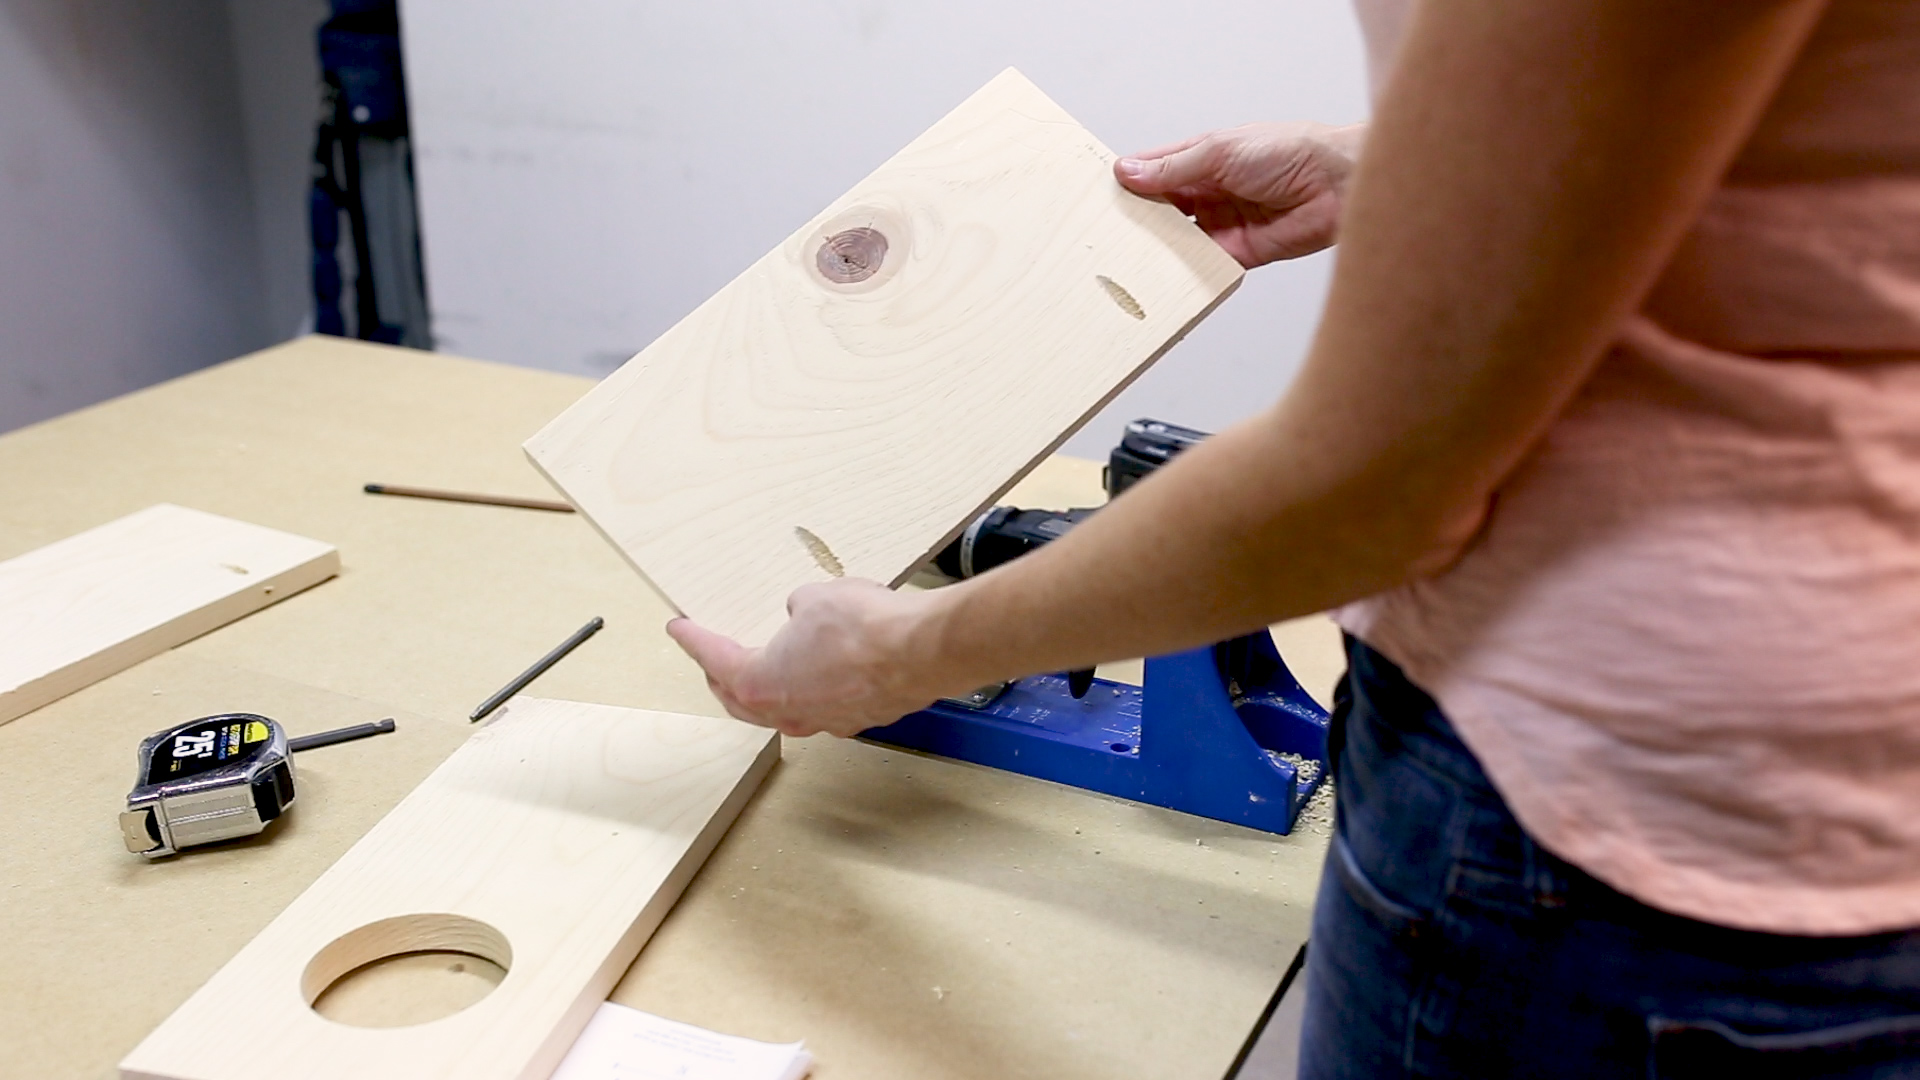
To join the boards I used wood glue and pocket holes. To cut the pocket holes I used my Pocket Hole Jig and drilled two holes on an inner side of each board. As I mentioned in the video, these sides really aren't supporting any strength. So if you don't have a pocket hole jig, using wood glue only would make it plenty strong.
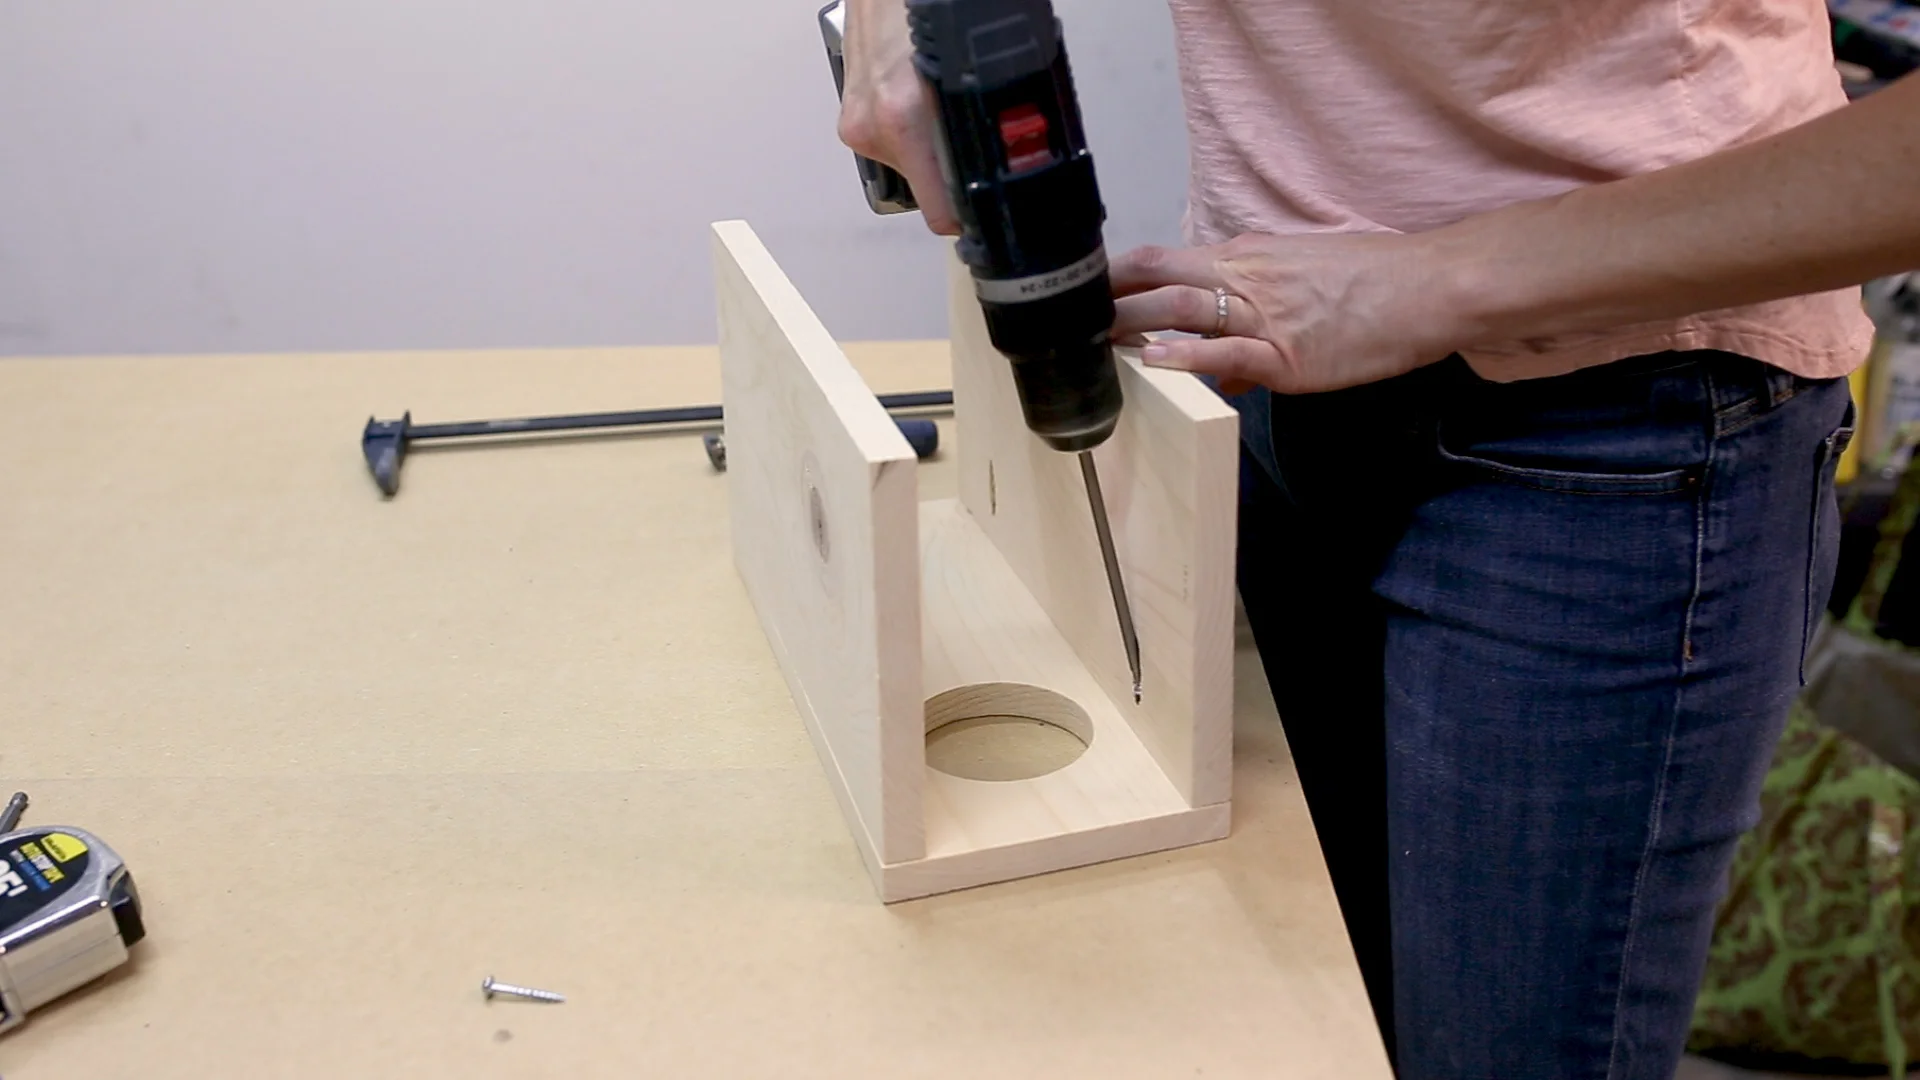
While the pieces were separate, I gave them each a nice sanding with my orbital sander. And then I laid down a line of wood glue and then screwed in my pocket holes to join the boards

To make the bottom of the cupholder, I cut out a scrap piece of thin plywood with my circular saw that I'll glue to the underside in a later step.
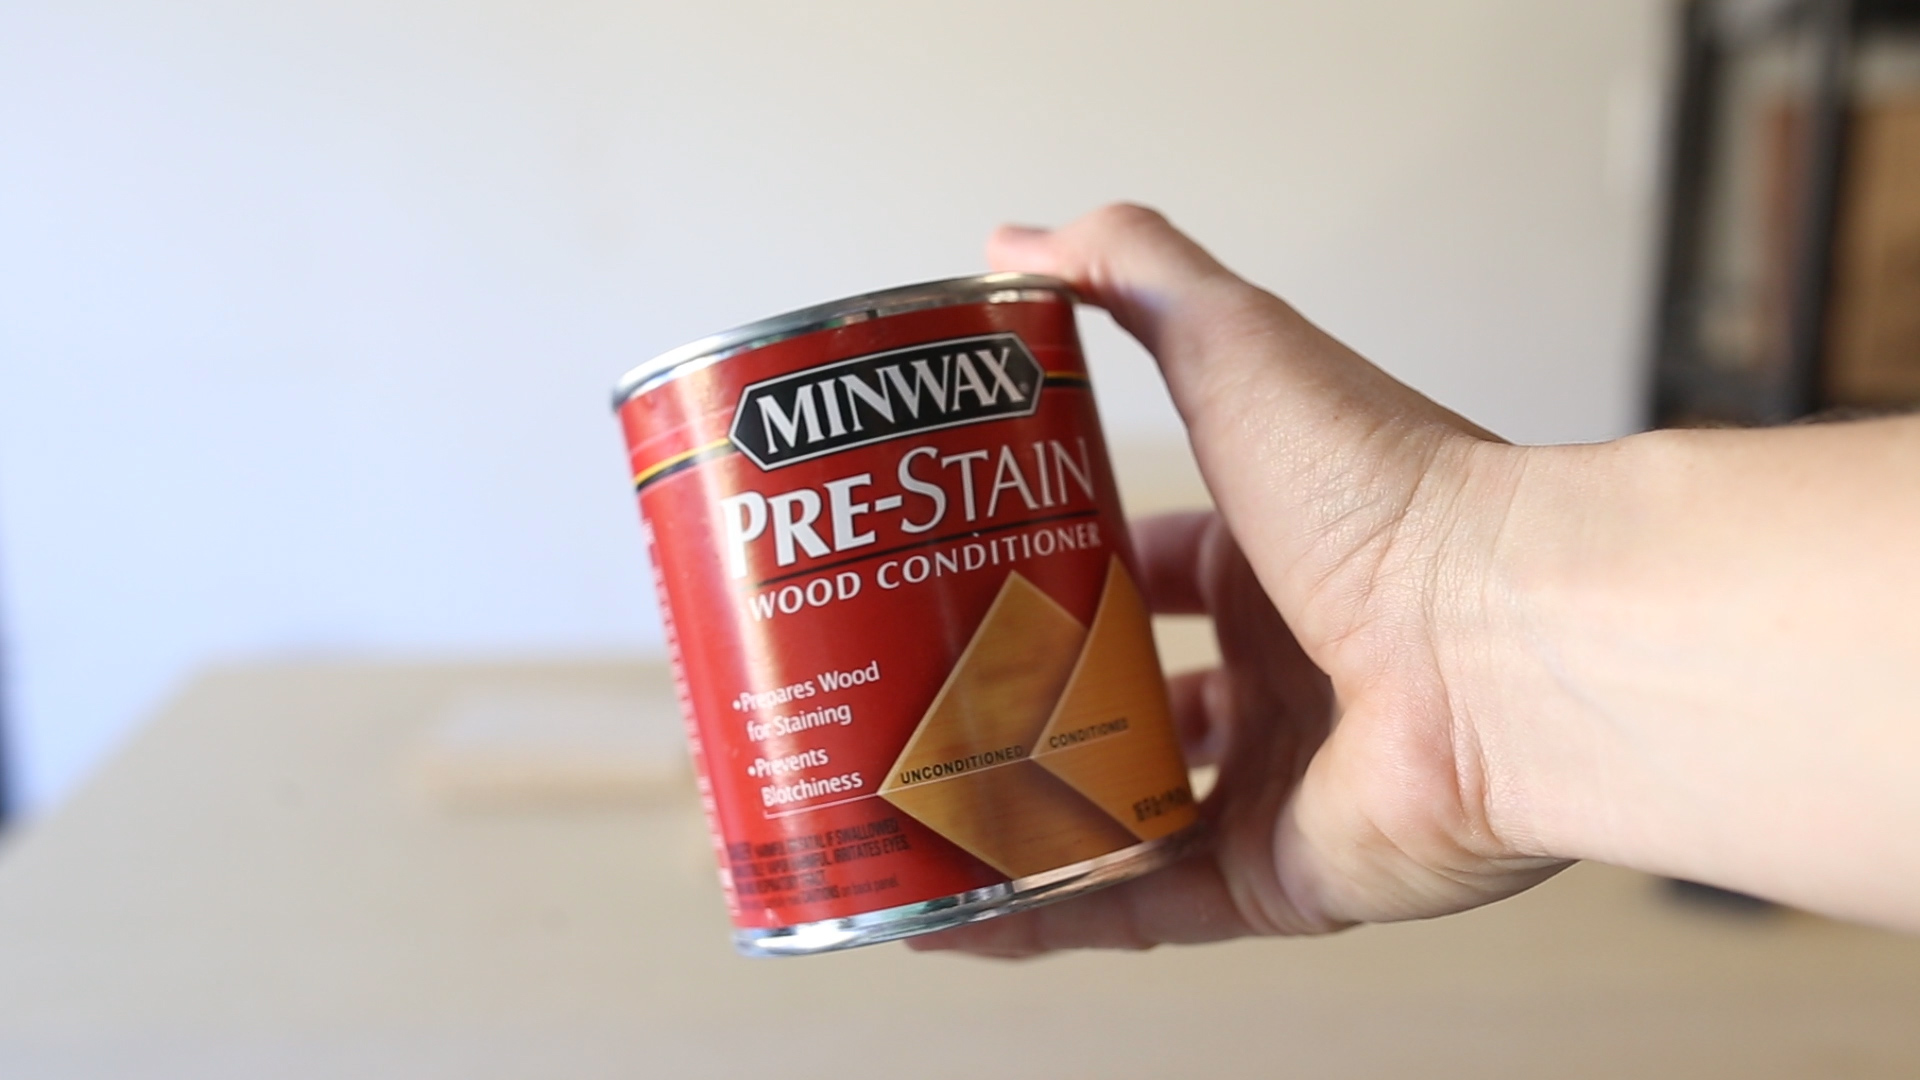
Before I stain wood, I use a wood conditioner. This helps to even out the color and create a much more even stain coat.

I then applied the wood conditioner to the sleeve and also to the piece that will be the bottom of the cupholder.
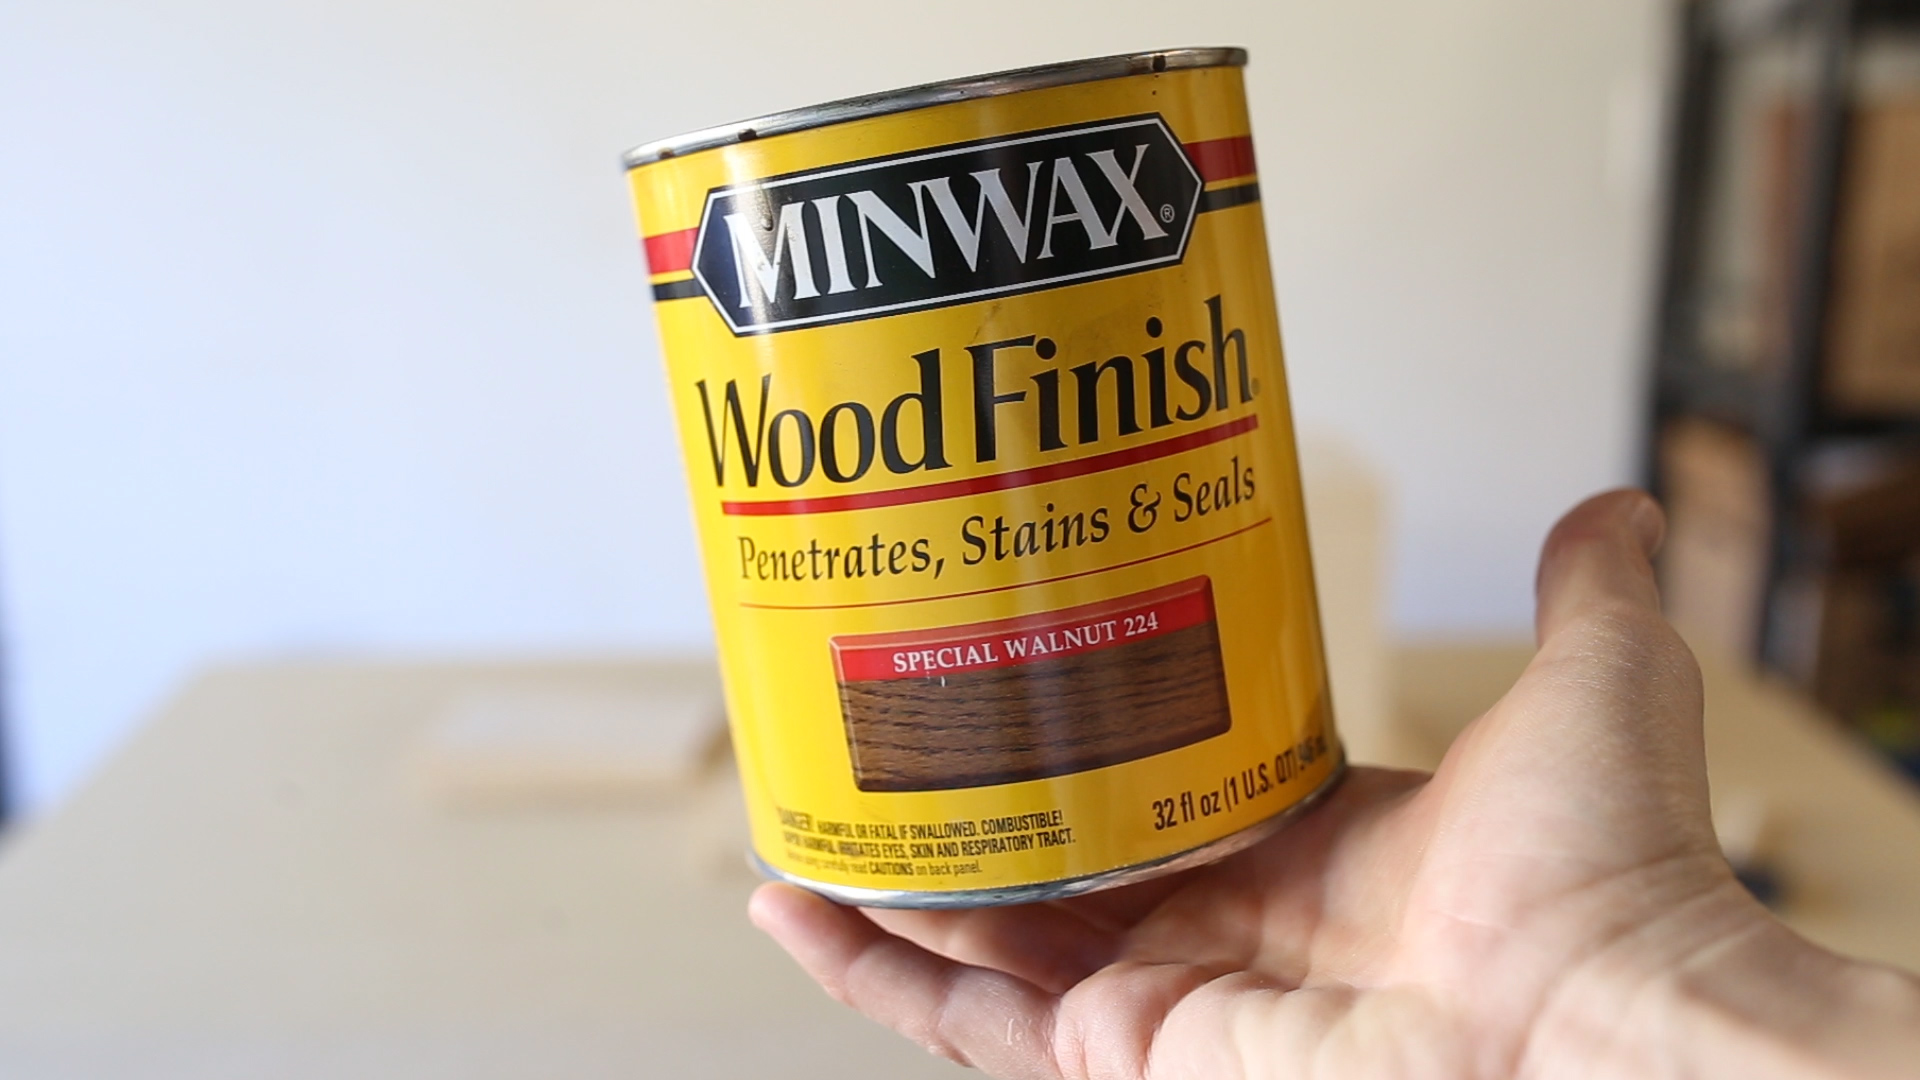
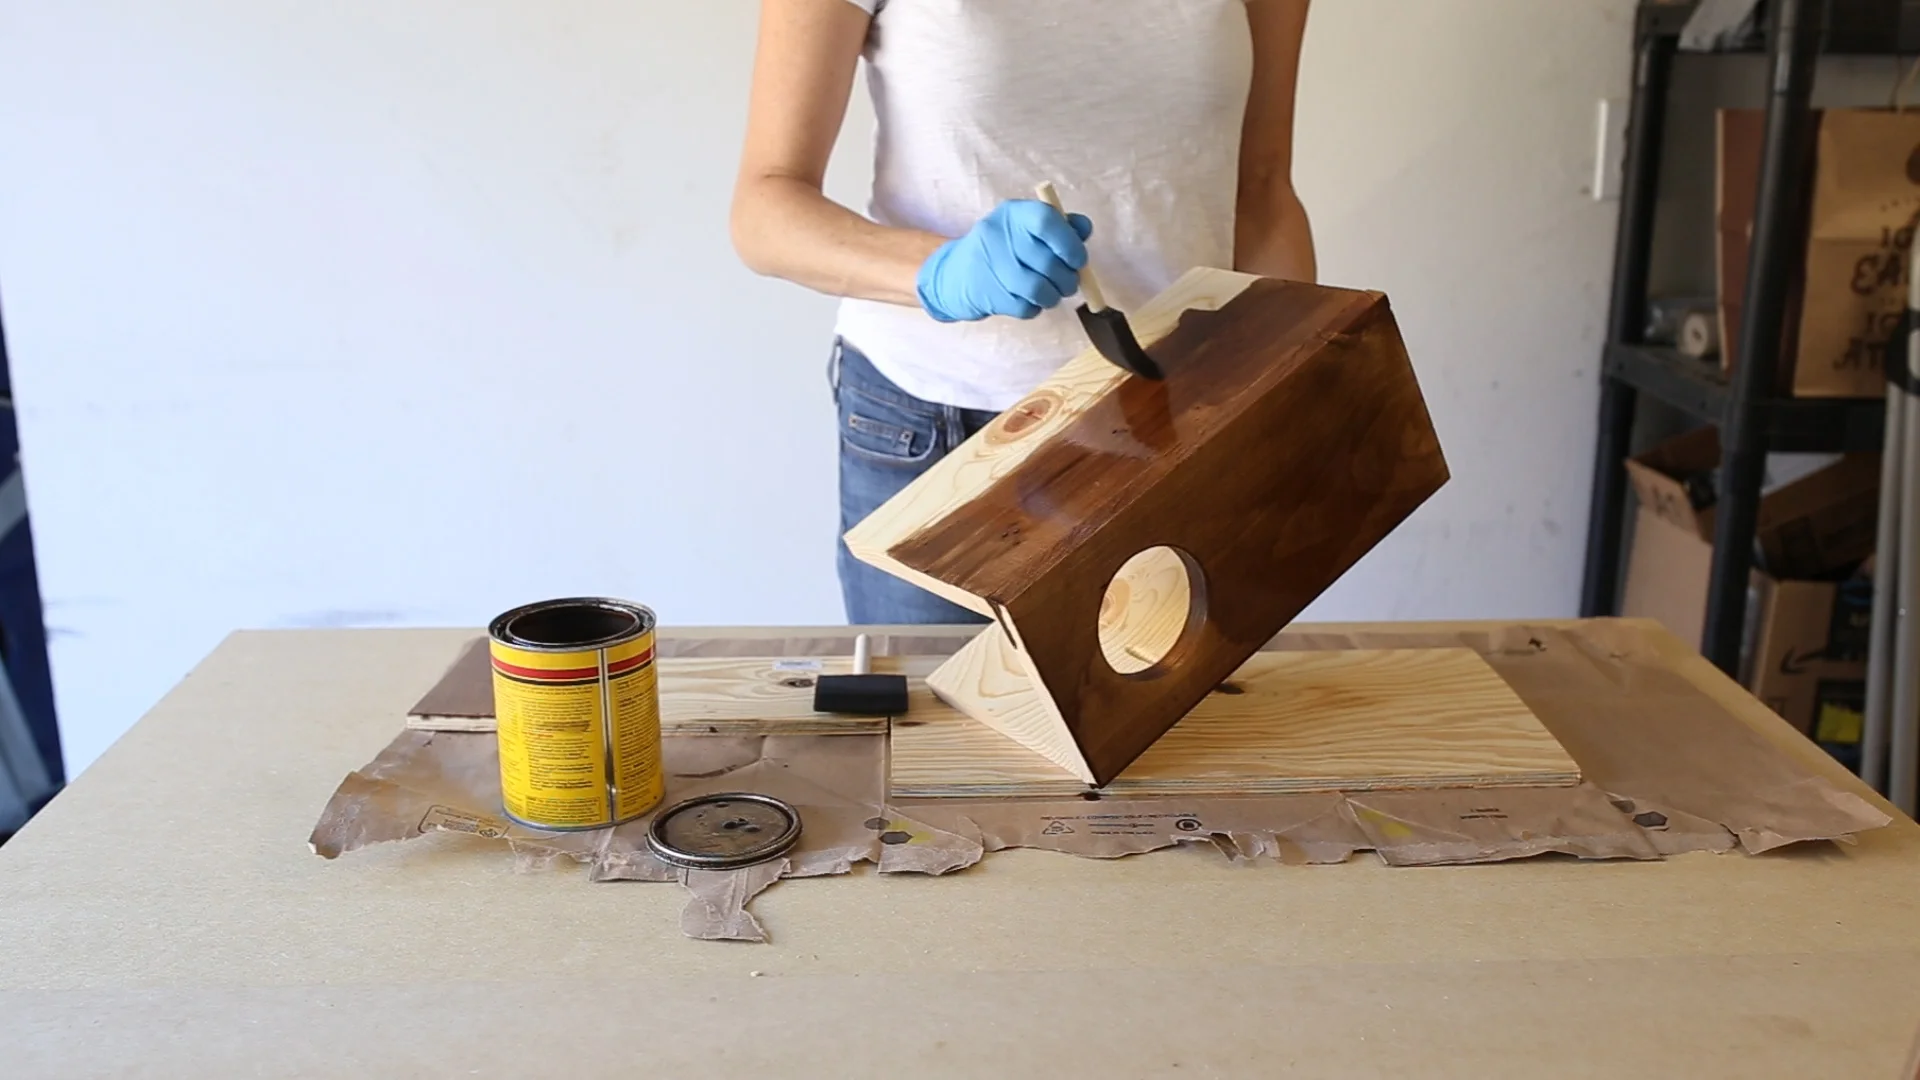
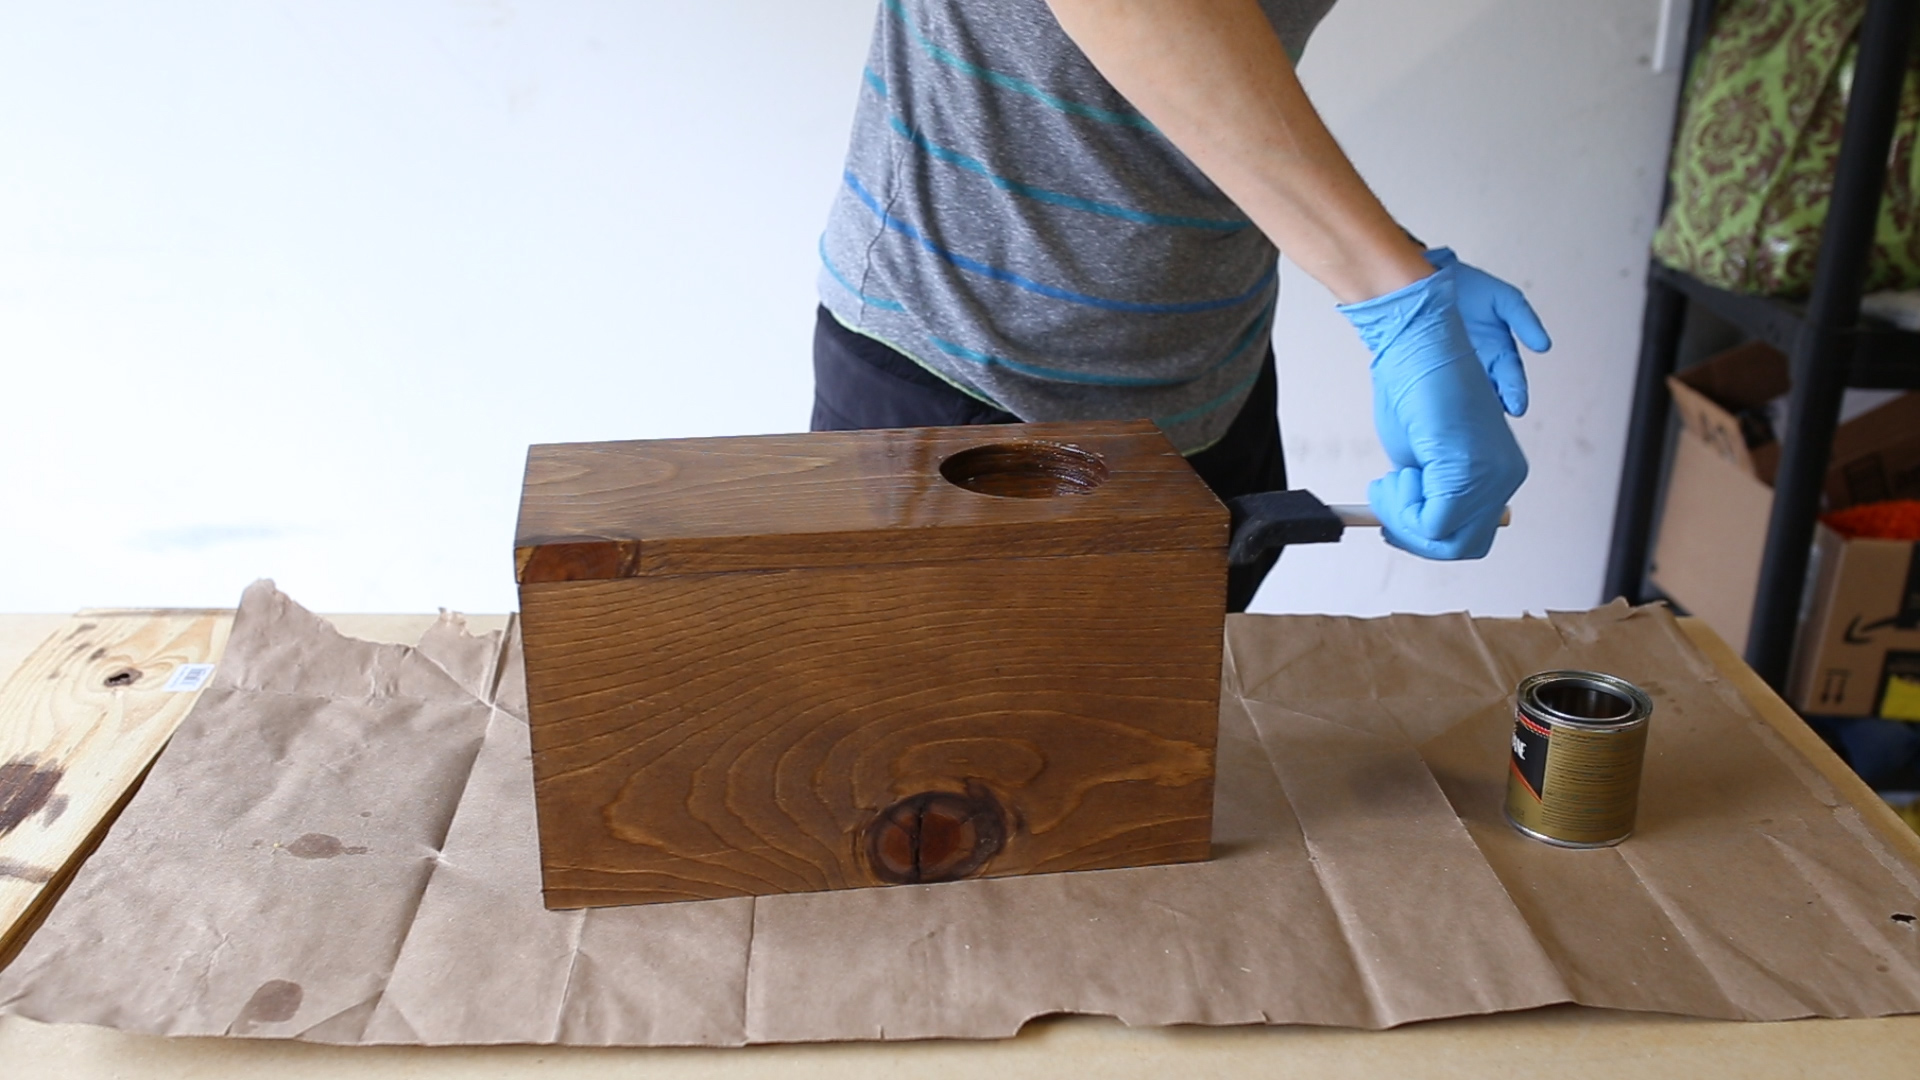
And then I applied a walnut stain.
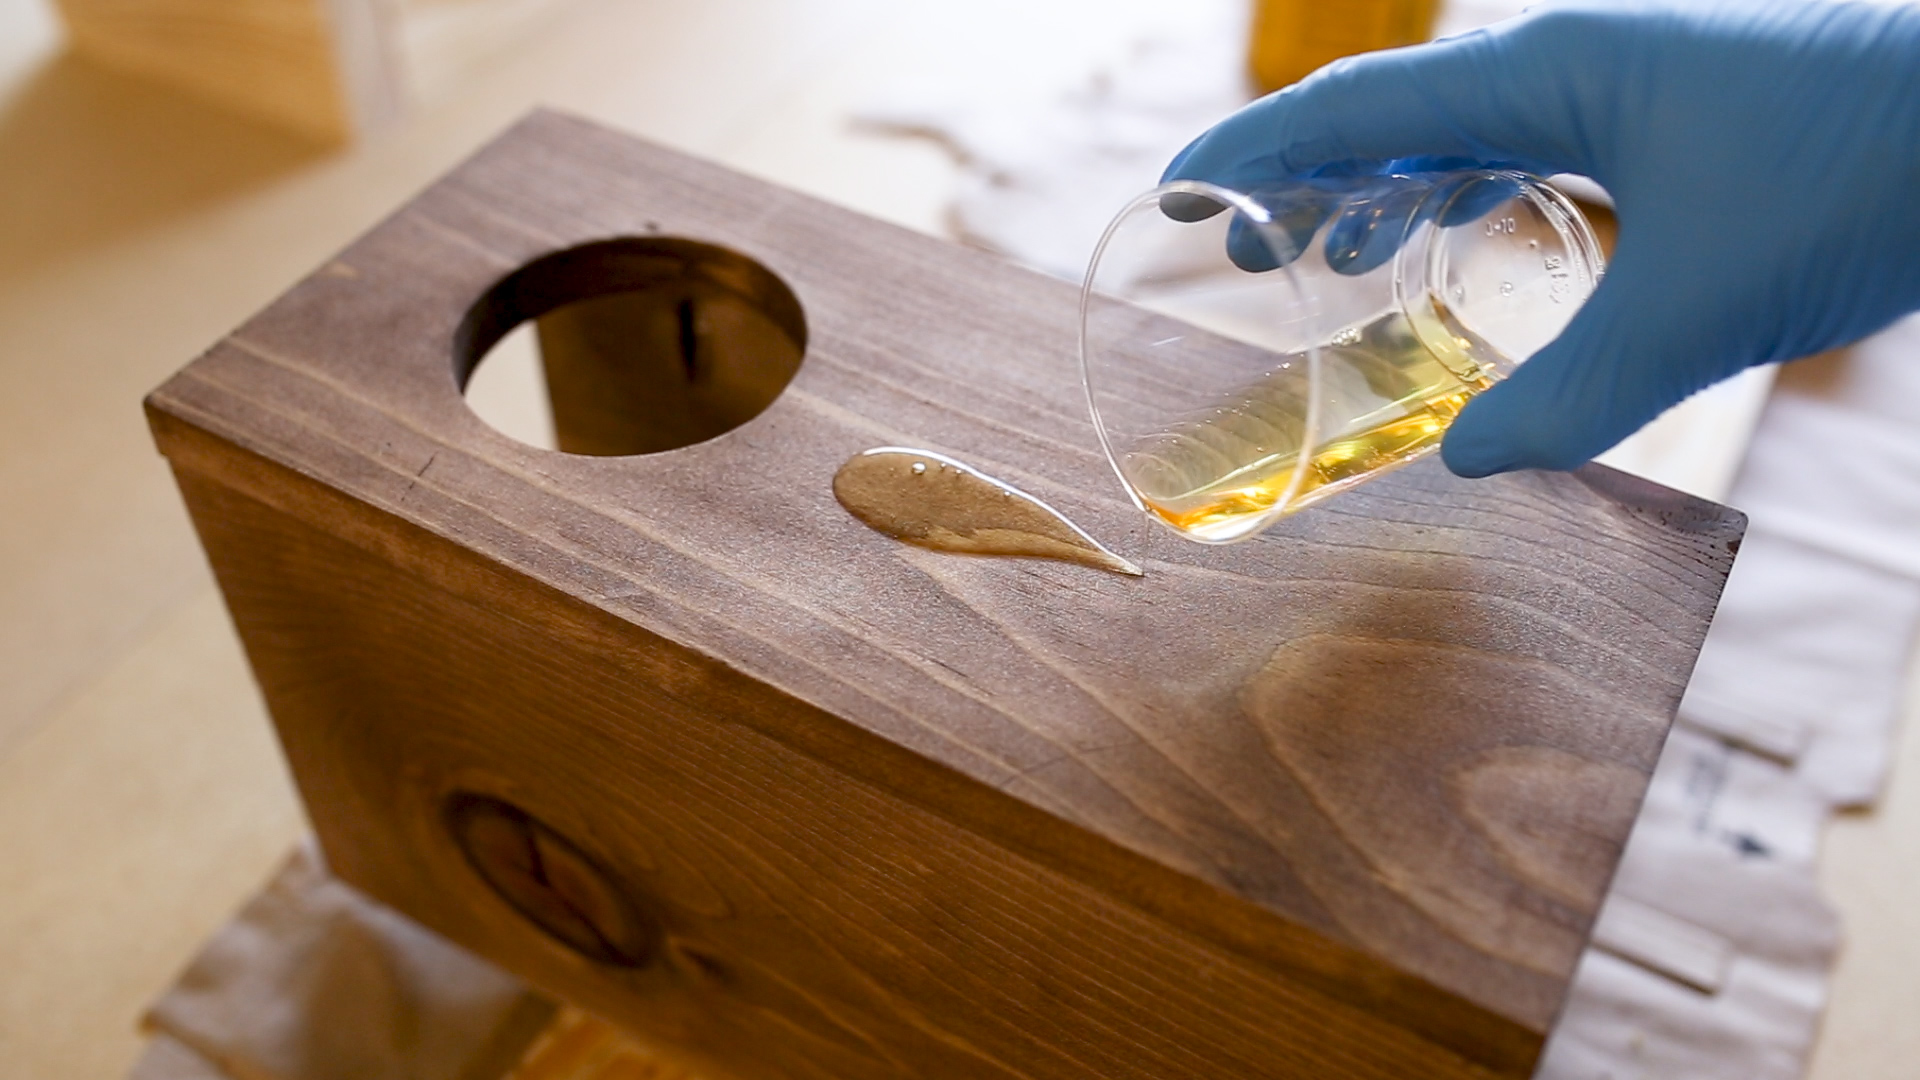
To protect the wood from water and condensation from cold drinks, I applied a protective polyurethane finish.

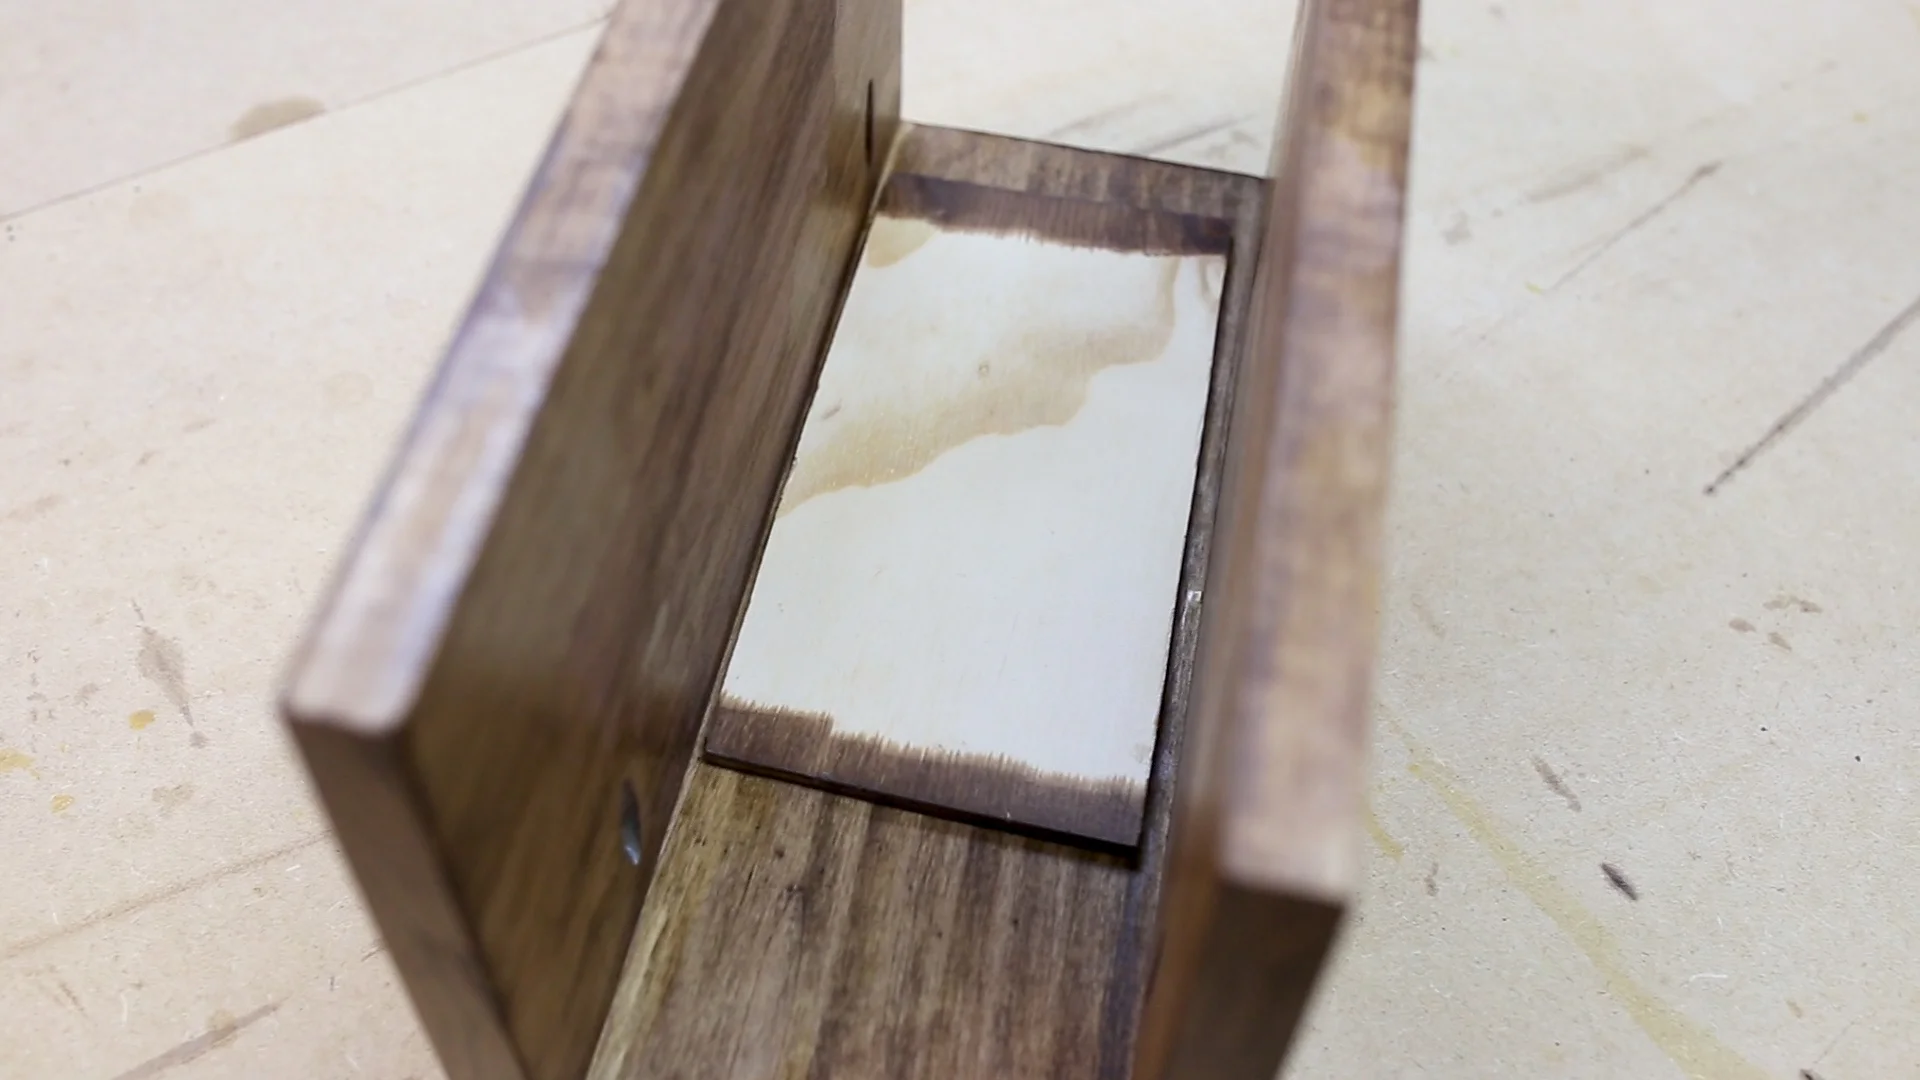
Next I added the thin piece of plywood that will be the bottom of the cupholder. I used wood glue and clamps to keep the piece in place while the glue dried.
And then once all of the pieces were together, I finished the project with one more coat of poly.
Follow Maker Gray:
Instagram @MakerGray https://www.instagram.com/makergray/
Facebook https://www.facebook.com/MakerGray/
TikTok: https://bit.ly/3lXgdHh
If you liked this project and want to stay up to date with what I’m building, be sure to sign up for my newsletter and you’ll get an email sharing new DIY projects!
This post includes affiliate links. As an Amazon Associate, I earn from qualifying purchases. If you choose to shop through one of my links, it helps support Maker Gray — and I truly appreciate that!