
How to Buy Wood for Projects: A Beginner's Guide
Walking into the lumber aisle can feel overwhelming. There are so many sizes, labels, and wood types that it’s hard to know where to start. Whether you’re tackling your first DIY build or want to get better at choosing quality boards, this guide will help you shop smarter and build with more confidence.
Understand the Two Main Categories of Wood
These are the tools I’d recommend to anyone just getting started in woodworking or DIY projects. They’re versatile, beginner-friendly, and powerful enough to grow with you.
Hardwood vs Softwood
Hardwoods come from deciduous trees like oak, maple, cheery, ash and poplar. They’re denser and stronger, often used for furniture.
Softwoods come from conifers like pine, fir, and cedar. They're lighter, easier to work with, and typically more affordable.
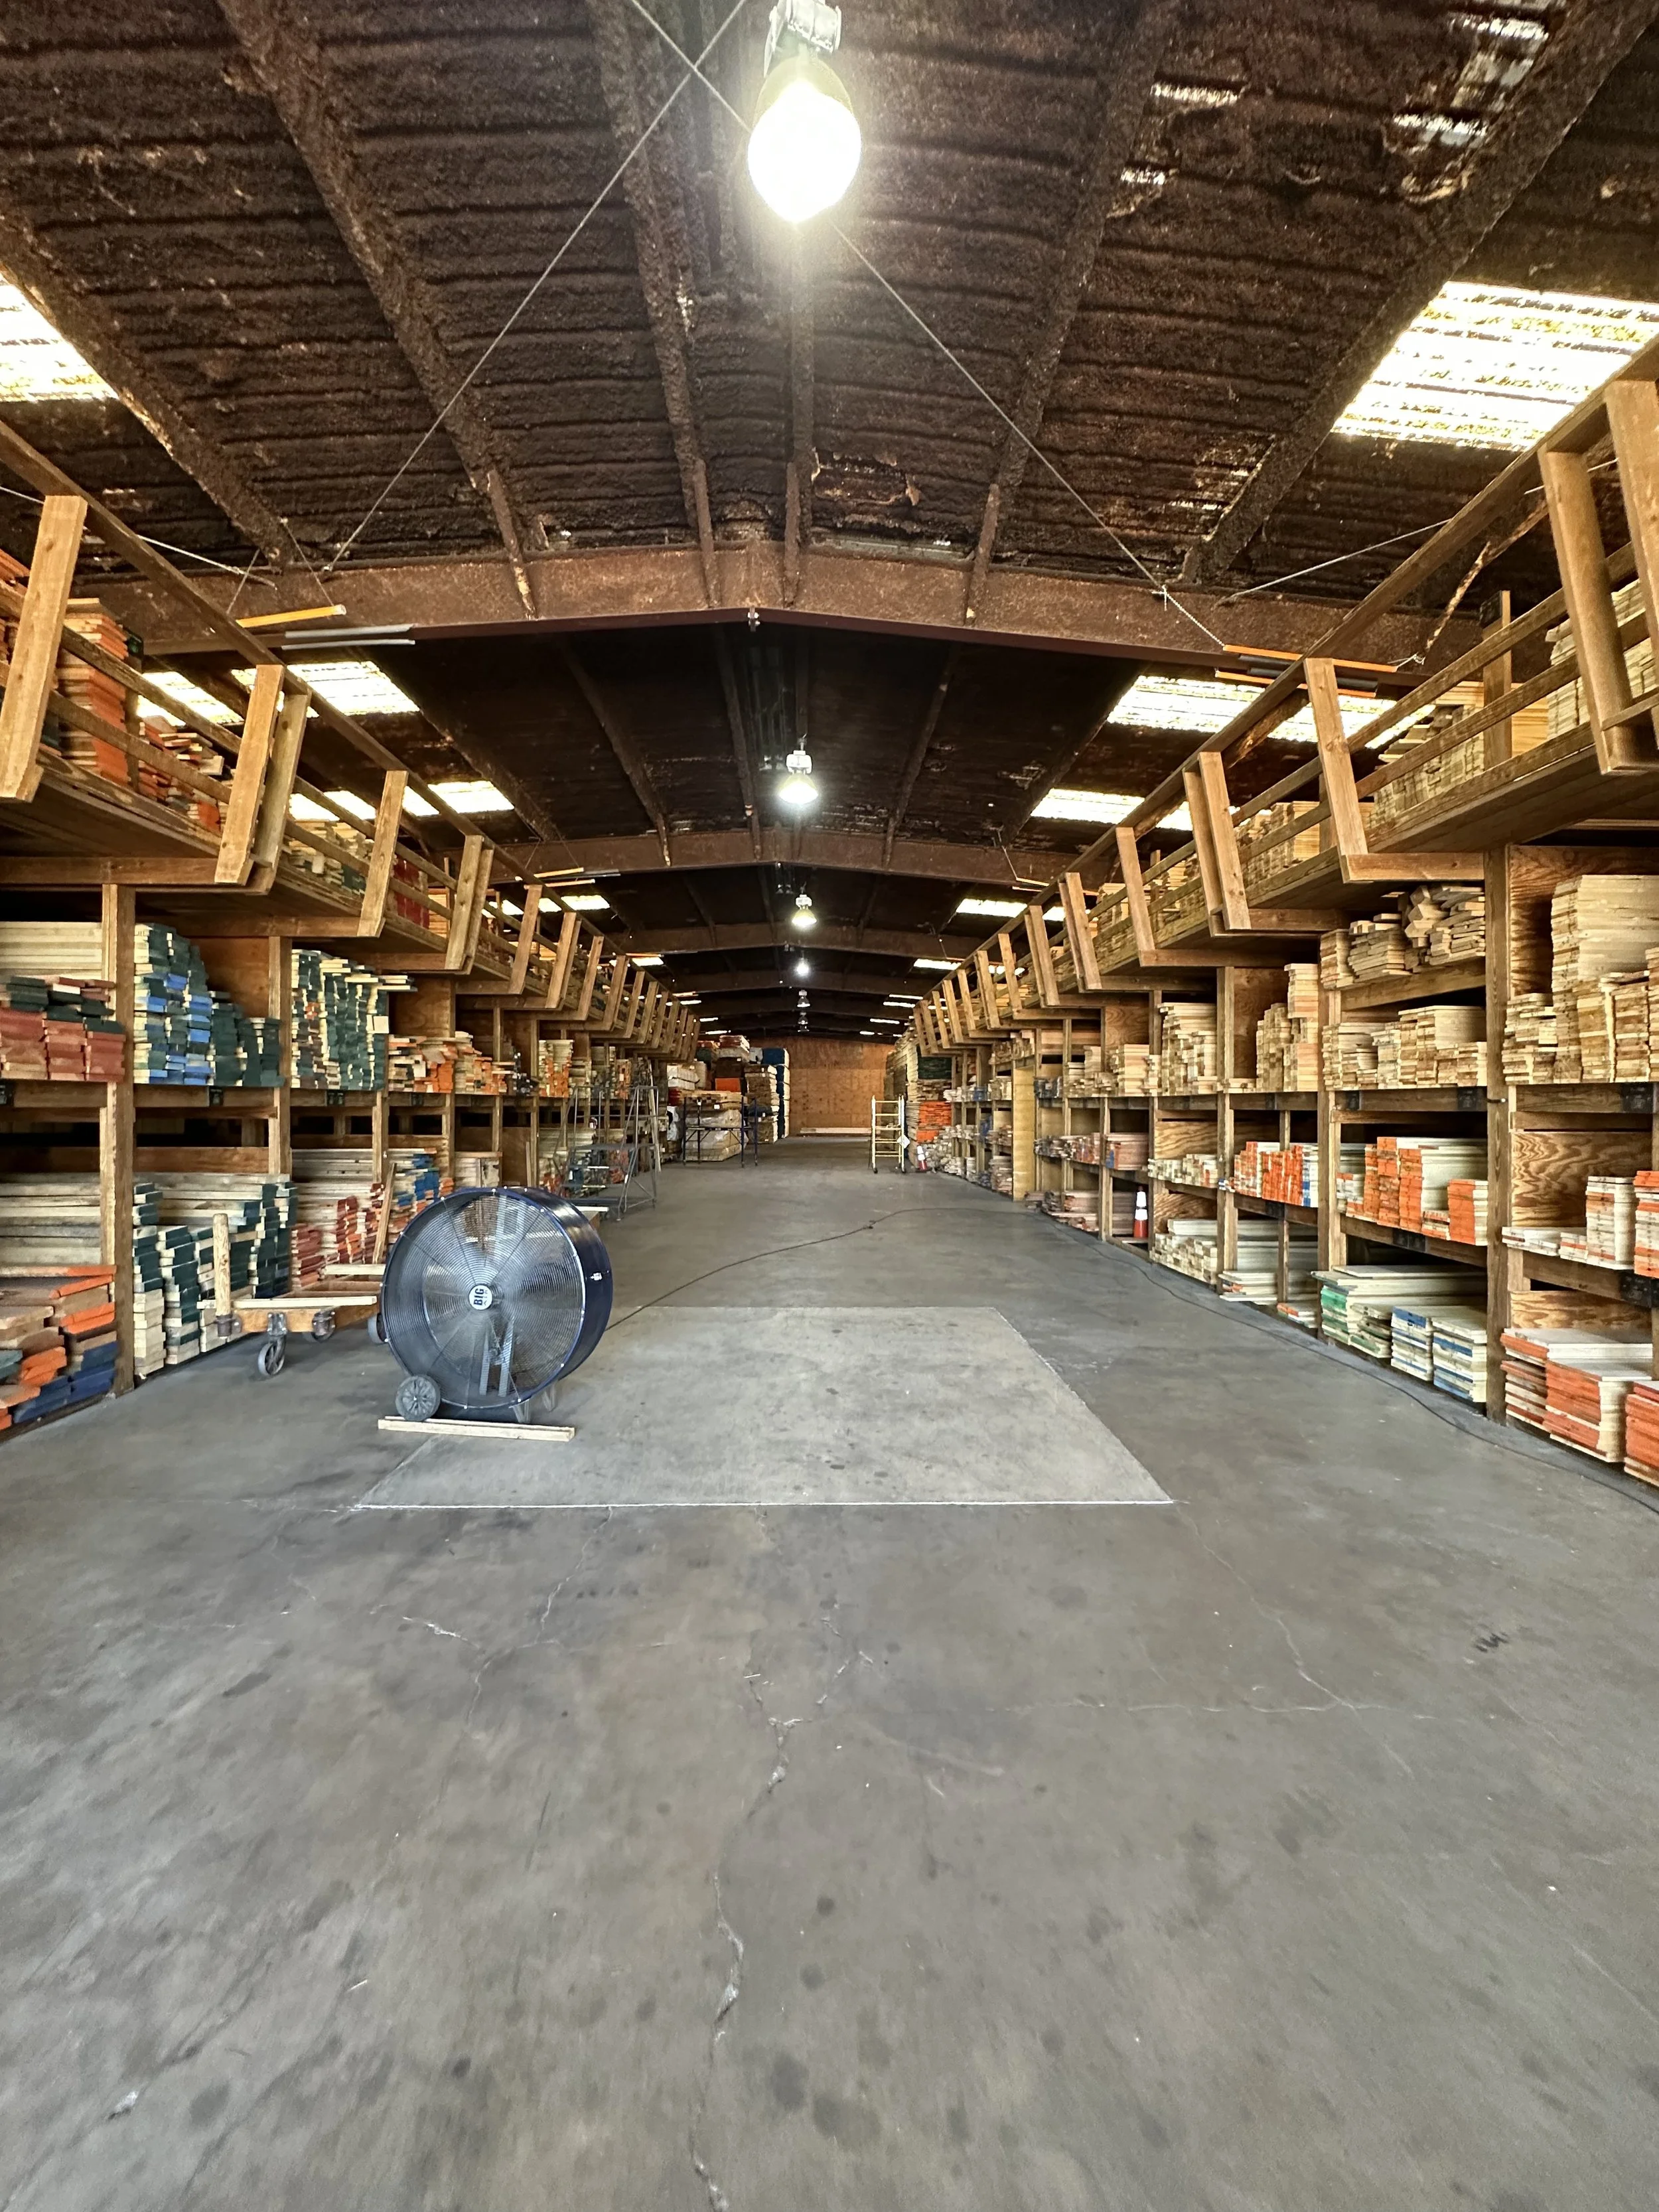
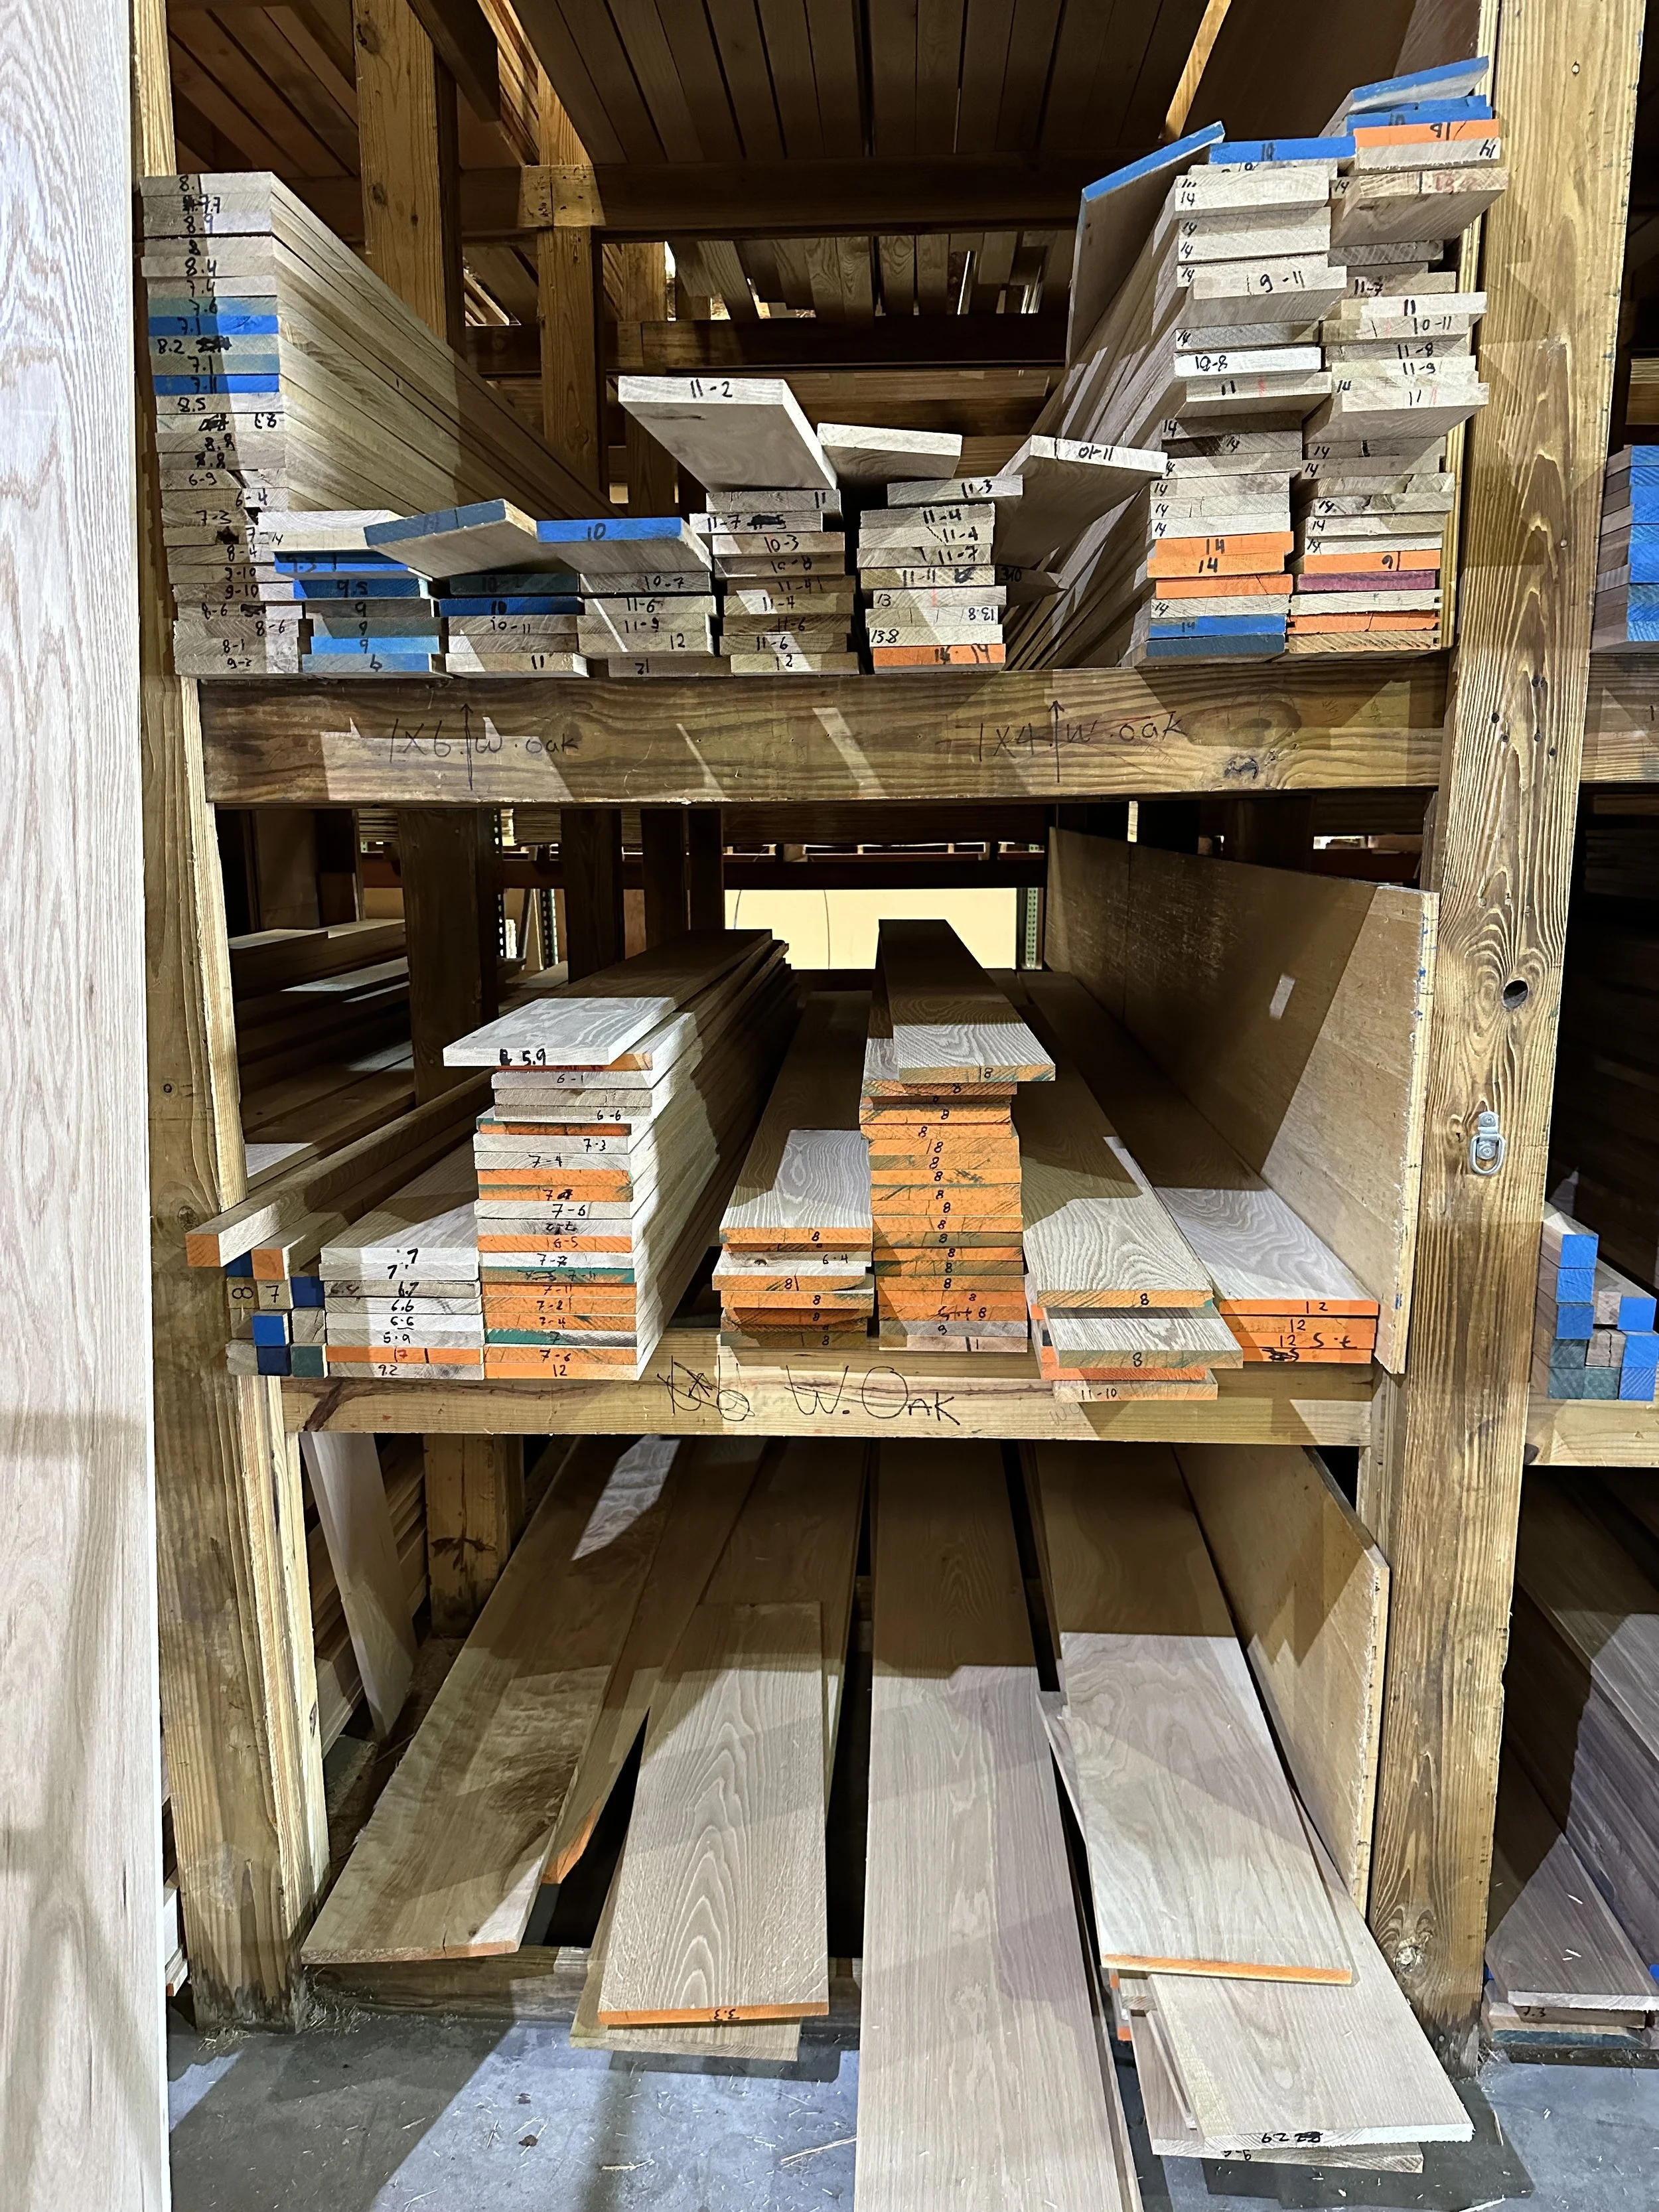
Buying Hardwood from a Lumber Yard
If you’re looking for quality hardwood at better prices, local lumber yards are the place to go. You’ll usually find more species to choose from, (for example, walnut, maple, cherry, and poplar) and the pricing is often much better than what you’d see at a big box store.
While the boards may come in rough-cut form, they’re great for furniture and woodworking projects, and staff can often help you select the right pieces. Don’t be intimidated—it’s worth learning how to shop here.
Tip: bring a good tape measure so you can double check dimensions right in the aisle.
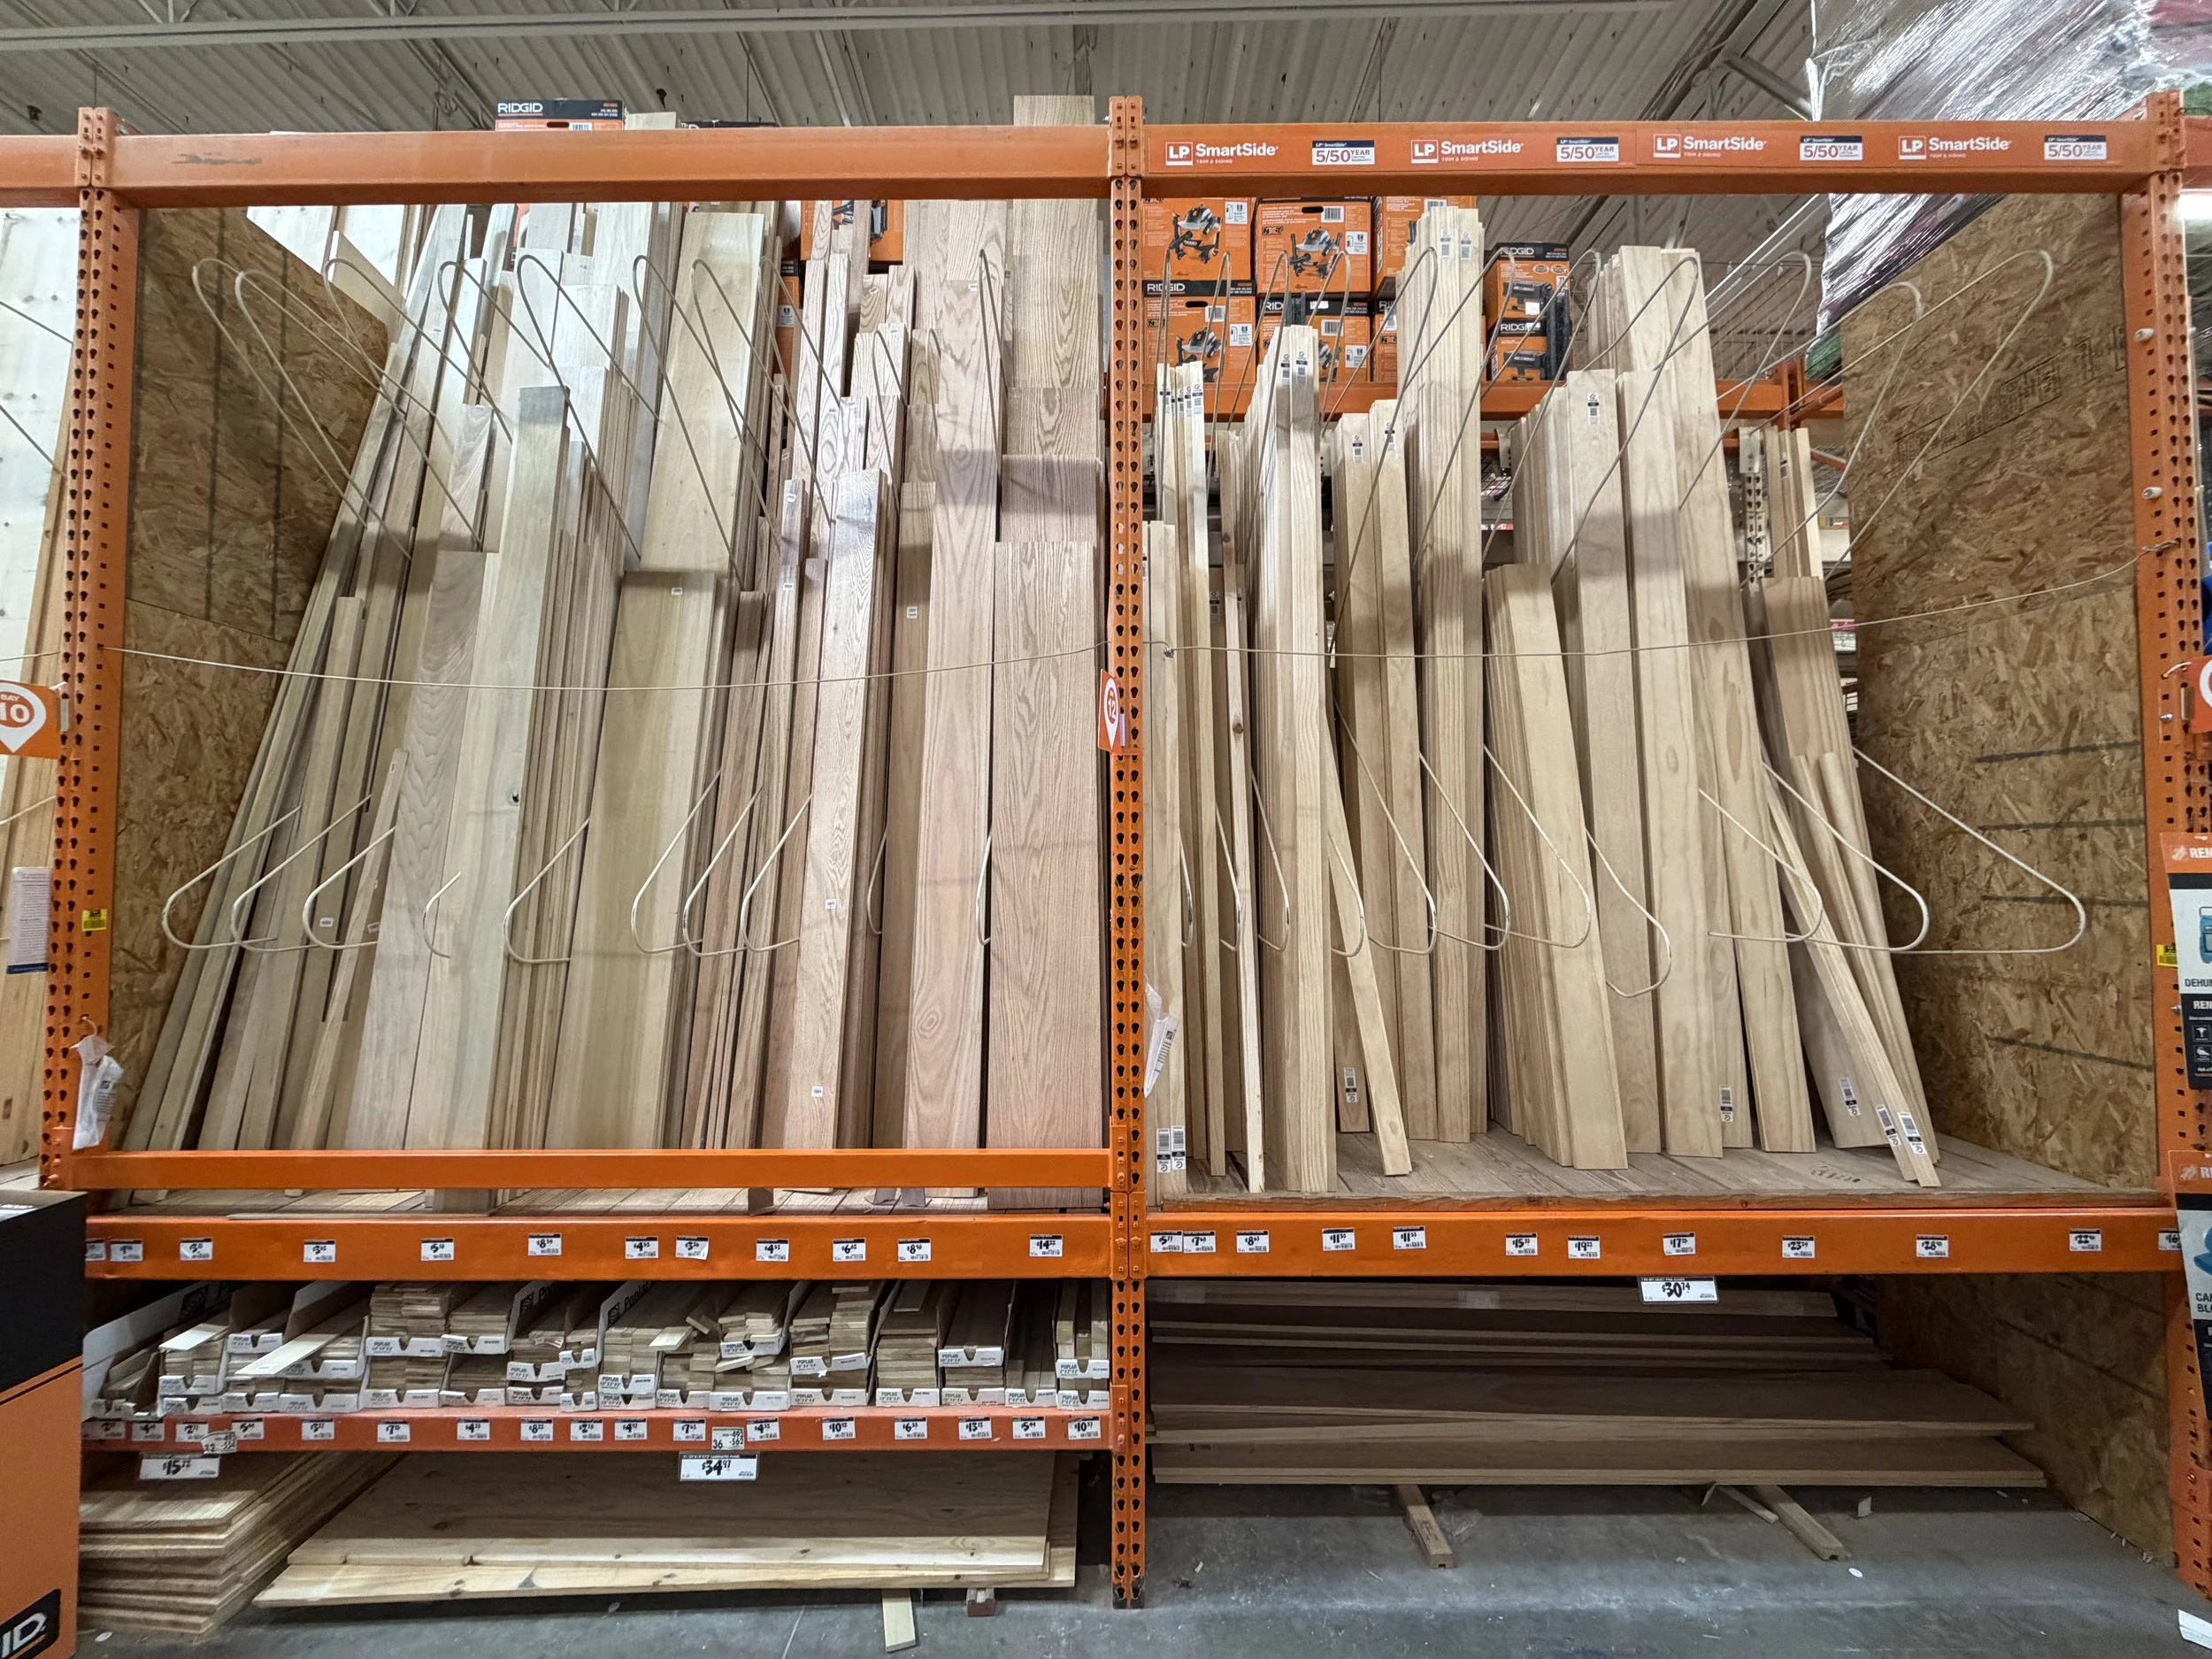
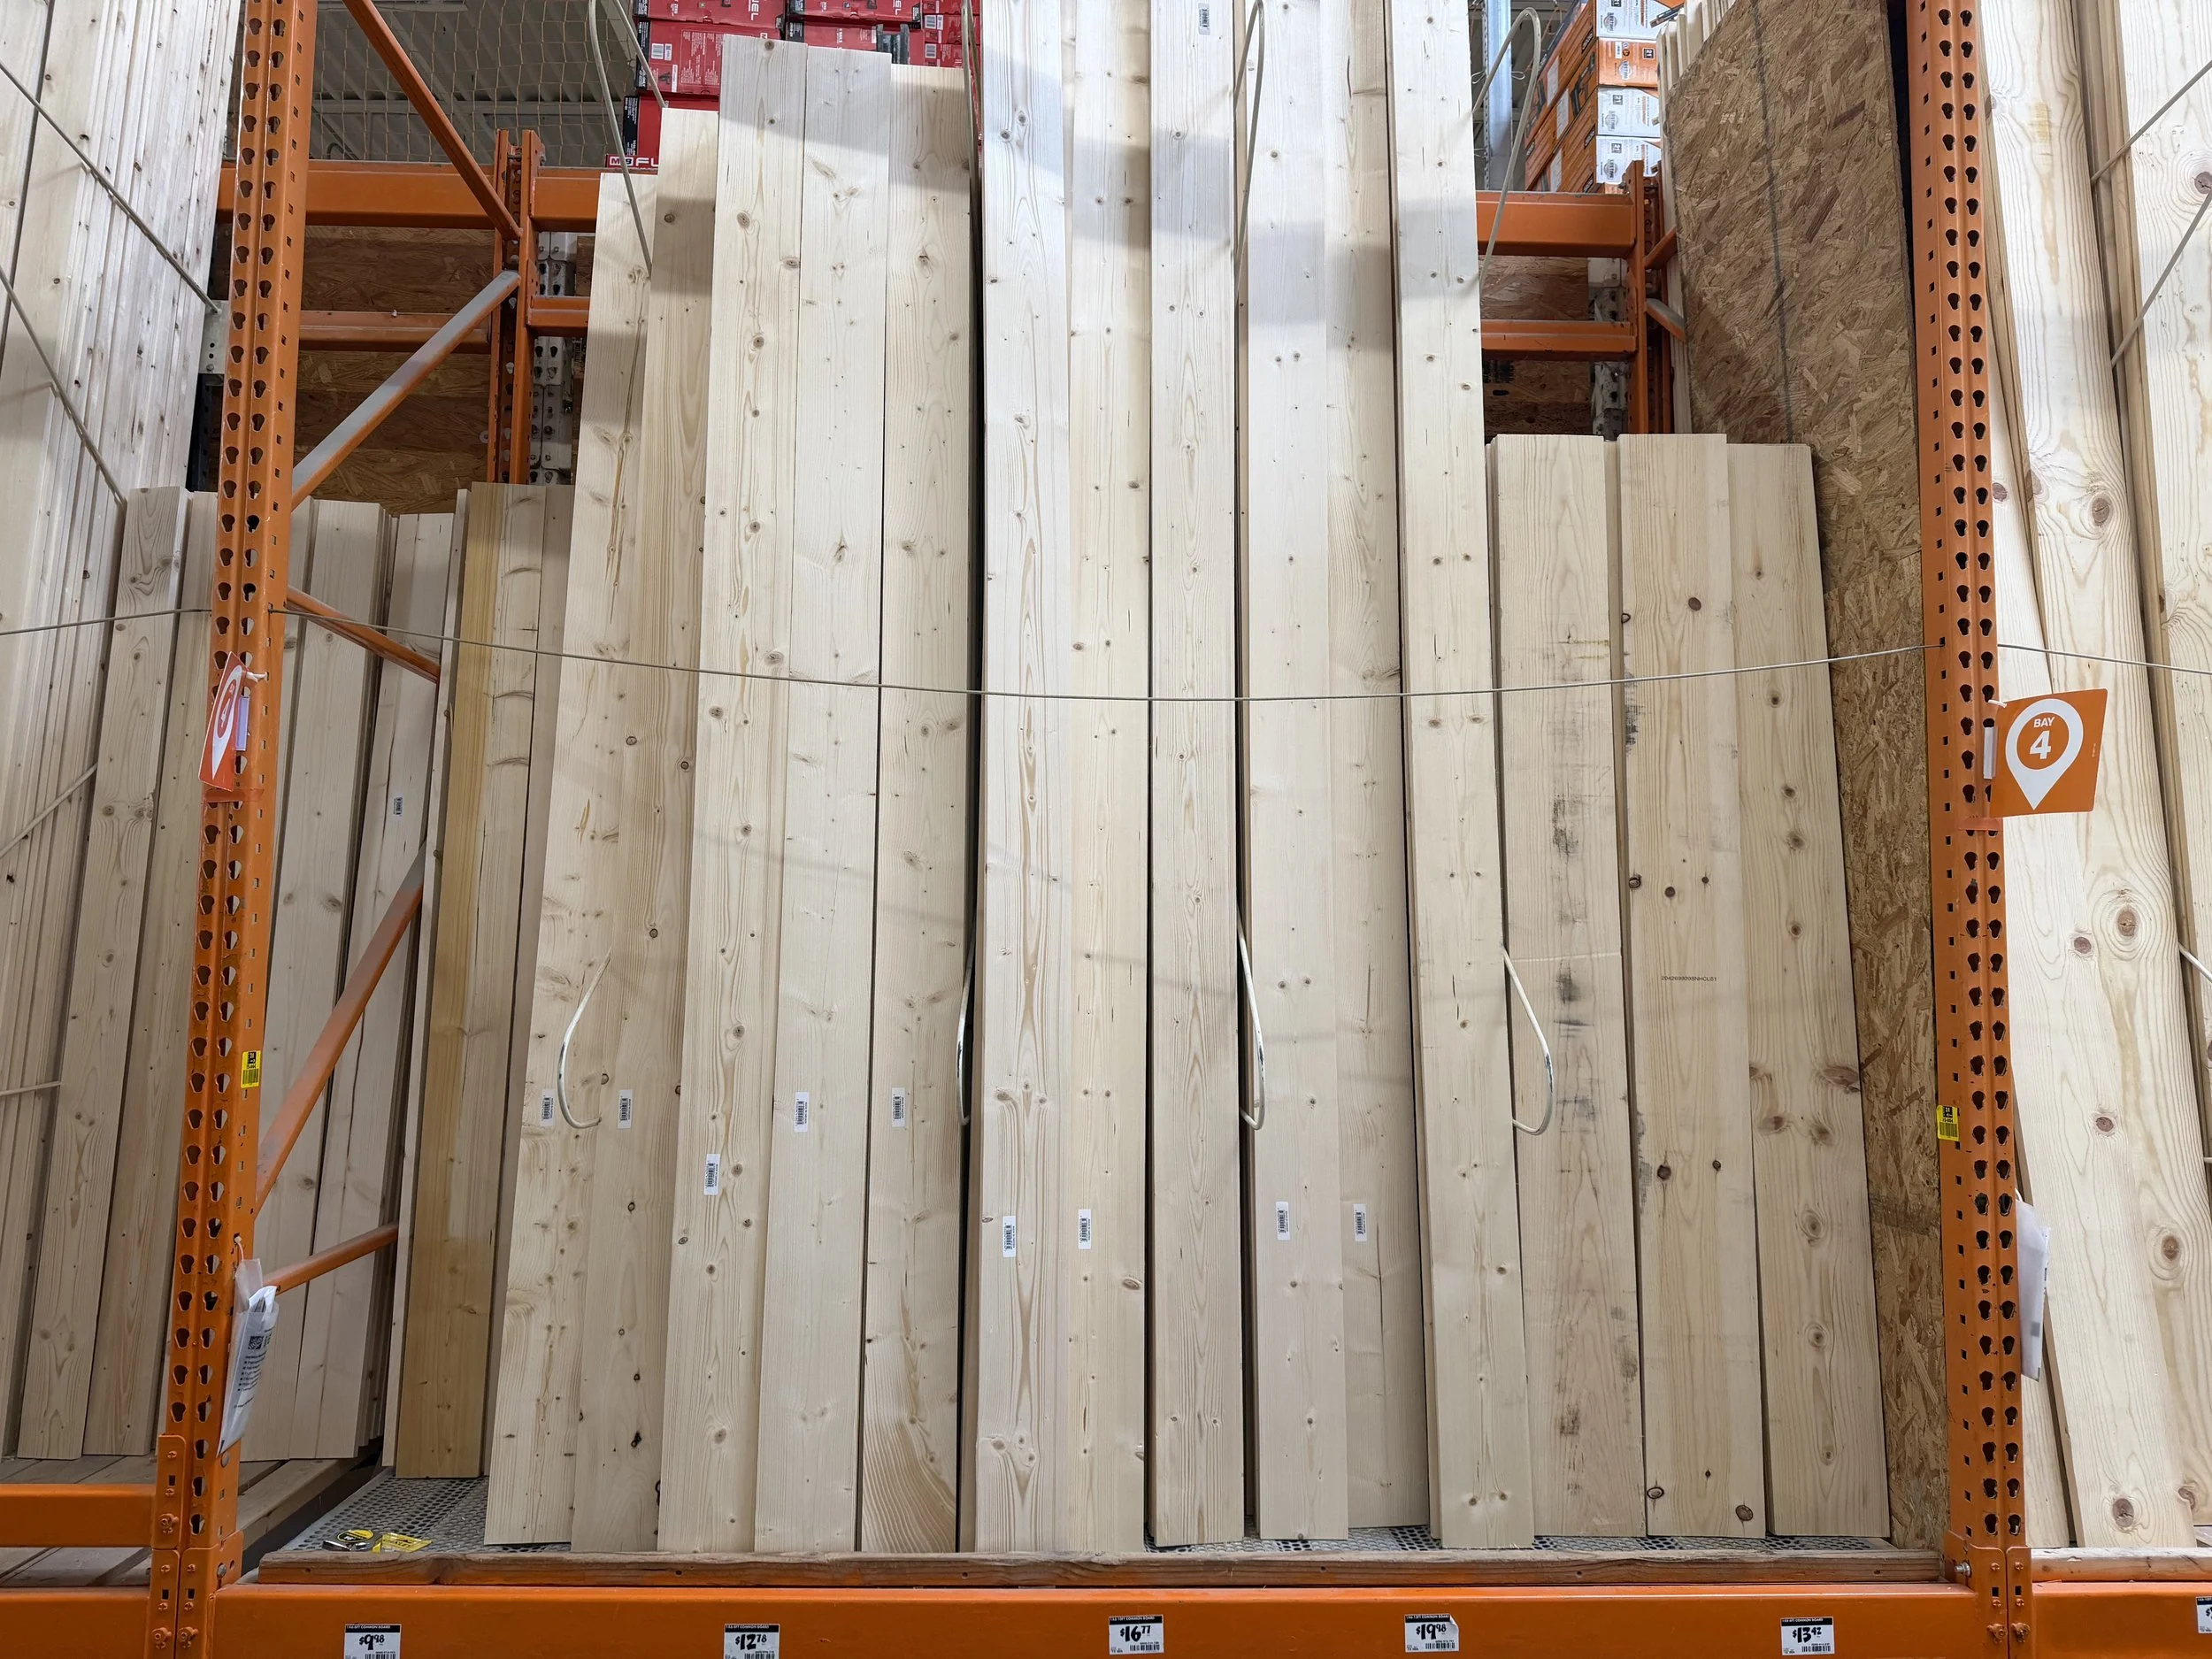
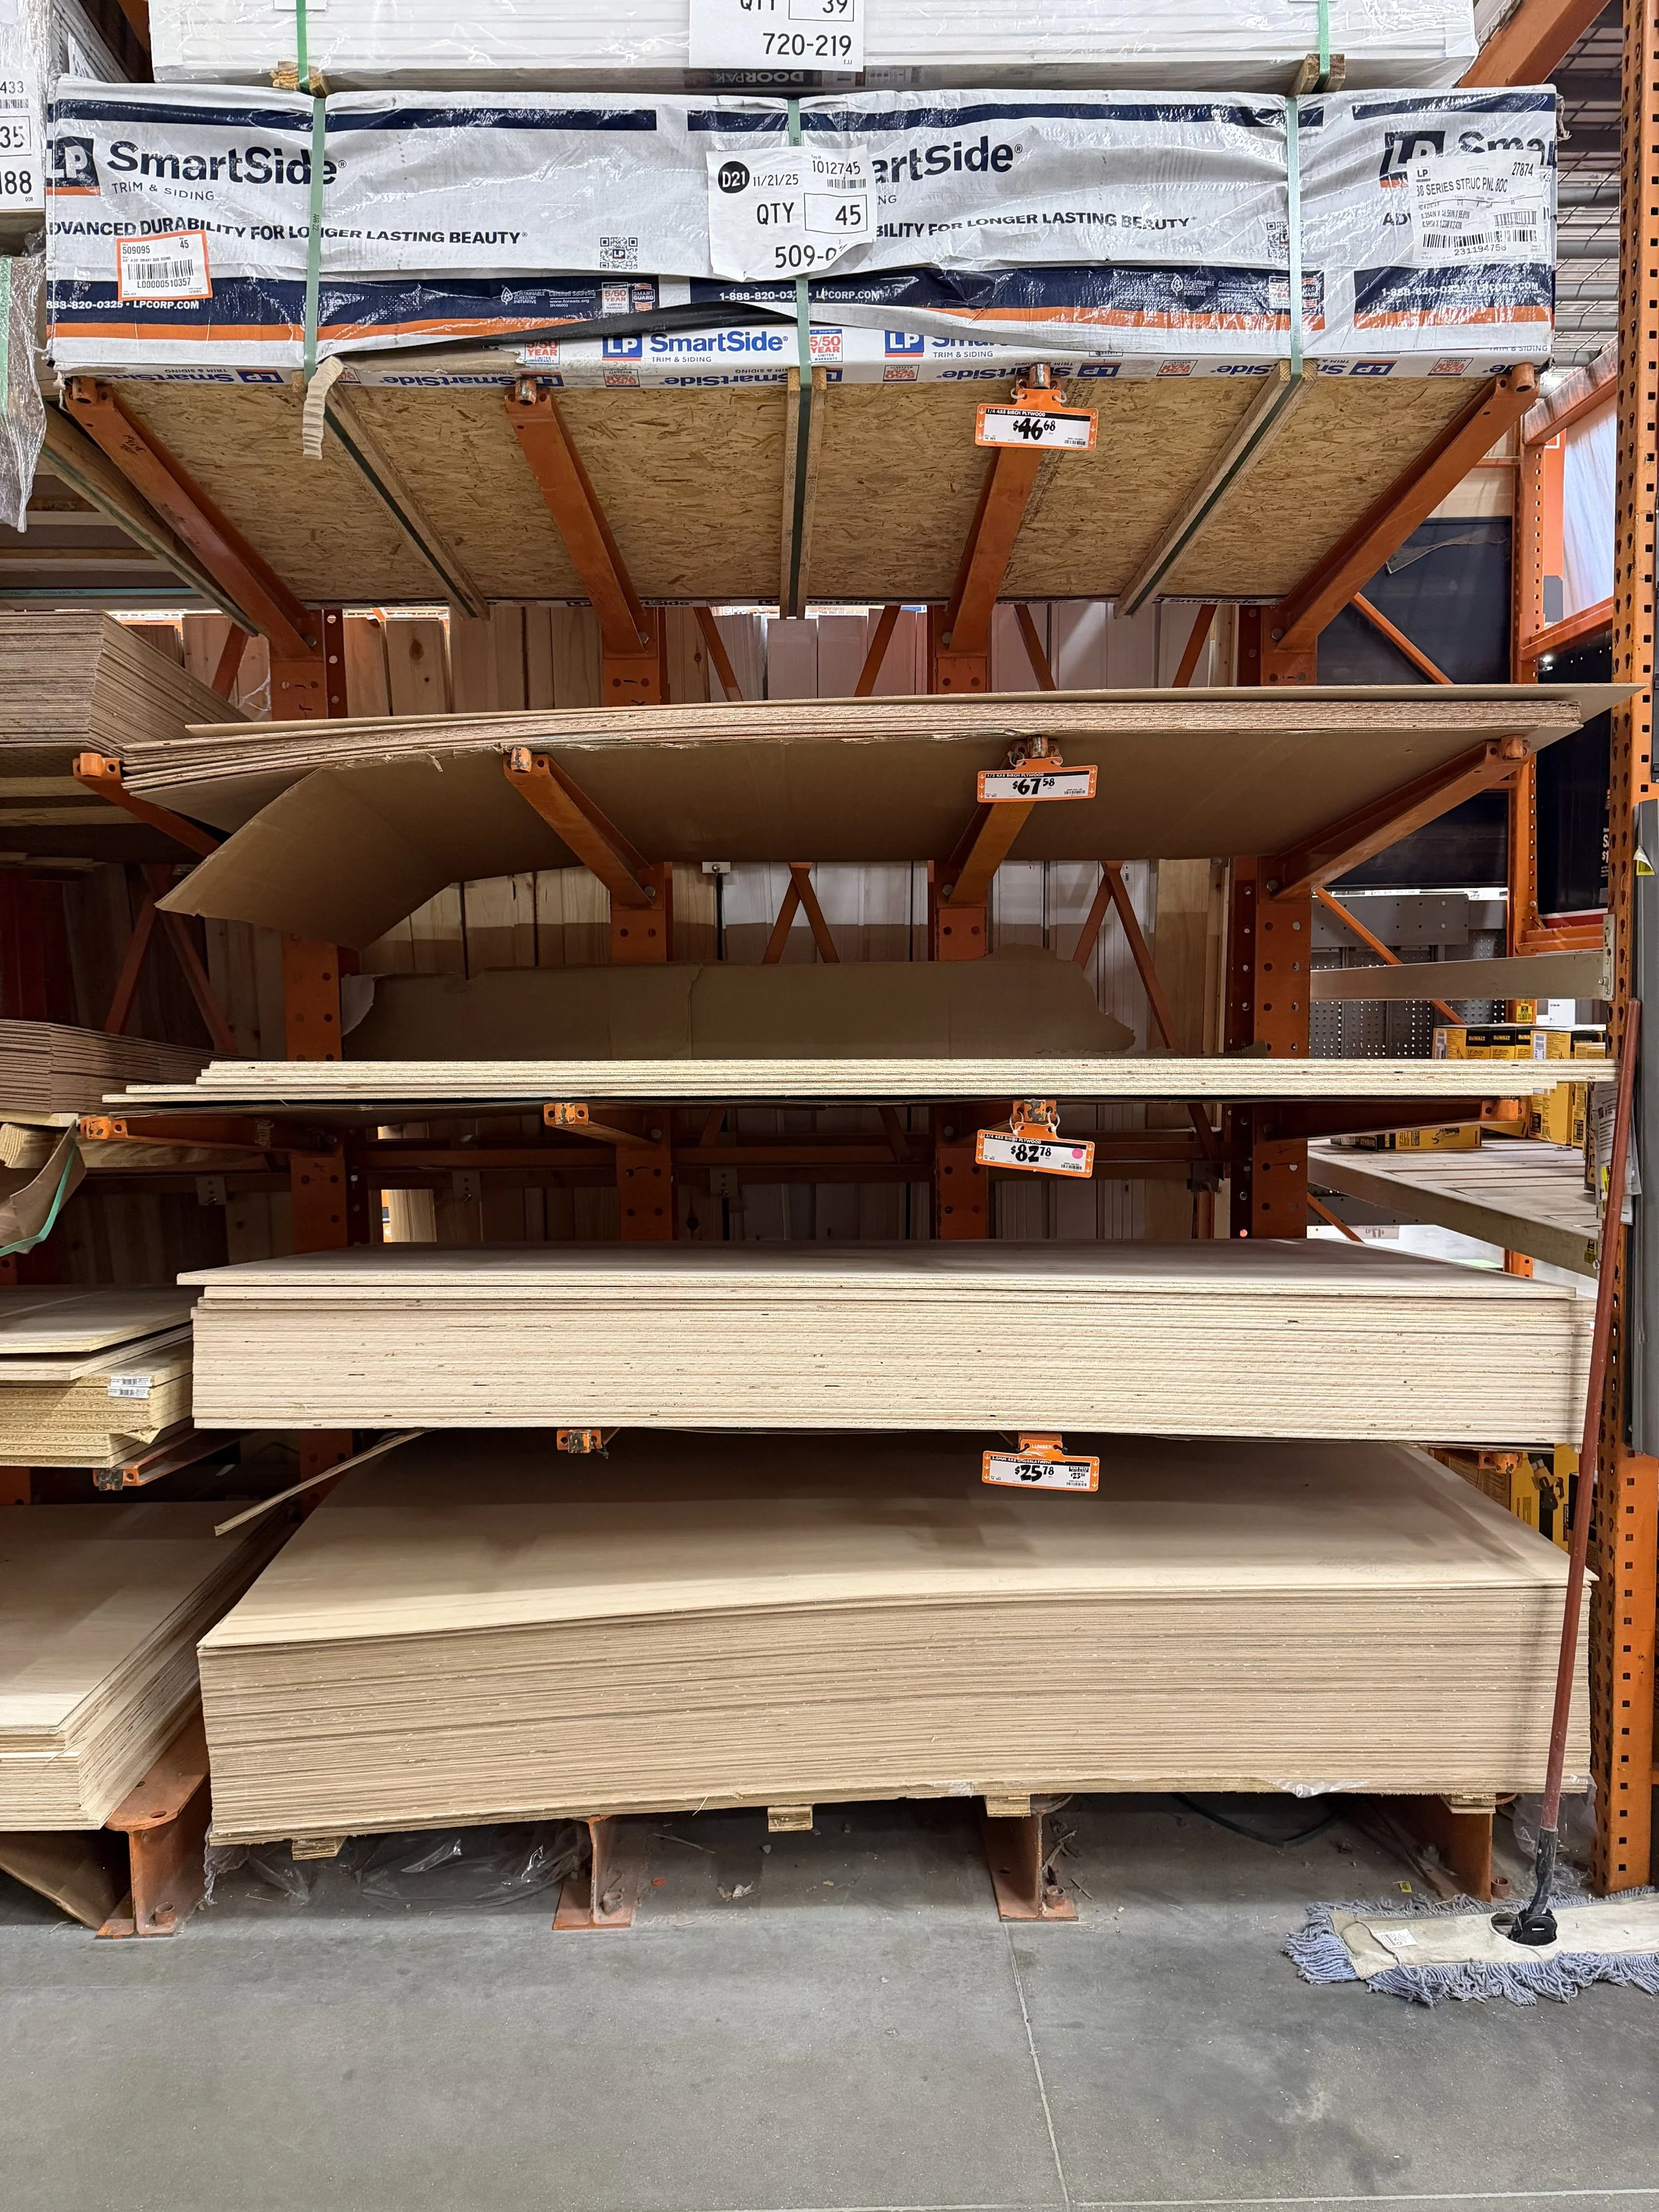
Buying Wood from Big Box Stores
For beginners, big box stores like Home Depot or Lowe’s can be a convenient and approachable option, especially when you’re just getting started.
Here’s why they’re a great choice:
Boards are S4S (surfaced on four sides) and ready to use—no milling required
Standard sizes are easy to plan around (1x4, 2x4, etc.)
Great for softwoods like pine, whitewood, and fir
Staff can trim boards to fit your car (if you can find them haha)
Quick access—open evenings and weekends
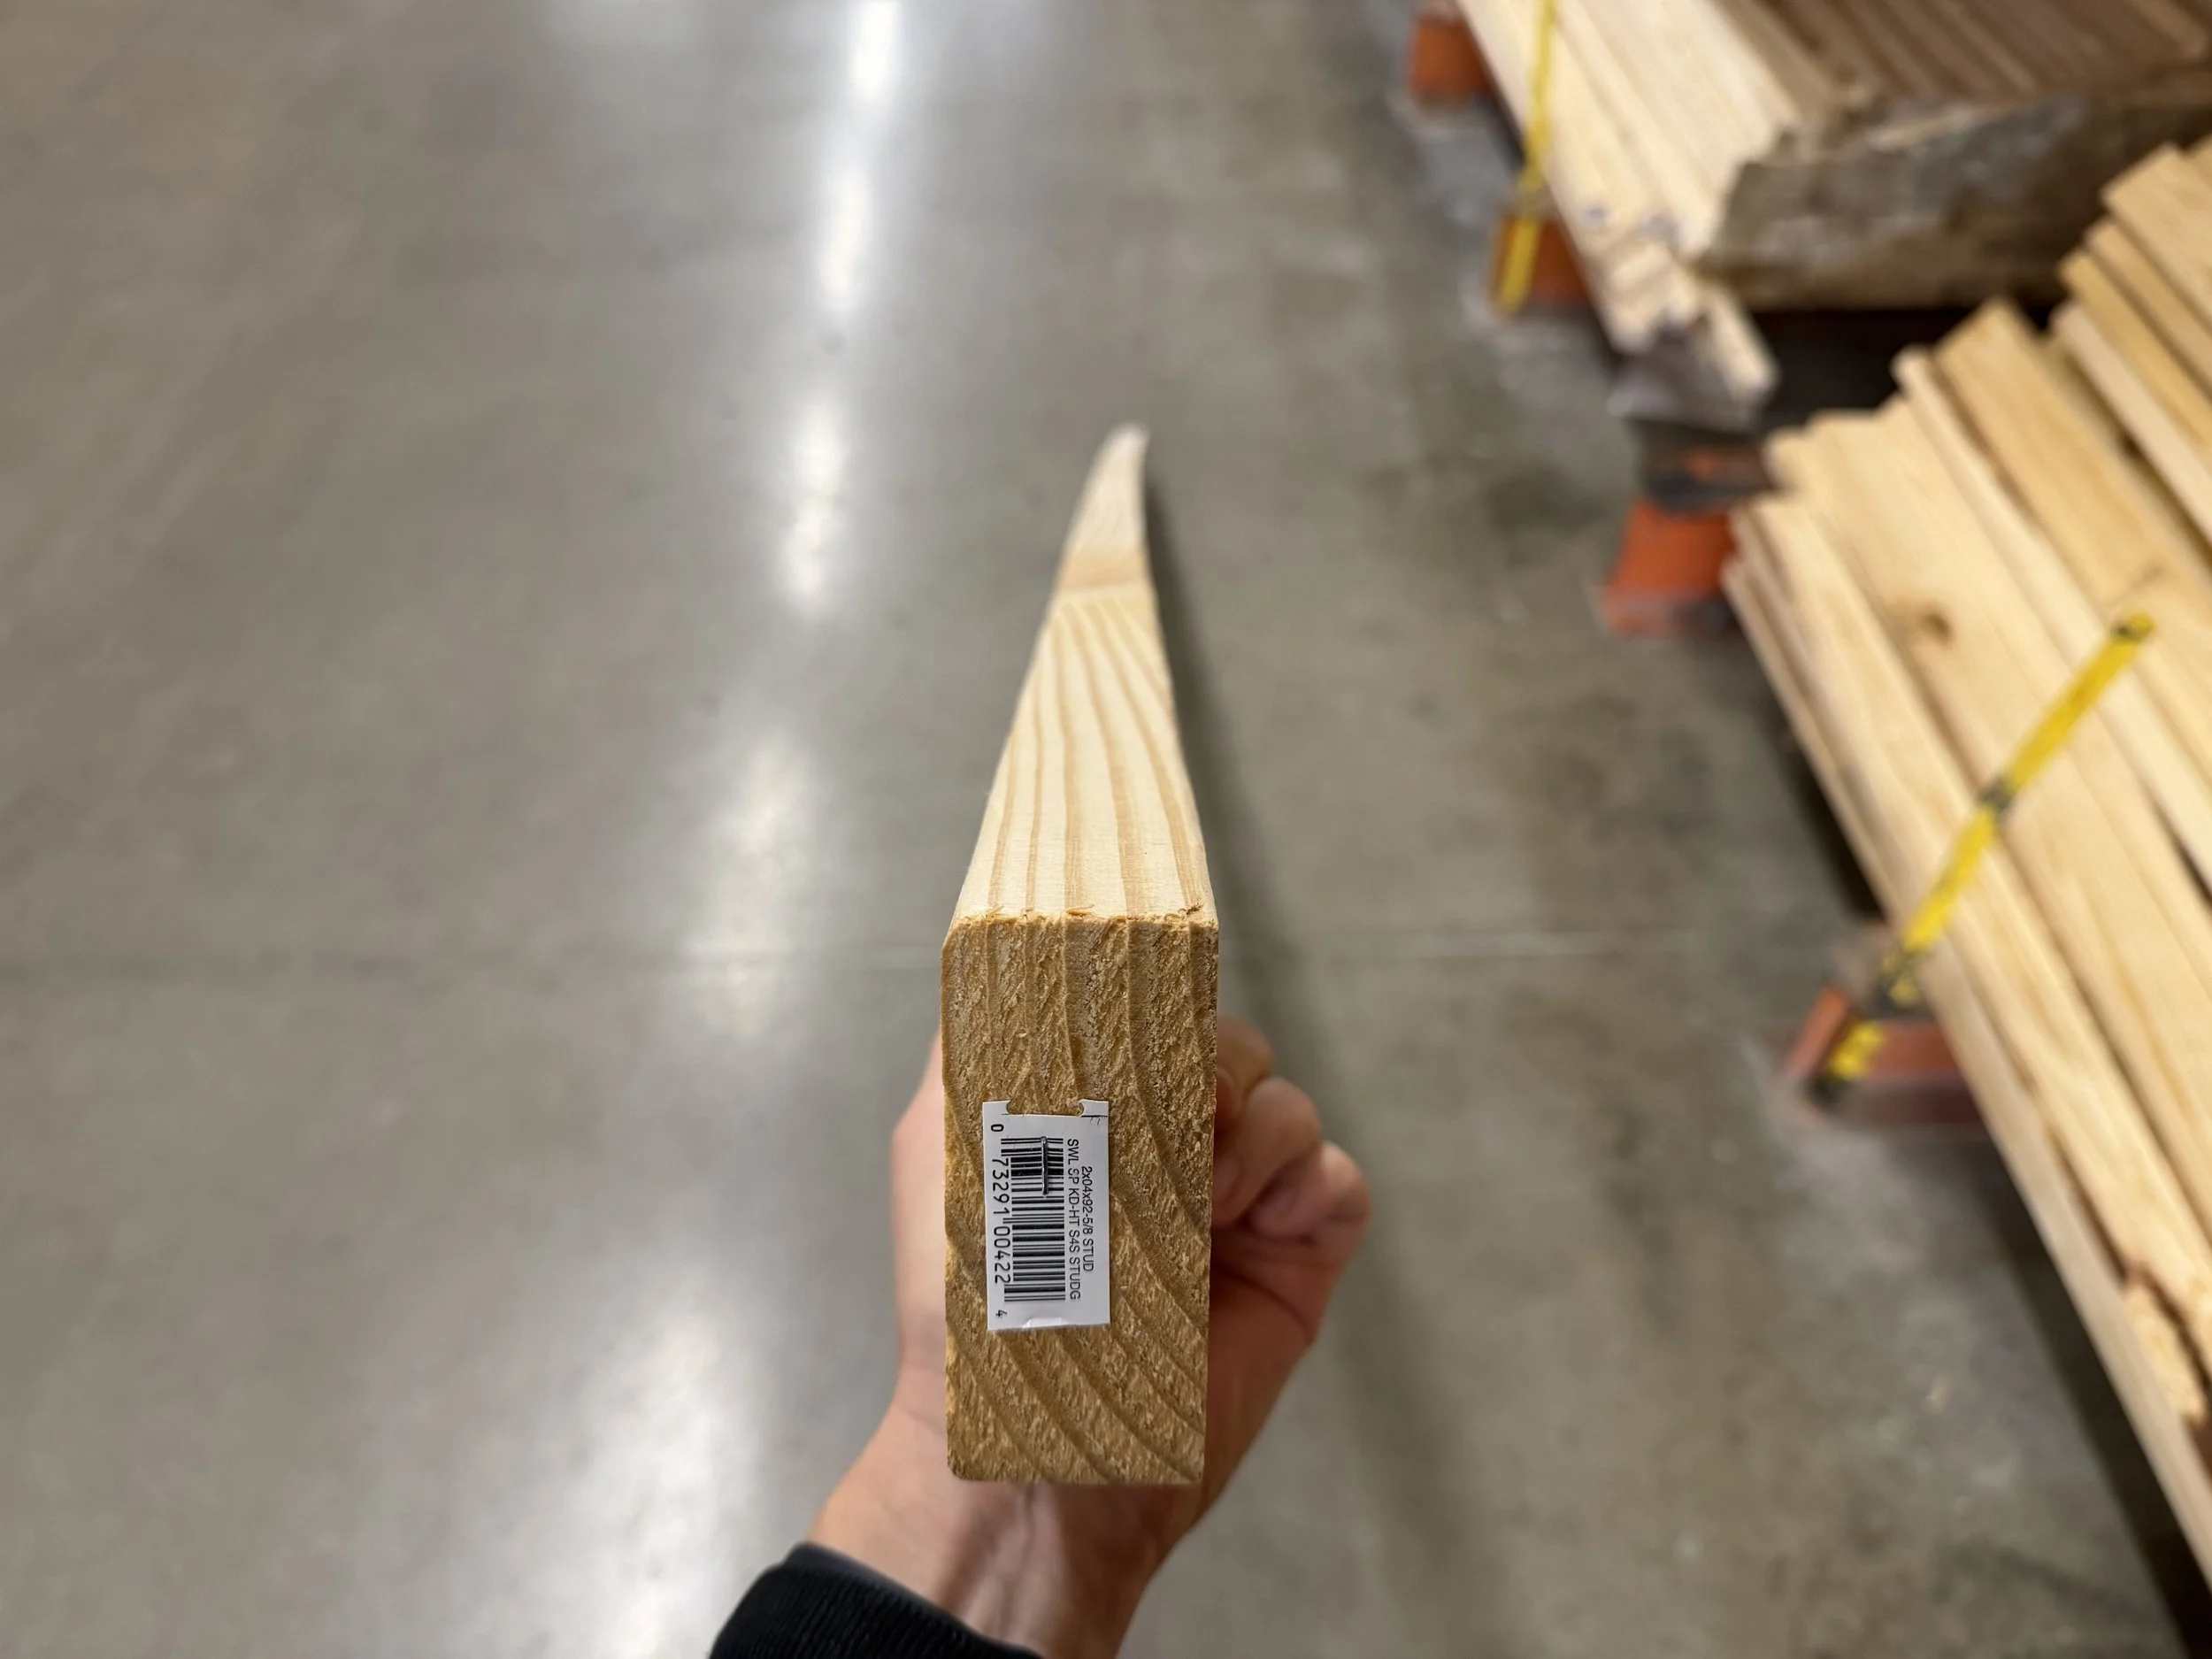
Just be prepared to dig through the stack for straight boards, and double-check the actual dimensions since the listed sizes are nominal.

Dimensional Lumber vs Actual Size
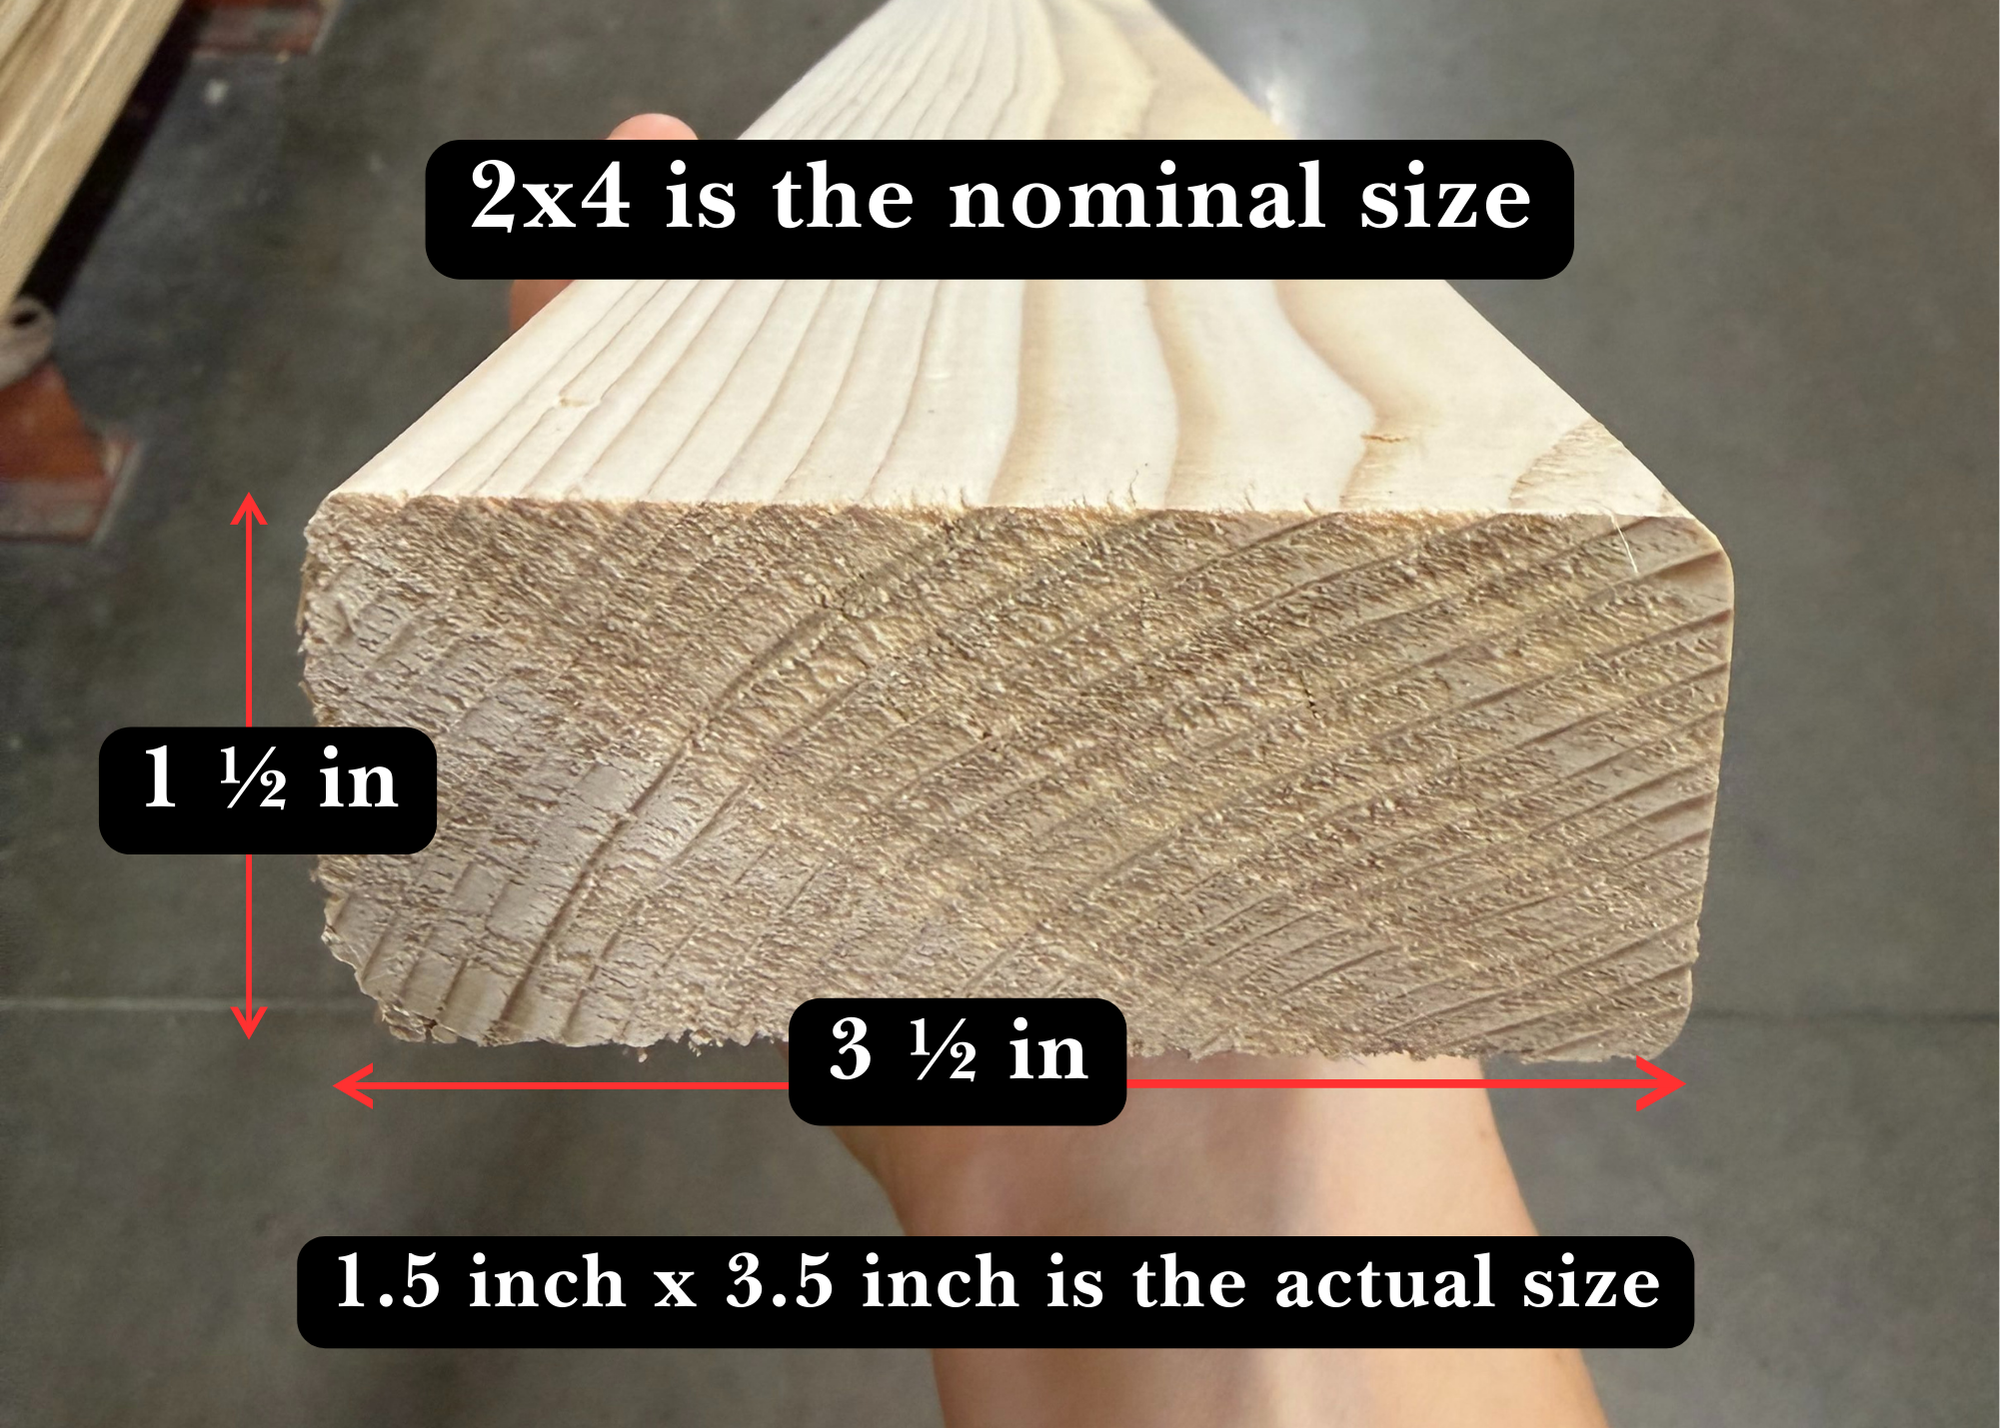
The wood sizes you see at the store (like 2x4 or 1x6) are nominal sizes. The actual size is smaller due to the drying and planing process.
For example:
A 2x4 actually measures 1.5" x 3.5"
A 1x6 actually measures 0.75" x 5.5"
Keep this in mind when designing or cutting parts for your project.
S4S, S2S, and RGH Explained
You’ll often see boards labeled like this:
S4S: Surfaced on four sides. These boards are smooth and ready to use right off the shelf.
S2S: Surfaced on two sides (usually the faces), but the edges are rough and may need trimming.
RGH: Rough cut lumber. Needs planing and jointing before use.
For most beginner DIYers, S4S boards are easiest to work with.
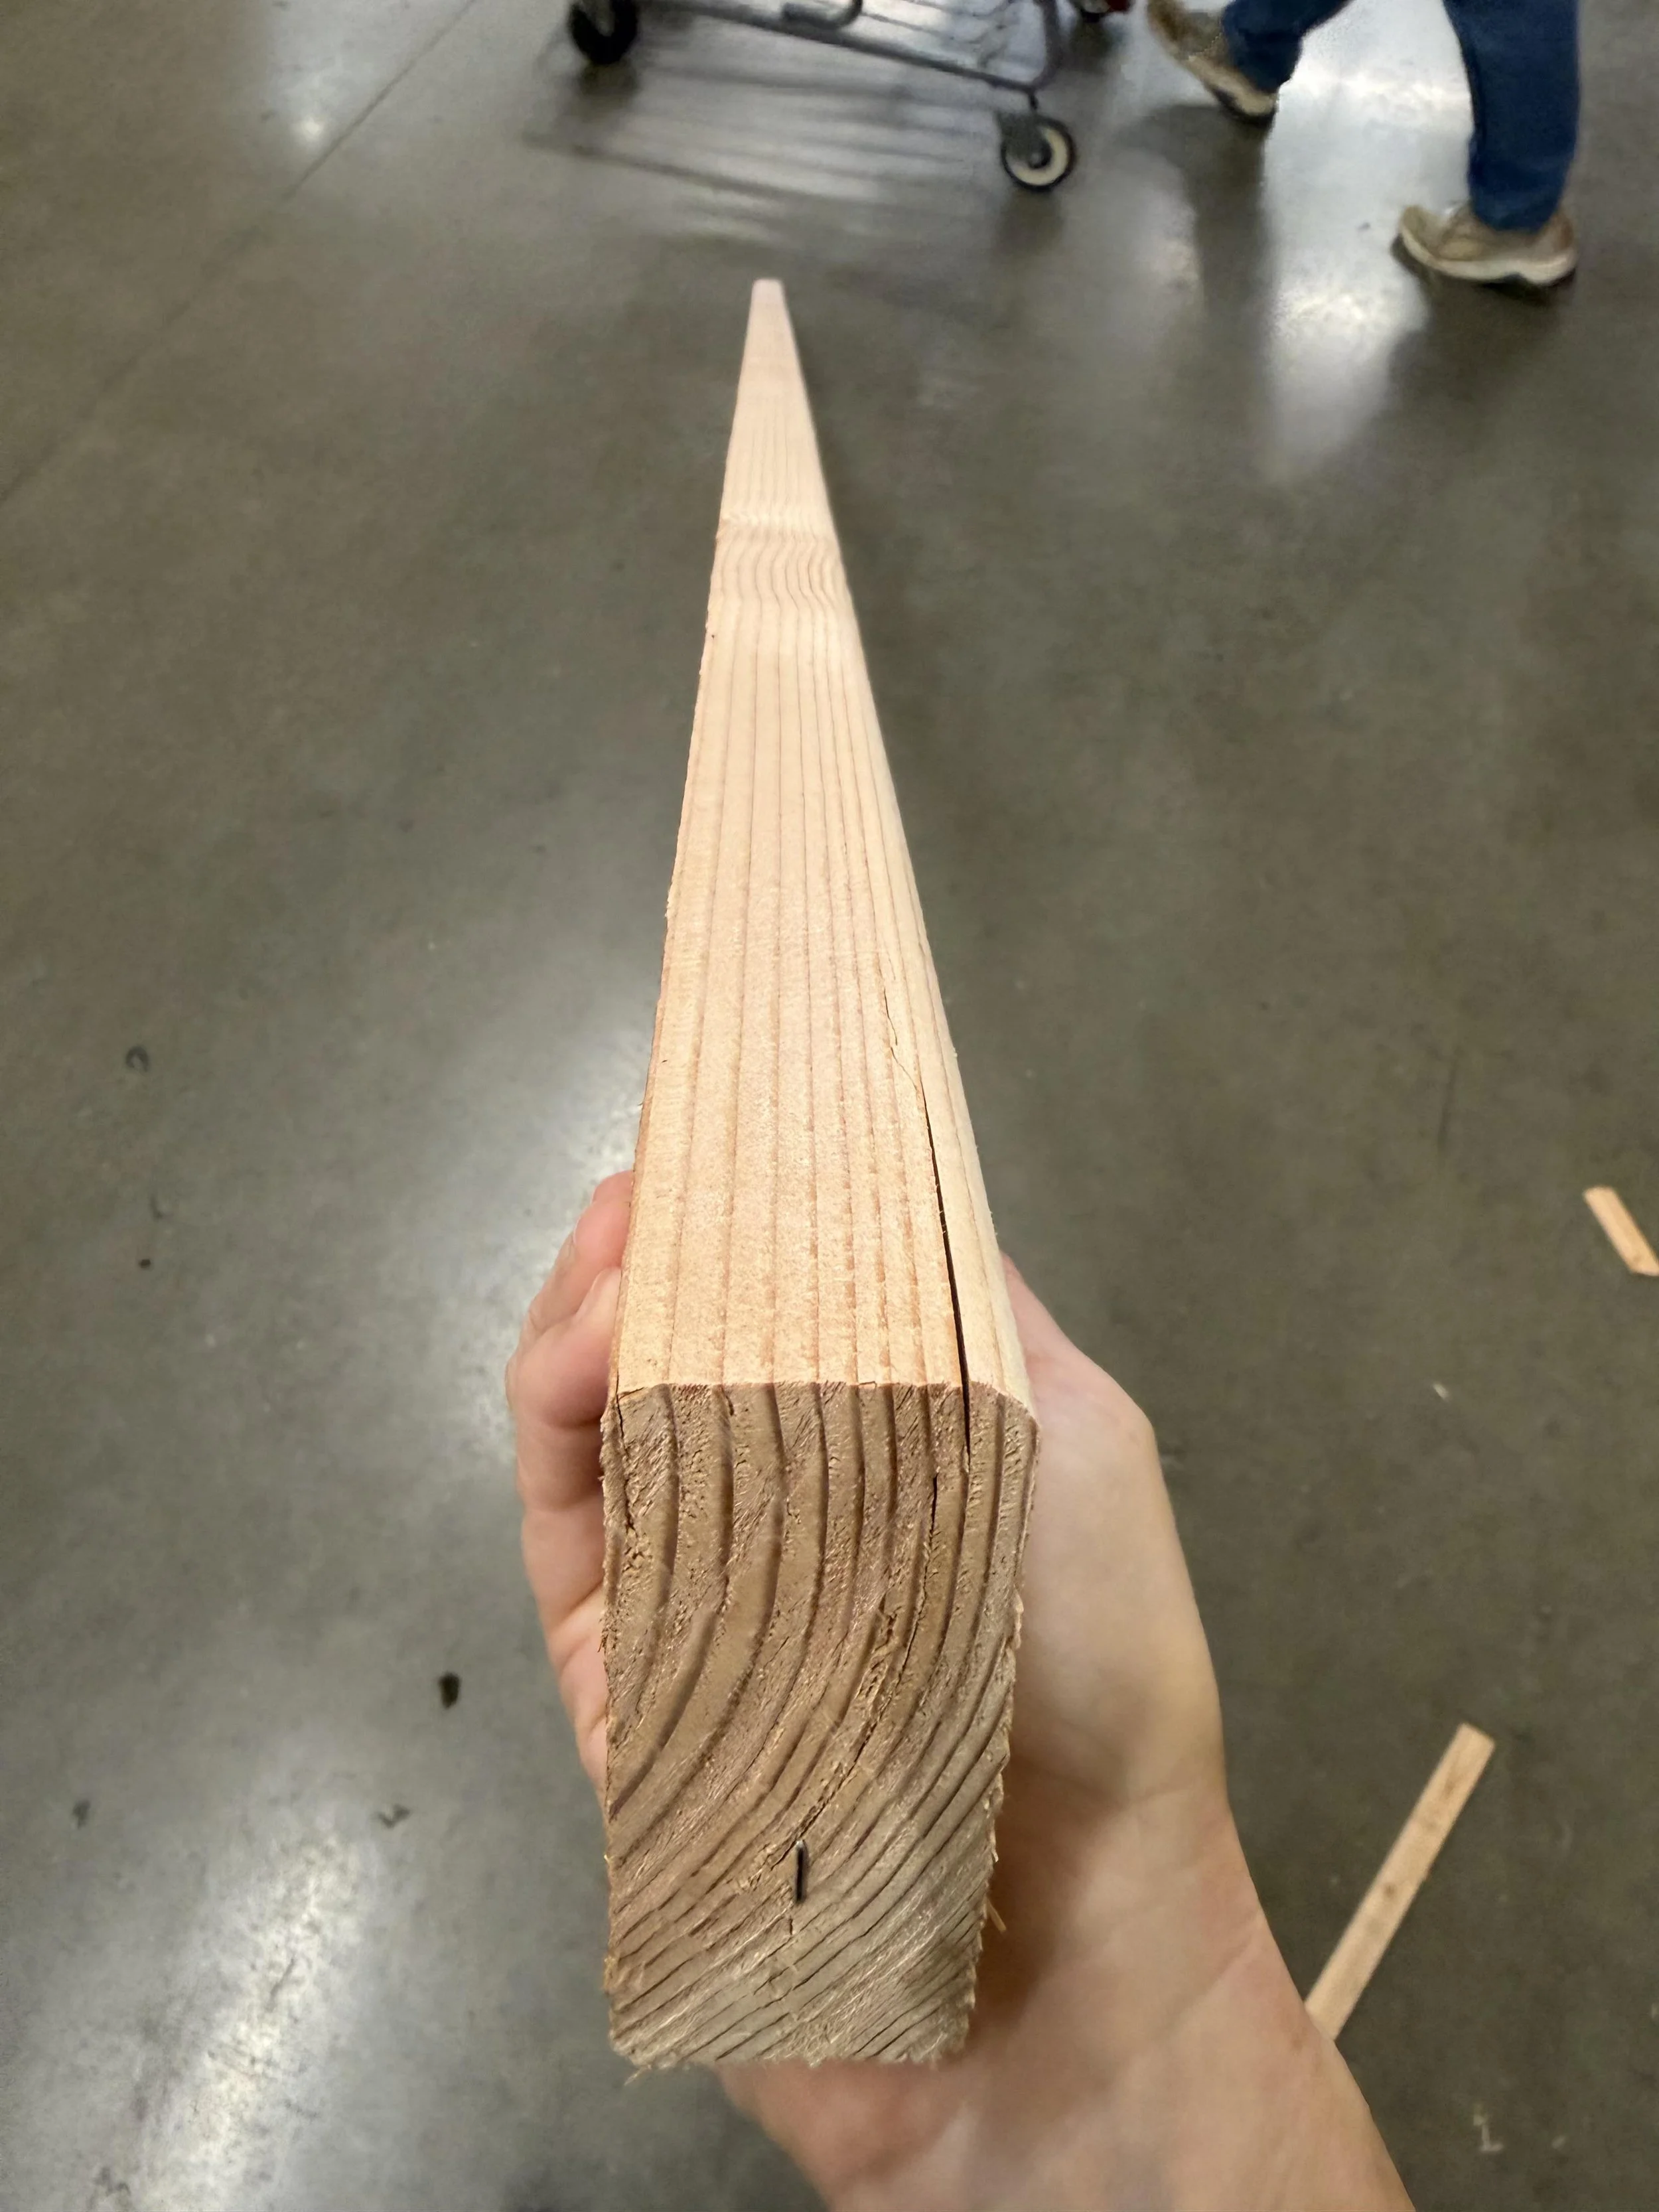
Learn to Spot Wood Defects
Before tossing a board into your cart, take a minute to inspect it. Here's what to look for:
Bow: A curve along the length of the board
Cupping: The edges of the board curl up or down
Twisting: One corner is rotated relative to the others
Crook: The edge of the board curves left or right
Splits or cracks: Especially near the ends
Knots: These are common in pine; avoid loose or large ones near important cuts
Tip: Hold one end of the board at eye level and look down its length to spot bowing or twisting. Then flip it and check the other edge.
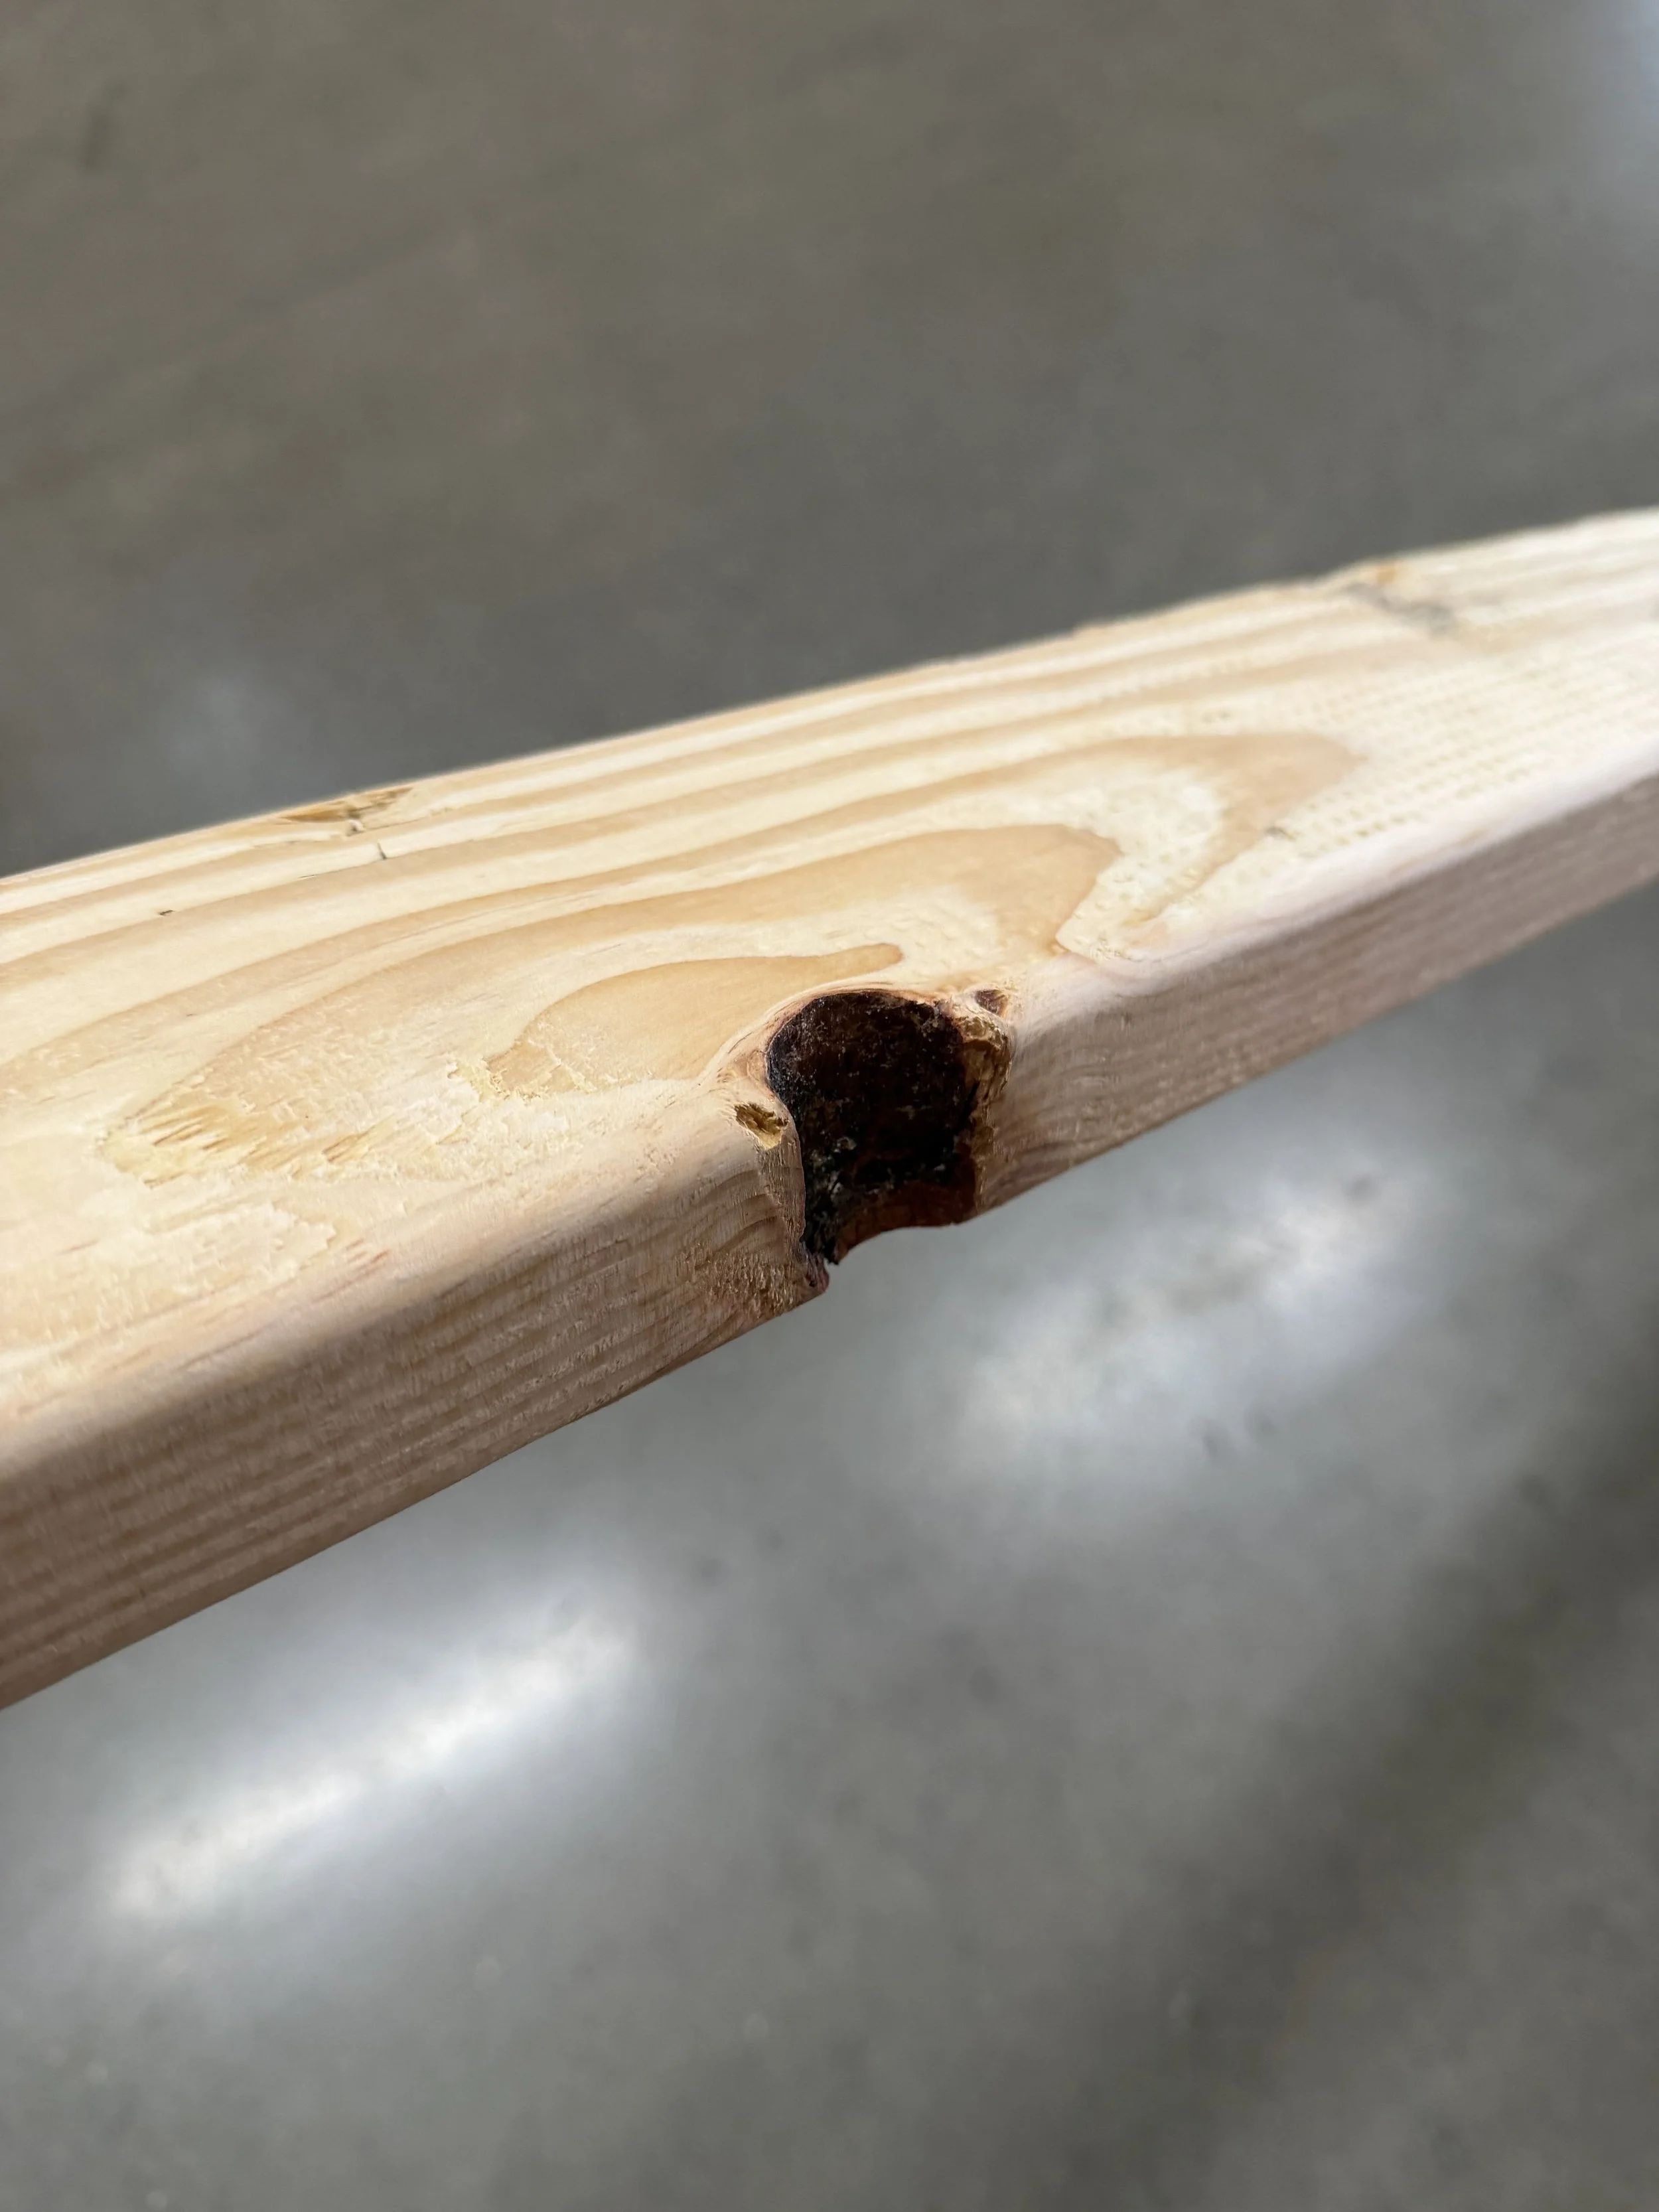

These 2x4s above are a great example of common imperfections like knots, wane, and rough edges. For structural framing or hidden parts of a project, these flaws usually don’t matter. But if you’re choosing wood for visible surfaces or furniture, it’s worth taking extra time to find cleaner boards.
Grain Pattern and Stability
Look at the end grain of a board to understand how it was cut:
Flat-sawn: The most common cut. Grain arches across the face. Can cup over time but is affordable.
Quarter-sawn: Lines run straight across the face. More stable and less likely to warp.
Rift-sawn: Grain lines run diagonally. Very stable, premium option.
For projects where appearance and movement matter (like tabletops), grain orientation can be important.
Understanding Edge, Face, and End Grain

Each board has three key surfaces:
Face grain: The wide, flat surface — usually the most visible and attractive side.
Edge grain: The narrow, long side of the board. Often used for gluing and strength in things like cutting boards.
End grain: The exposed ends where the growth rings are visible. It soaks up stain and glue differently and is more prone to splitting.
Knowing the difference helps you with sanding, gluing, finishing, and understanding how your wood might expand or shrink over time.
Moisture Content: Kiln-Dried vs Pressure Treated
Kiln-Dried (KD) lumber has been dried in a controlled environment and is best for indoor furniture or decor projects.
Pressure Treated (PT) lumber has been chemically treated to resist rot and insects. It’s intended for outdoor use only and usually still holds moisture, making it heavy and harder to work with.
Avoid pressure-treated wood for indoor projects, especially when cutting or sanding.
Board Feet vs Linear Feet
If you're buying hardwood or rough lumber, you may see it priced in board feet. A board foot is a way to measure the volume of wood. It’s commonly used when buying hardwood or rough-cut lumber at lumber yards. Instead of pricing by length like softwood, hardwood is sold by how much material you’re getting. One board foot equals a board that is 1 inch thick, 12 inches wide, and 12 inches long. Two boards that are both 8 feet long would be different board feet if one is 1 inch thick and one is 2 inches thick.
Use the formula below to calculate how many board feet are in a piece so you can estimate cost.
Board Foot Formula:
(Thickness [in inches] x Width [in inches] x Length [in inches]) ÷ 144 = Board FeetExample: A board that's 1" thick, 6" wide, and 96" long: (1 x 6 x 96) ÷ 144 = 4 board feet
Linear feet is a simple measurement of length, regardless of width or thickness. Big box stores usually only sell softwood by linear feet.
Understanding Plywood
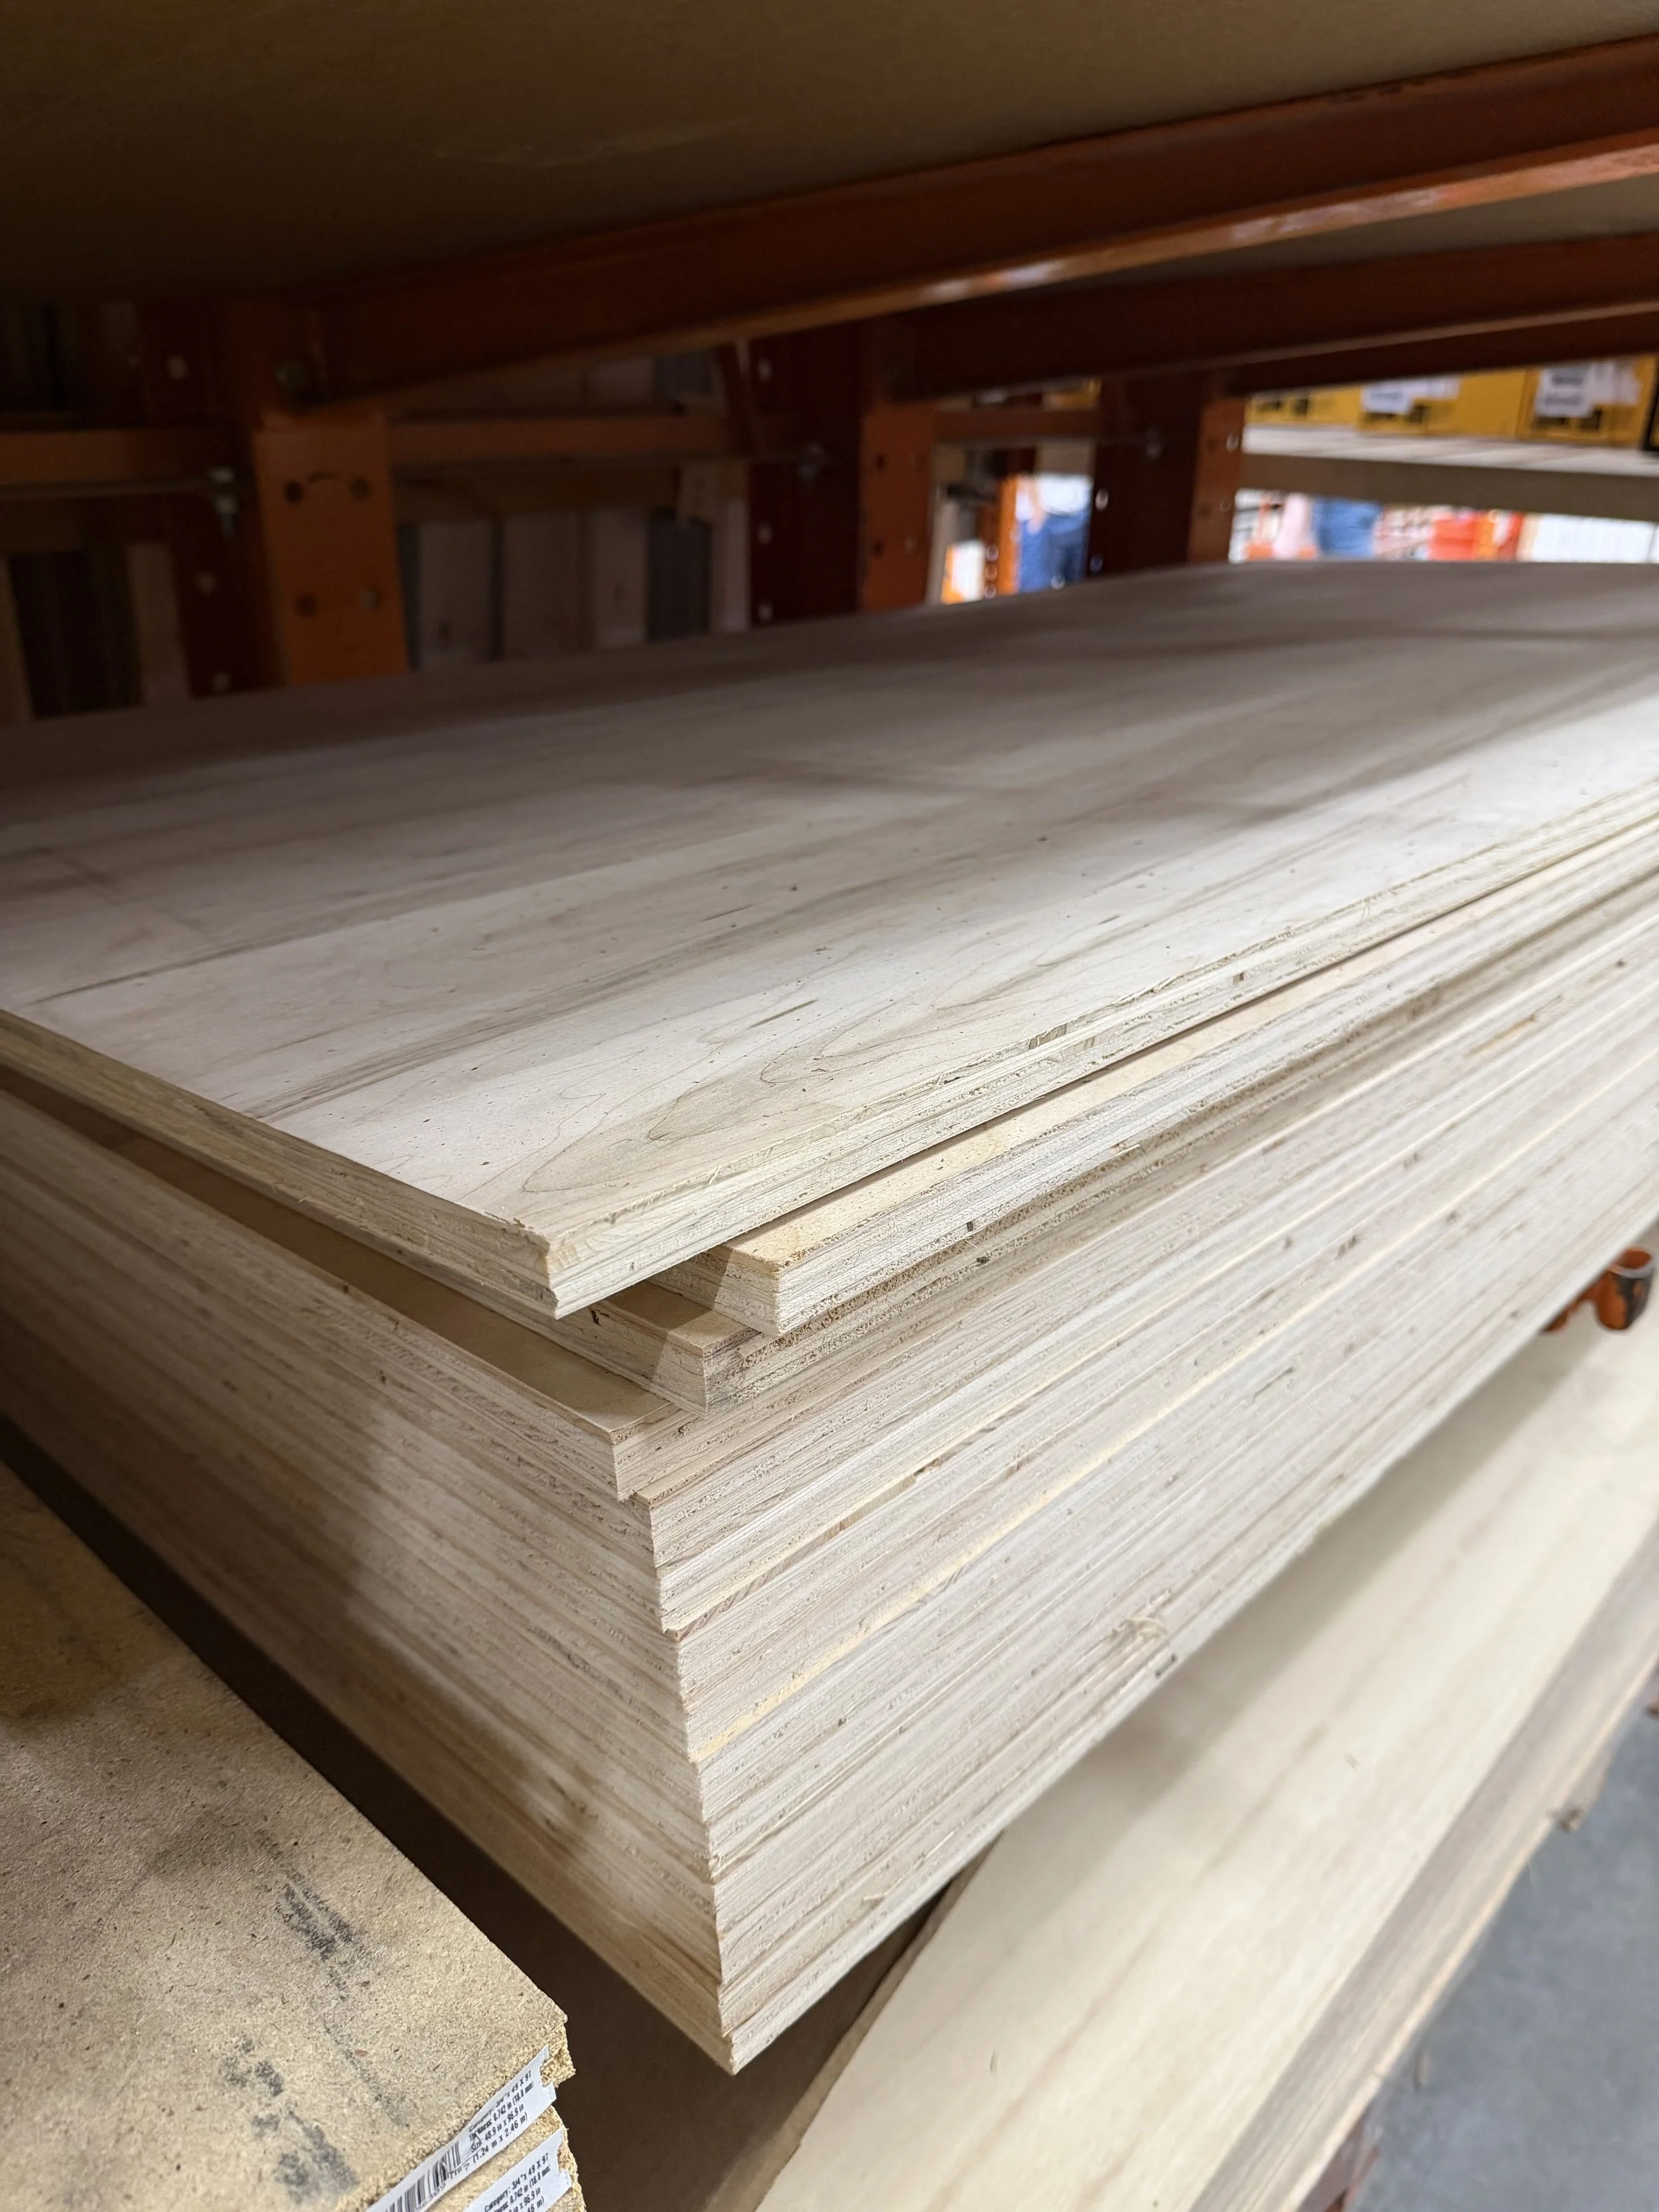
Plywood is an engineered wood product made by gluing together thin layers (or “plies”) of wood veneer. Each layer is rotated 90 degrees from the one below, which adds strength and stability.
Types of Plywood
Construction-grade plywood: Rough surface, fewer layers, often used for subfloors or wall sheathing.
Sanded or finish-grade plywood: Smooth faces, better for furniture and visible projects. Look for species like birch, maple, or oak.
Baltic birch plywood: Known for its many plies, durability and better quality. It’s flat, strong, and ideal for furniture or cabinetmaking. This is usually found at lumber yards and not big box stores.
Tips for Buying Plywood
Check the number of plies — more plies generally means more strength and stability.
Look at the surface veneer for flaws or patches.
Make sure the sheet is flat — warped or twisted sheets are harder to work with.
Know your thickness needs — plywood comes in common sizes like ¼”, ½”, and ¾”.
Most plywood sheets are sold in 4x8 foot sizes. Some stores offer 2x4 or 2x8 sheets if you need less material or easier transport.
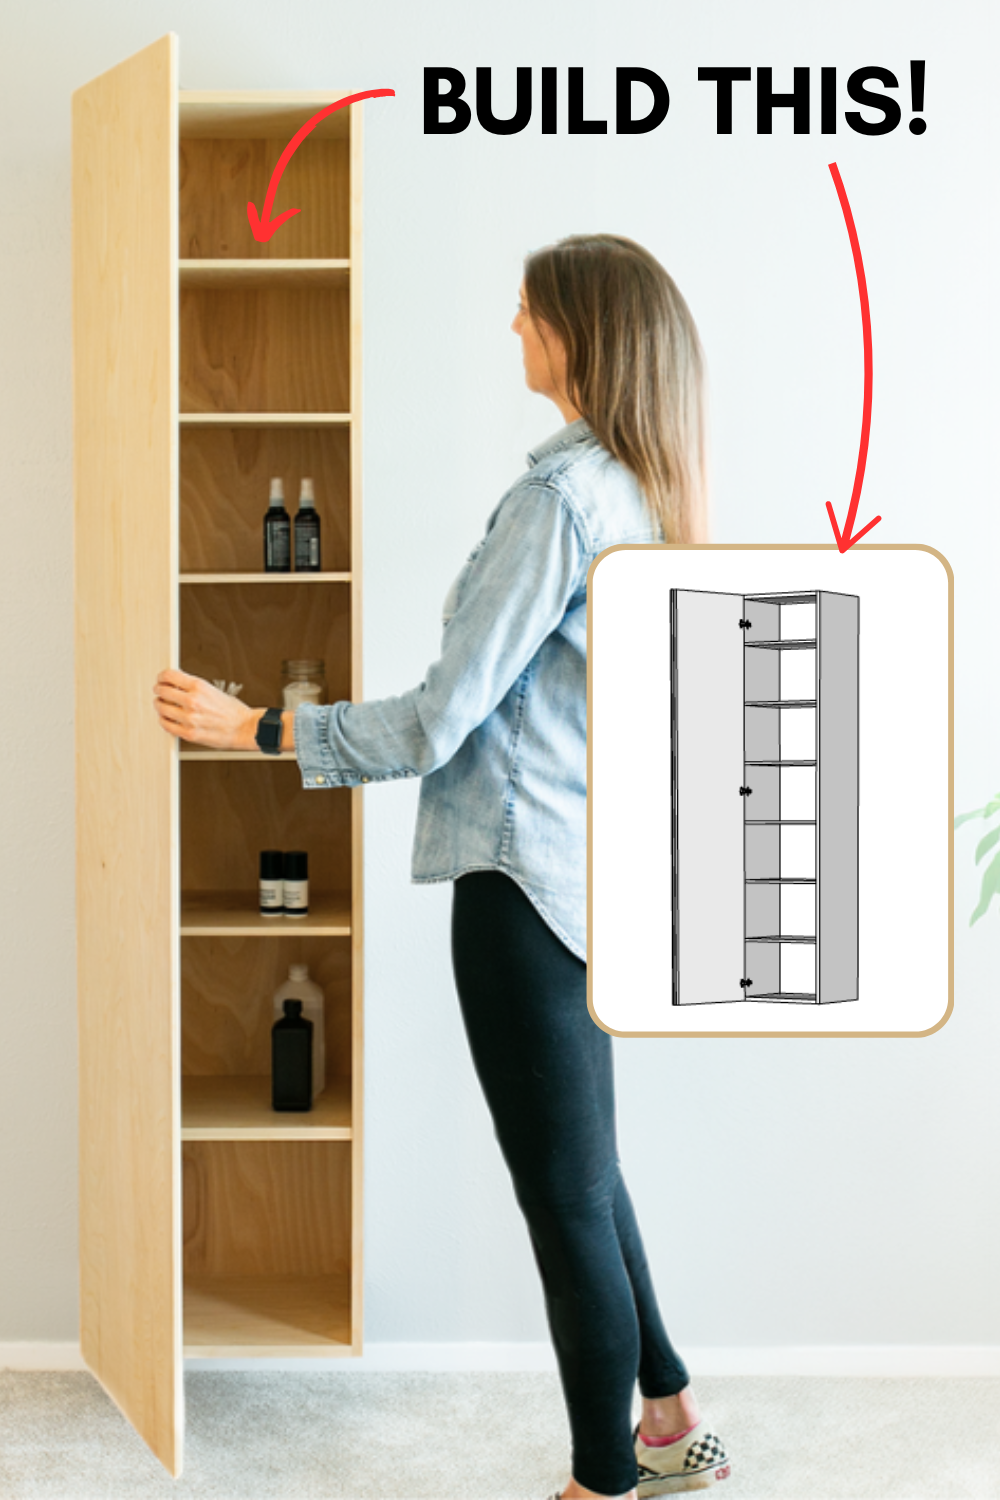
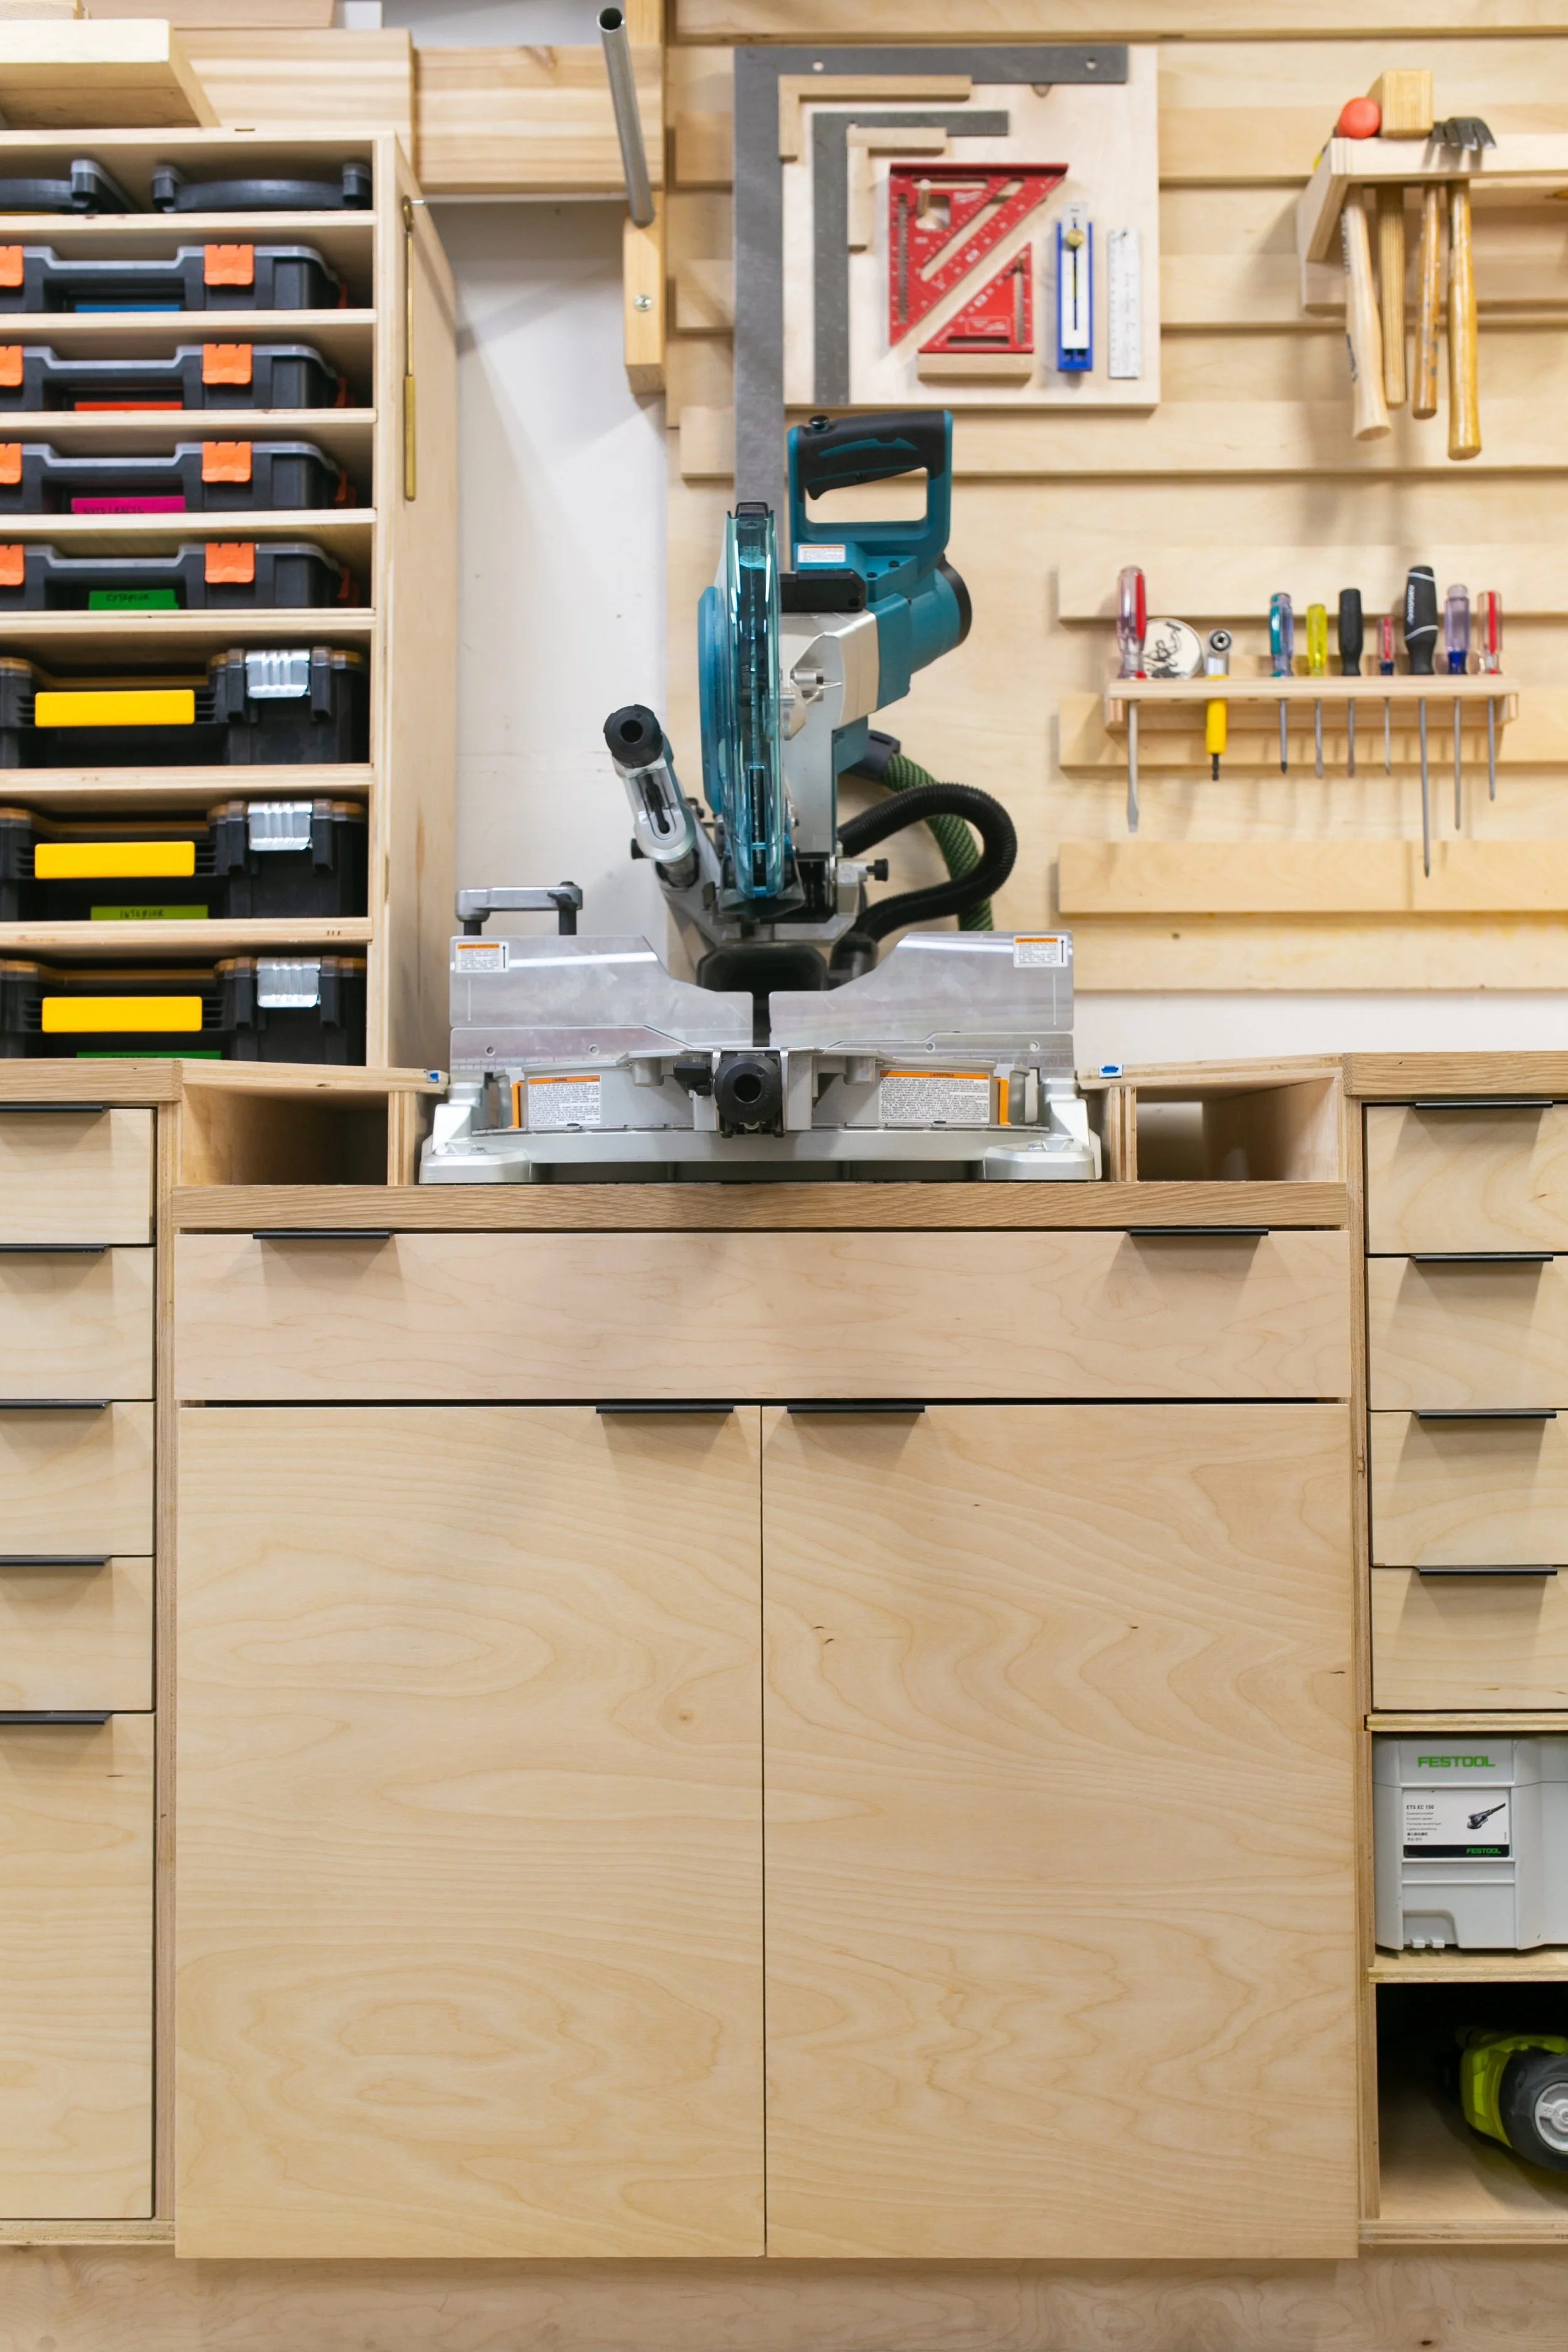
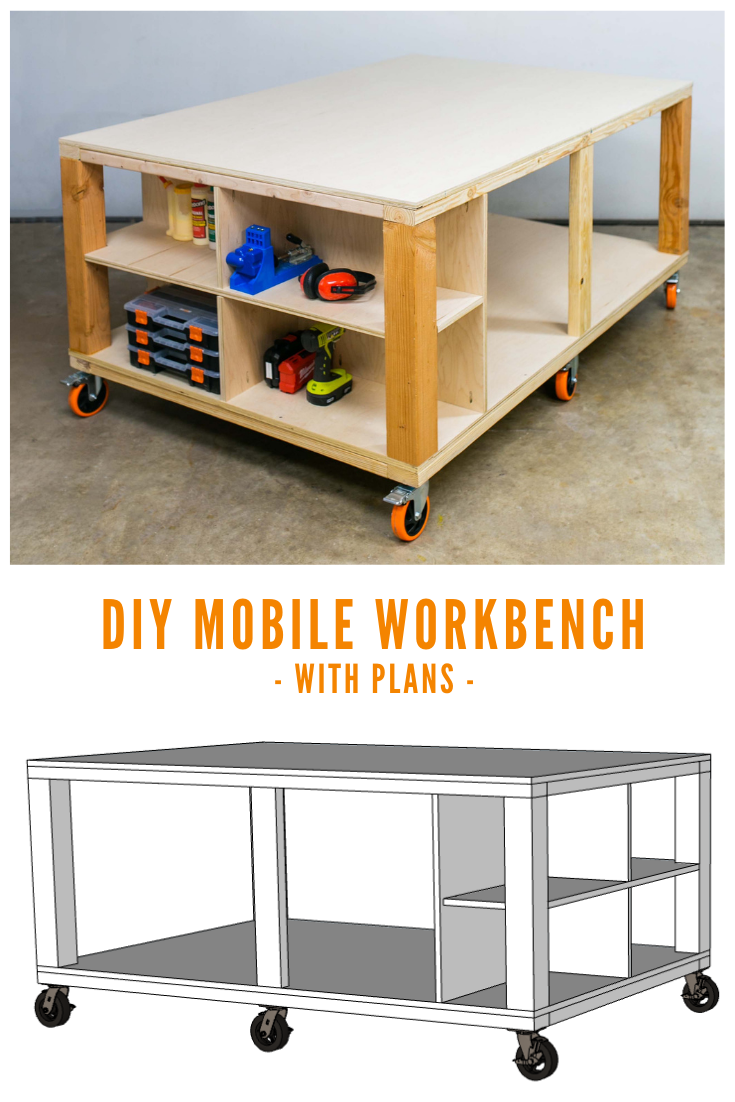
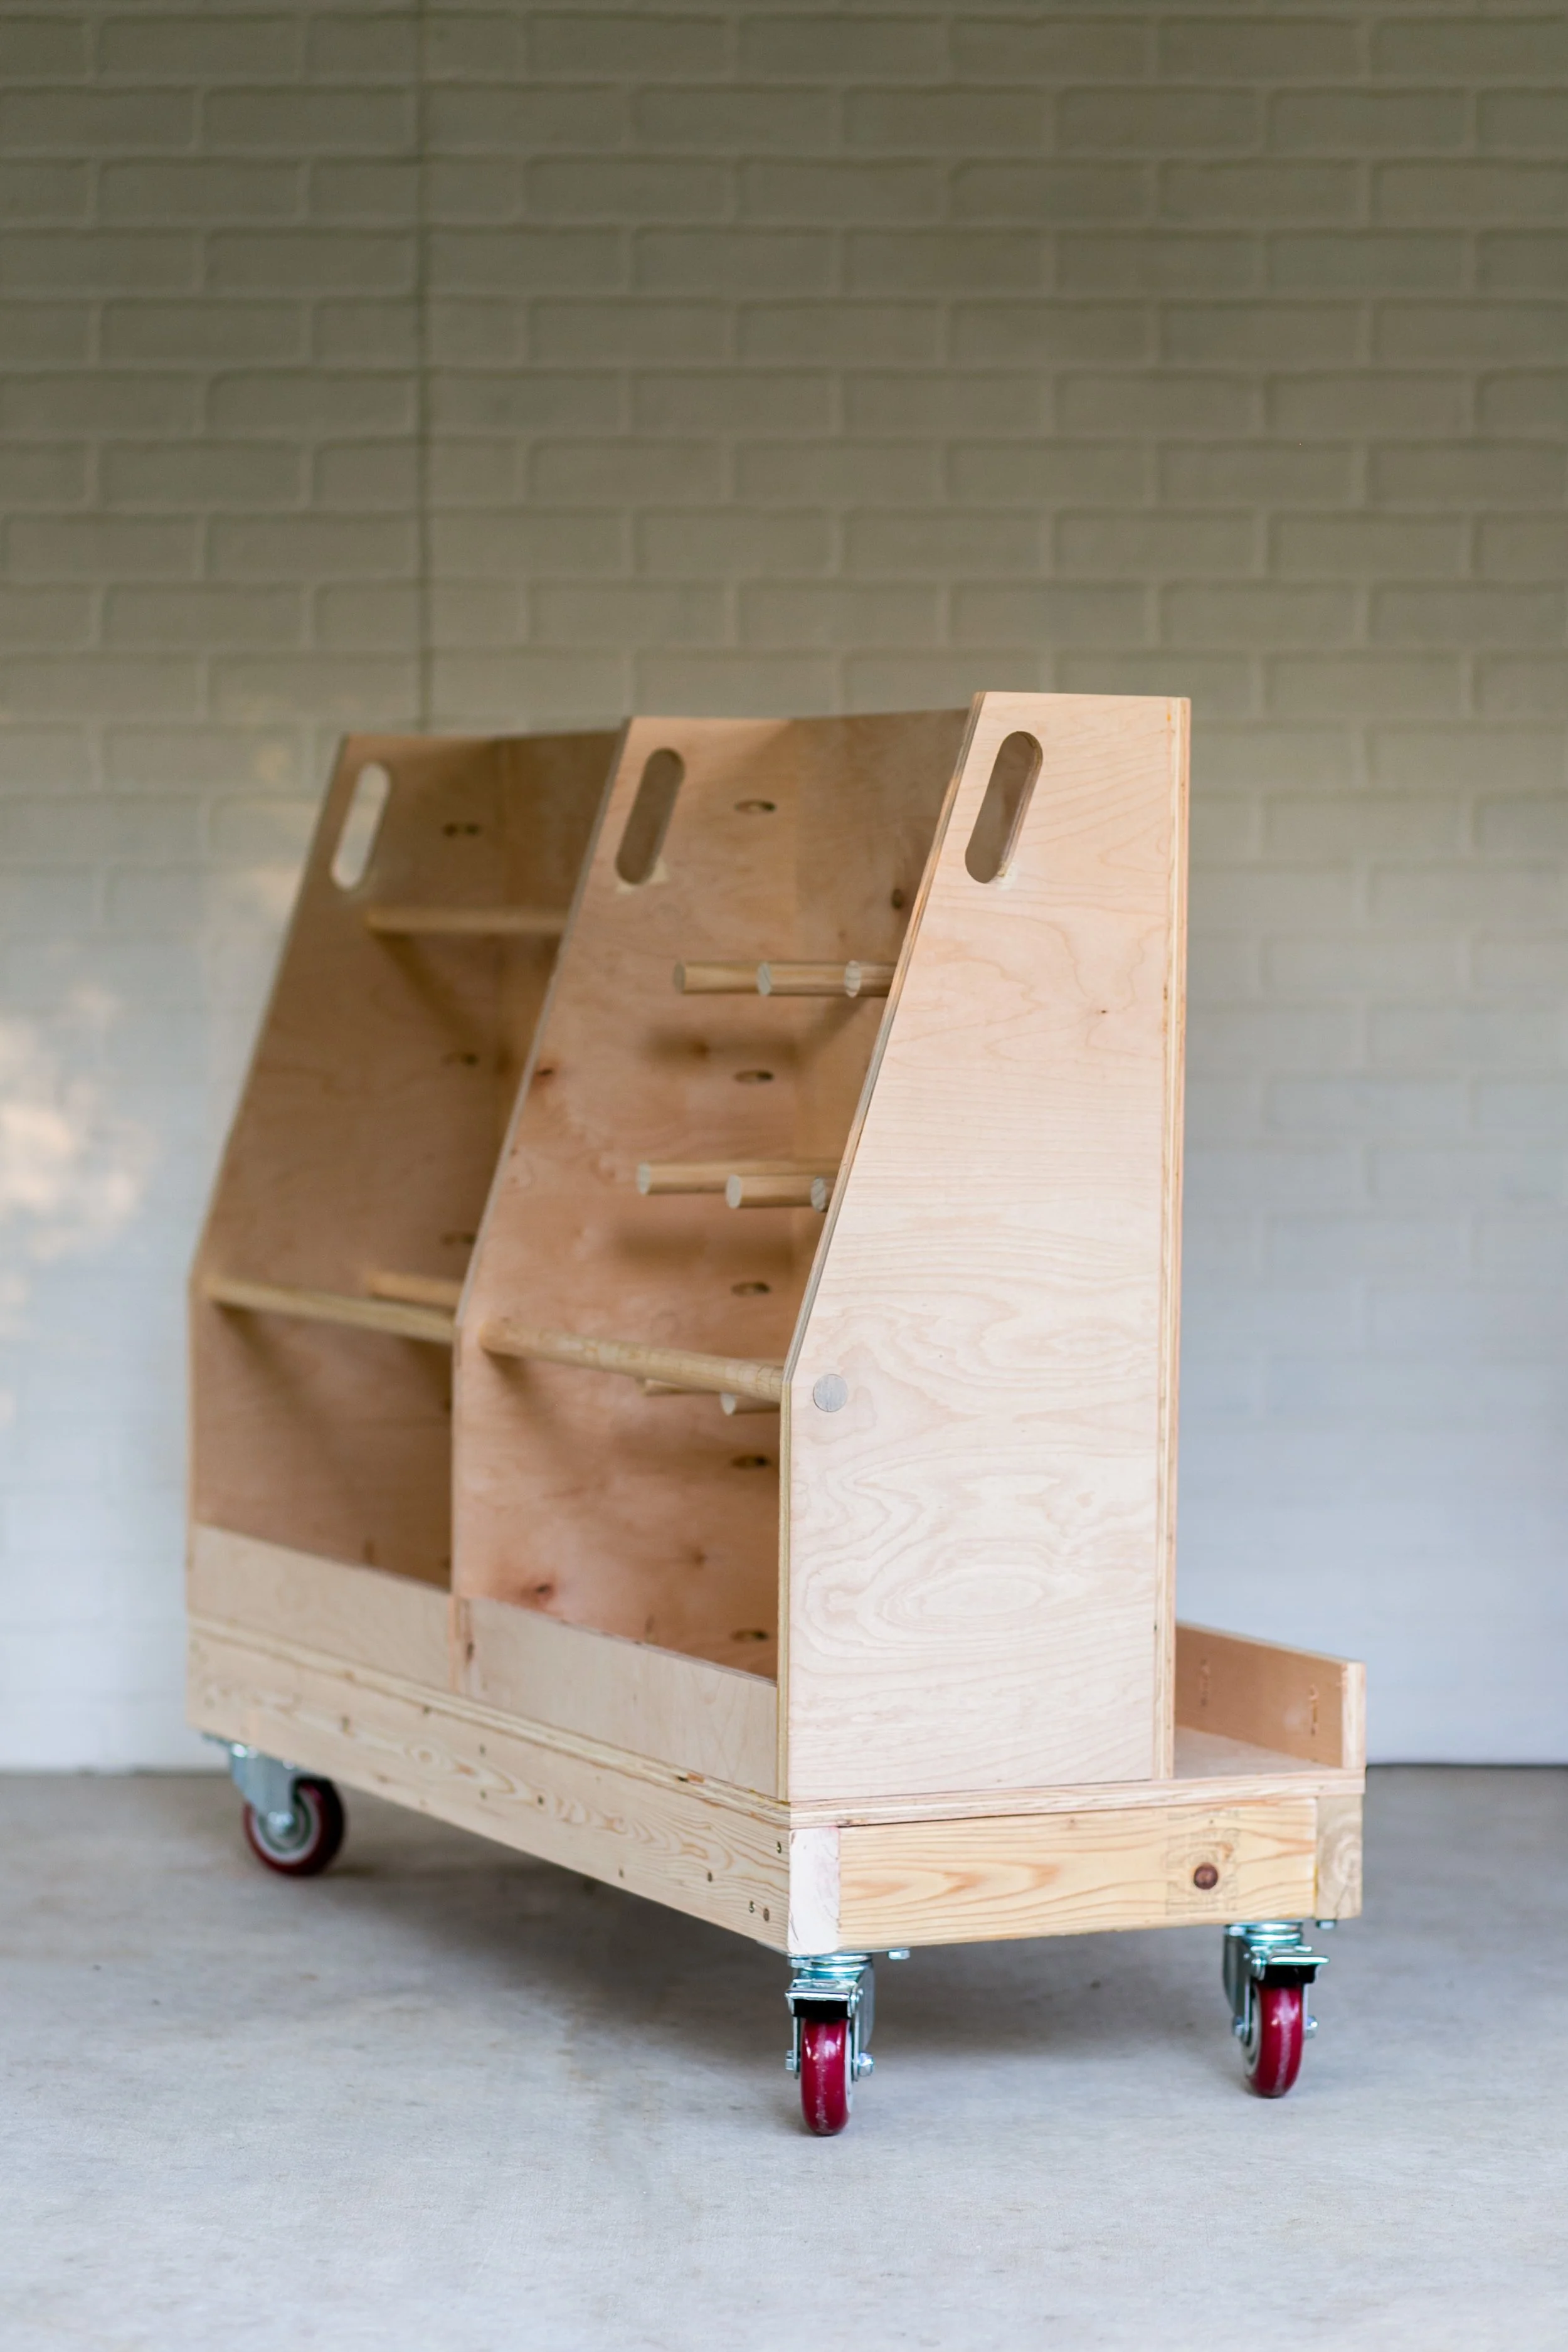
Plywood is one of my go-to materials for building. It’s strong, affordable, and incredibly versatile — perfect for everything from furniture to garage storage. Here are just a few projects where I’ve used it:
Tips for Beginners Buying Wood
Bring your project cut list with you to choose the right lengths and sizes.
Take your time and dig through the stack to find the straightest, cleanest boards.
Don’t be afraid to ask someone at the store to cut down a board so it fits in your vehicle.
Start with common pine or whitewood for practice. It’s cheap and forgiving.
Final Thoughts
The more you buy wood, the more familiar you’ll become with how to spot good boards and what works best for your projects. Don’t stress about getting it perfect your first time — just start small and learn as you go.
Follow Maker Gray:
Instagram @MakerGray https://www.instagram.com/makergray/
Facebook https://www.facebook.com/MakerGray/
TikTok: https://bit.ly/3lXgdHh
If you liked this project and want to stay up to date with what I’m building, be sure to sign up for my newsletter and you’ll get an email sharing new DIY projects!
This post includes affiliate links. As an Amazon Associate, I earn from qualifying purchases. If you choose to shop through one of my links, it helps support Maker Gray — and I truly appreciate that!