
How to Choose Your First Power Tools: A Beginner's Guide
Starting your DIY journey can feel overwhelming — especially when you’re staring down an aisle full of tools you’ve never used before. But the good news? You don’t need a full workshop to get started. Just a few solid, versatile tools can help you build real projects and gain confidence fast.
This beginner-friendly guide breaks down the first three power tools I recommend buying, plus a few others you’ll want to add as you grow.
Start With These 3 Power Tools
These are the tools I’d recommend to anyone just getting started in woodworking or DIY projects. They’re versatile, beginner-friendly, and powerful enough to grow with you.
1. Drill
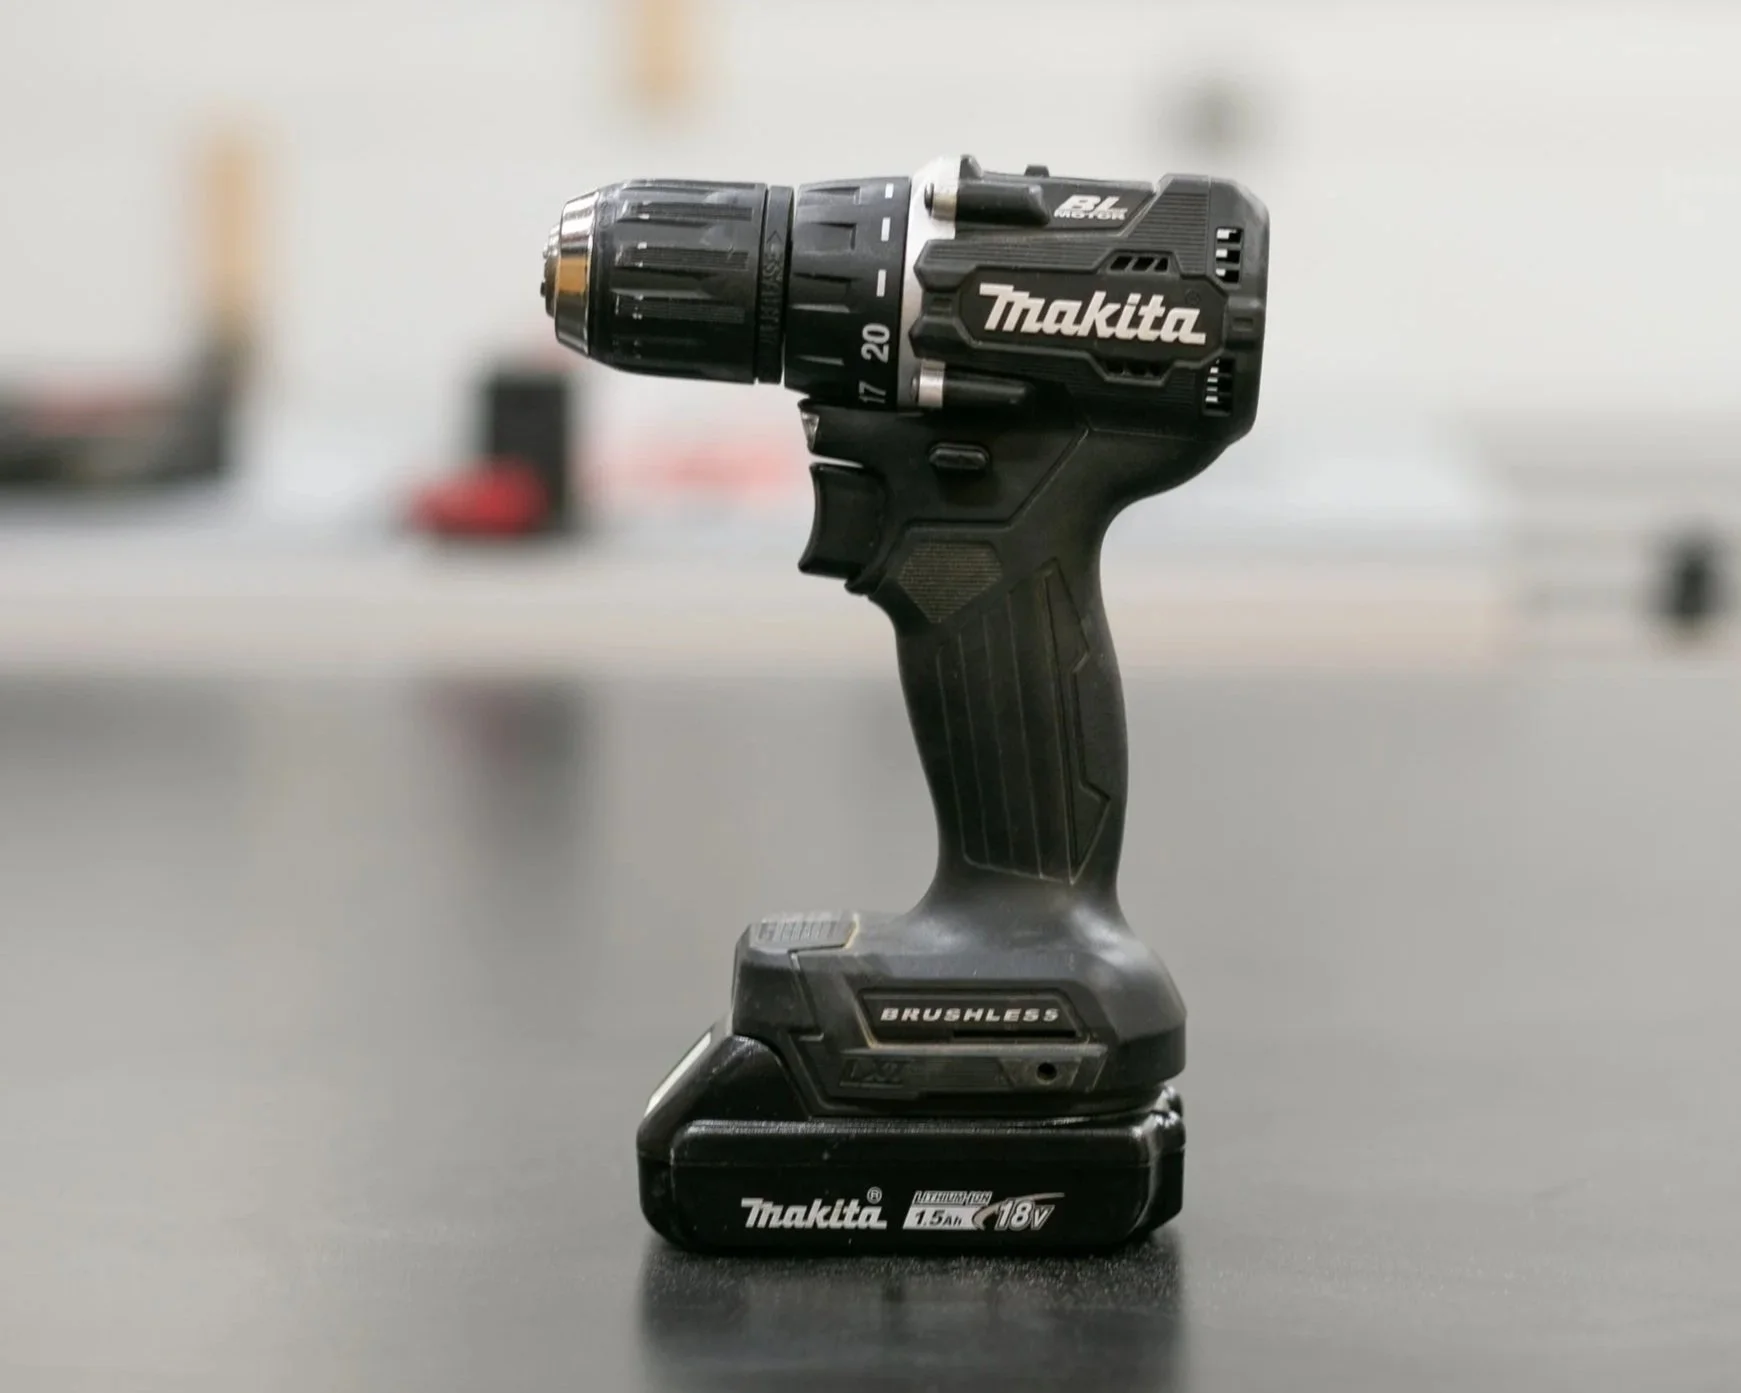
This is your go-to tool for making holes — in wood, drywall, and more. It can also drive screws into softer materials, making it one of the most versatile tools to start with.
What to look for:
Cordless with at least 18V or 20V
Variable speed and clutch settings
Comfortable grip and lightweight body
💡 Tip: A great starter drill is this Ryobi drill. I recommend and use a Makita subcompact drill — it’s lightweight but powerful, and perfect for smaller hands.
📌 As your projects grow, you may want to add an impact driver to your toolkit. It’s made specifically for driving screws into tougher materials and saves a lot of wrist strain. I break down the difference here → Drill vs. Impact Driver

2. Circular Saw
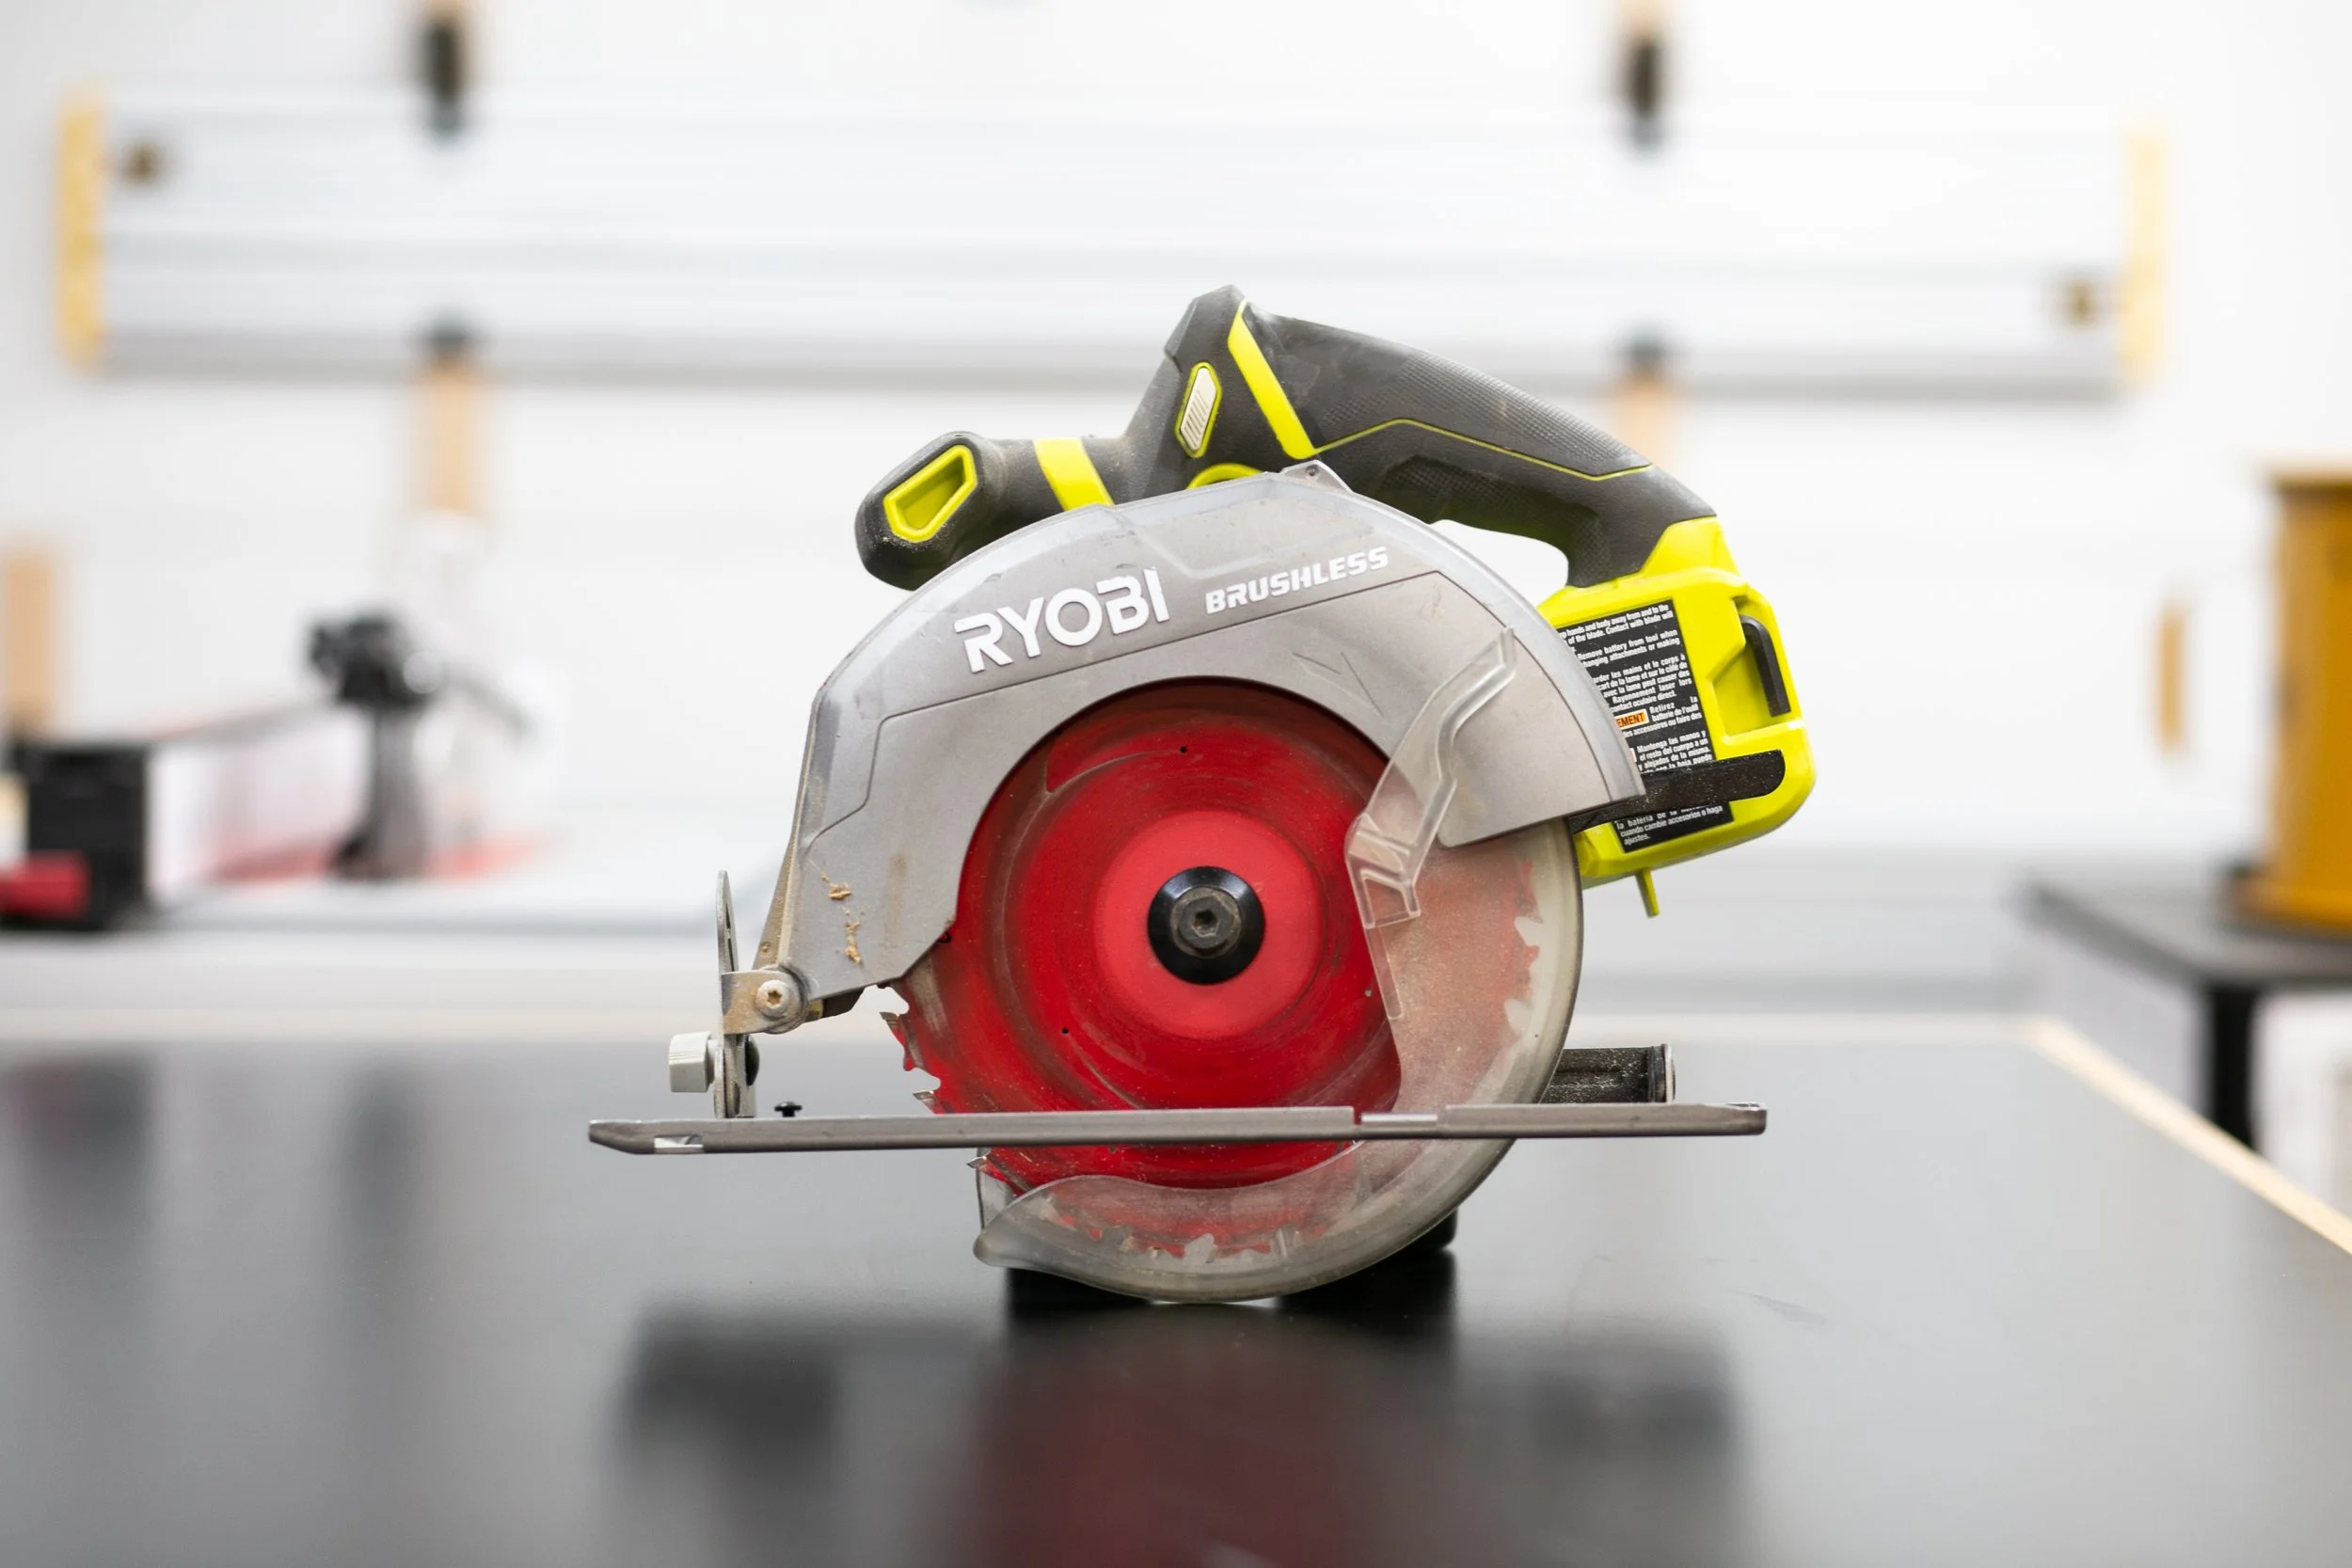
A circular saw is a great first cutting tool — especially if you don’t have space or budget for a miter saw just yet. With a straight edge or guide, you can make accurate crosscuts, rip cuts, and angle cuts in plywood or dimensional lumber.
What to look for:
6 1/2” or 7 1/4” blade size
Cordless for portability (or corded if you’re mostly in one place)
Depth and bevel adjustments
🛠️ Pro tip: Use a circular saw with a speed square or guide rail to get clean, straight cuts.
3. Random Orbital Sander
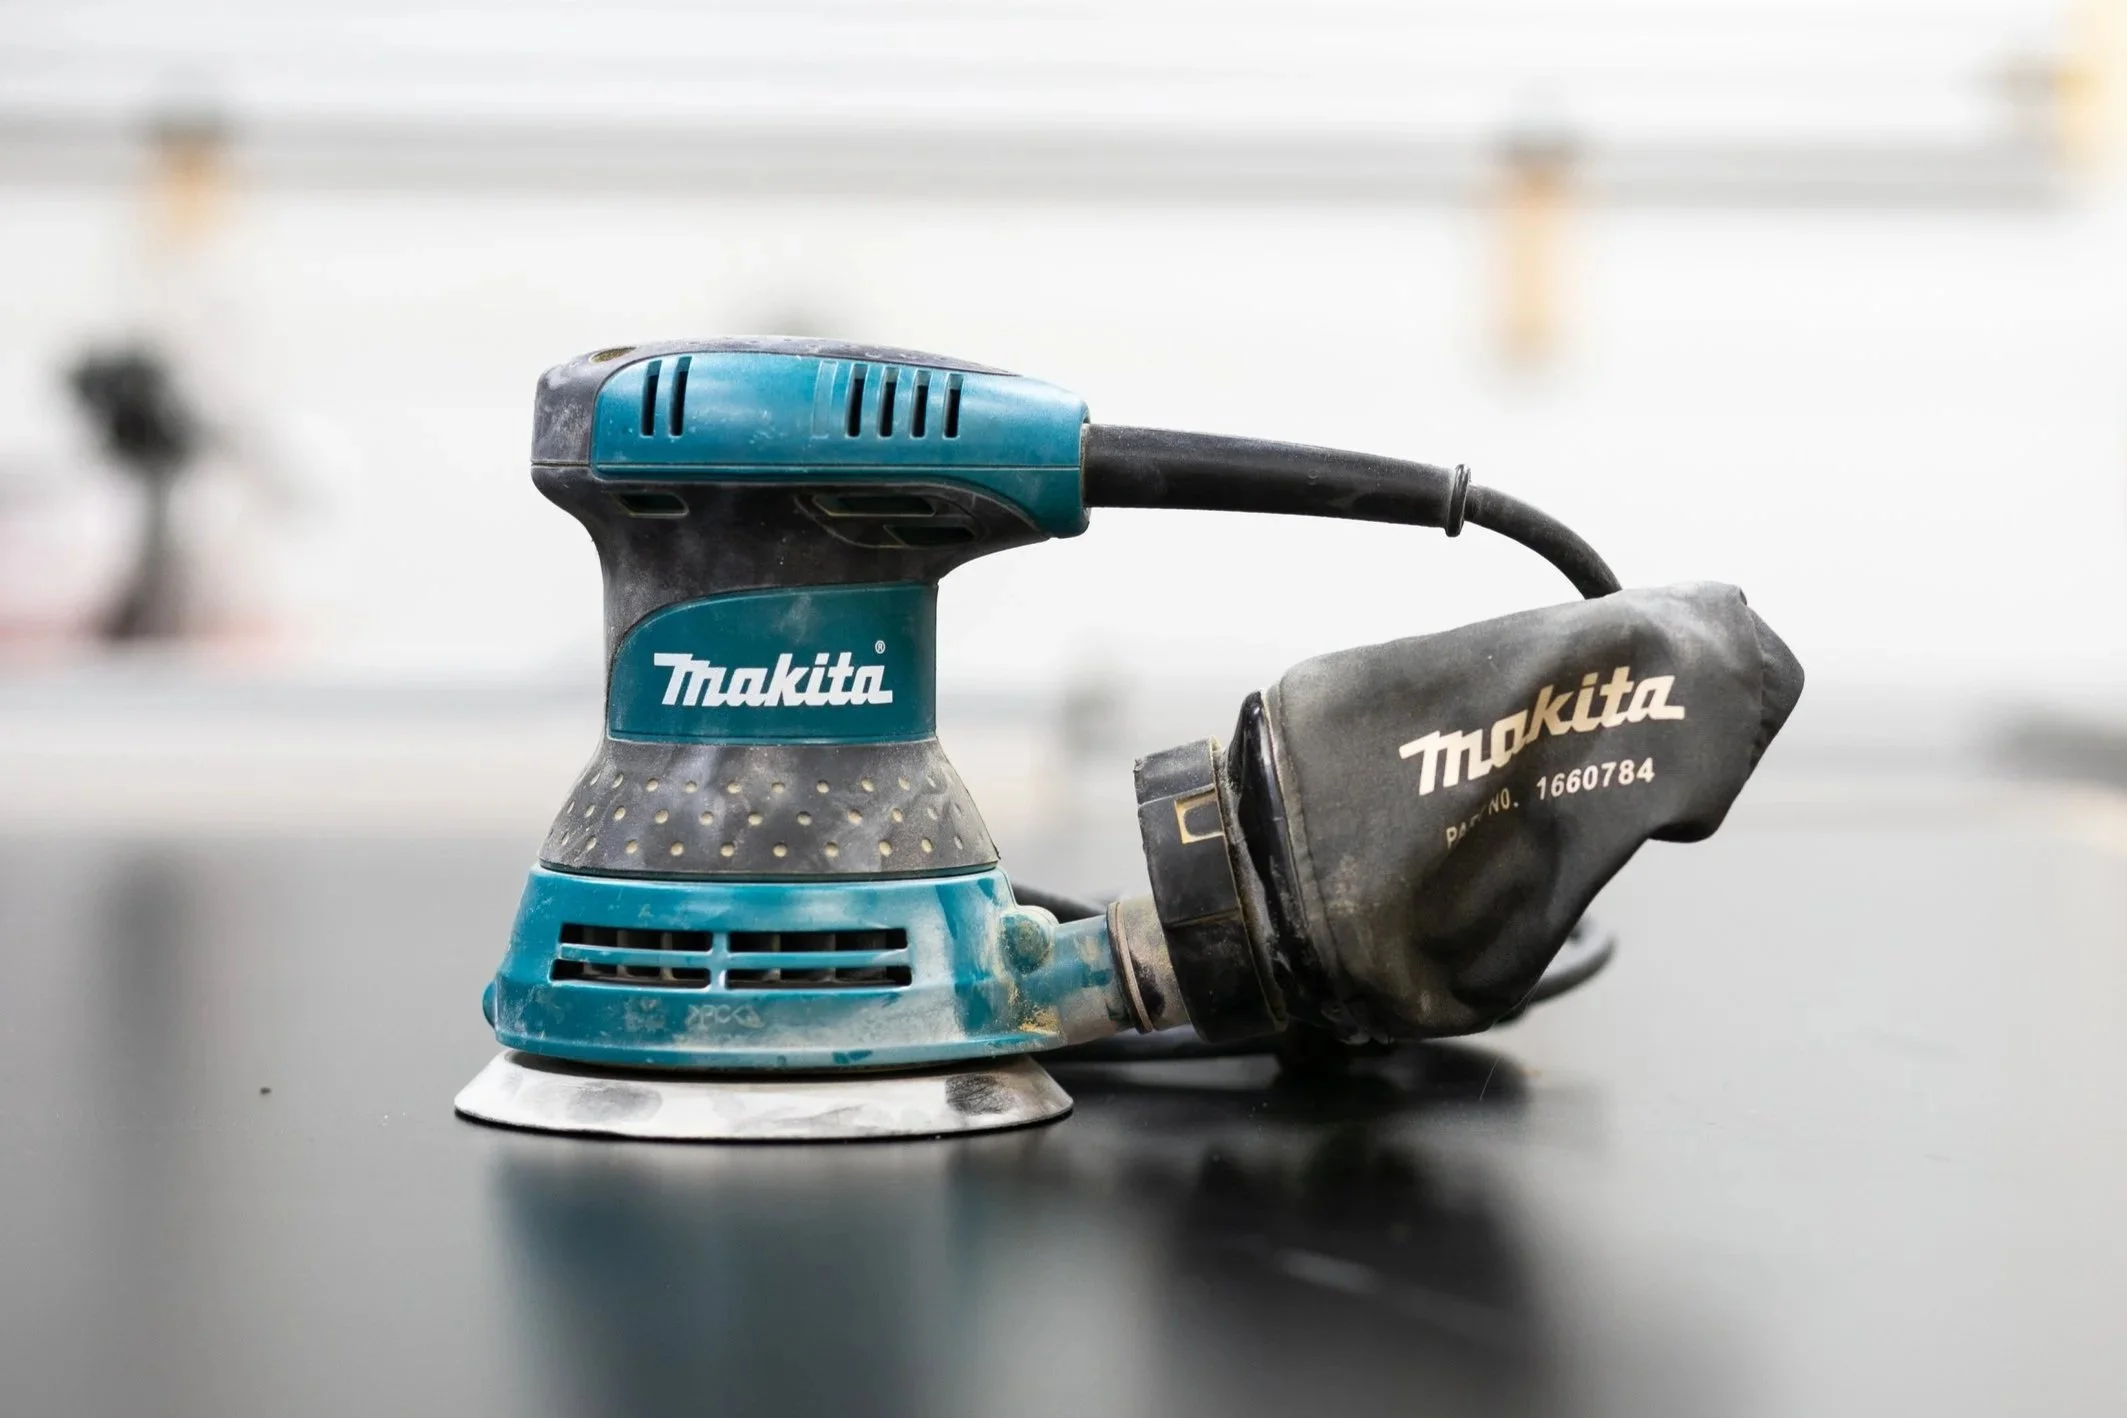
An orbital sander is one of the most underrated beginner tools — but it makes a huge difference in the look and feel of your finished project. It quickly smooths out rough wood, blends joints, and preps surfaces for painting or staining.
What to look for:
5” sanding pad with hook-and-loop attachment
Variable speed (helpful but not required)
Comfortable grip and dust collection port
🔄 Always start with a lower grit (like 80), then move up to 120 or 220 for a smooth finish.
Other Tools Worth Adding Soon
As your confidence grows and your project list expands, you’ll want to add a few more tools to your collection.
Miter Saw

While a circular saw can handle most beginner cuts, a miter saw makes it easier (and faster) to get accurate, repeatable cuts at precise angles. It’s great for furniture building, trim, framing, and more.
What to look for:
Sliding feature to cut wider boards
Compound bevel capability
10” or 12” blade (I’ve always used a 10” saw and it’s been plenty big)
🎯 Want to learn how to use it? Check out my Beginner’s Guide to a Miter Saw
Pin Nailer or Brad Nailer

These lightweight nail guns are a game-changer for trim, furniture, and decorative builds. They’re much faster (and cleaner) than a hammer, and leave tiny holes that are easy to patch or hide.
Pin nailers use 23-gauge headless pins. They’re best for delicate trim and small moldings where you don’t want the nail to be visible.
Brad nailers use 18-gauge nails. They have a bit more holding power and are better for furniture building, small assemblies, and thicker pieces of wood.
What to look for:
Cordless for ease of use
Pin nailer for delicate trim
Brad nailer for furniture and thicker pieces
Tip: Choose one that works with your battery platform if possible. I really like the cordless Ryobi nail guns. Inexpensive and do a great job.
Tips for Choosing Tools
Buy the best you can afford. You don’t need top-of-the-line tools to get started, but try to avoid the cheapest ones — they often don’t last and can be frustrating to use.
Look for combo kits. Starter kits that include a drill, charger, and battery are often the best value when you’re building your toolkit from scratch.
Stick to one battery platform. Tool batteries can be expensive, so it pays to stay loyal to a single brand. As you collect more tools, you can buy the “tool-only” versions (without batteries) at a lower price — and just swap in the batteries you already have.
Check for brushless motors. Brushless tools typically run cooler, last longer, and are more efficient — a worthwhile upgrade if it’s within budget.
Pay attention to ergonomics. Make sure the tool feels good in your hand, isn’t too heavy, and has controls that are easy to use.
Start small and build as needed. You don’t have to buy everything at once. Start with the core tools, and add others as your skills and your projects grow.
Cordless = freedom. For most beginners, cordless tools offer plenty of power and let you work anywhere without being tethered to an outlet.
Beginner-Friendly Projects to Try
Ready to put your tools to use? Here’s a few of our beginner projects that use the tools above and learning as you go:


Ready to know more?
Visit my Tools 101 page for more beginner guides like:
DIY can feel overwhelming at first — but with the right tools and a little direction, you’ll be surprised what you can build.
Follow Maker Gray:
Instagram @MakerGray https://www.instagram.com/makergray/
Facebook https://www.facebook.com/MakerGray/
TikTok: https://bit.ly/3lXgdHh
If you liked this project and want to stay up to date with what I’m building, be sure to sign up for my newsletter and you’ll get an email sharing new DIY projects!
This post includes affiliate links. As an Amazon Associate, I earn from qualifying purchases. If you choose to shop through one of my links, it helps support Maker Gray — and I truly appreciate that!